
- Joined
- Sep 15, 2013
- Messages
- 24
- Motherboard
- Asus Sabertooth Z87
- CPU
- i5 4690K Devils Canyon
- Graphics
- 2X GTX 760's SLI
Rotten Apple is a project that I have been working on, part time, for just about a year now. The project is still not finished but it has been put on hiatus for the time being as I have a lot going on. I felt almost obligated to post the project to help other fellow moders as well as give credit where it is due. It was inspired by many in the G5 modding community, both on tonymacx86 as well as Bit-tech.
When starting out I wanted to keep the beauty of Apples brushed aluminum, as well as incorporate a Full ATX, seamlessly. I ended up deciding to go with a metallic black and mid and brushed aluminum wrap and door.
This whole project was done with only a handful of tools, the most 'high-tech' of which was a Harbor freight dremel. 95% of cuts were made with a hacksaw blade and cleaned up with low grit sandpaper(no fancy shop here).
If you have any questions, feel free to ask, I will try and keep up in a timely manner. I want to give back as much as I can, after all, we all start somewhere.
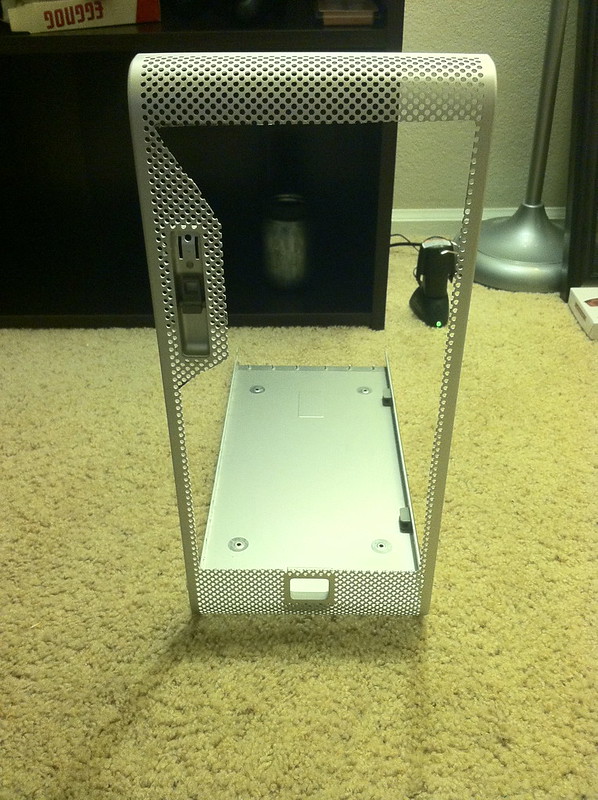
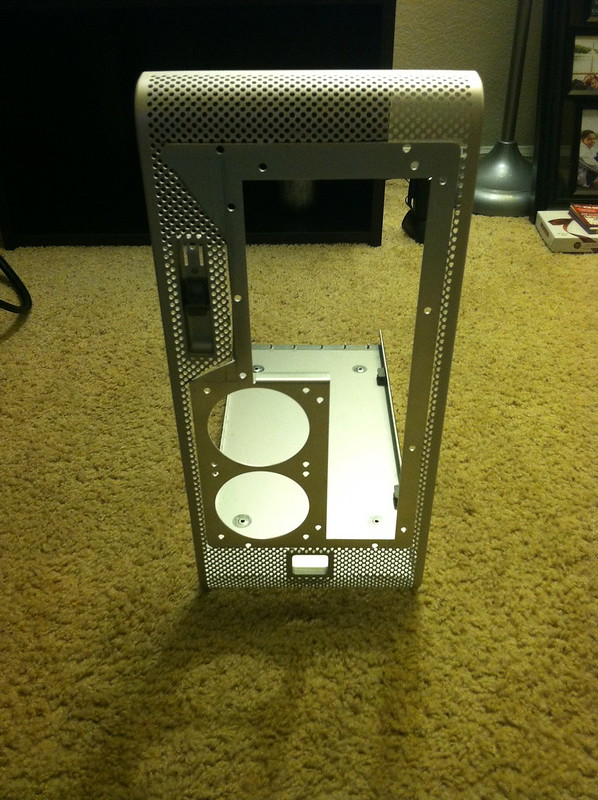
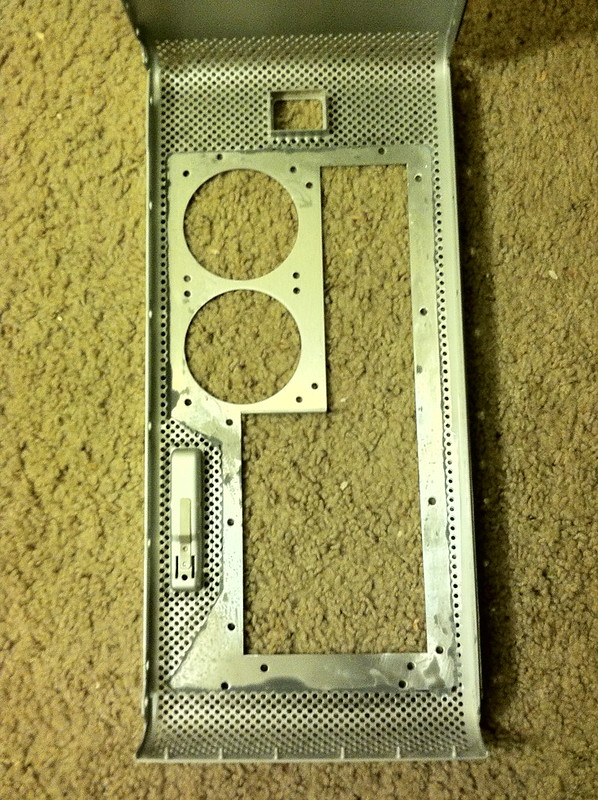
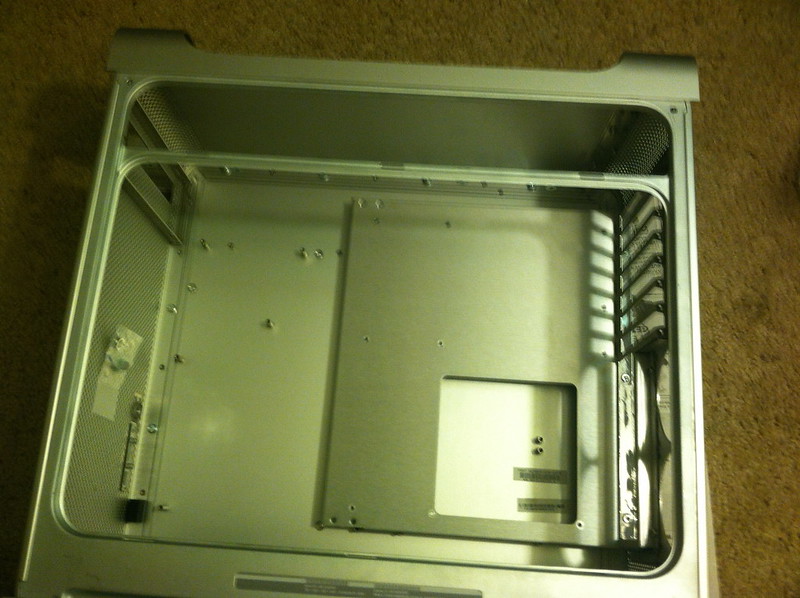
So, Lets start at day 1. I believe I bought the case back in October of last year. So what is the first thing you do when you get a G5, you ask? Tear it apart of course!
(my apologies for the poor image quality, most pictures were taken on an iPhone 4 or 5)
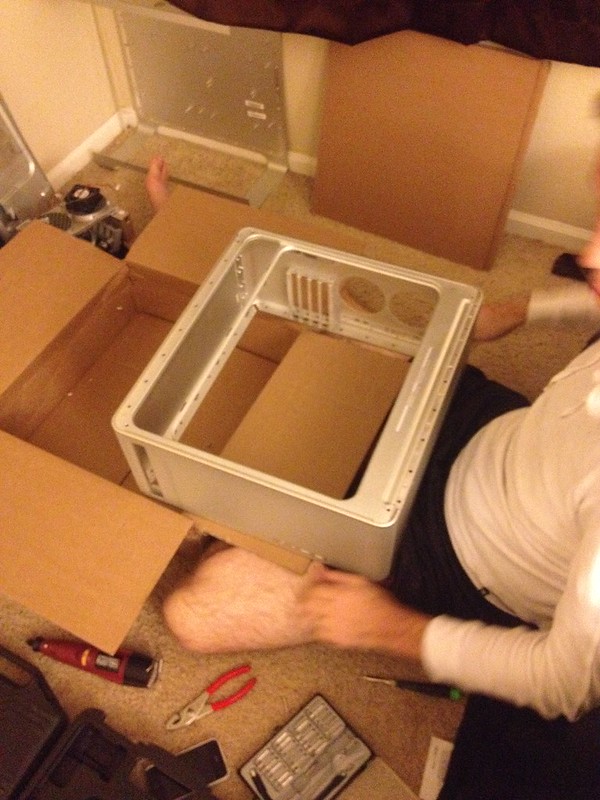
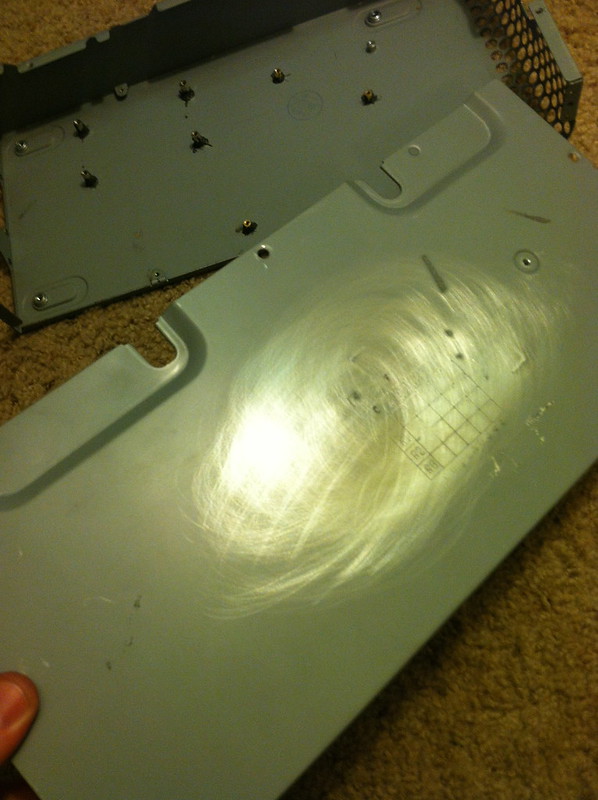
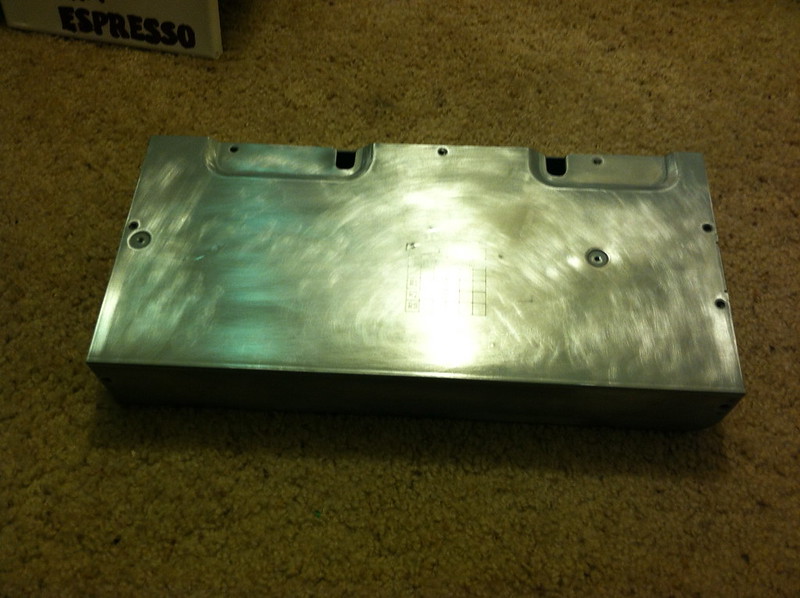
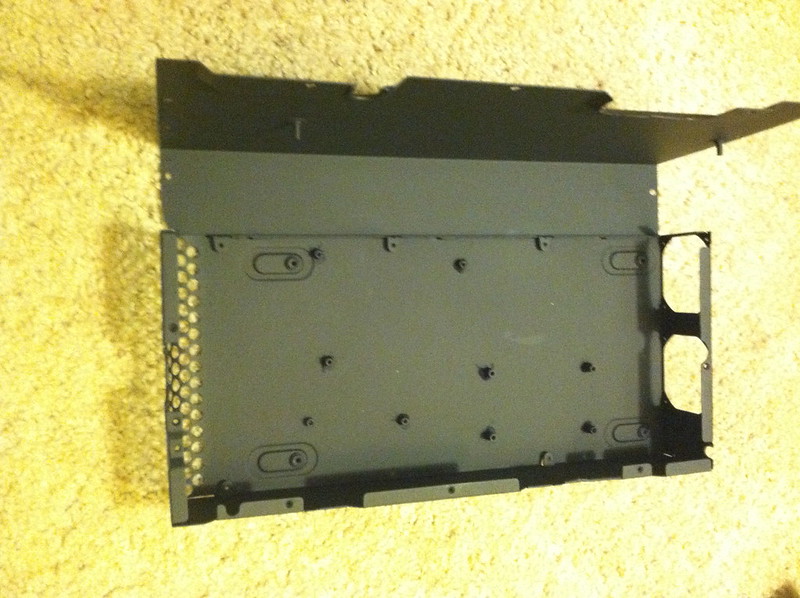
I took my time and organized all of the parts, screws an all so that reassembly would be a bit less tedious.
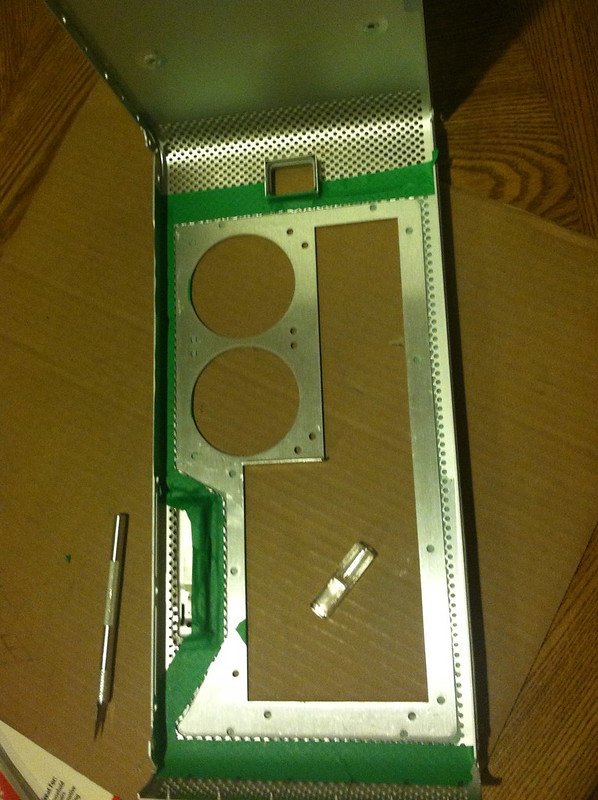
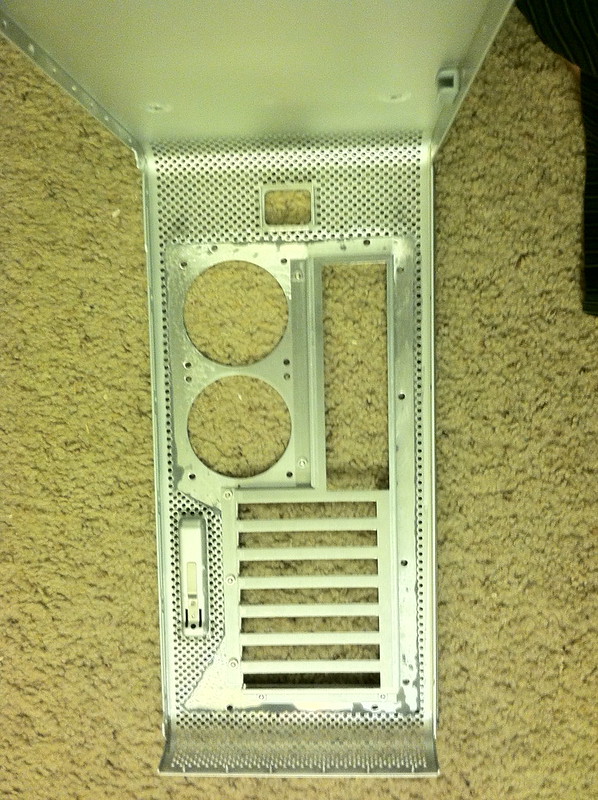
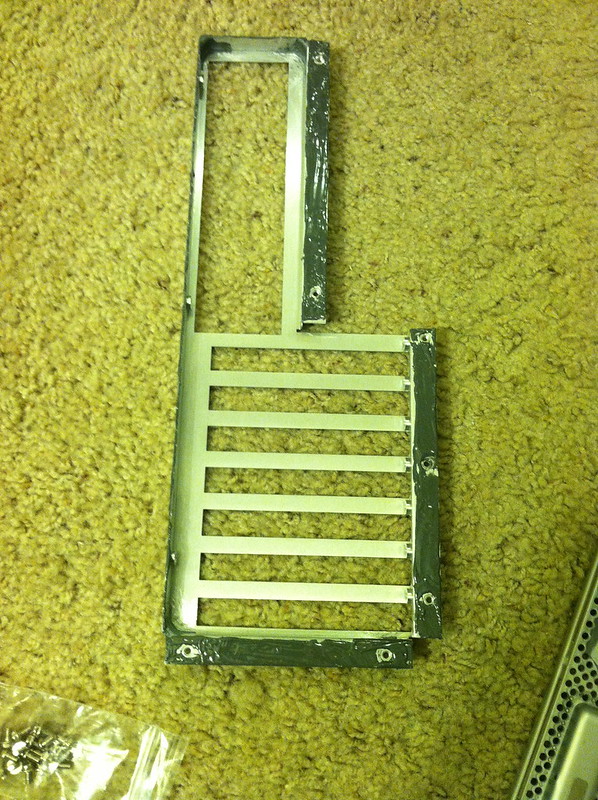
Next, start the planning. I used a Mountain mods ATX tray.
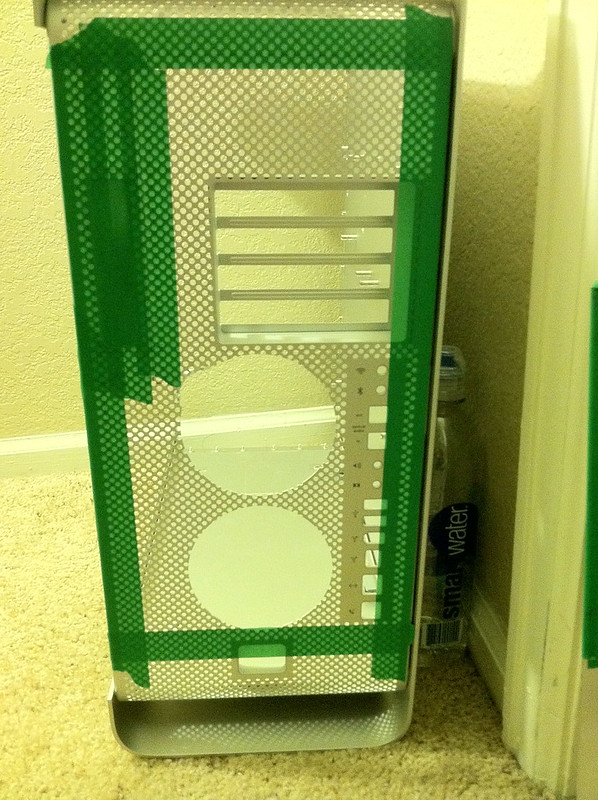

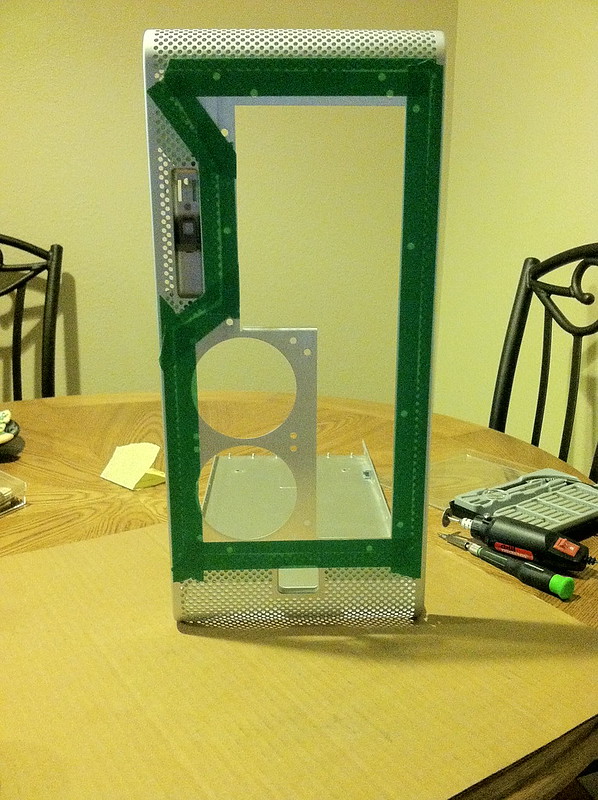
Tape, retape, and tape again. Lots of measuring and sizing.
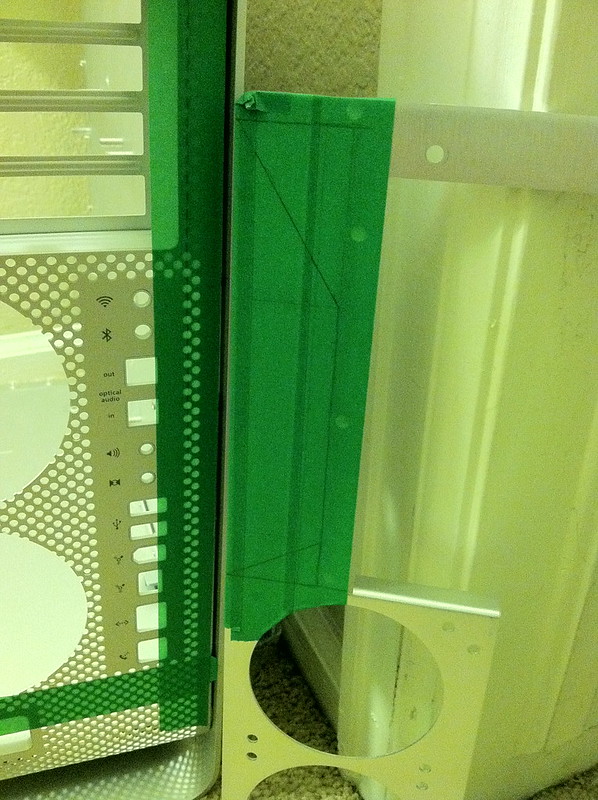
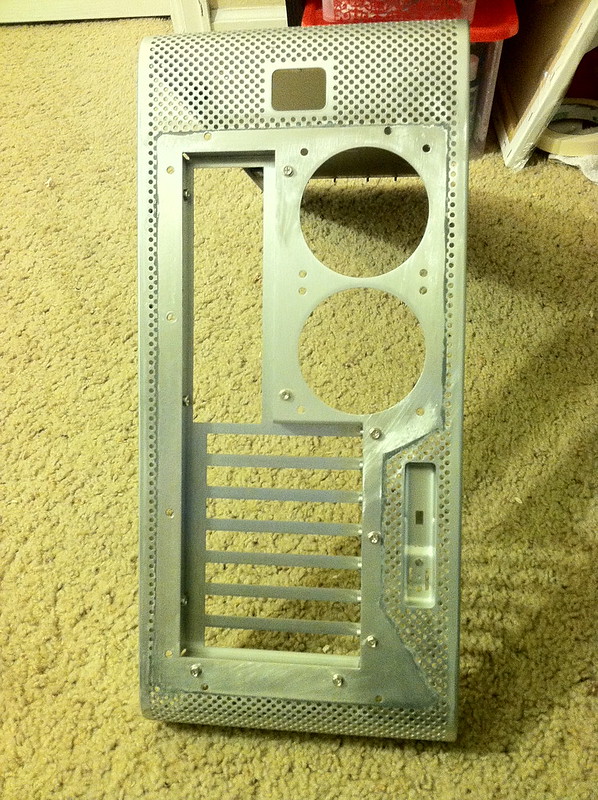
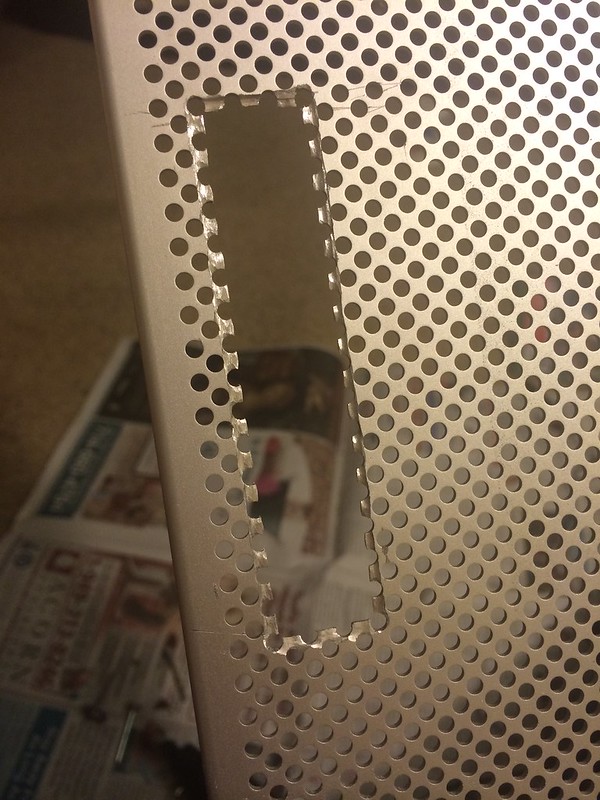
Next up the Cutting.
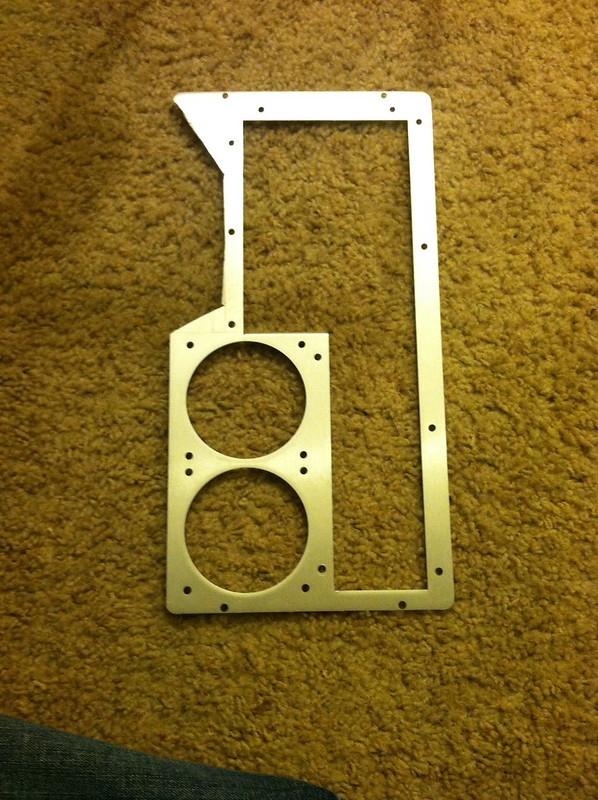
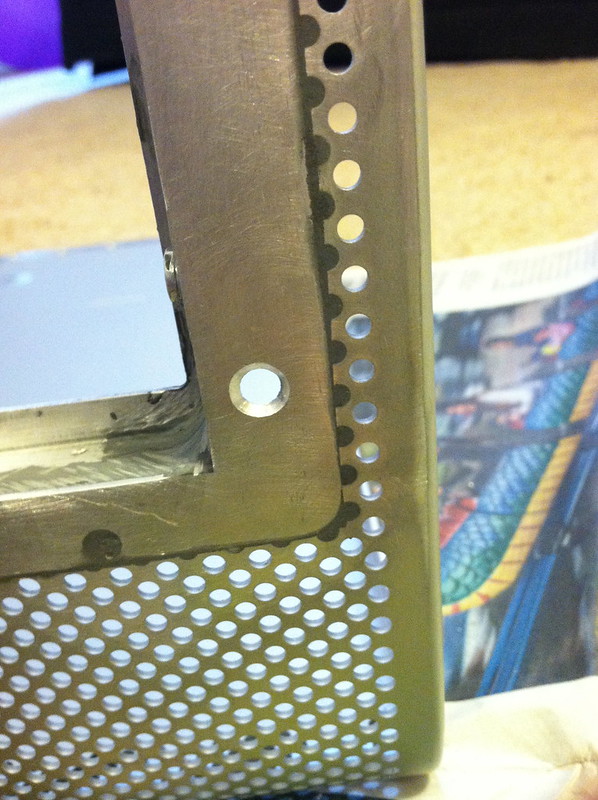
Time to see if the cut was close enough?
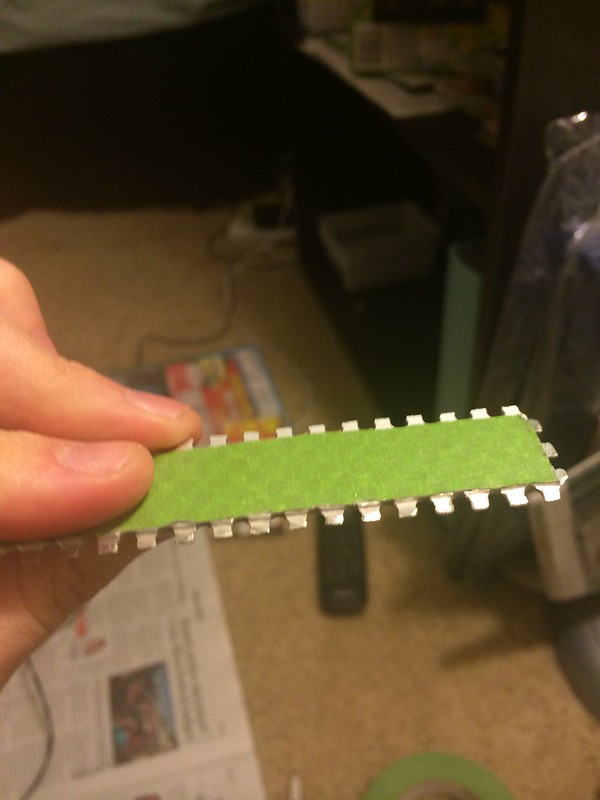
Only friction holding the Mountain mods part in. For the most part a close fit.
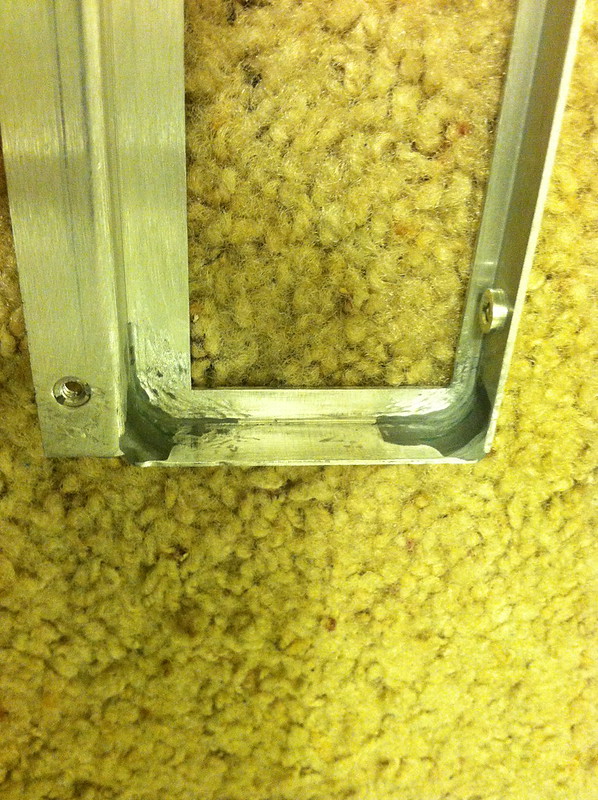
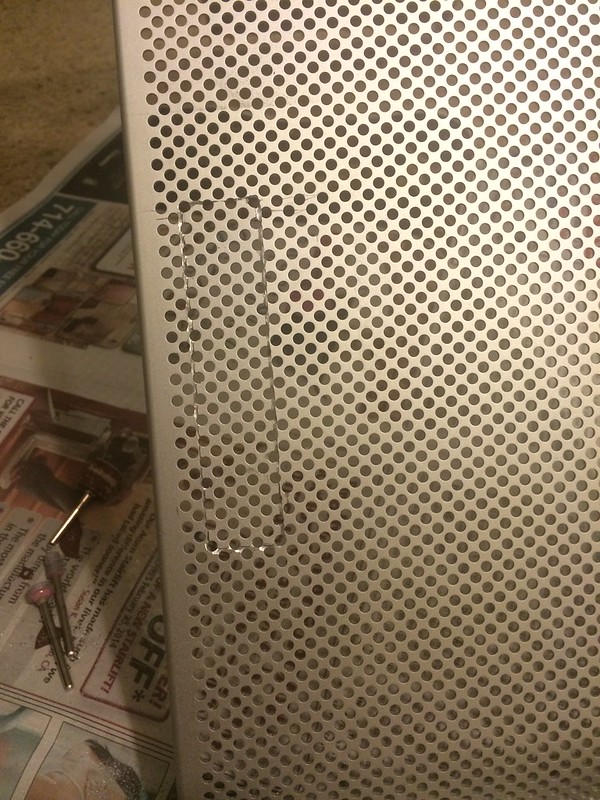
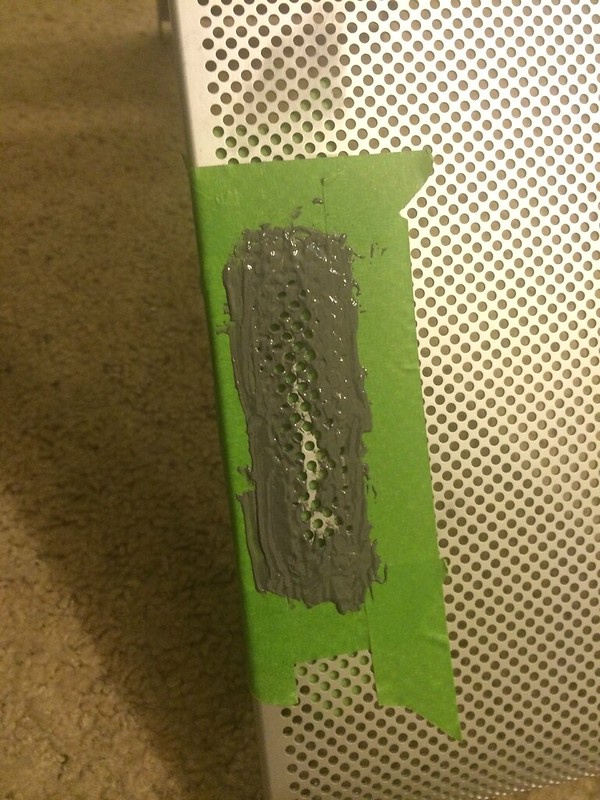
Prepping for Epoxy. First round I tried to use Gorilla Glue Epoxy. I figured; 'their TV ads look good, lets give em a shot'. :
:  . After applying and letting dry I removed the tape and about half of the epoxy 'welds' came with it. So much for 'Bonds to Metal'. I ended up using JB Weld Epoxy, best stuff on the market! No complaints here.
2 Coats of JB Weld and lots of sanding later(did I mention, by hand?)...
Test fitting back plate
As you can see, the screws look pretty ugly, and not seamless, like many apple designs.
Had to do something about that.
I filled the majority of the screw holes with epoxy and sanded the flat, all but the four vertical holes that stabilize the motherboard tray to the back of the case. I also countersunk the holes to give, as before a near seamless finish.
As many of you who have used the Mountain mods Mobo tray know, there are gaps in the corners that still show through when joined together. With the help of a few washers taped together for a mold and some JB weld I fixed that.
Rough, but not bad.

Roughing up epoxy cover points.


And Epoxy.
Test fit in shell for any distortion and tension points.
ATX tray test fit.
Lets take a break from the case for a bit. I decided early on that I was going to use the original G5 PSU housing. For the PSU I bought a 750 Watt EVGA power supply and of course, started to take it apart.
Test mounted the innards of the PSU in the housing and sanded it down for paint.
Primed, and also you can ses the mounts for the PSU components. I actually used Motherboard mounts with threads ground off.
Painted with larger cable port cut out, Left rough because it was going to be lined with rubber.
Plastic acrylic liner to protect form electric short.

As you can see here, it is a semi module PSU. This is the finished PSU(aside from stock cooling fans).
Soldered power wires and heat shrink.
Buttoned up, it looks pretty nice.
So after all was said and done, I test mounted the psu in the case with the Mobo tray and decided that it took up too much space. So I tore the whole thing down and put the original PSU back together... Just goes to show that even after hours of work, there is still potential to tear it all down and start from square one...
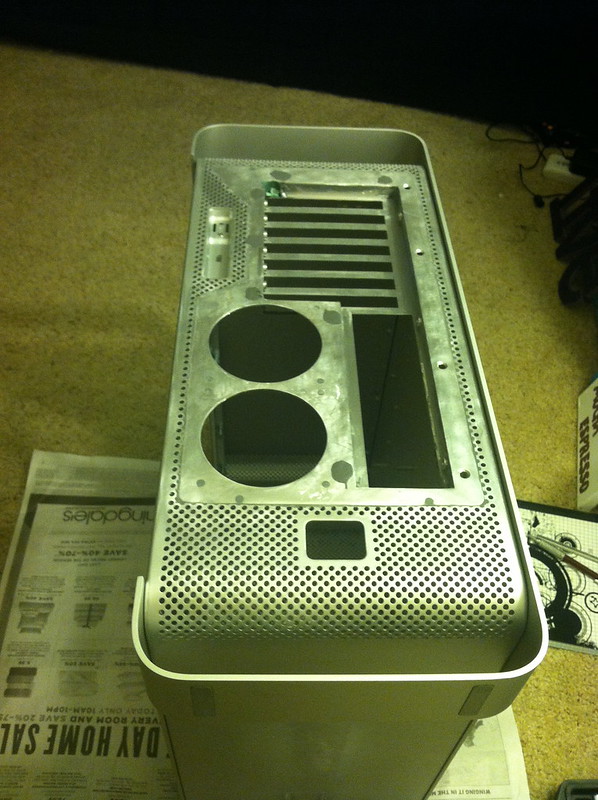
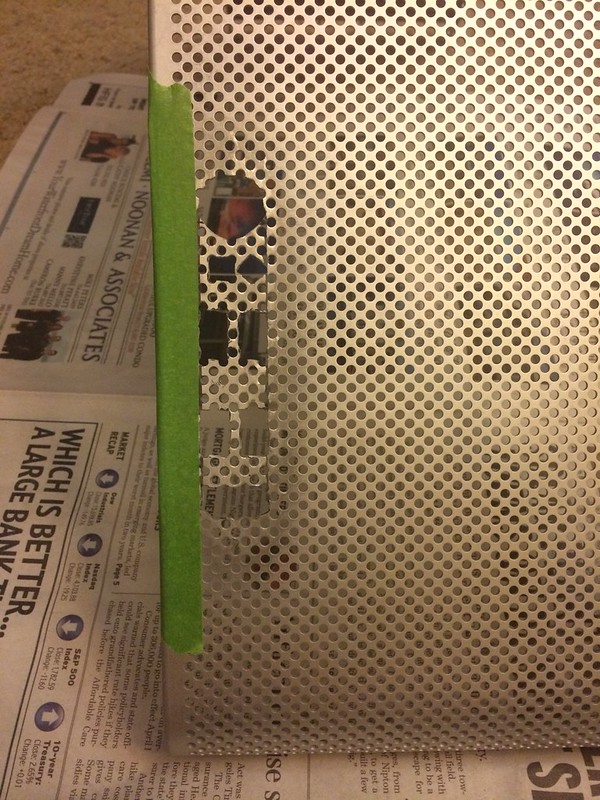
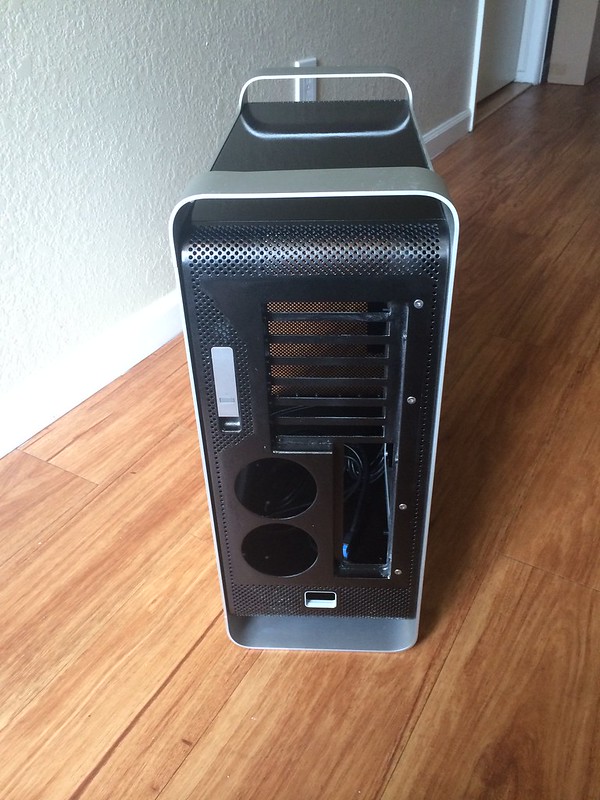
Moving back to the case, I started on the front. I originally wanted to use the stock ports, but after considering how much I use USB drives, and accessories, the one or two stock ports wasn't going to cut it. I bought a 2 USB 3.0 2 USB 2.0 and e-sata front I/O.
I cut out the old ports and power switch and used some of the scraps from the back of the case to fill the front.
As you can see, I ground down each pin to a little less than half of the original thickness to they would fit flush, add support to the epoxy and line up.
At this step, I very, very seriously thought about leaving the front of the case with no I/O ports and relocating the power button to the bottom of the case. After initial epoxy the case looked like it was produced with no I/O ports... But alas, I had already bought the ports and planned everything out. Onward and forward.
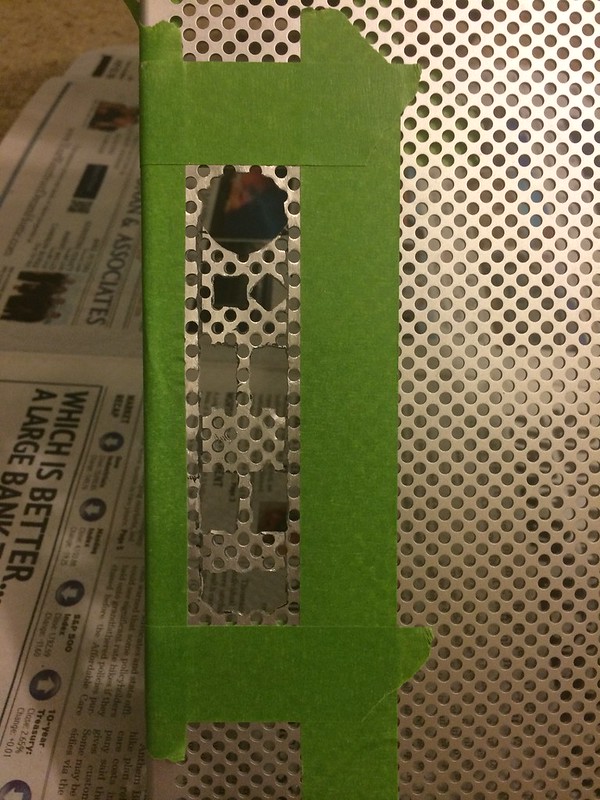
Ports filed and ready for another layer of epoxy fill.
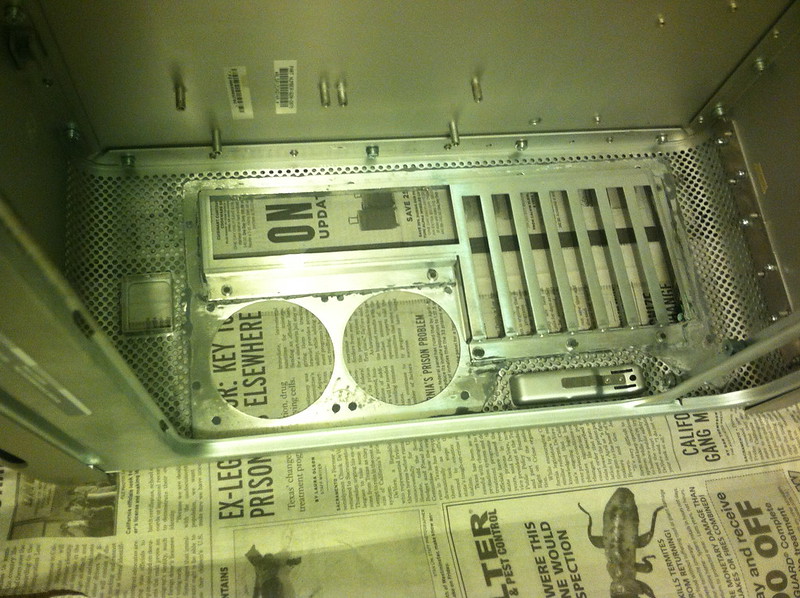
Anyone ready for some paint? It looks pretty good!
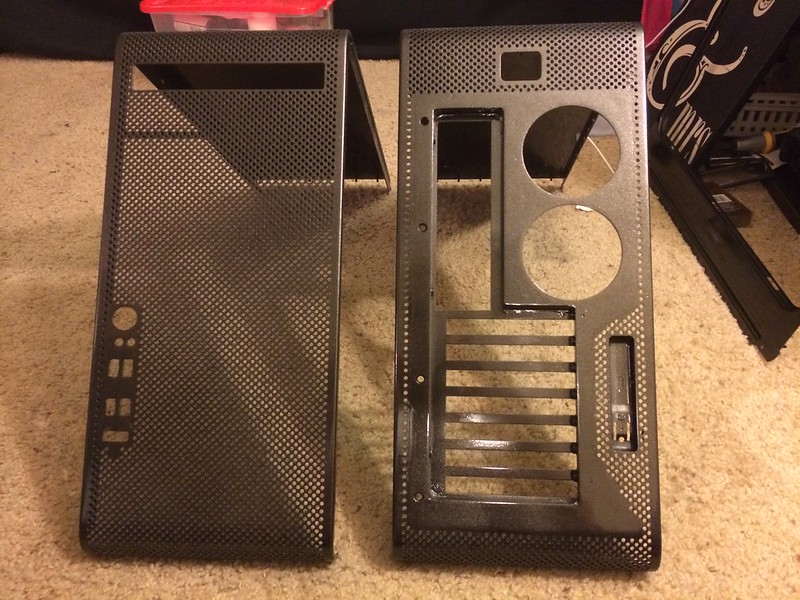


The wrap epoxy holes didn't come out as clean as I'd like, but it looks alright for the inside of the case.
I made these brackets for extra support of the ATX tray. They are epoxied to the directly and are actually very strong.
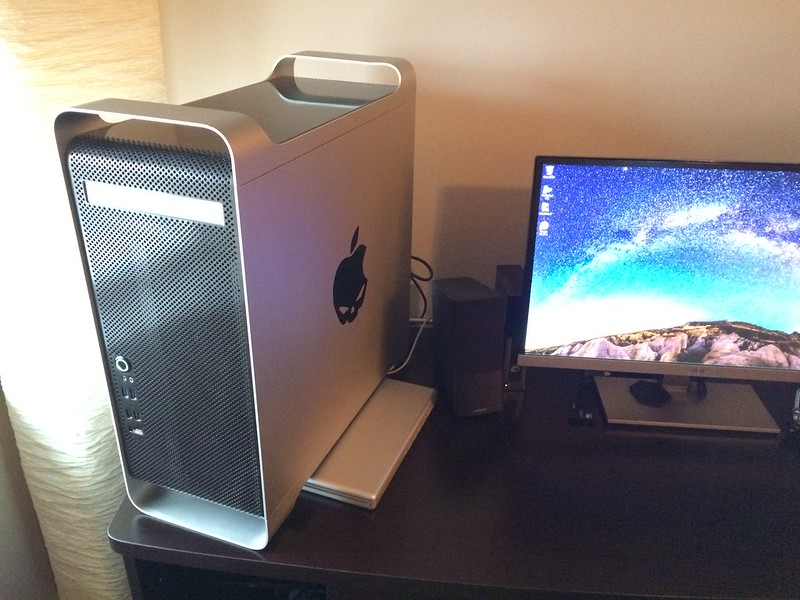
Looks like the only pictures I have left are of the case assembled...No more build log...
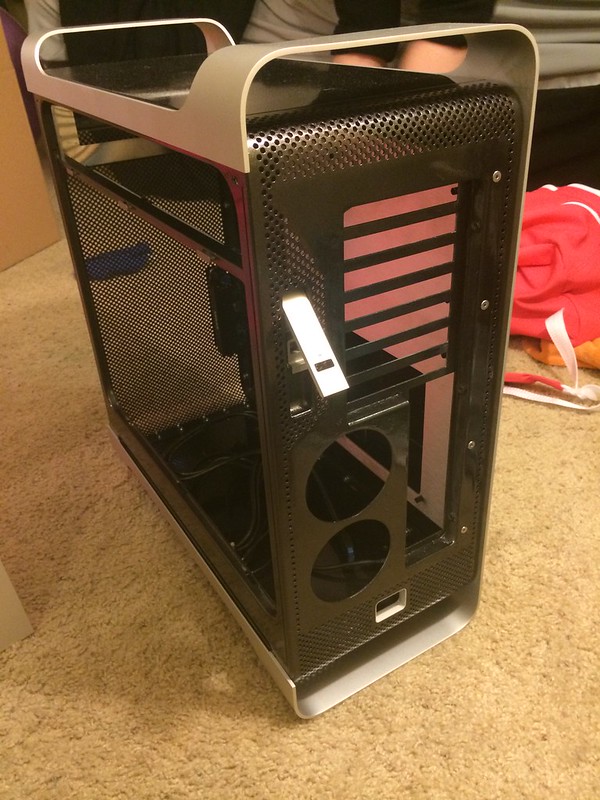
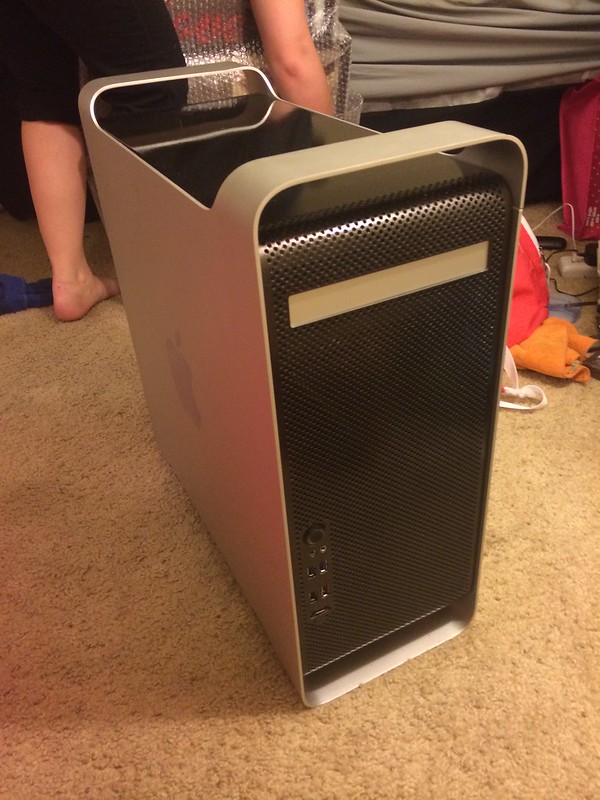

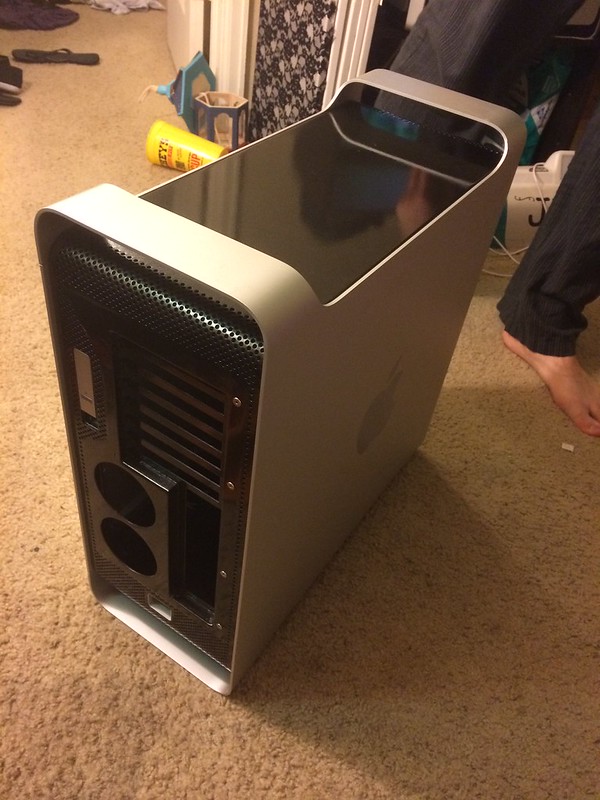


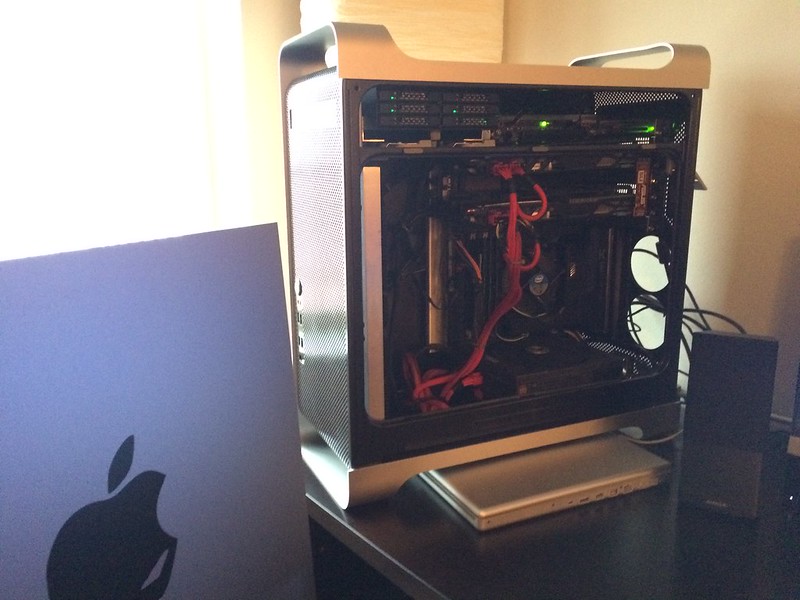
As you can tell these pictures are all lacking of components. The final pictures are as it sits now. In the state of Hiatus. It currently duel boots OSX 10.9 and Windows 8.1.
...
....
.....
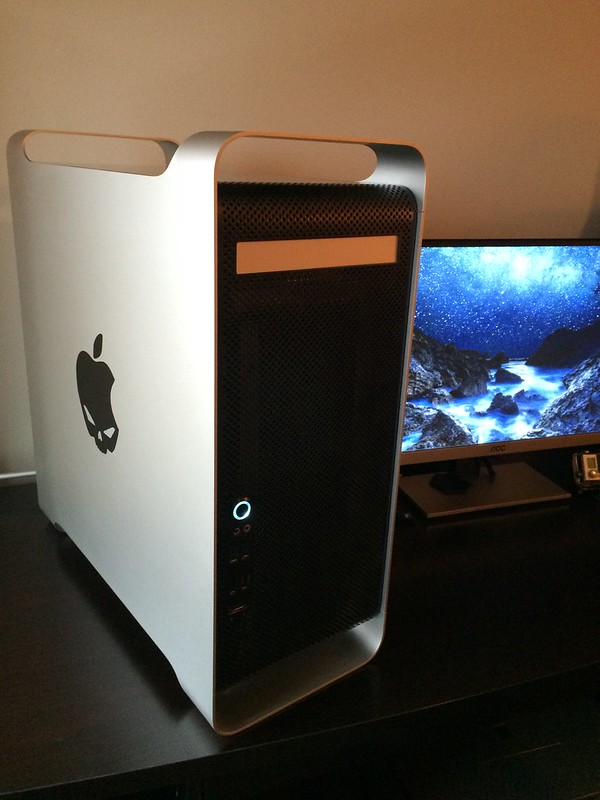
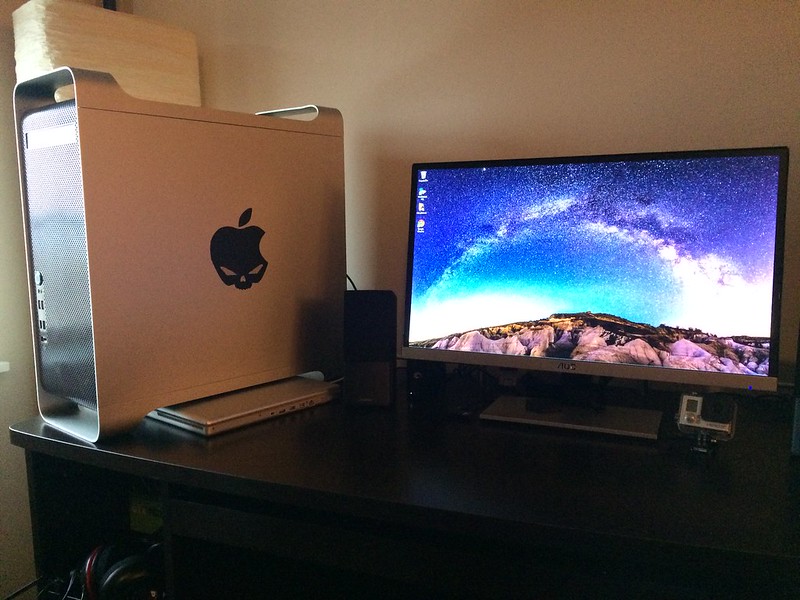
The Rotten Apple...
Asus Z87 Sabertooth Motherboard
i5 4690K Devils Canyon
32 GB Pny Ram
2X 128 GB OCZ SSD (OS Drives)
2X 1 TB Seagate SSHDD (Storage, 2 Expansion bays still open)
2X Geforce GTX 760's SLI
750 Watt EVGA PSU
Upcoming plans, after hiatus...
Rigid acrylic water cooling with EKWB parts.
Cable Management/sleeving
Acrylic board, cut for water hiding water cooling and excess cables.
Disk drive/bluray drive?
If anyone would like pictures of any portion of the build, feel free to ask.
Open to questions, constructive criticism, comments and wherever else my come..Let me know your thoughts.
When starting out I wanted to keep the beauty of Apples brushed aluminum, as well as incorporate a Full ATX, seamlessly. I ended up deciding to go with a metallic black and mid and brushed aluminum wrap and door.
This whole project was done with only a handful of tools, the most 'high-tech' of which was a Harbor freight dremel. 95% of cuts were made with a hacksaw blade and cleaned up with low grit sandpaper(no fancy shop here).
If you have any questions, feel free to ask, I will try and keep up in a timely manner. I want to give back as much as I can, after all, we all start somewhere.
So, Lets start at day 1. I believe I bought the case back in October of last year. So what is the first thing you do when you get a G5, you ask? Tear it apart of course!
(my apologies for the poor image quality, most pictures were taken on an iPhone 4 or 5)
I took my time and organized all of the parts, screws an all so that reassembly would be a bit less tedious.
Next, start the planning. I used a Mountain mods ATX tray.
Tape, retape, and tape again. Lots of measuring and sizing.
Next up the Cutting.
Time to see if the cut was close enough?
Only friction holding the Mountain mods part in. For the most part a close fit.
Prepping for Epoxy. First round I tried to use Gorilla Glue Epoxy. I figured; 'their TV ads look good, lets give em a shot'.
. After applying and letting dry I removed the tape and about half of the epoxy 'welds' came with it. So much for 'Bonds to Metal'. I ended up using JB Weld Epoxy, best stuff on the market! No complaints here. 2 Coats of JB Weld and lots of sanding later(did I mention, by hand?)...
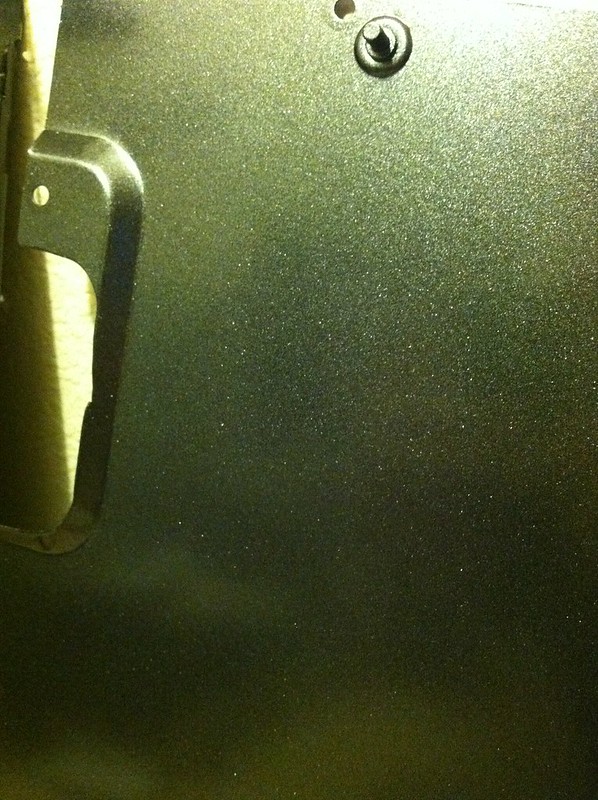
Test fitting back plate
As you can see, the screws look pretty ugly, and not seamless, like many apple designs.
Had to do something about that.
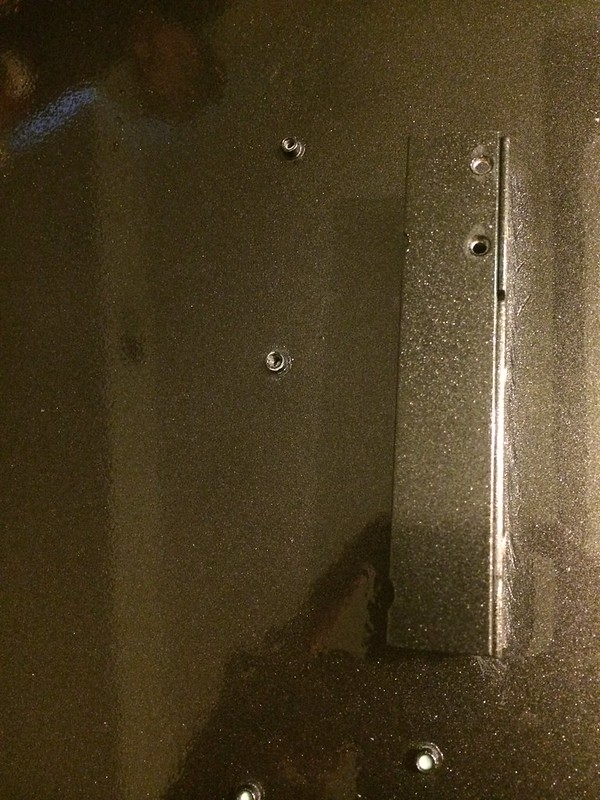
I filled the majority of the screw holes with epoxy and sanded the flat, all but the four vertical holes that stabilize the motherboard tray to the back of the case. I also countersunk the holes to give, as before a near seamless finish.
As many of you who have used the Mountain mods Mobo tray know, there are gaps in the corners that still show through when joined together. With the help of a few washers taped together for a mold and some JB weld I fixed that.
Rough, but not bad.
Roughing up epoxy cover points.
And Epoxy.
Test fit in shell for any distortion and tension points.
ATX tray test fit.
Lets take a break from the case for a bit. I decided early on that I was going to use the original G5 PSU housing. For the PSU I bought a 750 Watt EVGA power supply and of course, started to take it apart.
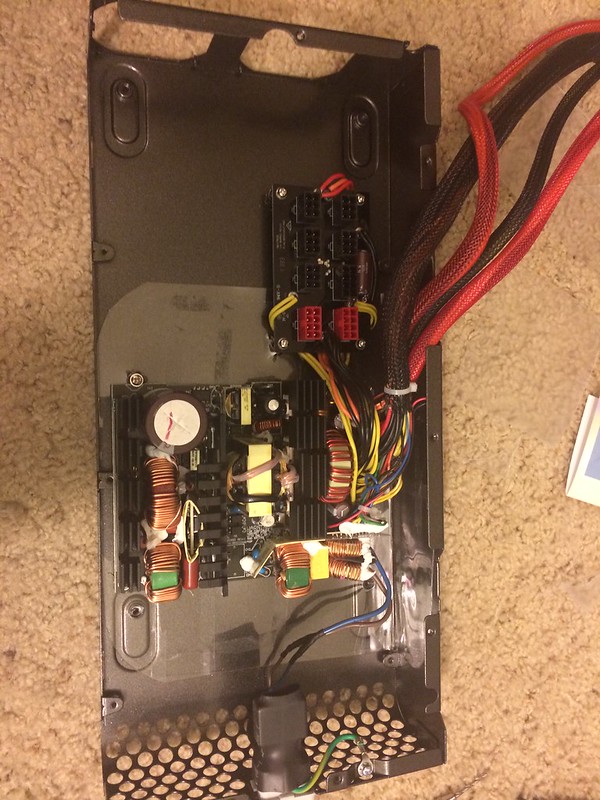
Test mounted the innards of the PSU in the housing and sanded it down for paint.
Primed, and also you can ses the mounts for the PSU components. I actually used Motherboard mounts with threads ground off.
Painted with larger cable port cut out, Left rough because it was going to be lined with rubber.
Plastic acrylic liner to protect form electric short.
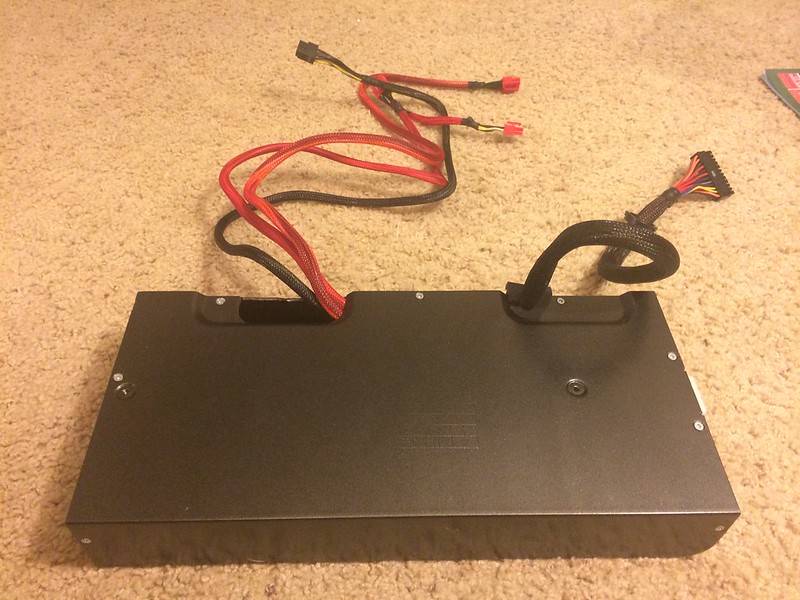
As you can see here, it is a semi module PSU. This is the finished PSU(aside from stock cooling fans).
Soldered power wires and heat shrink.
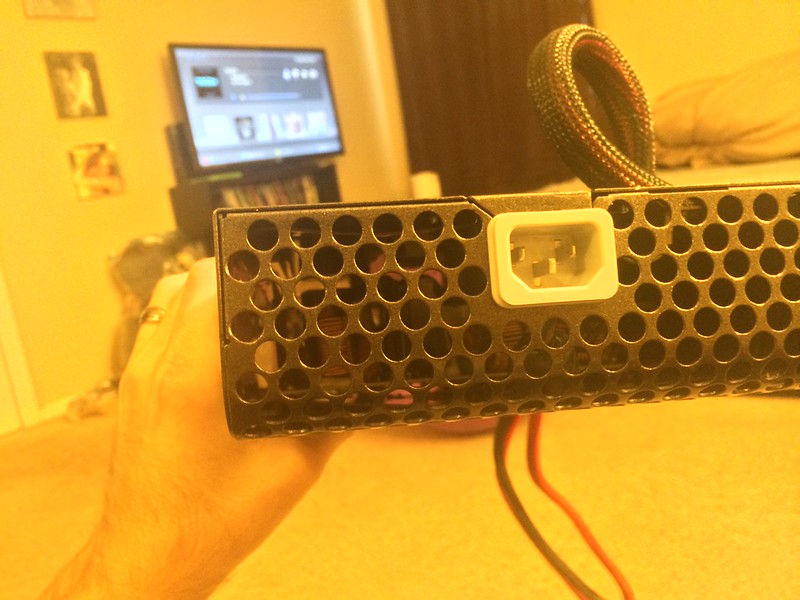
Buttoned up, it looks pretty nice.
So after all was said and done, I test mounted the psu in the case with the Mobo tray and decided that it took up too much space. So I tore the whole thing down and put the original PSU back together... Just goes to show that even after hours of work, there is still potential to tear it all down and start from square one...
Moving back to the case, I started on the front. I originally wanted to use the stock ports, but after considering how much I use USB drives, and accessories, the one or two stock ports wasn't going to cut it. I bought a 2 USB 3.0 2 USB 2.0 and e-sata front I/O.
I cut out the old ports and power switch and used some of the scraps from the back of the case to fill the front.
As you can see, I ground down each pin to a little less than half of the original thickness to they would fit flush, add support to the epoxy and line up.
At this step, I very, very seriously thought about leaving the front of the case with no I/O ports and relocating the power button to the bottom of the case. After initial epoxy the case looked like it was produced with no I/O ports... But alas, I had already bought the ports and planned everything out. Onward and forward.
Ports filed and ready for another layer of epoxy fill.
Anyone ready for some paint? It looks pretty good!
The wrap epoxy holes didn't come out as clean as I'd like, but it looks alright for the inside of the case.
I made these brackets for extra support of the ATX tray. They are epoxied to the directly and are actually very strong.
Looks like the only pictures I have left are of the case assembled...No more build log...
As you can tell these pictures are all lacking of components. The final pictures are as it sits now. In the state of Hiatus. It currently duel boots OSX 10.9 and Windows 8.1.
...
....
.....
The Rotten Apple...
Asus Z87 Sabertooth Motherboard
i5 4690K Devils Canyon
32 GB Pny Ram
2X 128 GB OCZ SSD (OS Drives)
2X 1 TB Seagate SSHDD (Storage, 2 Expansion bays still open)
2X Geforce GTX 760's SLI
750 Watt EVGA PSU
Upcoming plans, after hiatus...
Rigid acrylic water cooling with EKWB parts.
Cable Management/sleeving
Acrylic board, cut for water hiding water cooling and excess cables.
Disk drive/bluray drive?
If anyone would like pictures of any portion of the build, feel free to ask.
Open to questions, constructive criticism, comments and wherever else my come..Let me know your thoughts.
