
- Joined
- Feb 8, 2012
- Messages
- 249
- Motherboard
- Asus Z97 Sabertooth
- CPU
- i7-4790K
- Graphics
- 2x GTX 1070
- Mac
- Mobile Phone
Rickyreall84’s G5 Yin Yang build
First off I would like to thank everyone who contributes to this site and the G5 thread. Without Everyones posts and suggestions this build would have never happened. I would also like to give a special thanks to neilhart for such a great job moderating the case modification portion of this site. It has been a long journey to get to this stage of modding. I originally started modding g5s back in 2011 with my tuf love mod which no longer exists. The main purpose of the modifications was the removal of the disk drive slot and the removal of the side panel bar that goes across the front. I am not going to go into detail on how I did this because I will explain along with the photos. I hope you enjoy! BTW obviously this build is called Yin Yang because of the White and Black theme.
Components
MSI Z97 SLI Krait Edition
Micro center Cheap!! $79.00
Intel i7-4790k
Micro center Cheap!! $250.00
Nvidia GTX 770 Reference Card
Won on eBay for $140.00 with EK Waterblock
Nvidia GTX 770 EVGA Superclocked
Again, Won on eBay for $160.00 with EK Waterblock
Corsair Vengeance Pro Series 32GB DDR3 1866MHZ
http://www.amazon.com/dp/B00D2LGRO2/?tag=tonymacx86com-20
3 Samsung 840 EVO 120GB SSD
http://www.amazon.com/dp/B00E3W15P0/?tag=tonymacx86com-20
Thermaltake TOUGHPOWER 850W 80 PLUS GOLD (Un-Modular)
http://www.amazon.com/dp/B00LZVOF4A/?tag=tonymacx86com-20
BCM94360CD Wireless Network Card with Bluetooth 4.0 and adapter (read this post tony did)
http://www.tonymacx86.com/network/1...apple-mini-cards-pcie-mini-pcie-adapters.html
Fans/Cables/Peripherals
4 Corsair Air Series SP120 Quiet Edition and 2 SP120 Quiet Edition PWM
http://www.newegg.com/Product/Product.aspx?Item=N82E16835181025
Fractal Design Silent Series R2 FD-FAN-SSR2-40 40mm 40mm Fan
http://www.newegg.com/Product/Product.aspx?Item=N82E16835352001
Silverstone CP06 Continuous SATA Power Connector Cable
http://www.frys.com/product/6755575?site=sr:SEARCH:MAIN_RSLT_PG
EVGA Pro SLI Bridge V2, 2-Way Short
http://www.amazon.com/dp/B00X5X3LLY/?tag=tonymacx86com-20
All Cable extensions were provided by a store called central computer in the bay area
http://www.centralcomputers.com/default.aspx
Apple LED Cinema Display 24-Inch MB382LL/A
http://www.craigslist.com
Vortex KBC Poker 3 Cherry Mx-blue with WASD custom keycaps Mac Layout
http://www.amazon.com/dp/B00W02J4DA/?tag=tonymacx86com-20
SteelSeries Kana Optical Gaming Mouse
http://www.amazon.com/dp/B005M2KSLC/?tag=tonymacx86com-20
Hardware/Materials
Mountain Mods Modular Removable Motherboard Tray
http://www.mountainmods.com/mountain-mods-modular-removable-motherboard-tray-p-56.html
LEXAN 24 in. x 18 in. Polycarbonate Sheet (Plastic
") )
)http://www.homedepot.com/p/LEXAN-24-in-x-18-in-Polycarbonate-Sheet-GE-07/202038064#.UZ0s0Cv704w
Rust-Oleum 7277830 Metallic Spray
http://www.amazon.com/dp/B000MRQCCG/?tag=tonymacx86com-20
Square and Round pieces of velcro
HWS
Gorilla Glue
HWS
J.B Weld
HWS
Black and White Spray Paint (Flat)
HWS
3 G5 Enclosure (Yes I took 3 to complete this project)
Weird Stuff (PC salvage wharehouse)
G5 Gutted out Power Supply
Weird Stuff
Watercooling Parts
I will not be giving links to these parts but I purchased them all at Performance PC and Primochill
I will not be giving links to these parts but I purchased them all at Performance PC and Primochill
2 Magicool 240 G2 X-Flow Slim Radiators
1 Magicool Pro Slim Profile 1X120mm Radiator
2 EK-FC770 GTX GW Waterblocks
1 EK-FC780 GTX Ti Backplate Black Fits GTX 770
EK-DDC XRES 100 CSQ Acetal & Ek-Res X3 250 Tube (204mm)
SWIFTECH MCP350 12 VDC DDC Pump
12 White PrimoChill Rigid Ghost Compression 3/8in ID x 1/2in OD Fittings
8 Pack Primochill 1/2IN Rigid PETG Tubing
2 Liters Mayhems Pastel White Coolant
Picture Time!!

I used JB weld to make the mesh. I put painters tape on the inside of the case until the JB weld was hard then removed it. I took me three tries to finish it completely. I also used a piece of the mesh to match up where the holes go. Drilling the Holes was easy, its the sanding that gets to you. When you mess up it's really frustrating and at times I wanted to smash it!! but patience my friend patience. I also used a dremel tool to grind down every single point near the edge so the drill would only drill through the JB weld. If you drill half through the metal and jb weld the drill bit will slide causing death and destruction.


A couple pictures primed and ready for finishing paint job. A little side note: I recommend not using primer. I had all kinds of issues getting the final paint to coat well. The purpose of the white was to make the final color be lighter.

I used a front panel from another G5 to essentially make the back panel. I cut above the cd slot and a straight cut above the power port on the right case in the picture.

This is the Final result. I had to drill holes in order to get the side panel/handles to fit with the g5 hardware screws.

I again used painters tape to tape off to make this strip that goes across to secure both pieces. The reason I didn't drill holes because the pattern did not match up. I used tape on the backside of the case then applied JB weld. Then it was off to the races sanding and reapplying until the finished result.
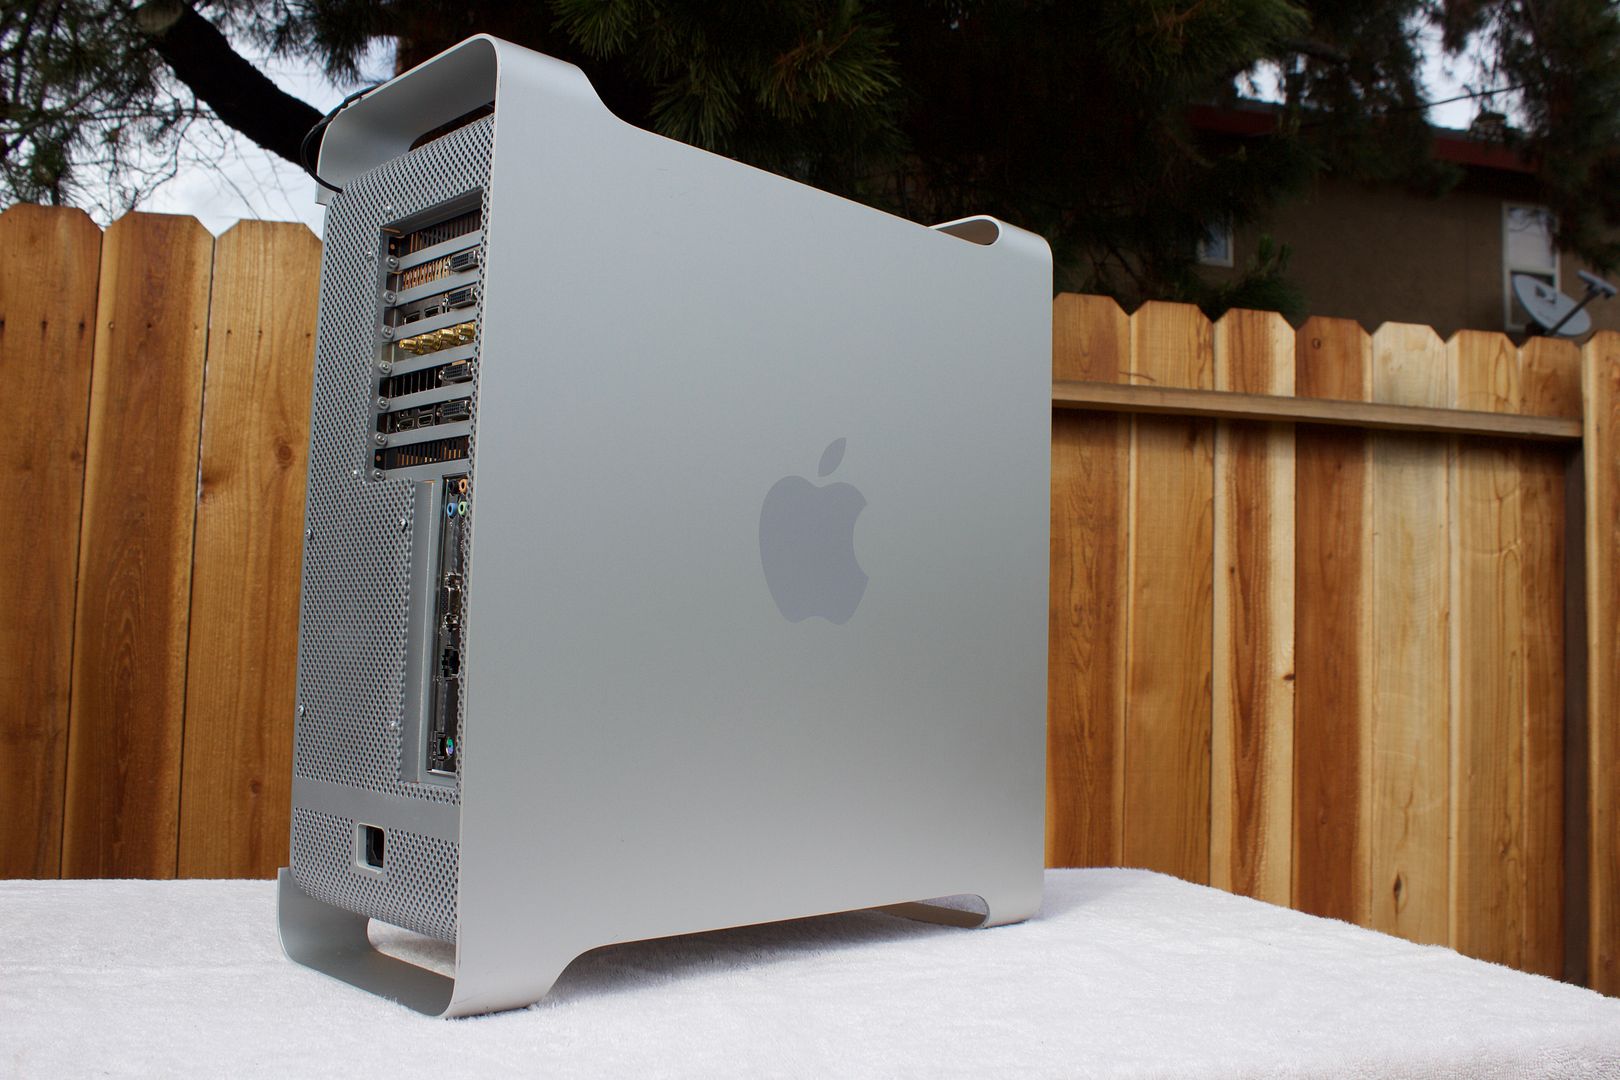
Finished Build Pictures
Finished Build Pictures


Thanks for looking at my build and I hoped you enjoyed!! I have a couple things I need to finish on the build before I can call it complete.
1. The random wire hanging in the back is a lighting strip. I want to buy the Nzxt hue + but it’s sold out everywhere if someone knows where they are in stock that would be cool.
2. I want to upgrade to a M.2 SSD in the future
3. I am going to buy a Grey Glass side panel and replace the current glass but they are pricy to buy online.
Extra Photos!


