
- Joined
- Apr 13, 2011
- Messages
- 39
- Motherboard
- hackintosh
- CPU
- i7-3770
- Graphics
- GTX 560 t1
- Mac
- Classic Mac
- Mobile Phone
Question: What do you do when you have a non-functioning PowerMac G3 sitting around your house?
I'll tell you what I did. I turned it into the most powerful G3 I've ever seen.
I've been building my own custom system for a while, and was working on a custom acryllic case, when I decided that it would be much cooler to put it inside this G3 case I have.
The specs of my system are as follows:
Asus P7P55 LX ATX motherboard
Intel Core i7-875k 2.93GHz quad-core w/ unlocked multiplier
12 GB DDR3 PC3-10666 Memory(9-9-9-24 timing)
Sapphire ATI Radeon HD 5870 2GB GDDR5 memory EyeFinity 6 edition
Corsair h50 CPU Cooler
4x 500GB drives in a RAID 0 array running windows 7
1x 500GB drive running OS X 10.6.7
1000w ATX Power Supply
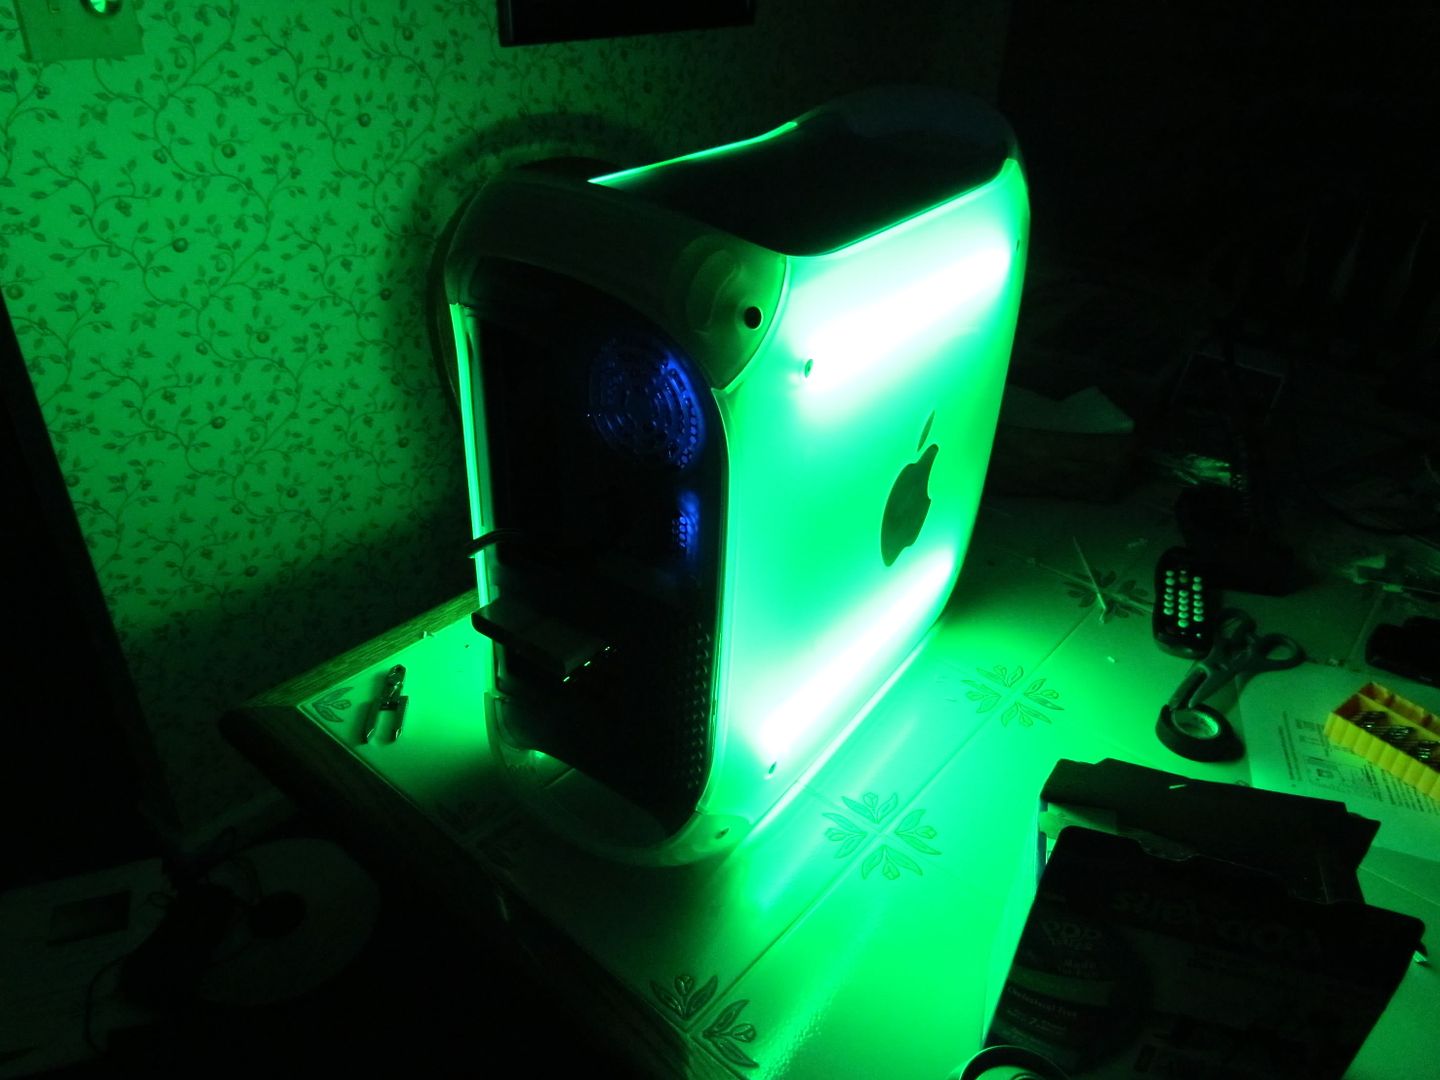
It was a little challenging to get all that to fit in what would be classified as a ATX mid tower, especially with the monstrous video card. Fortunatley, the G3 used a standard sized power supply, so that was the easiest to install. As for mounting the motherboard, the motherboard is just slightly bigger than the original mobo, and because of it, needed to be set back in order to clear the chamfered edges of the door. This does mke plugging things into the back a little difficult, but it isnt too bad. Mounting it was a bit of a PITA, since I needed to not only drill holes for the standoffs, but I need to carve around a plastic spring plate in order to let is move freely, so that the latching hinge works the same. For the harddrives, I used 2.5" laptop drives due to their low power consumption and small size. Power macs have plates on the bottom that you bolt the hard drive to, and with 1 screw you can remove the entire hard drive/plate assembly. I used that with my hard drives to make it just as easy. In the first iteration of this build, I used lots of tiewire to hold things in place, just so I could run it for a while and make sure there is good airflow, etc. Now, everything is mounted with custom aluminum brackets, and is much sturdier/safer. And just for style points, I had some green cathodes, so I installed them outside of the metal case, but inside the plastic shell, and it makes the whole case glow when turned on!
Here is the link to the gallery of my mac!! http://gallery.me.com/eovnu87435ds/100215
As soon as I get the time I will post pics of the second iteration as well.
I'll tell you what I did. I turned it into the most powerful G3 I've ever seen.
I've been building my own custom system for a while, and was working on a custom acryllic case, when I decided that it would be much cooler to put it inside this G3 case I have.
The specs of my system are as follows:
Asus P7P55 LX ATX motherboard
Intel Core i7-875k 2.93GHz quad-core w/ unlocked multiplier
12 GB DDR3 PC3-10666 Memory(9-9-9-24 timing)
Sapphire ATI Radeon HD 5870 2GB GDDR5 memory EyeFinity 6 edition
Corsair h50 CPU Cooler
4x 500GB drives in a RAID 0 array running windows 7
1x 500GB drive running OS X 10.6.7
1000w ATX Power Supply
It was a little challenging to get all that to fit in what would be classified as a ATX mid tower, especially with the monstrous video card. Fortunatley, the G3 used a standard sized power supply, so that was the easiest to install. As for mounting the motherboard, the motherboard is just slightly bigger than the original mobo, and because of it, needed to be set back in order to clear the chamfered edges of the door. This does mke plugging things into the back a little difficult, but it isnt too bad. Mounting it was a bit of a PITA, since I needed to not only drill holes for the standoffs, but I need to carve around a plastic spring plate in order to let is move freely, so that the latching hinge works the same. For the harddrives, I used 2.5" laptop drives due to their low power consumption and small size. Power macs have plates on the bottom that you bolt the hard drive to, and with 1 screw you can remove the entire hard drive/plate assembly. I used that with my hard drives to make it just as easy. In the first iteration of this build, I used lots of tiewire to hold things in place, just so I could run it for a while and make sure there is good airflow, etc. Now, everything is mounted with custom aluminum brackets, and is much sturdier/safer. And just for style points, I had some green cathodes, so I installed them outside of the metal case, but inside the plastic shell, and it makes the whole case glow when turned on!
Here is the link to the gallery of my mac!! http://gallery.me.com/eovnu87435ds/100215
As soon as I get the time I will post pics of the second iteration as well.
 My girlfriend needed me to upload pictures of her art to send as a portfolio for art school lol.