- Joined
- Feb 15, 2019
- Messages
- 9
- Motherboard
- ASROCK Z270M 4Pro
- CPU
- I5-7600K
- Graphics
- RX 580
- Mobile Phone
Hello dear fellow Mac Modders,
on to my very first case Mod. Although I have been building PCs for around 15 years I have never really worked on the cases. Always have been focusing on the internals.
I recently started upgrading some parts of my computer and a friend of mine started working on a Mac Pro Mod.
I was fascinated from the first glimpse at the project, so I got myself a Power Mac G4 and started this build.
I don’t have any exact plans on how it will look color-wise but I will definitely paint it in some way.
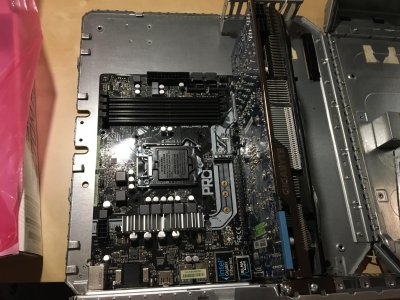
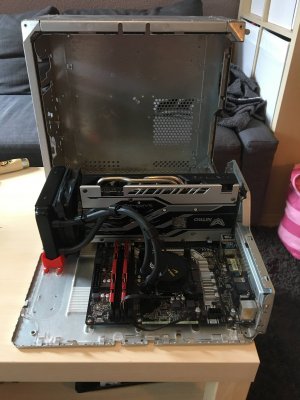
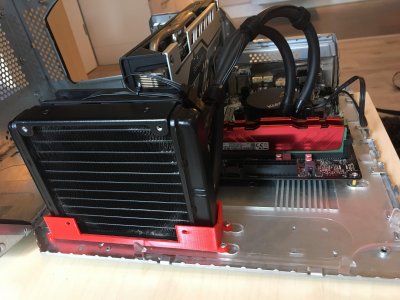
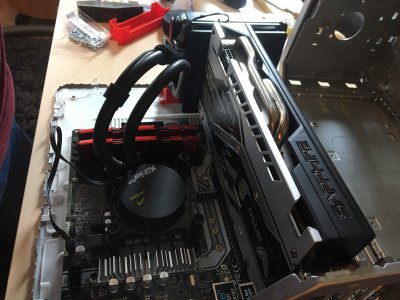
The very first step will be arranging all the parts inside, though.
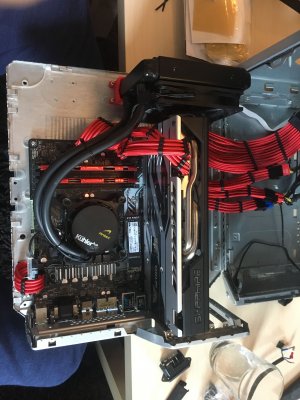
Currently using:
The CPU being water cooled (if I can fit my old system, which was originally designed for the 1150 socket)
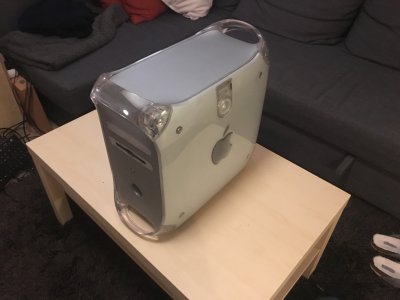
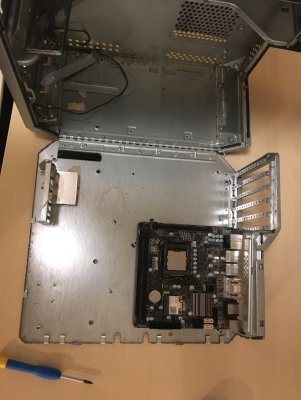
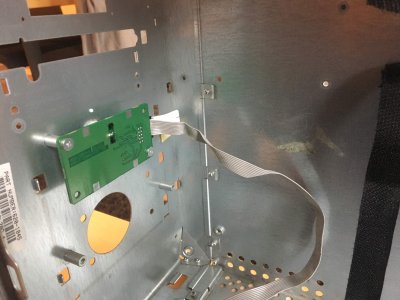
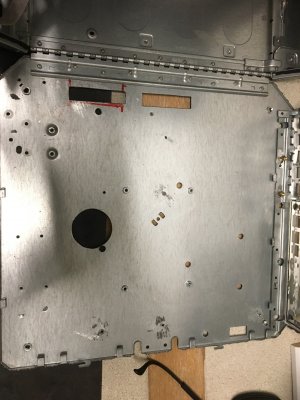
This is, how it arrived, pretty good condition. Nothing broken or bent. There has been material cut out to fit the Zip drive but that’s no problem as this will be the place for the front ports anyway.
It is missing a hard drive but it turned on with no problems. But as I have no purpose for the guts of this thing it doesn’t matter.
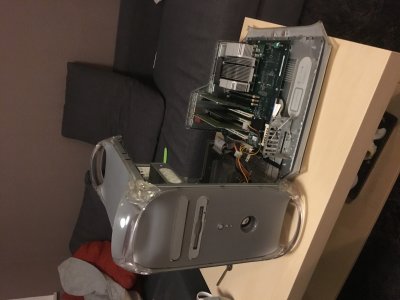
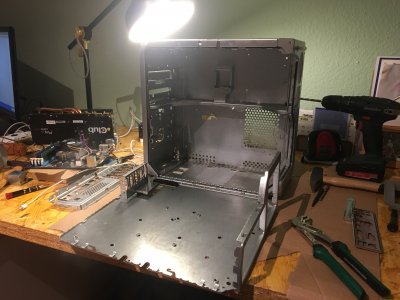
After cleaning out the insides we started with taking off all the Plastic parts to prevent any damage to them while working on the metal case.

Afterwards we obviously had pizza!
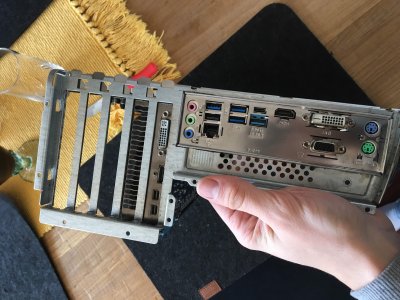
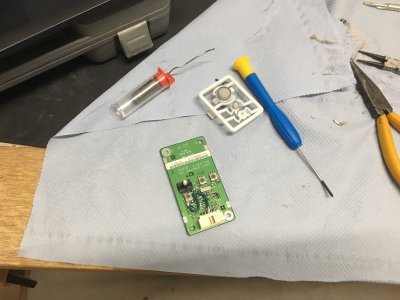
The first milestone will be a 3D printed IO panel. I don’t plan on ordering anything from thelaserhive.
To me, the fun with this project lies within creating things yourself.
So long
Pexus
on to my very first case Mod. Although I have been building PCs for around 15 years I have never really worked on the cases. Always have been focusing on the internals.
I recently started upgrading some parts of my computer and a friend of mine started working on a Mac Pro Mod.
I was fascinated from the first glimpse at the project, so I got myself a Power Mac G4 and started this build.
I don’t have any exact plans on how it will look color-wise but I will definitely paint it in some way.
The very first step will be arranging all the parts inside, though.
Currently using:
- 2 HDDs 1 and 3TB
- 1 SSD 128GB
- ASRock Z270M Pro4 mATX Mainboard
- Intel i5 7600k CPU
- 8GB DDR4 RAM
- Sapphire Nitro+ rx580 Graphics Card
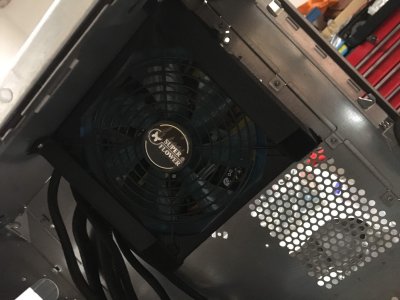
- A very random 550w PSU
The CPU being water cooled (if I can fit my old system, which was originally designed for the 1150 socket)

This is, how it arrived, pretty good condition. Nothing broken or bent. There has been material cut out to fit the Zip drive but that’s no problem as this will be the place for the front ports anyway.
It is missing a hard drive but it turned on with no problems. But as I have no purpose for the guts of this thing it doesn’t matter.


After cleaning out the insides we started with taking off all the Plastic parts to prevent any damage to them while working on the metal case.

Afterwards we obviously had pizza!
The first milestone will be a 3D printed IO panel. I don’t plan on ordering anything from thelaserhive.
To me, the fun with this project lies within creating things yourself.
So long
Pexus

