- Joined
- Sep 3, 2012
- Messages
- 127
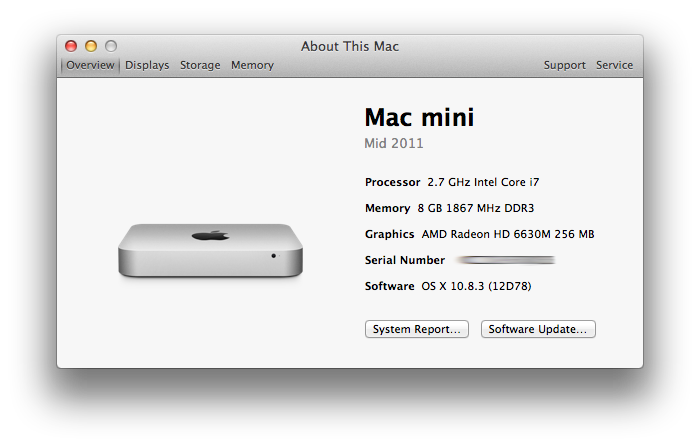
- Motherboard
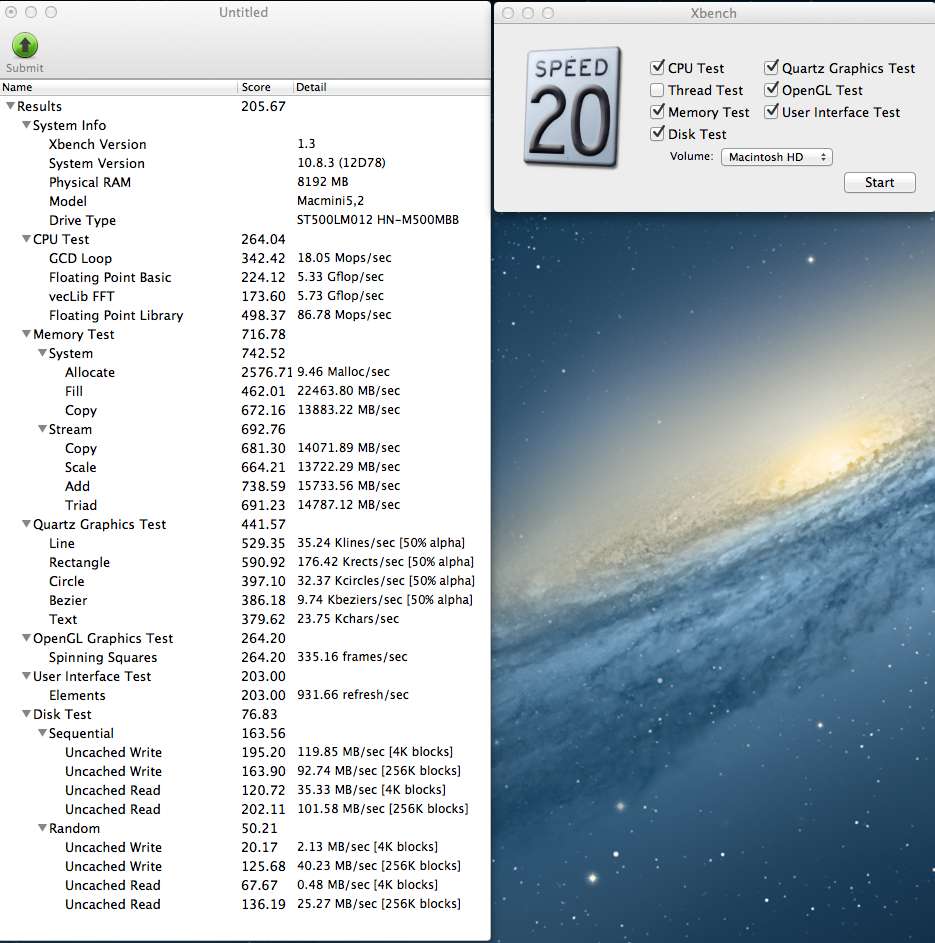
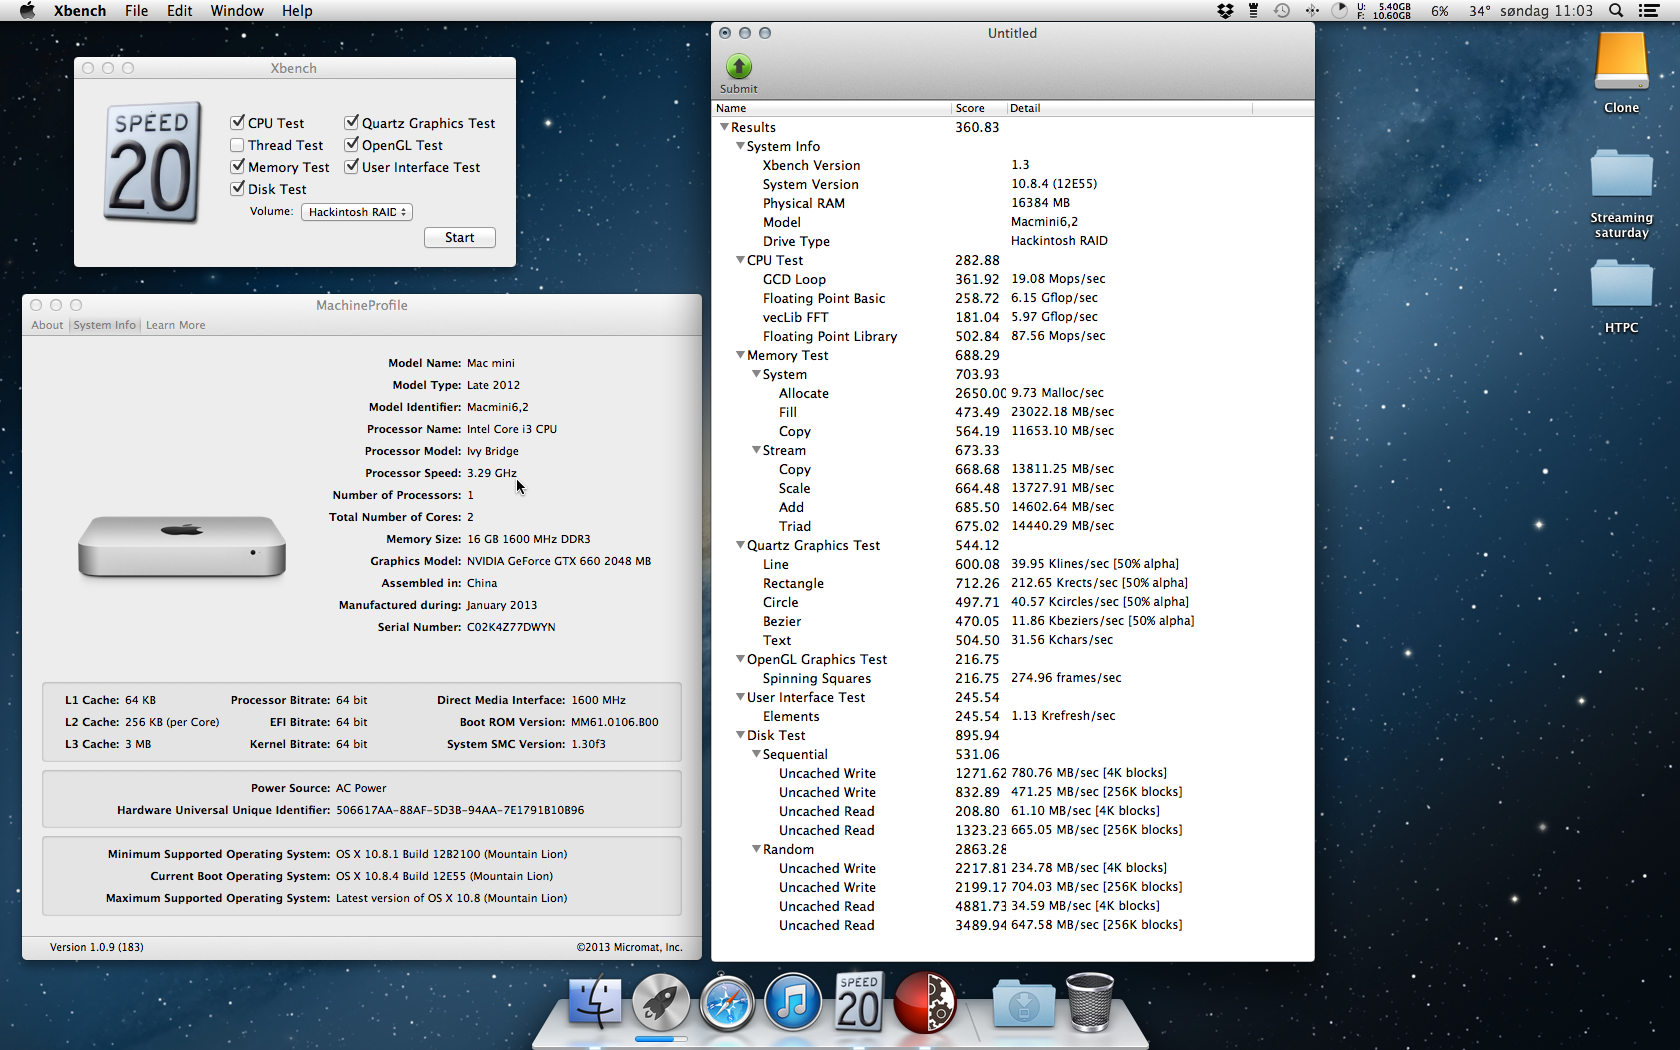
- Mac Mini3
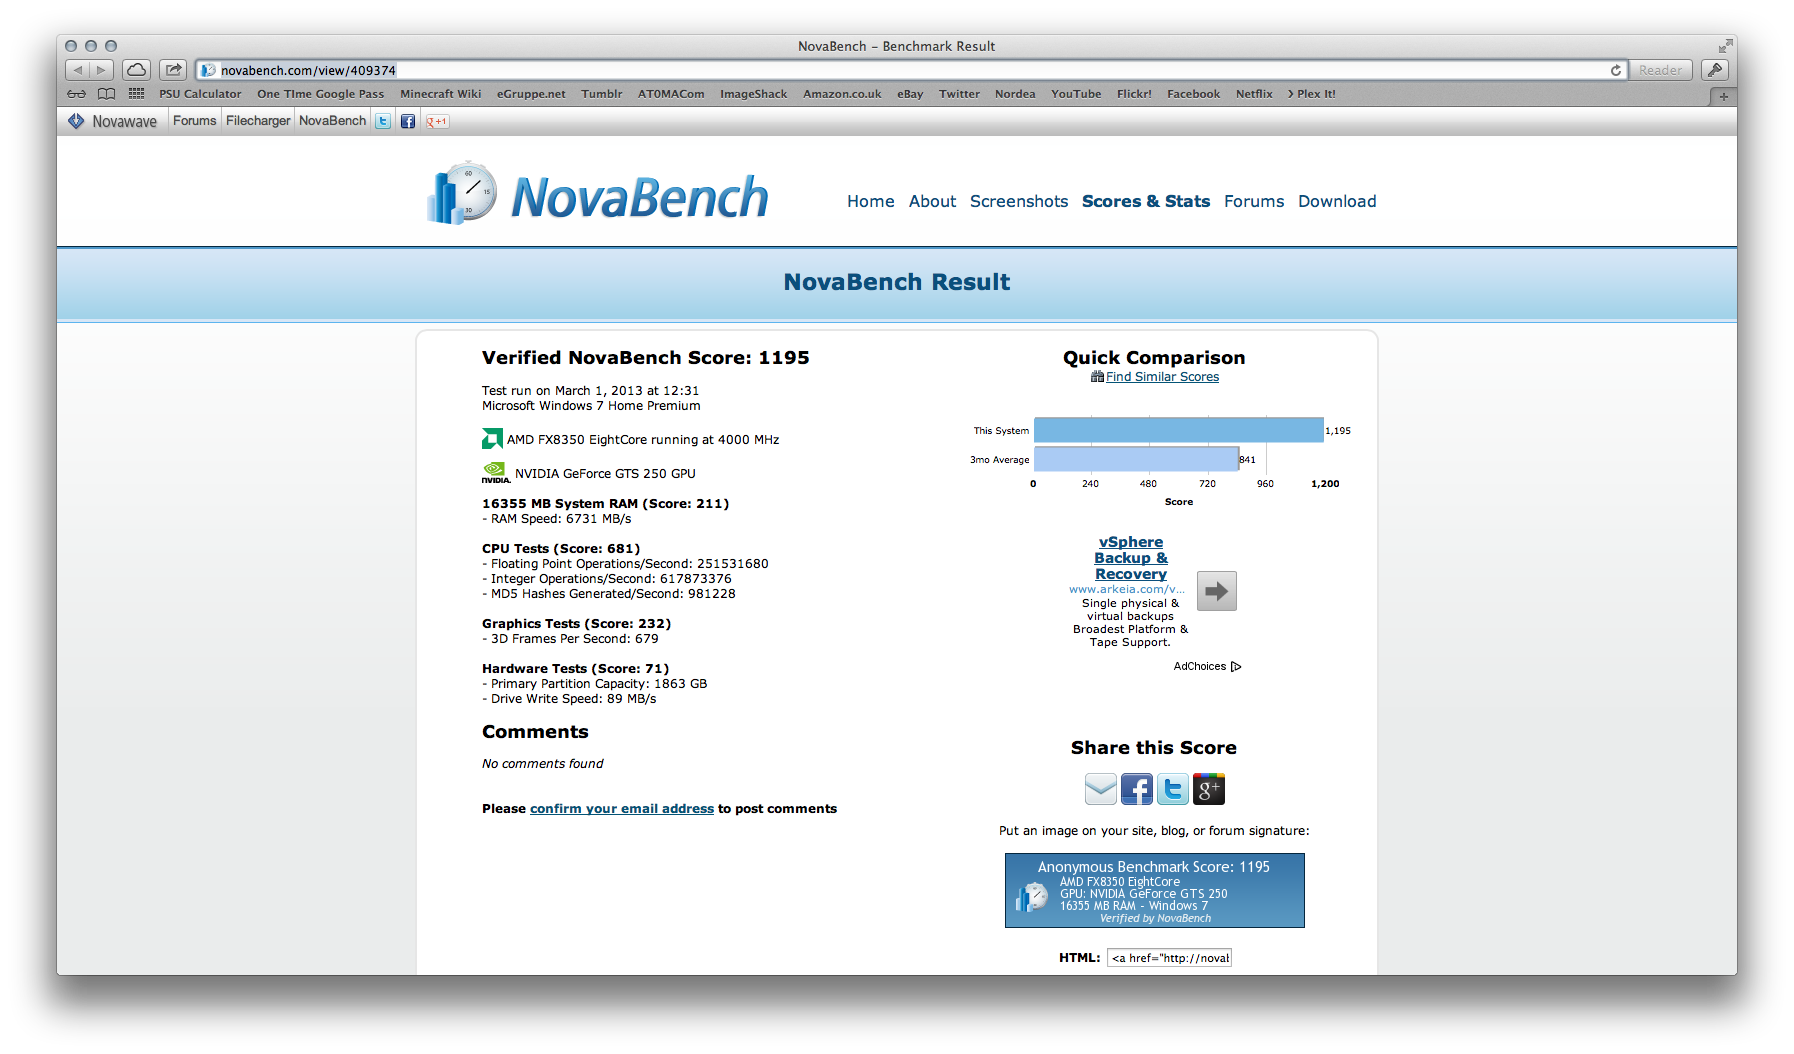
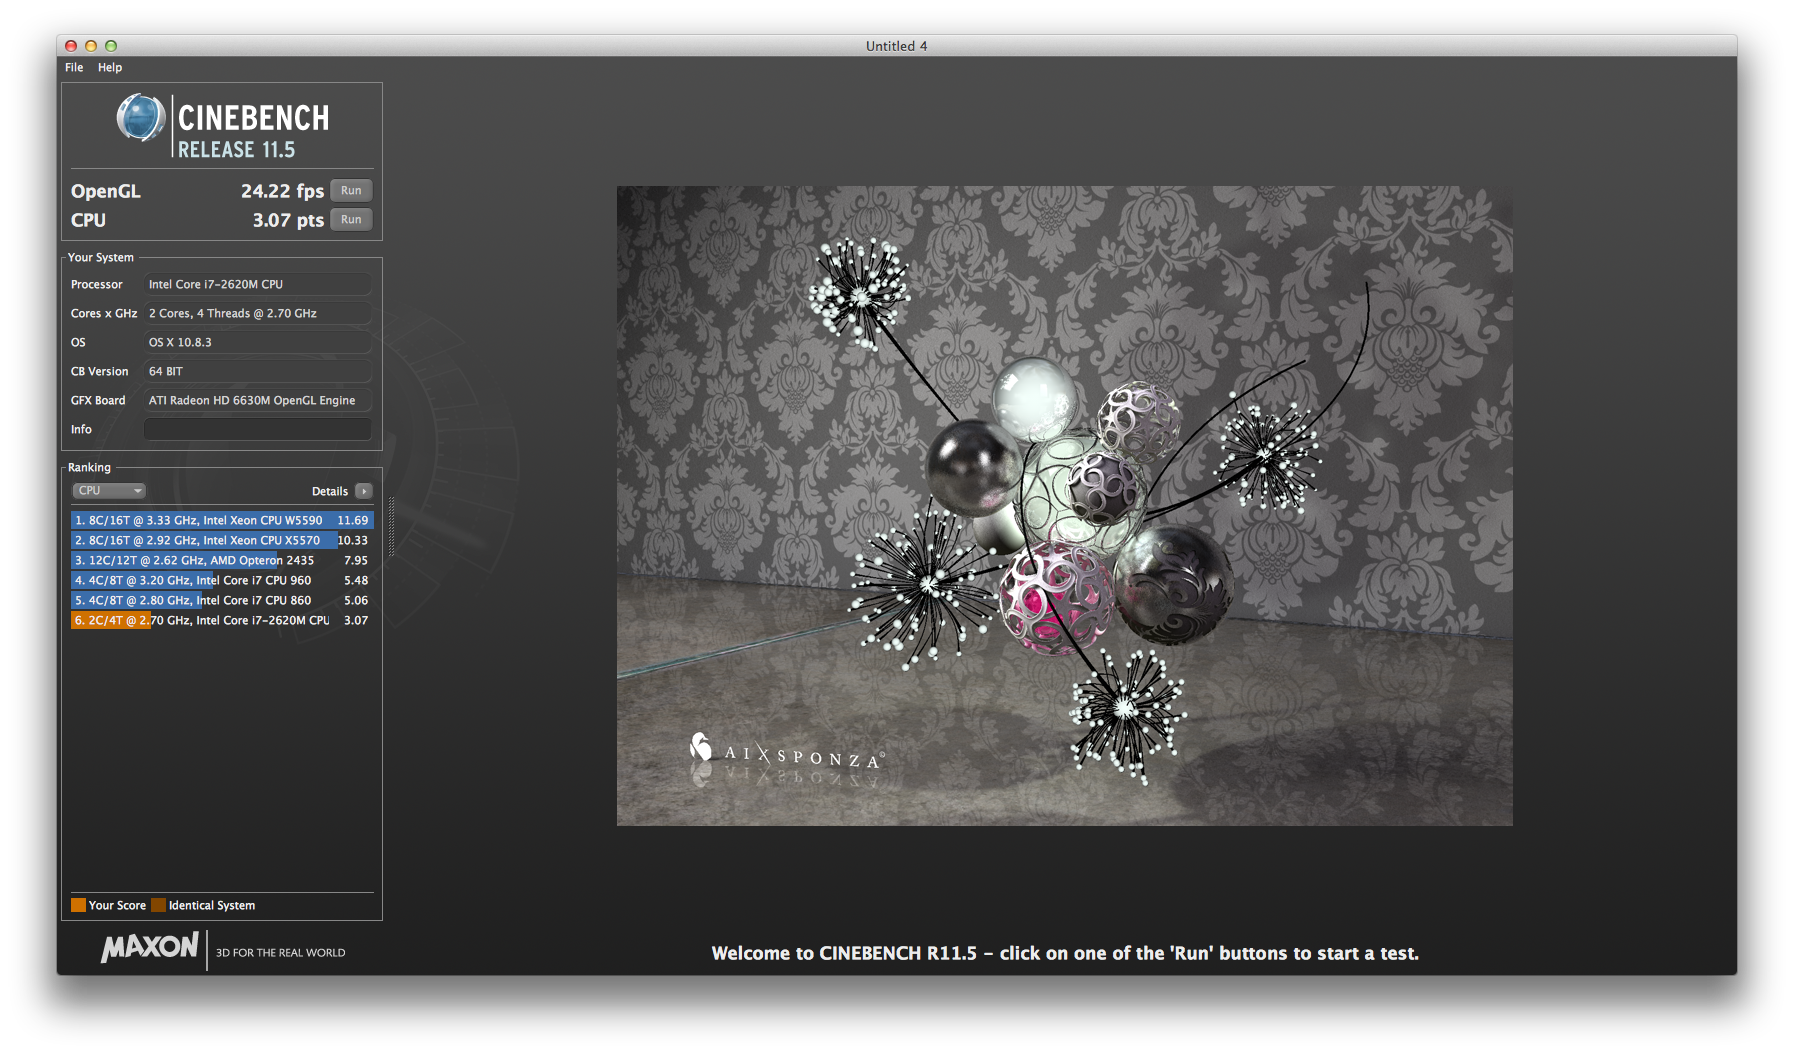
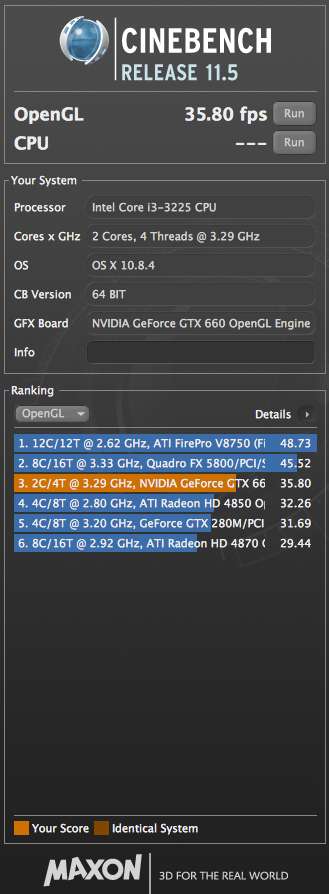
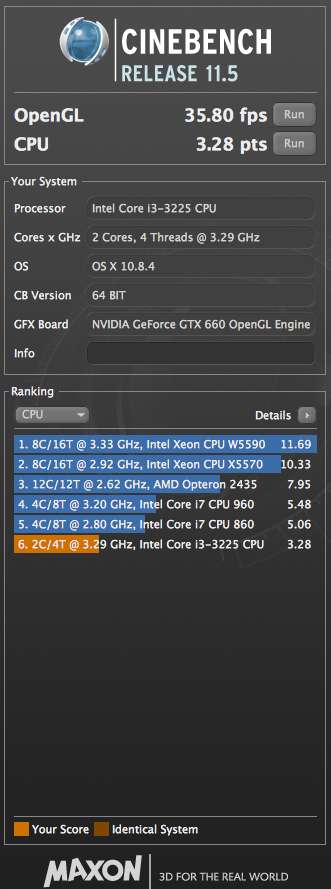
- CPU
- Intel Core i3 3225
- Graphics
- Intel HD4000
- Mac
- Classic Mac
- Mobile Phone
Yet another view of the card, I could look at it all day... Looks better in real than these pictures.
I tried to fit the stripes right to the edge, so it looks like its part of the actual plastic.
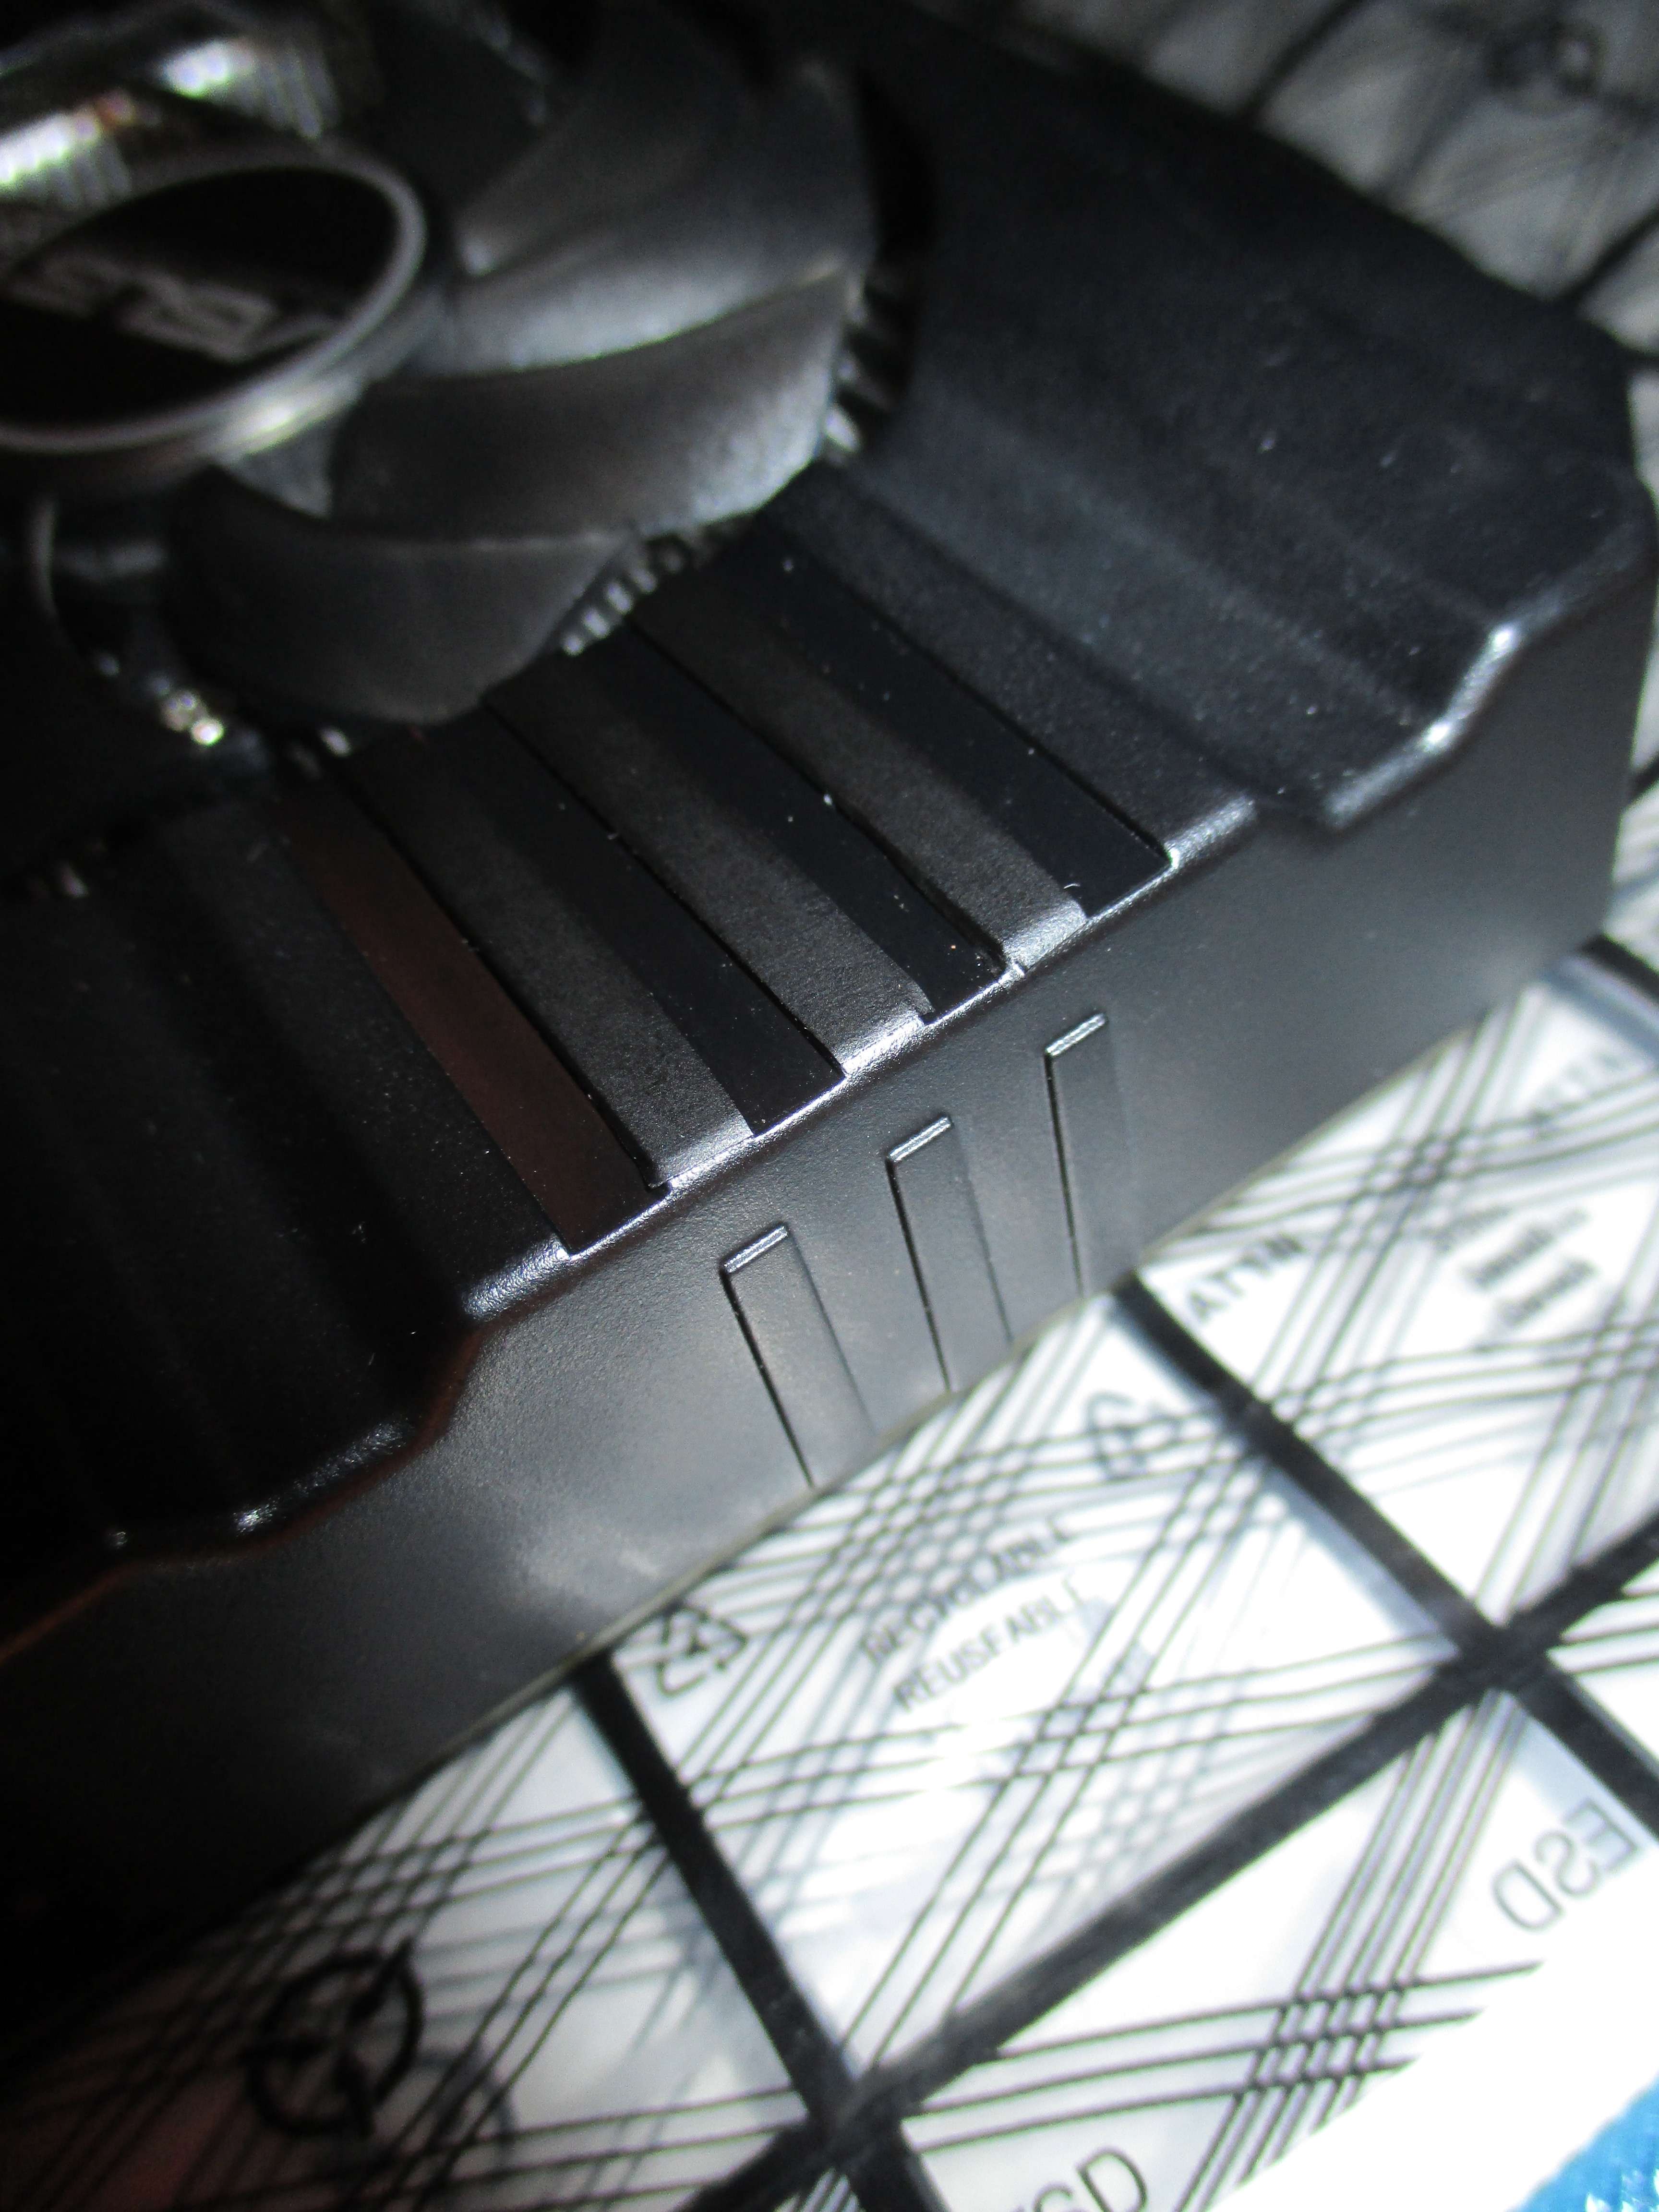
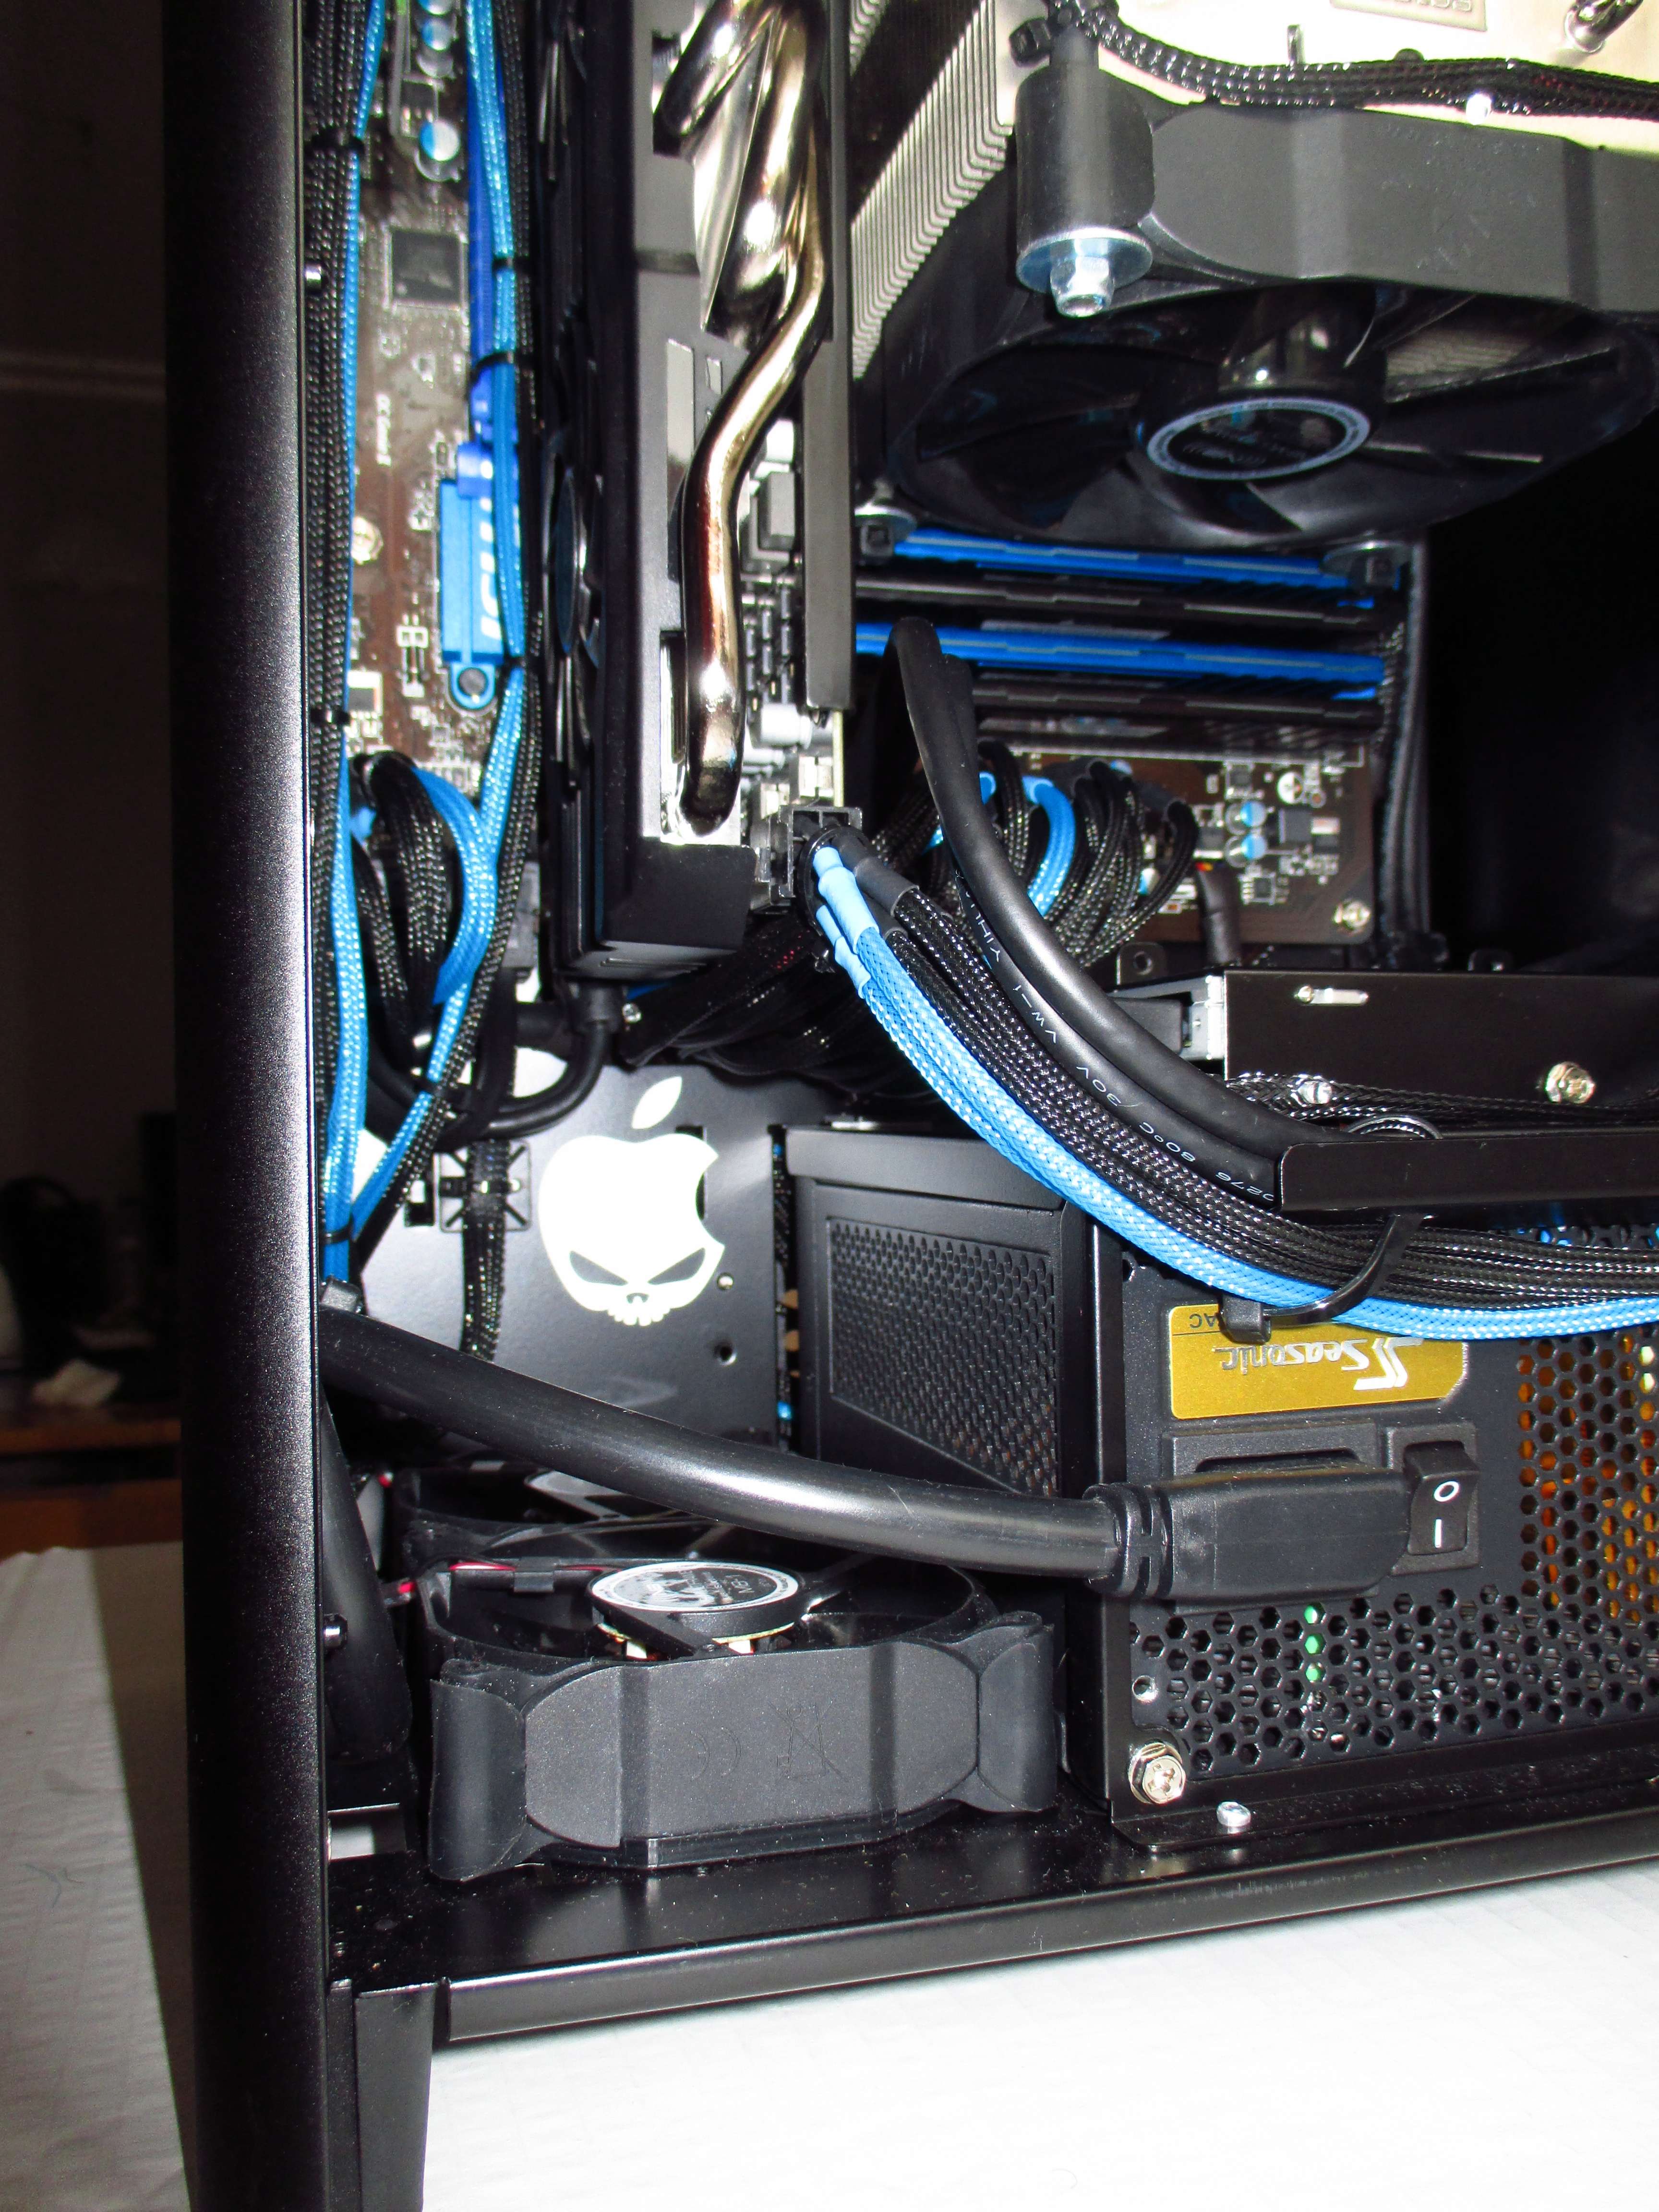
Btw, also gave my firewire card some carbon, it is not going to be seen so much, because the graphics card kind of hides it, but in the right angle from above the pci brackets it would be possible to spot the red, so "had to" do it.
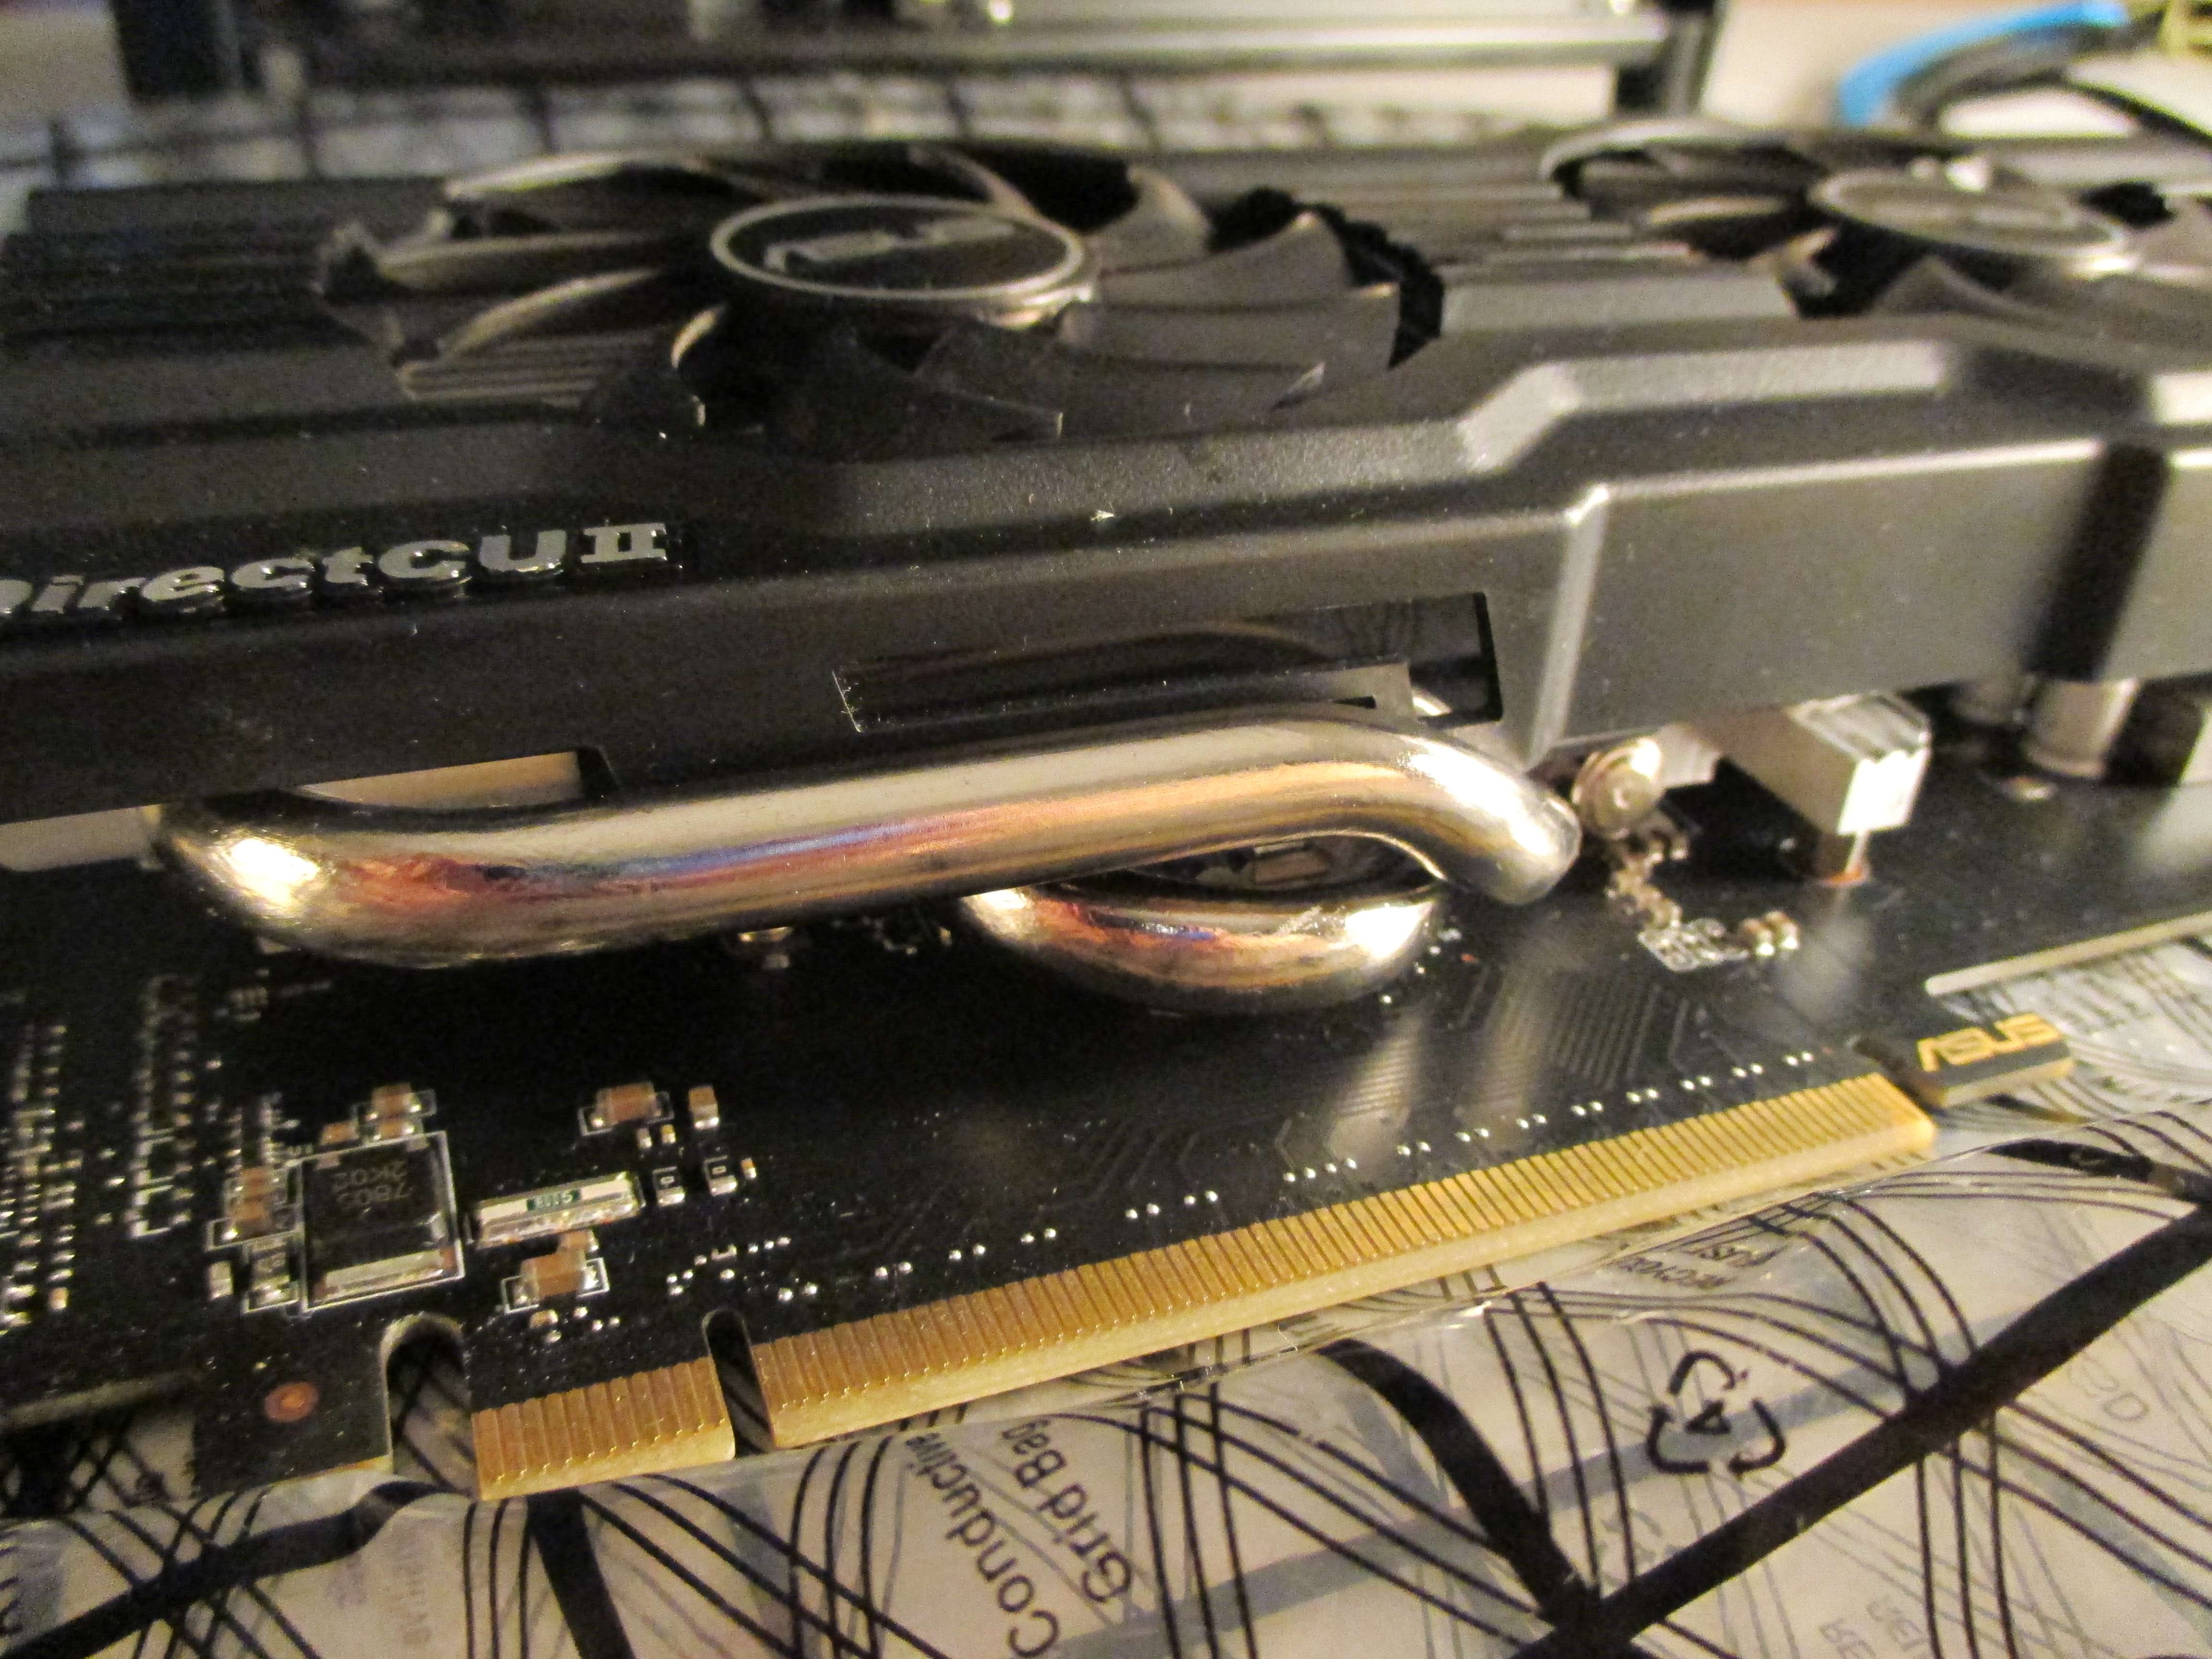
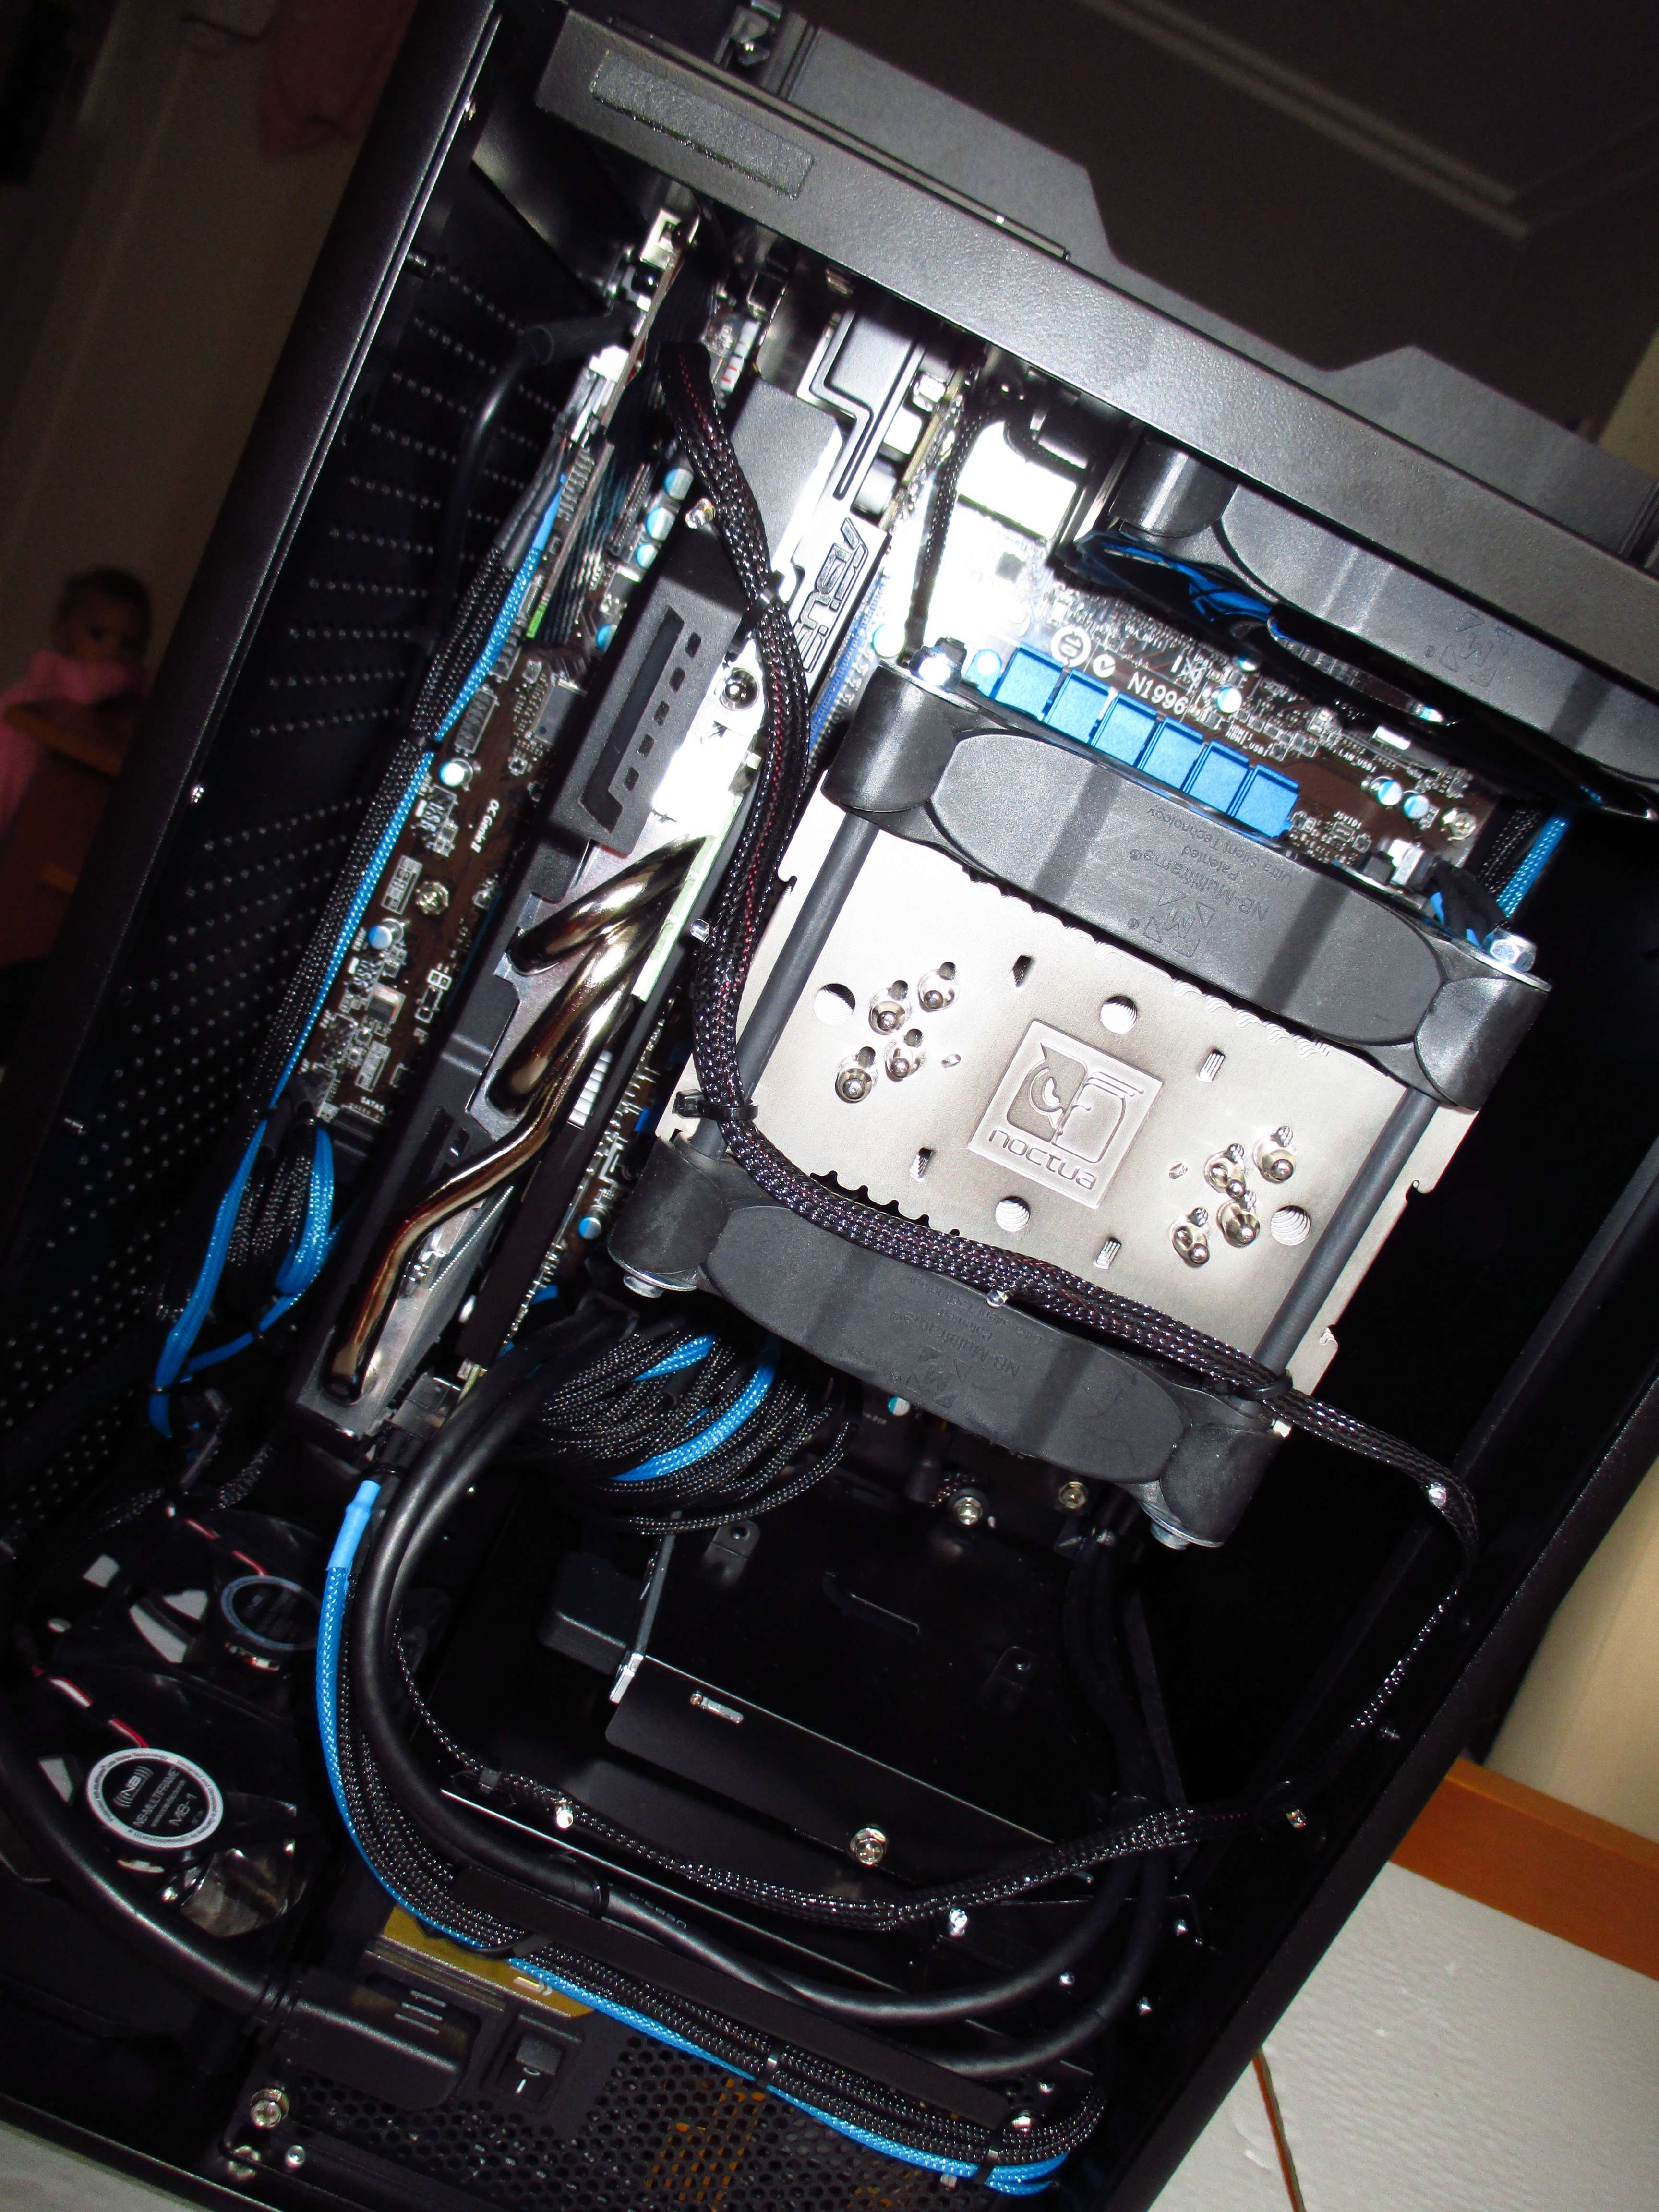
I even went to the lengths of polishing the heat pipes on my DirectCU II cooler (just like I have done it with my CPU cooler, a little of Brasso Silver Polish, same as used on jewelry, and a really soft cloth and voila, totally bling-bling)!
Very shinny in real, but very hard to catch on a picture, because if I use flash it just bounces off on the silvery shine and distorts.
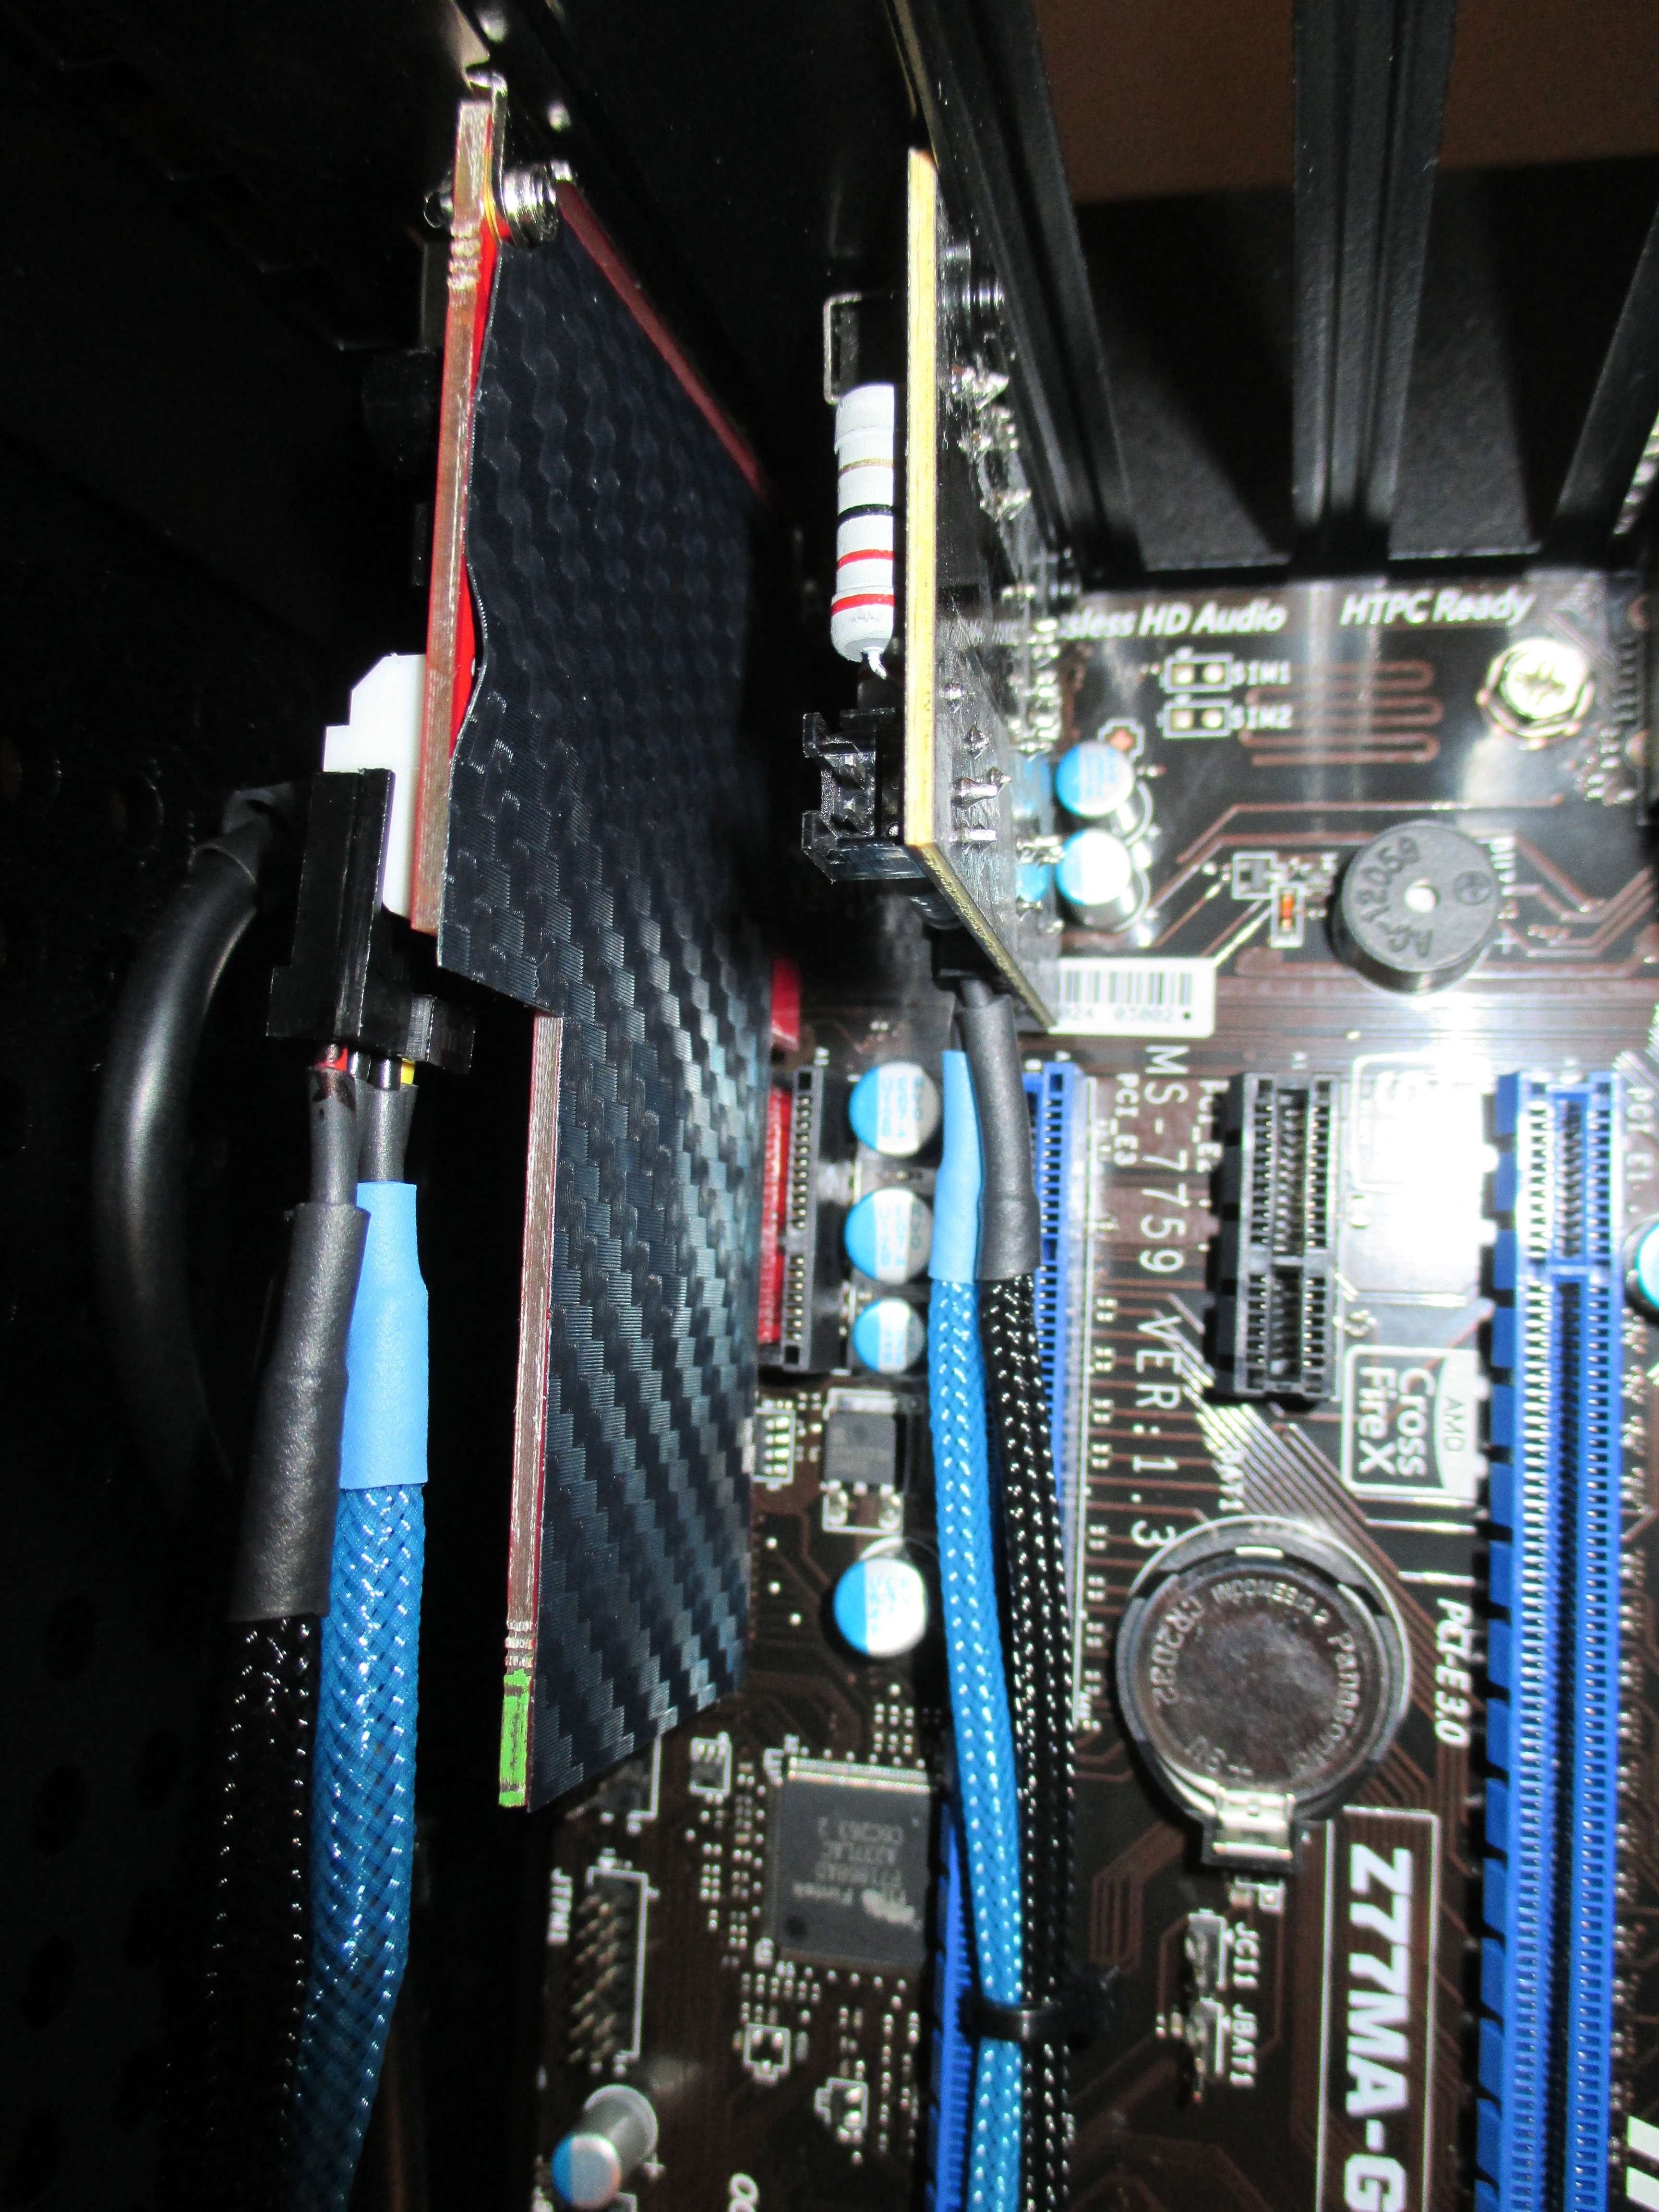
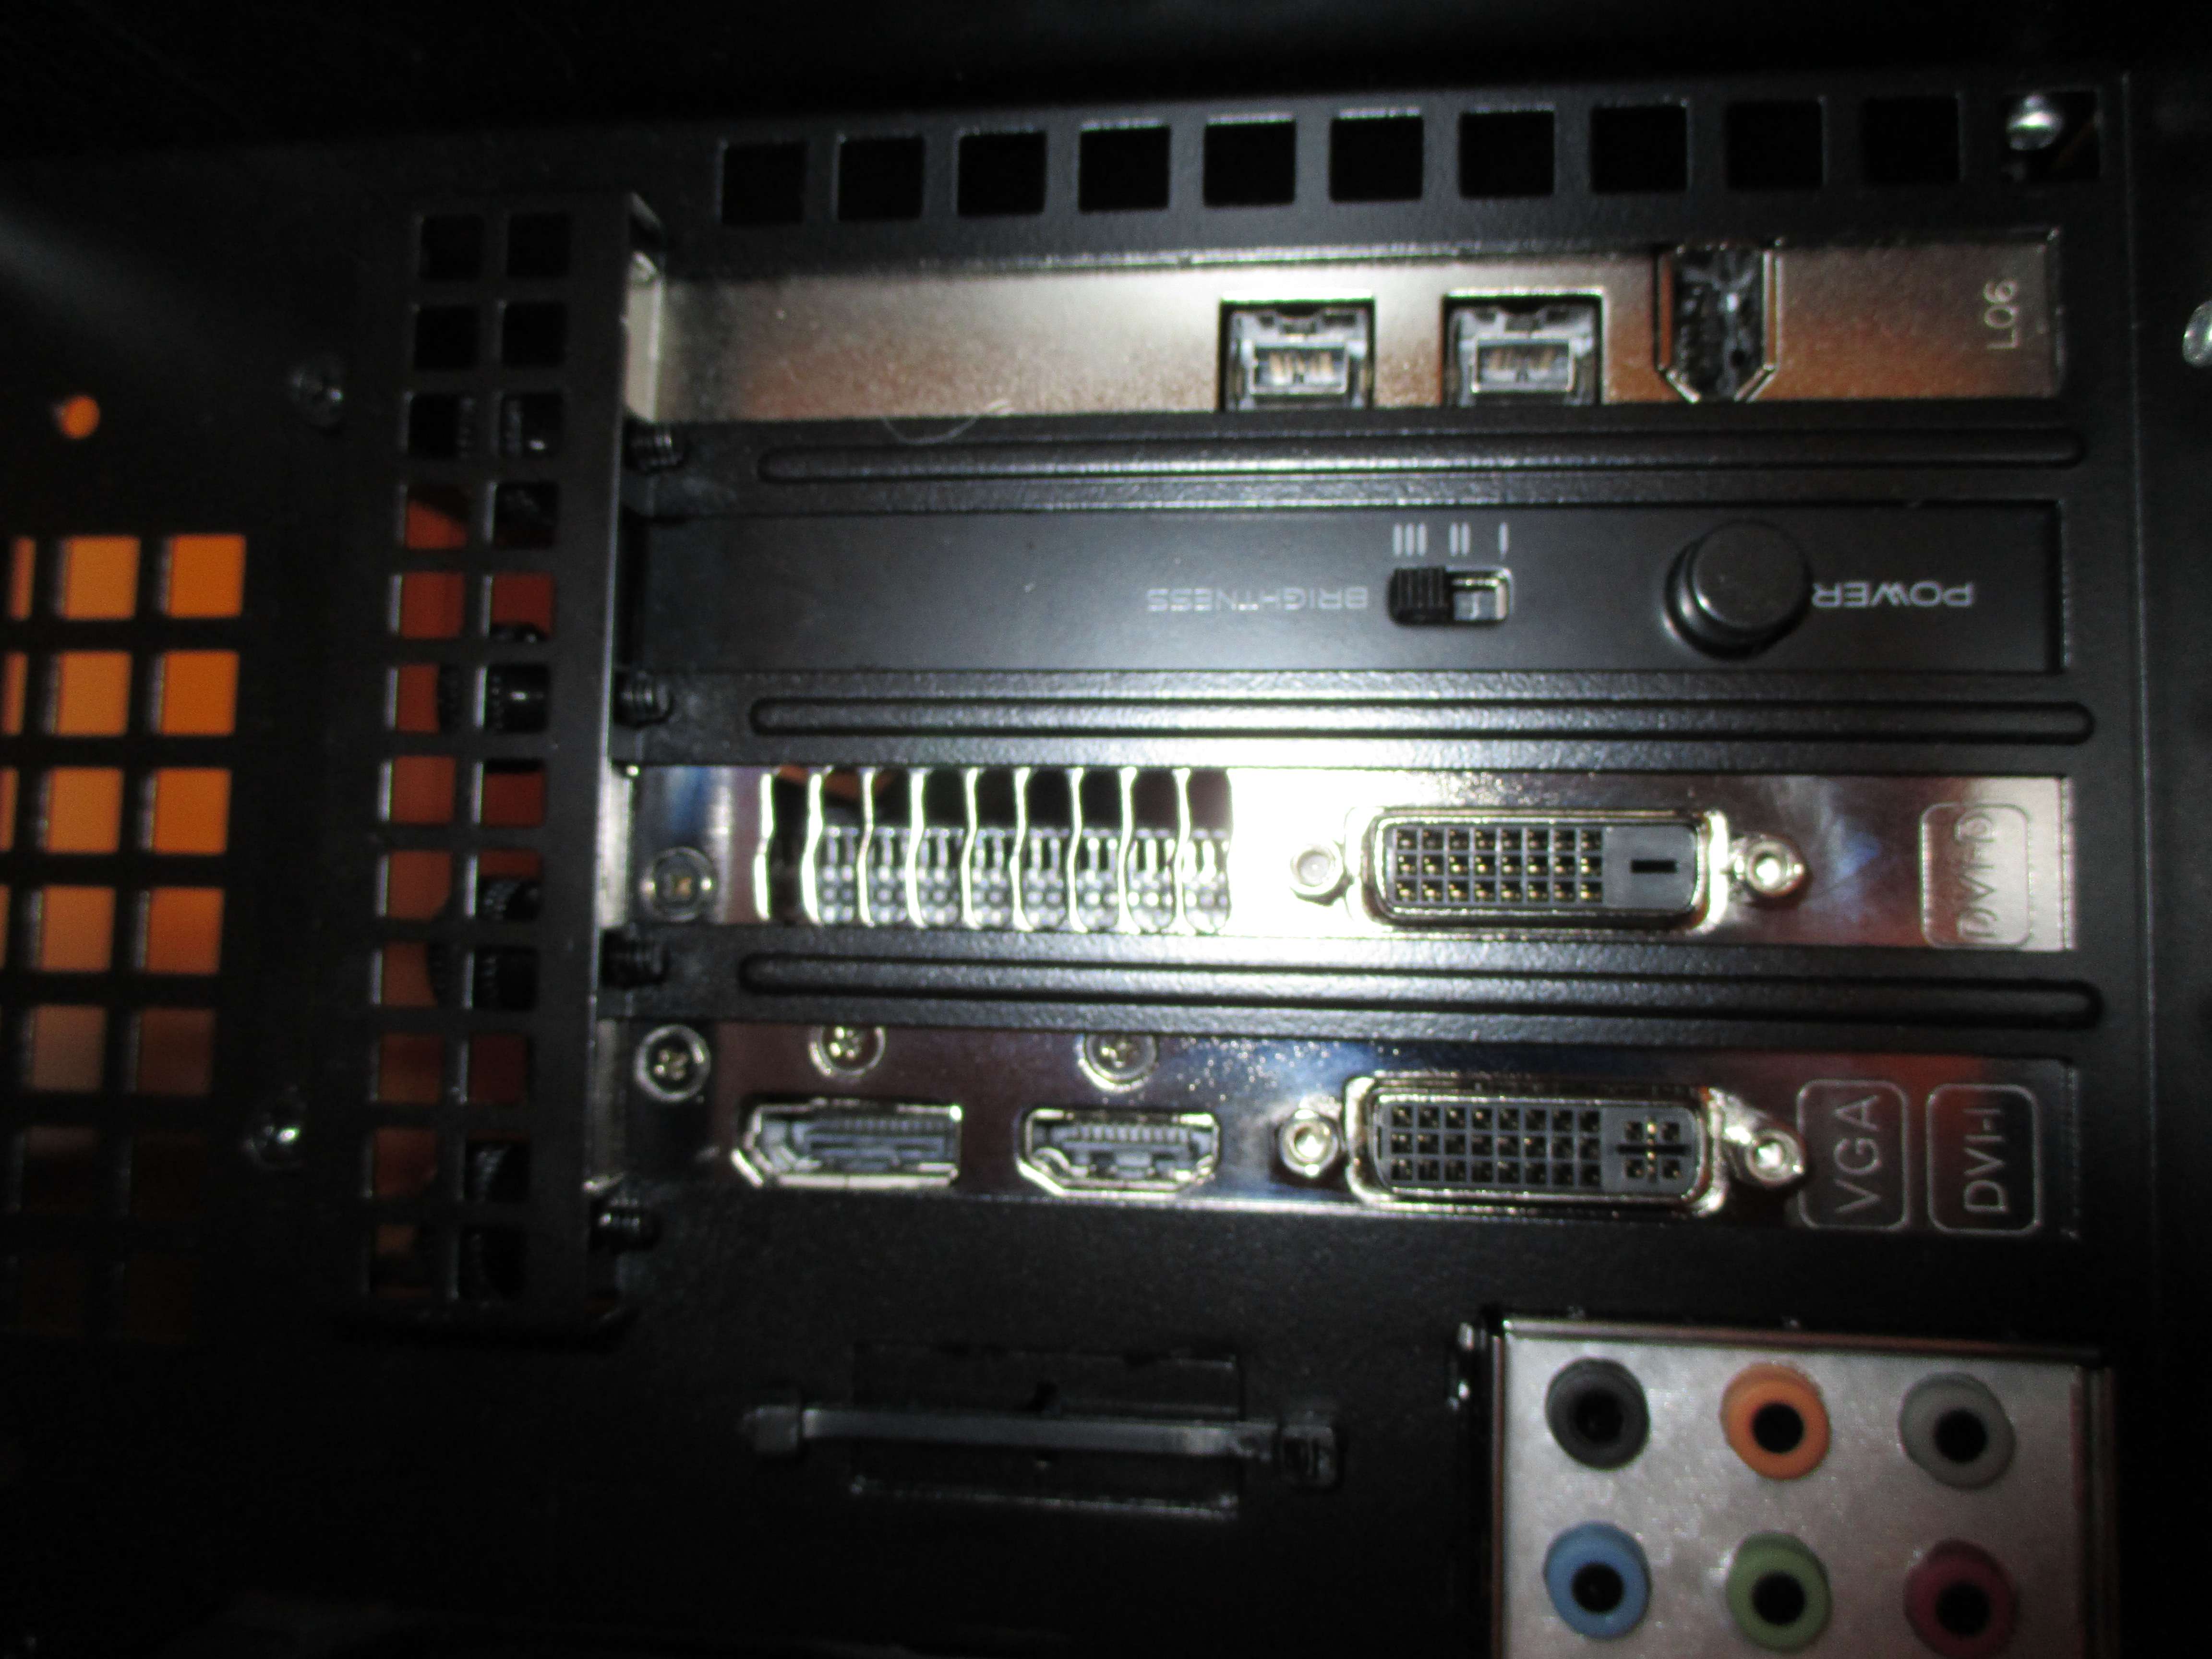
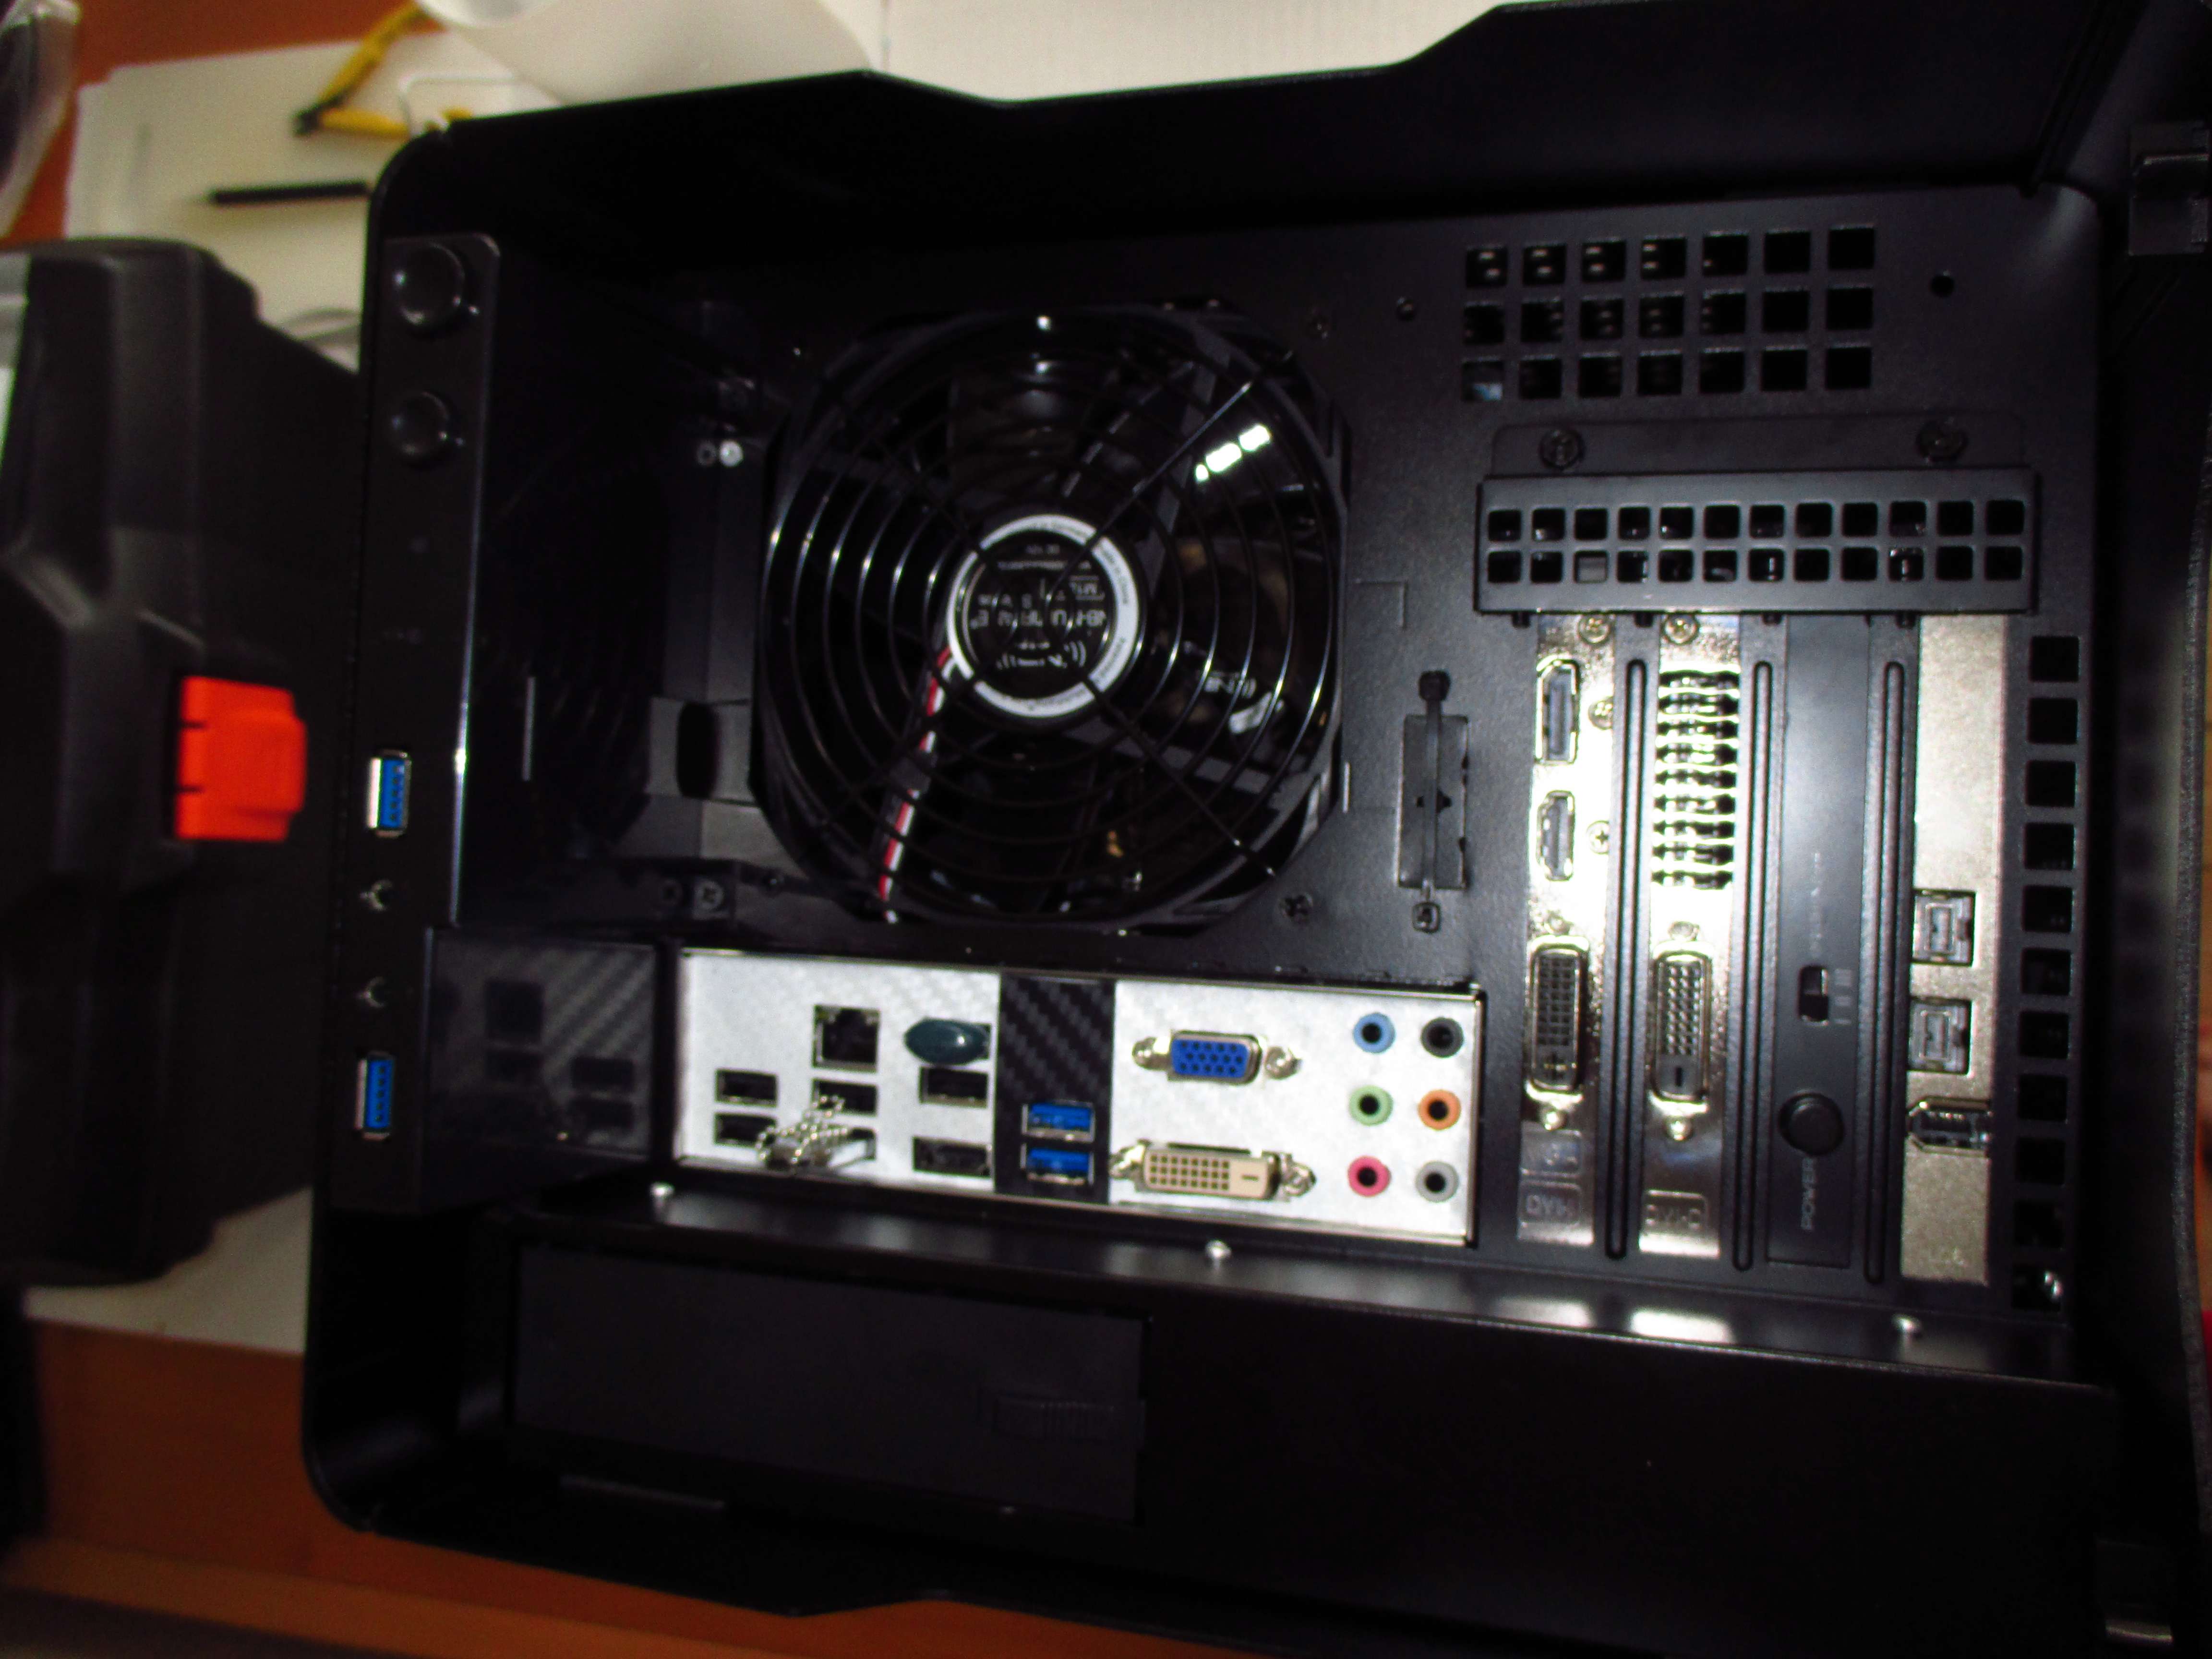
Final view of the cards installed, all four PCI slots occupied like it would be on a real mac (have you ever seen a iMac og Mac Mini with an empty slot on its back? Nah)
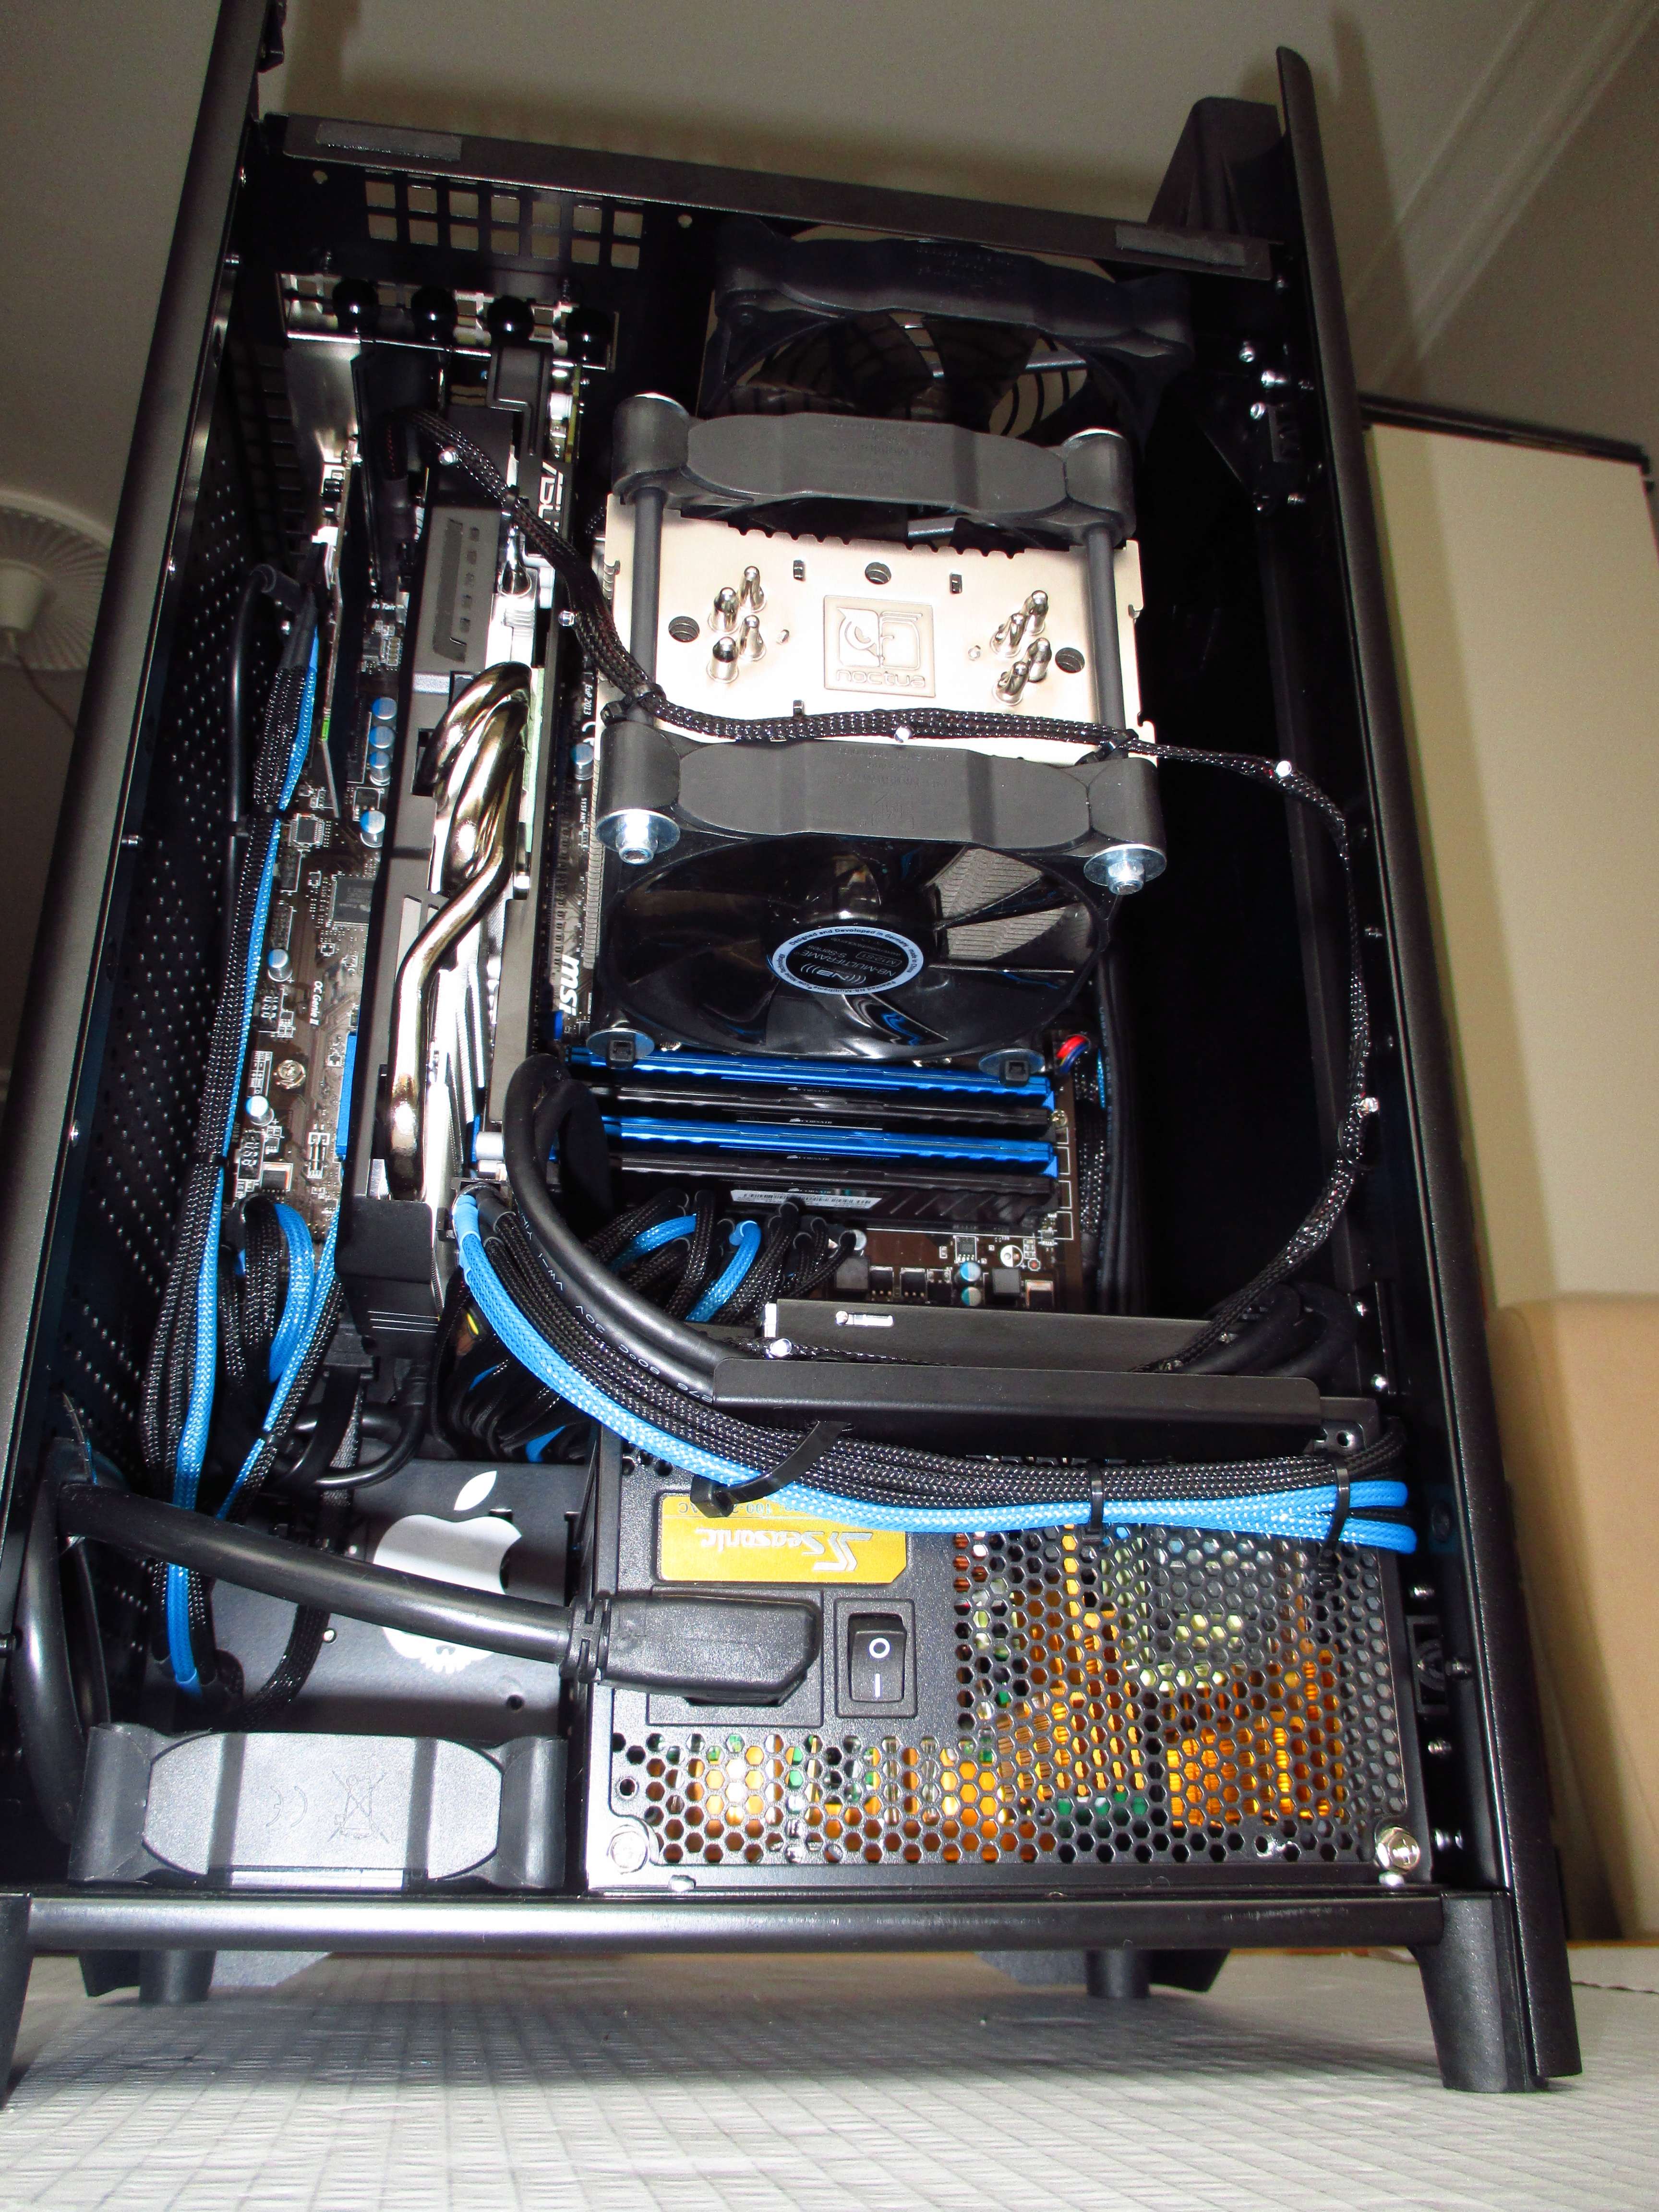
For the past week I have not really slept, I come home from work at about 7pm, then play/showers/feeds my daughter and am together with the wife until they go to bed and I can start building - which ends with me dozing off at around 4am were I go to bed, before I have to wake up again at 8am.... Hopefully soon done!
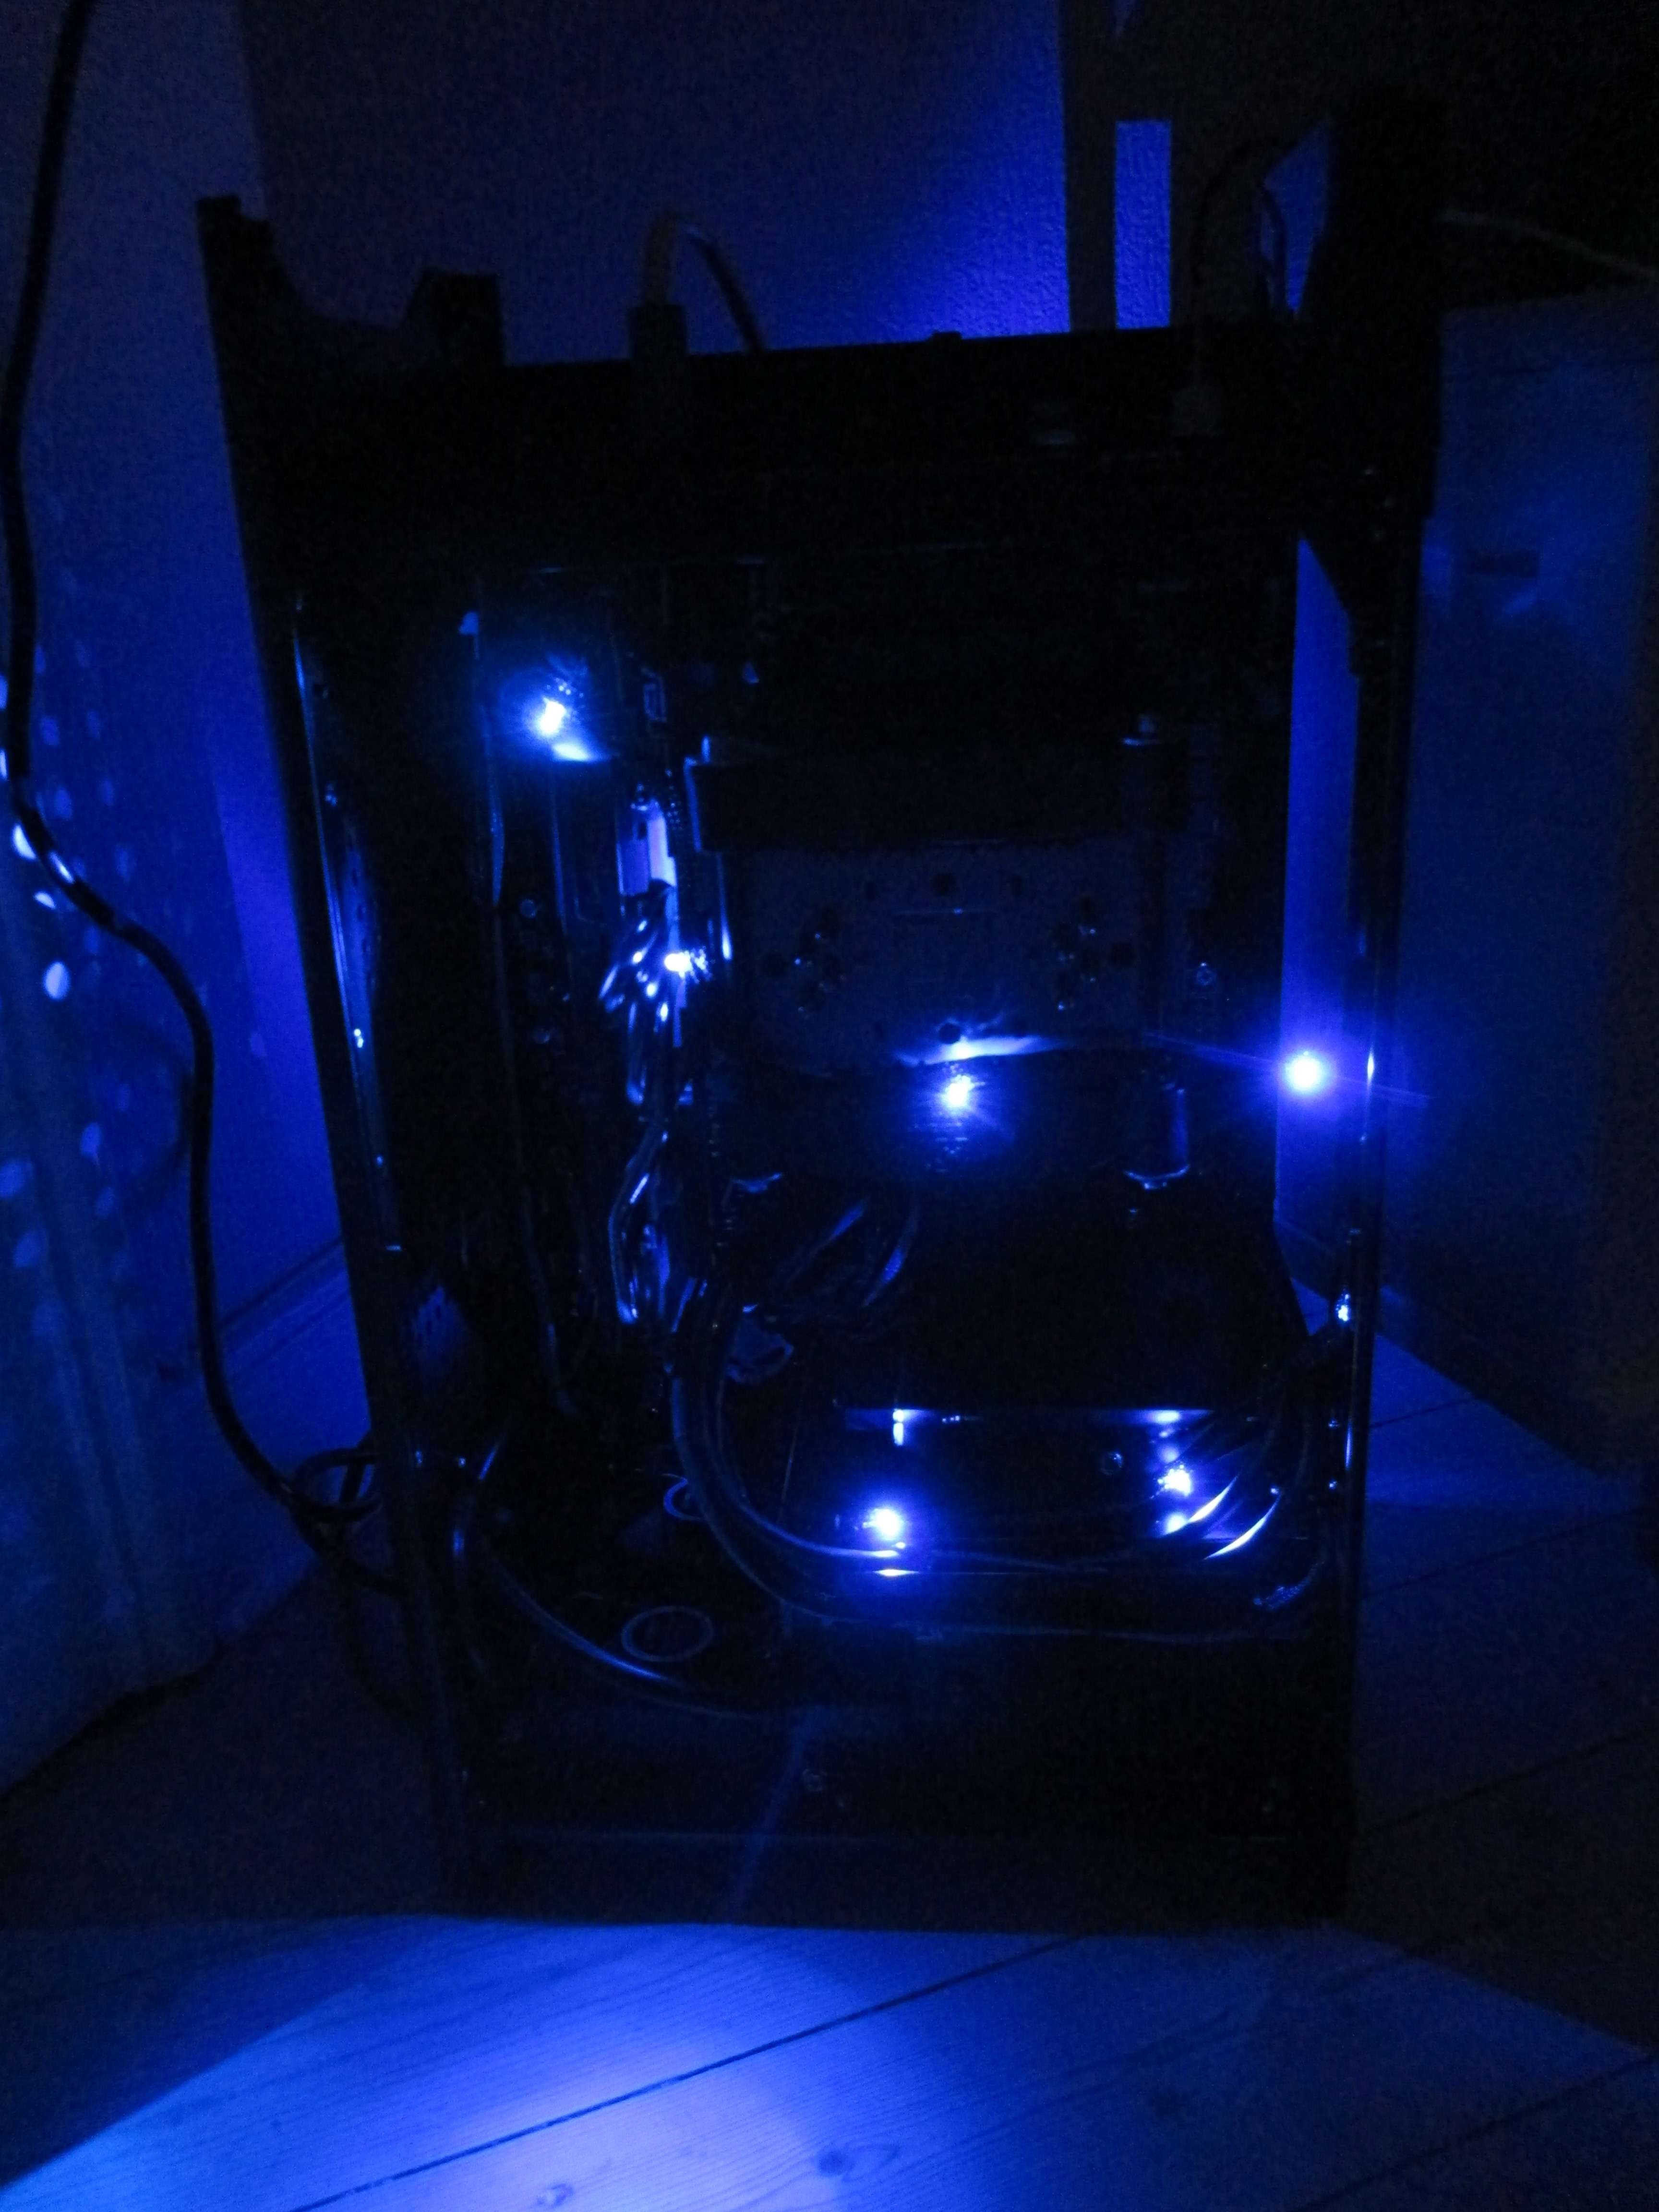
One great thing about all this nightly business is the show this machine puts on when I turn the lights on, looks epic!
I tried to fit the stripes right to the edge, so it looks like its part of the actual plastic.
Btw, also gave my firewire card some carbon, it is not going to be seen so much, because the graphics card kind of hides it, but in the right angle from above the pci brackets it would be possible to spot the red, so "had to" do it.
I even went to the lengths of polishing the heat pipes on my DirectCU II cooler (just like I have done it with my CPU cooler, a little of Brasso Silver Polish, same as used on jewelry, and a really soft cloth and voila, totally bling-bling)!
Very shinny in real, but very hard to catch on a picture, because if I use flash it just bounces off on the silvery shine and distorts.
Final view of the cards installed, all four PCI slots occupied like it would be on a real mac (have you ever seen a iMac og Mac Mini with an empty slot on its back? Nah)
For the past week I have not really slept, I come home from work at about 7pm, then play/showers/feeds my daughter and am together with the wife until they go to bed and I can start building - which ends with me dozing off at around 4am were I go to bed, before I have to wake up again at 8am.... Hopefully soon done!
One great thing about all this nightly business is the show this machine puts on when I turn the lights on, looks epic!


") (wait for it)
(wait for it)