- Joined
- Jun 8, 2012
- Messages
- 365
- Motherboard
- Asus X99-A
- CPU
- i7-5820K
- Graphics
- GTX Titan X
- Mac
- Classic Mac
- Mobile Phone
Yeah I am not sure I know the rubber will compress quite a bit though.

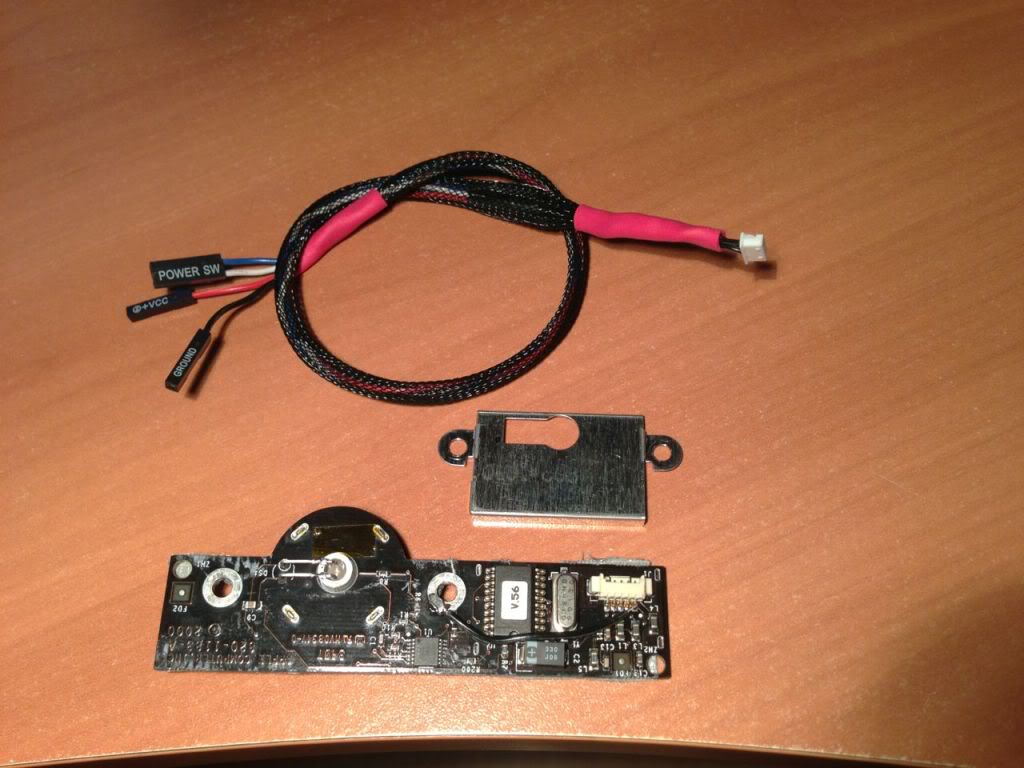


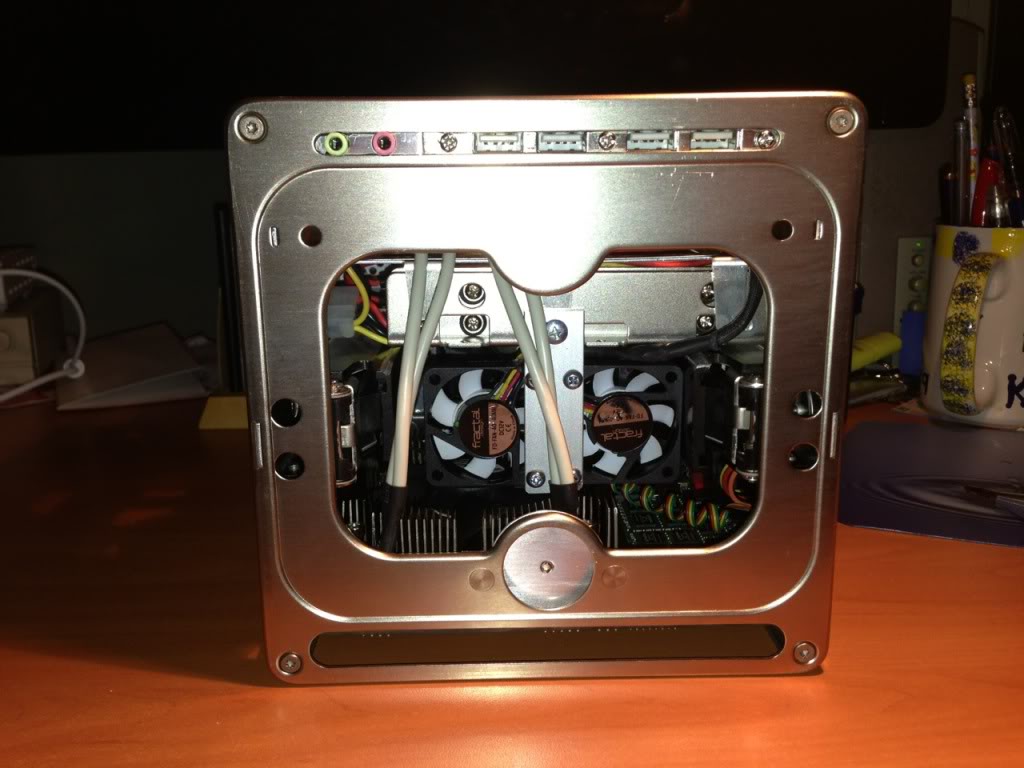
Finalizing the Touch Sensor
When I re-assembled my cube, I began to have problems with the proximity sensor. The cube would shutdown and startup randomly
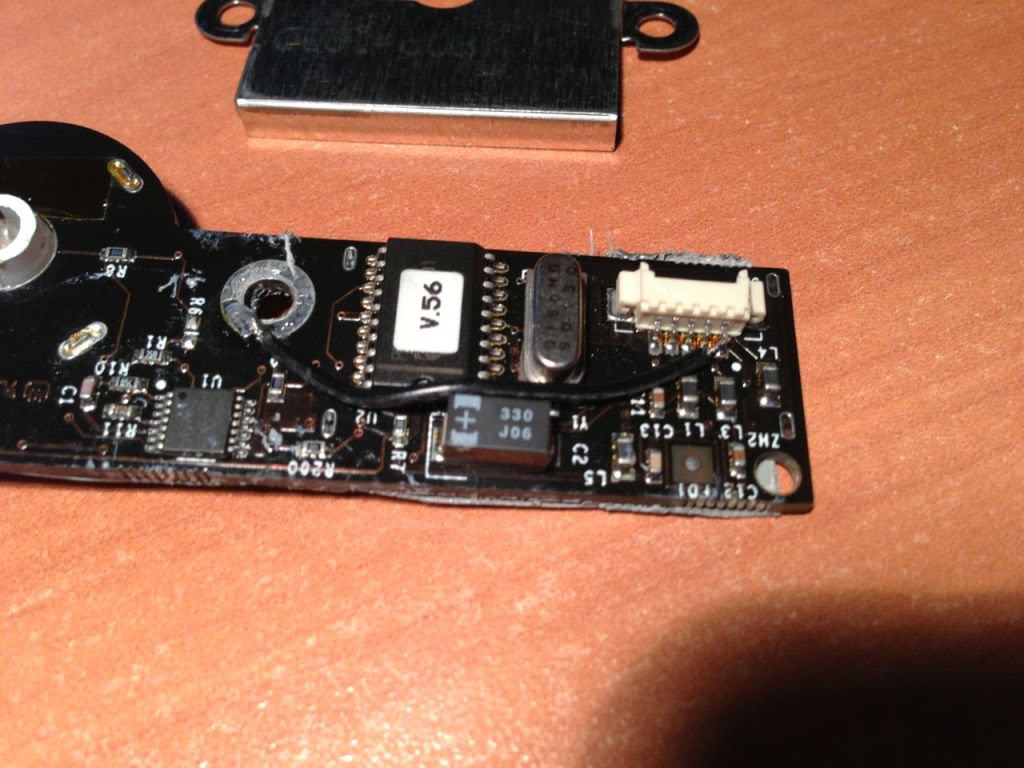
So I shortened the cable to the sensor and ensured things were grounded. I also moved the sensor cap (glued to the metal "can") closer to the proximity switch.
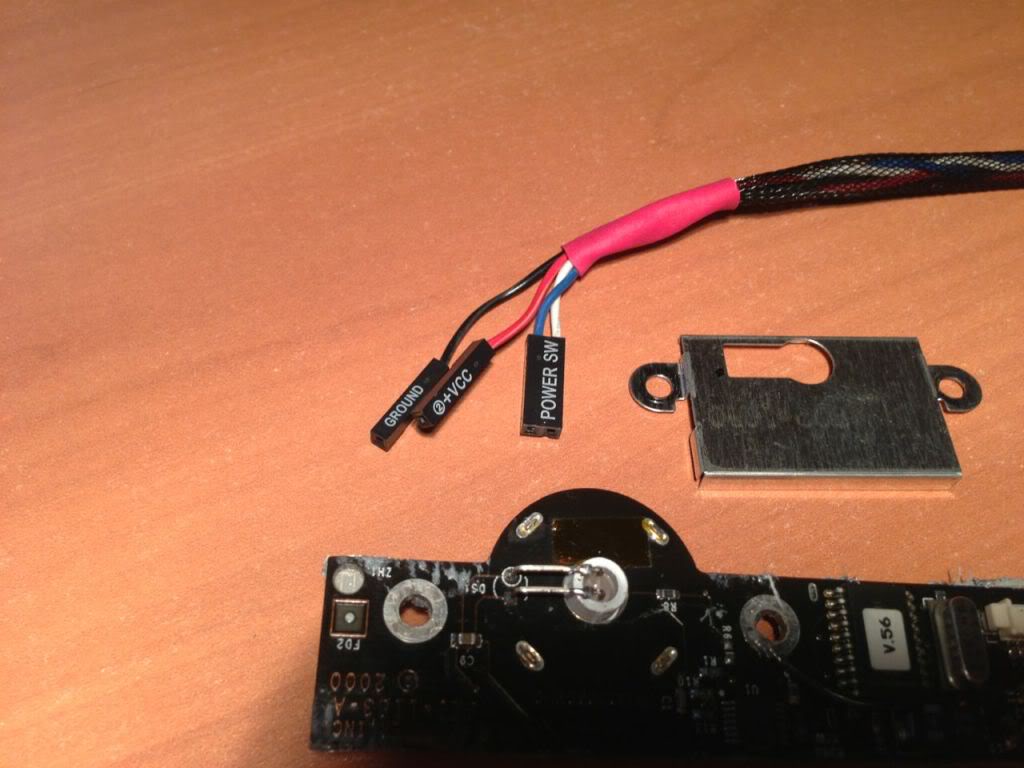
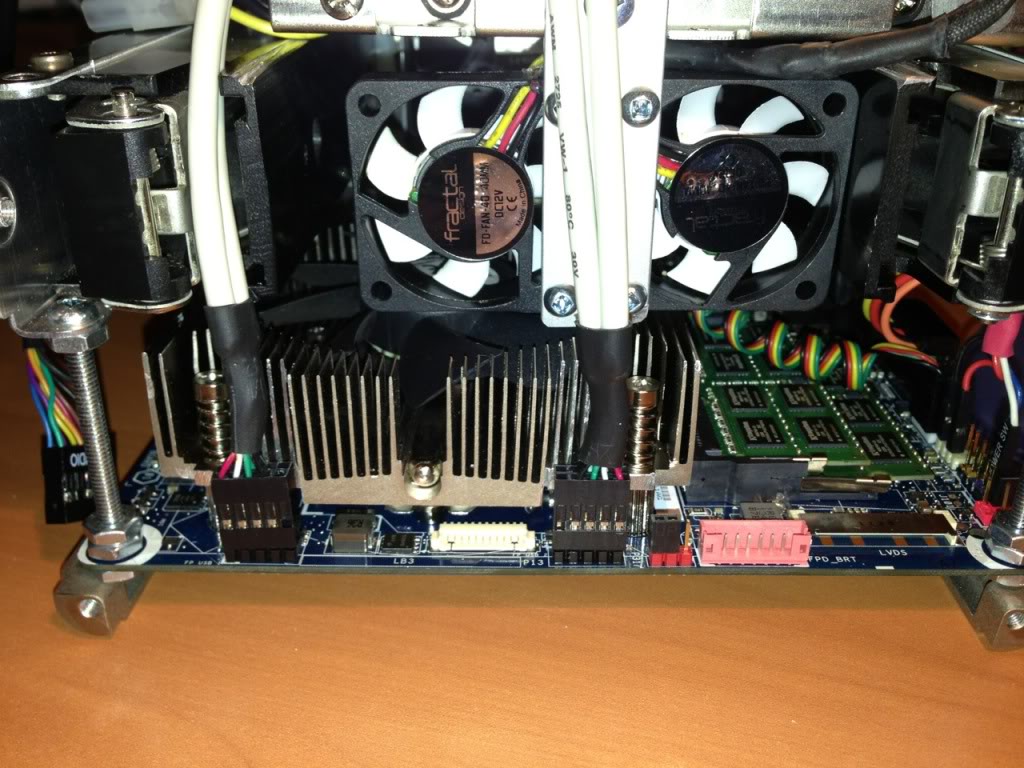
Shown here is the ground jumper.


I created a shorter cable that has a ground wire running through it to minimize stray signals.

I added some Duct Tape to the circuit side of the PC board, so it could be mounted closer to the "can" on my custom sensor bracket.

Now the switch behaves predictably.
Happy Modding!
chaos