Contribute
Register

My First G5 Mod (Wolf in Sheep's Clothing) [Upgraded]

Status
Not open for further replies.
Well today UPS delivered the parts I needed to finish my build TO THE WRONG ADDRESS!!!! I have called them and hopefully I will receive them tomorrow.
 
8) Final Touches
I was supposed to receive the last piece of my project yesterday but UPS delivered it to the wrong address. I phoned up and attempted to re-order the part but they said it would be another three-week wait. So I took that as a sign and decided to use an inlet with screw mounts rather than a snap-in one.
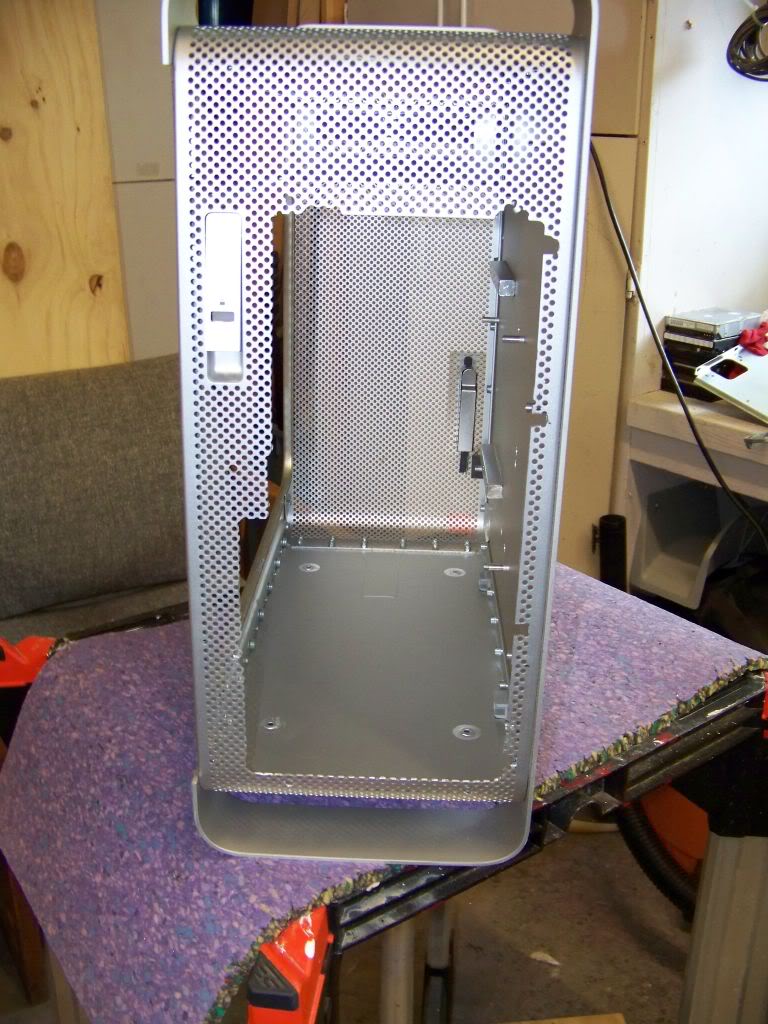
As I mentioned before, I would need to remove everything from my case so little bits of aluminum wouldn’t get stuck in important places. Here is today’s starting point:

100_1455.jpg


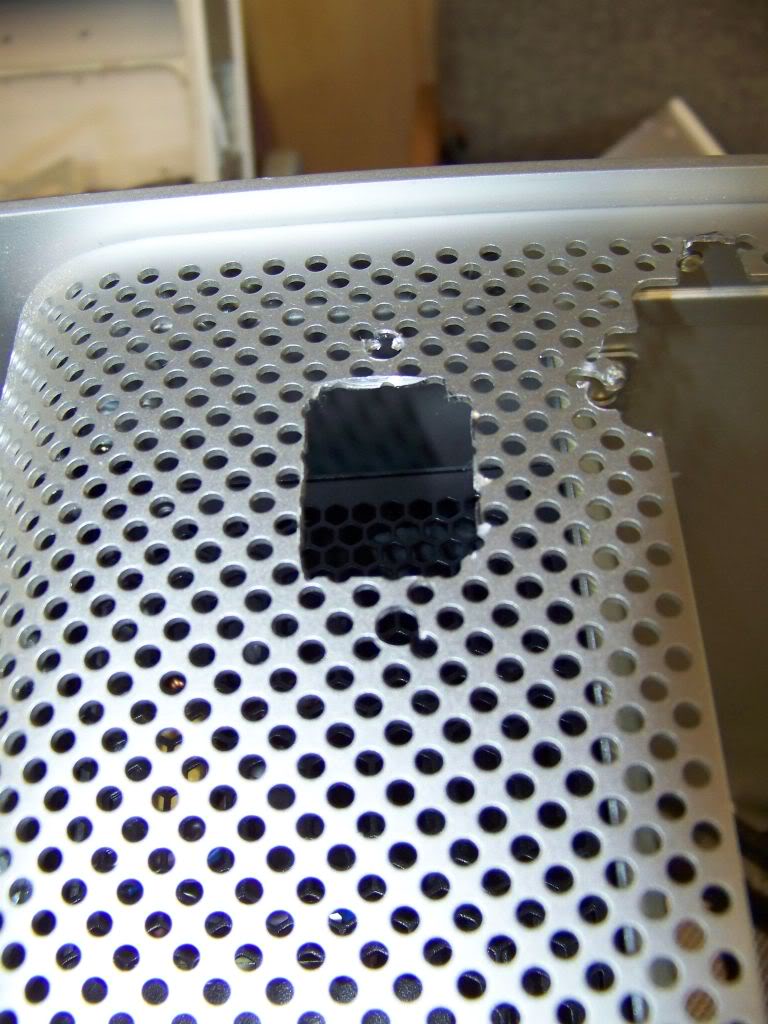
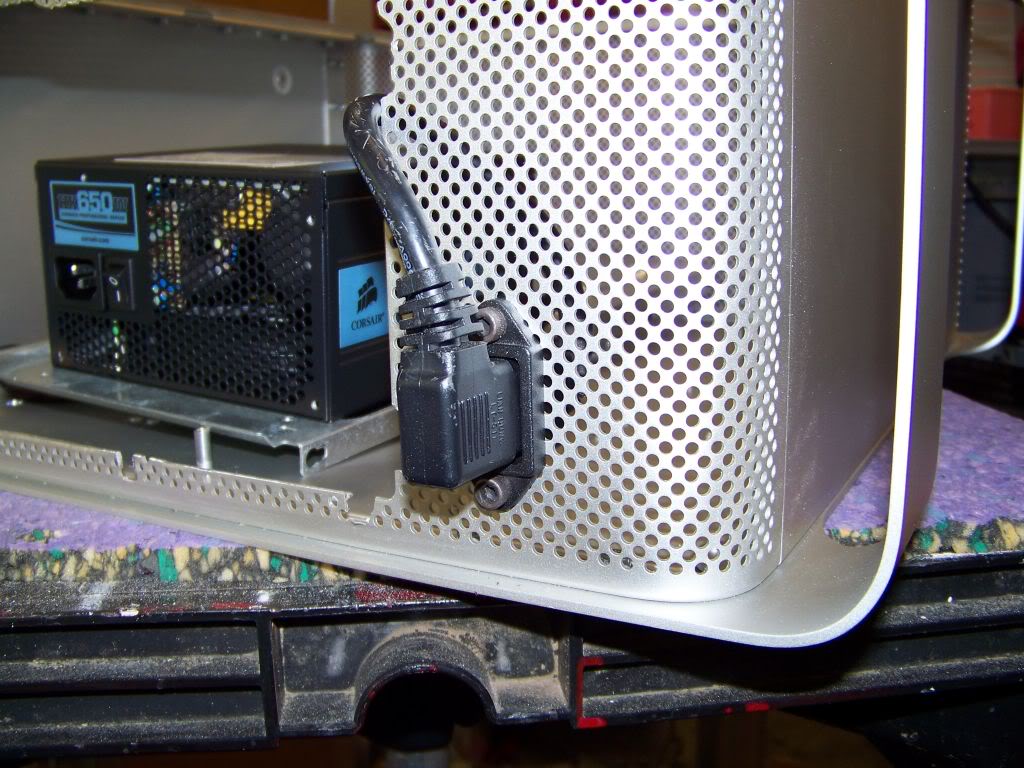
I didn’t want the power cord centered as nothing else on the back was and I wanted some space between the inlet on the PSU and the inlet on the case. I wanted to ensure that the two objects didn’t try to occupy the same space. I masked the back and revved up the dremel and cut out a hole for the inlet. I then drilled the holes for the mounting screws, and tidied things up with a hand file.

100_1456.jpg


I then cut my 90 degree plug to length and soldered the inlet to it. I did a wonderful job and was quite pleased with myself until I went to install it in the case and discovered that the 90 degree end would not fit through the hole I just cut. So I removed the inlet, and threaded it through the hole and repeated all my soldering. Live and learn!

100_1457.jpg


100_1459.jpg


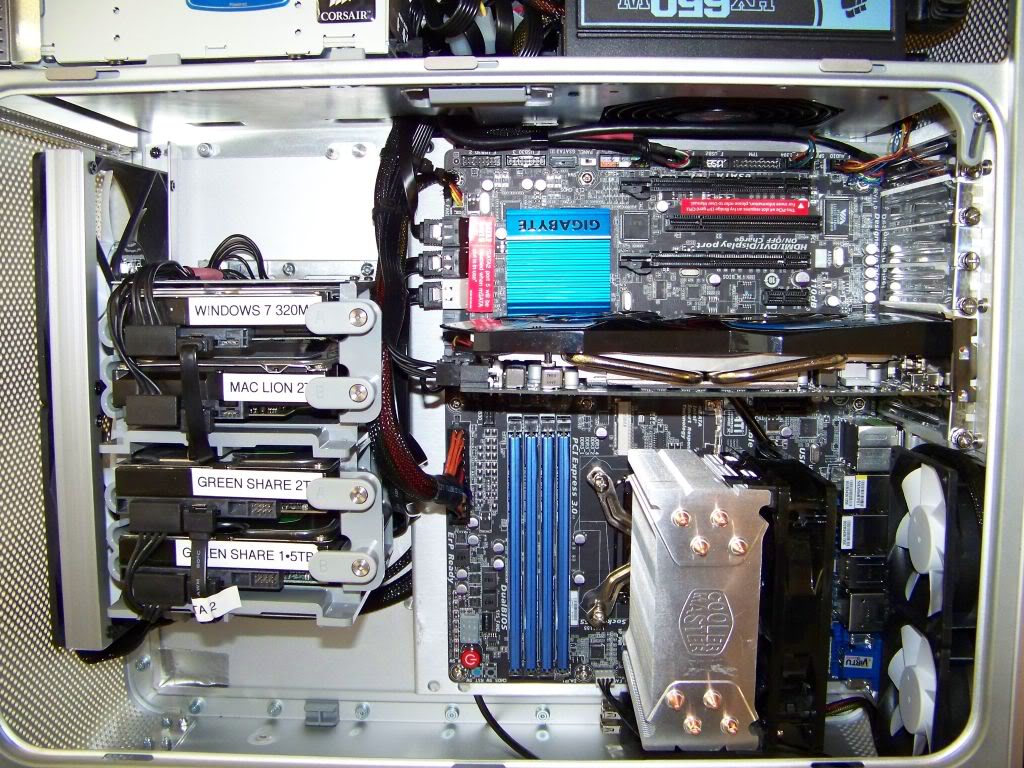
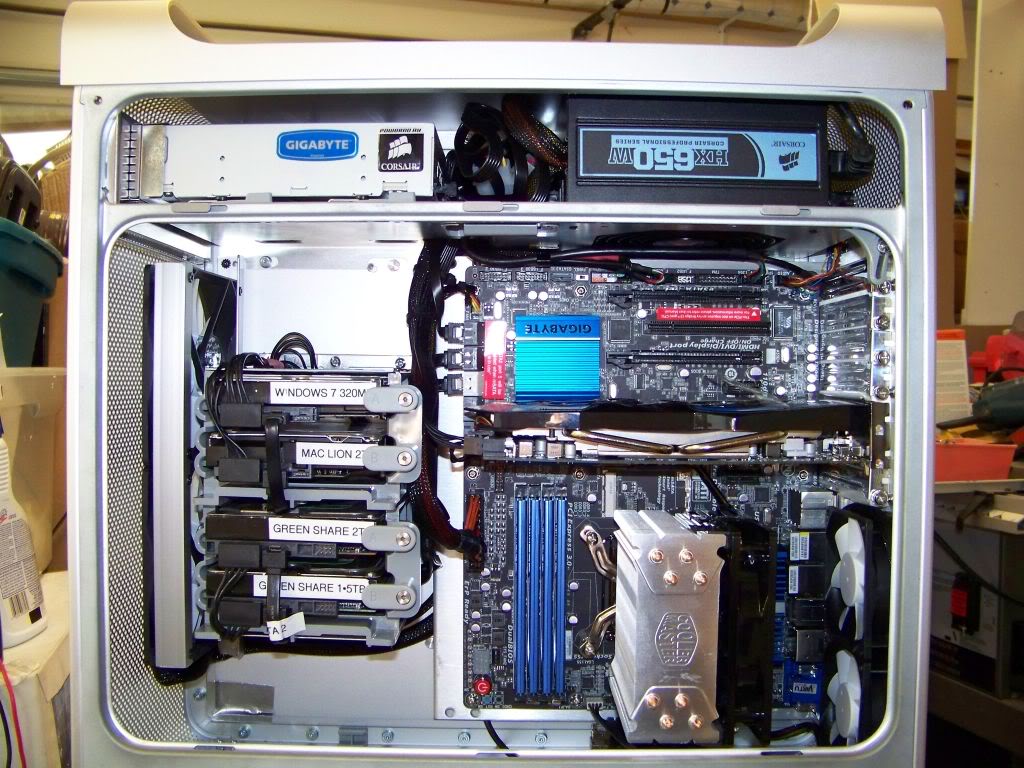
I then re-assembled everything and did a slightly better job at cable management than the first time. I also assembled all the parts for the door latch and this time made sure the shelf was in the correct position.

100_1465.jpg


I included the shield on the front of the DVD drive just for fun, and also, before I installed it, I removed the tray's face, otherwise the drive tray would not fit through the G5's opening.

Im not happy with the rat's nest of wiring behind the power supply. Hmmm....

100_1464.jpg


Clean lower section

100_1463.jpg


Note the internal USB cable hiding at the bottom waiting for a Bluetooth or Wifi dongle. This will be a future project.

100_1462.jpg


I used a nice self-adhesive black clip below the top shelf to hold the cables from dangling free.

100_1461.jpg


Here is the finished result, well finished for today. I have an idea for tomorrow….

100_1460.jpg
 
Last edited:
8) Final Touches...continued.. (Is a project like this ever finished?)

Well I didn't like looking at the mess of cables behind the DVD drive so I came up with an idea. Sometimes cable management means hiding the mess, so I did just that! I had a left over heat sink cover that needed a home.

100_1466.jpg
 
Last edited:
9) Conclusion - Post Mortem

I learned many things while building this project and there are a few things I would do differently on my next build (which has already started). So I thought I would add a section to hold ideas for next time and lessons learned. I will continue to edit this post as things come to mind.

- Cable management starts at the beginning of the project, not the end. On this build I used a modular PSU so I only had to add the power cables that were necessary. This was fine, but I wound up with a lot of extra power cables that I had to hide up behind the optical drive. A fully wired PSU would present challenges. Its a custom mod, so why not cut the PSU wires to length? When I made the front pigtail I left on as much wire as possible in case things didn't reach. That meant I had to do a lot of pushing and hiding of wires under the motherboard tray. If the wires were the right length to begin with, no hiding would be necessary. SATA Cables.....well SATA cables are relatively cheap and they come in various lengths, so I will take advantage of that in the future.

- Planning counts. Don't start with the dremel, finish with it. Practice on a scrap piece of aluminum first. My skill with the dremel grew immensely day by day.

- Break the project up into mini projects. Tackling one small mini project a week or evening will provide more satisfaction and you will not be rushed into making a mistake. The mini projects I created were: Front Fans; Rear Fans; Power Supply Mounting; Drive Cage Creating/Assembly/Mounting; Motherboard Tray Mounting; Rear Fans; Motherboard Prep/CPU/Cooler/Memory; Front Cable. A G5 Mod is a huge project and the journey is the reward....Its not a race to the finish line.
 
Nice Mod,i got the same Fractal fans and Y adapter for mine :D
 
Status
Not open for further replies.
Back
Top