Contribute
Register

My First Case Mod (G5)

Status
Not open for further replies.
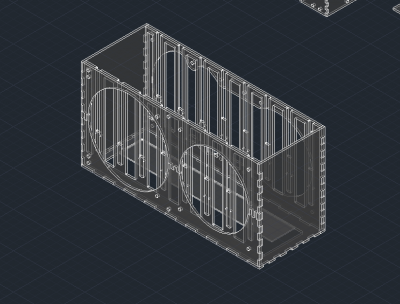
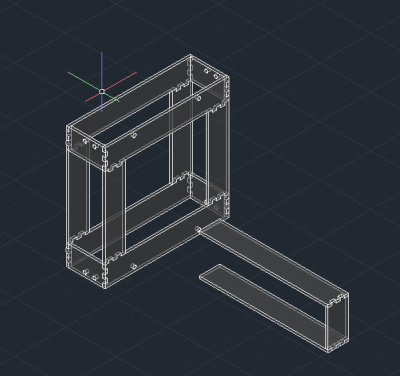
Sorry I haven't updated the project at all, I have been very busy with school and I haven't seen much interest in the project for a while. If people want, I can post pictures of my final build (Don't judge, Its the first time I've ever built a computer).
 
Everyone has to start some where.
You picked a pretty hard project for a first and looks like it is coming along fine.
Some times we need to back off on a project to let the brain regroup and take in more info before we can continue.
Keep up the good work.:clap:
 
Lets get back to the project shall we? In the year+ that I was gone, I have built and scrapped 2 more G5 mods of which one I donated, one that's still with me. The one that I scrapped I had painted white and black in a contrasting scheme, but it didn't fare well so it got scrapped. the original one got donated and the final one is new.

The process started with parts from each of the above G5s, but then got quite different. The goals of this build were to build as I go, so I slowly accumulated the parts that I needed, and ended up with the well capable monster of a machine that now exists. My current upgrade for the case is a laser cut HDD rack as the ones from the previous two builds wern't all that great and only held 4 and 5 drives respectively. Also in this case are work lights mounted around the outside that light up when the case is open making it easy to see inside, but not as annoying as traditional lights. As a part of the HDD rack Laser cutting process, I'm making an adapter for the top 5.25" drive to a sideways mounted one that's accessible when the door is open since I will be using a slot load drive salvaged from an old macbook. I can use this internal bay for anything from a reservior to a fan controller as long as they arn't very long. Pictures of my case will be included soon if there's enough interest shown.
 

Attachments

  • HDD Rack.PNG
    HDD Rack.PNG
    140.9 KB · Views: 308
  • Template.PNG
    Template.PNG
    126.2 KB · Views: 286
  • Adapter plates.PNG
    Adapter plates.PNG
    63.7 KB · Views: 300
Akhilv, the drive rack looks great. How tall is the case? Also, what are you using as a backplane for the drives?

I'm working on something very similar, but I'm planning on using the original PSU case so I'll only have right around 11" of height for my rack.

Hope you have the time to keep building and posting the results!

I actually don't have a measuring tape on me so i cannot tell you how tall the case is although my hdd rack comes out to ~12". I actually designed it in mm because it's easier to visualize personally. I actually built a G5 in the last year with a modified original case and wasn't satisfied with the result. I actually still have a fan and drive cage adapter that I made myself if i ever went back to using the stock drive cage and or PSU housing.

As for the backplane drives, they don't sell the Corsair 800D backplanes anymore unfortunately so I'll either have to make my own with a printed and drilled pcb (my friend actually has a pcb fab in his dorm) or i'll have to find a replacement. If i end up designing my own, I'll be sure to upload the circuit diagram and parts list. My guess is that it shouldn't cost more than $40 at the end.
 
I meant rack when I said case, my bad.

I'm trying to keep the main case as original as possible so the space between the PSU housing and the upper shelf is just over 11"/280mm. I've measured it out so that I should be able to fit 8 drives where the SATA connectors are 35mm apart, so only 9-10mm clearance between drives. I'm hoping that's enough space to provide sufficient airflow.

I'm planning on etching my own PCB as well, in order to get all the drives to fit right. The PCB itself should be fairly cheap, but the connectors add up pretty quick. I've designed the board, and have the diagrams and parts if you're interested in adapting from it. I haven't actually printed the board yet, so I can't vouch for how well it works.

I actually haven't gone much further than rough sketches of my PCB. It would be nice to have design that I can take cues from. As for the connectors, i found them for relatively cheap on alibaba, and if you're interested, i wouldn't mind splitting the cost on a lot of connectors.

My internal height is 306mm and outside height is 312mm.
 
So apparently I can't PM yet...

I've attached all of my backplane files.

I'm breaking the 8 drives into 2 boards, to spread power load over 2 lines and it'll be easier to etch 2x 4x6 boards than cutting down a larger one. From what you said, your rack is going to be slightly taller than mine so you may have to space it all out a bit.

Note: This is my first foray into PCB design, so I was teaching myself Eagle as I went. Since this is just a passthrough board, I ignored some of the airlines and other aspects of the program. I managed to find Eagle files for all of the parts I used, save the 22 pin SATA connector that I had to build myself. I couldn't figure out how to get the Ground Fill to work right, so I just moved the files over to Photoshop and did that and some other touch up work from there. Those files are in the link as well.

Not sure how experienced you are with the PCB design aspect, but any tips or constructive criticism would be welcome. Hope these files help you with your project. Let me know if you have any questions on anything I did.
 

Attachments

  • Breakout Board 8 bay.zip
    507.5 KB · Views: 238
Thanks for giving me a place to start. It's my first time printing a board too but I have design experience with diptrace from one of my classes. Form what I hear, thru holes are really annoying to fab so I've been told to keep them down to a minimum. I found smd SATA Vertical Recepticals which are SMD, but they seem to be rather expensive. Also if you are fabricating your own board, I would keep it to one side. So far the designs are looking great, I'll keep updating this thread with my progress and you're welcome to pitch in. Also have you ordered your components for your board? They seem to be a lot cheaper if bulk ordered from China, and so if you didn't then we might be able to save a couple of bucks. In case you were wondering, it makes no difference whatsoever if you split it into 2 lines because 12 AWG can handle a lot more current than 8 drives can draw at any instant. It's rated for 47A, and keeping in mind that the most a drive uses on startup is 1A and .5A when running, you'd be perfectly fine with just using one connector at the bottom and making it a single layer board saving cost and time.
 
Sorry, but I have already ordered my parts. So I'm committed to drilling a lot of holes, it would seem. I know it will be a pain, but I'd rather do it double sided. It'll be a lot cleaner with the HDD connectors on one side and all the cables connecting in the back.
 
Status
Not open for further replies.
Back
Top