
- Joined
- Feb 2, 2010
- Messages
- 8,180
- Motherboard
- ASUS TUF Z390-PRO GAMING - 2606 - UEFI
- CPU
- i9-9900K
- Graphics
- Vega 64
- Mac
- Classic Mac
- Mobile Phone
Please do not upload or redistribute MultiBeast to any other sites.
Visible Changes:
- MultiBeast is now a Cocoa application with new workflow and usage
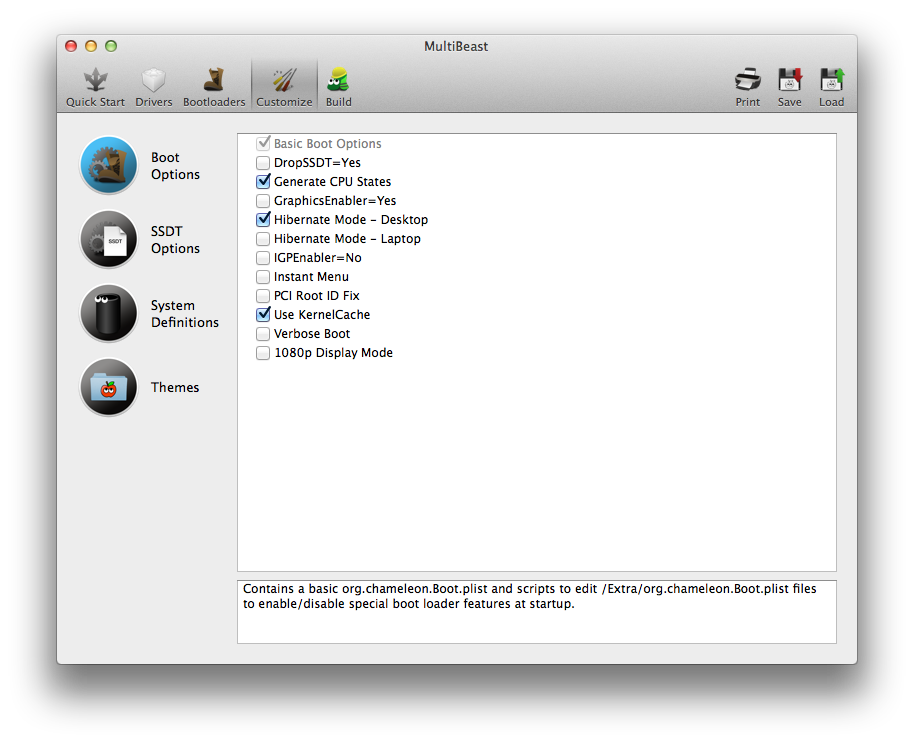
- Changed default Boot.plist to GraphicsEnabler=No and added IGPEnabler=Yes for EasyBeast, User DSDT and DSDT Free
- Changed Customize -> Boot Options -> GraphicsEnabler=No to GraphicsEnabler=Yes to reflect new default
- Added Customize -> Boot Options -> IGPEnabler=No
- Added Customize -> Boot Options -> DropSSDT=Yes
- Added Customize -> System Definitions -> iMac -> iMac 14,1
- Added Customize -> System Definitions -> iMac -> iMac 14,2
- Renamed Drivers -> Audio -> Realtek ALC8xx to ALCxxx
- Added Drivers -> Audio -> Realtek ALCxxx -> With DSDT -> ALC1150
- Added Drivers -> Audio -> Realtek ALCxxx -> Without DSDT -> ALC1150
- Added Drivers -> Disk -> TRIM Enabler -> 10.9.0 TRIM Patch
- Changed Drivers -> Network -> Realtek - Lnx2Mac's RealtekRTL81xx v0.0.90 to install release version by default
- Removed all Mountain Lion specific kexts and patches
- Added automatic serial number generation for any smbios.plist installed
- Updated AppleHDA.kext to 10.9.0 versions
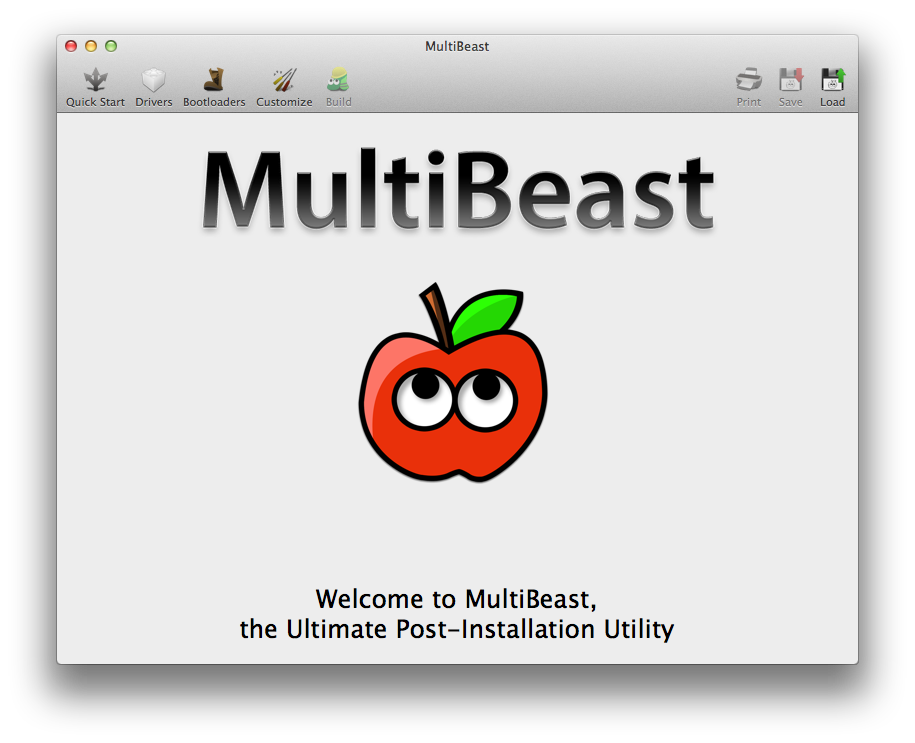
How to Use MultiBeast:
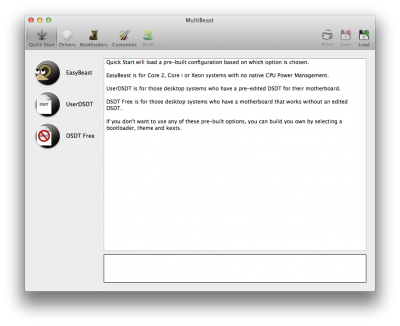
1. Click Quick Start to choose EasyBeast, UserDSDT, or DSDT-Free

2. Click Drivers for Audio, Graphics, and Network options

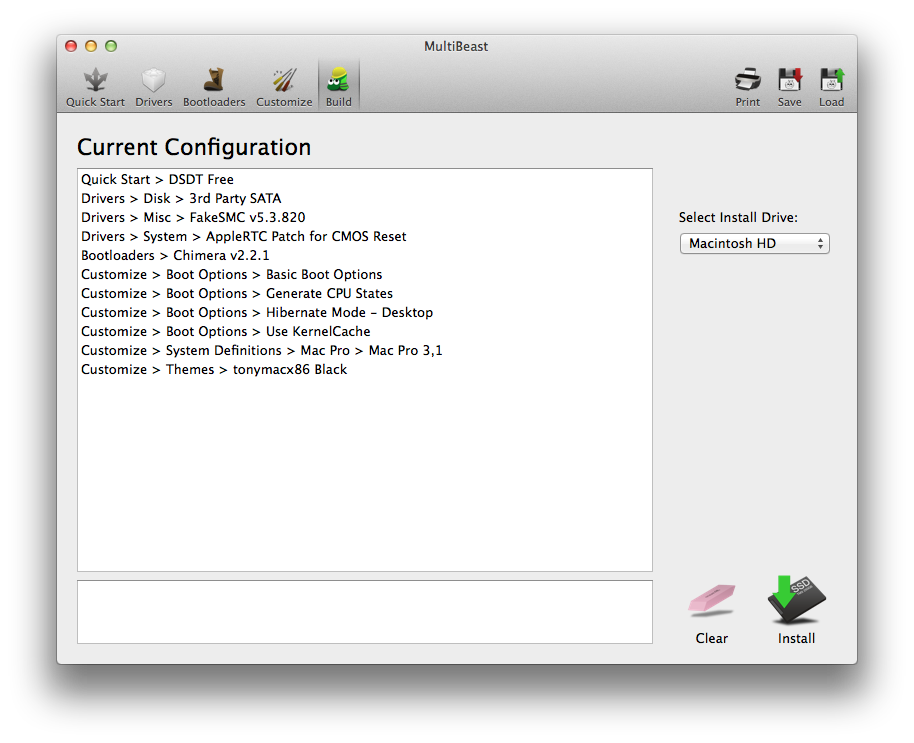
3. Click Customize for further options
4. Click Print or Save to back up your configuration
5. Click Build then Install
6. Restart computer to complete installation
If you have Bug Reports or Feature Requests, please let us know in the MultiBeast section of the forum. Enjoy!
Related:
MultiBeast.com
MultiBeast 5.5 Update
MultiBeast 5.4 Update
MultiBeast 5.3 Update
MultiBeast 5.2 Update
MultiBeast 5.1 Update
MultiBeast 5.0
Attachments
Last edited by a moderator: