Contribute
Register

mac_jop, G5 Case Mod (hiding that PSU)

Status
Not open for further replies.
Joined
Jan 11, 2011
Messages
9
Motherboard
Mountain Lion
CPU
i3 3225
Graphics
Radeon 7850
Mac
  1. 0
Classic Mac
  1. 0
Mobile Phone
  1. 0
mac_jop, G5 Case Mod, finished

93278-g5-done.jpg


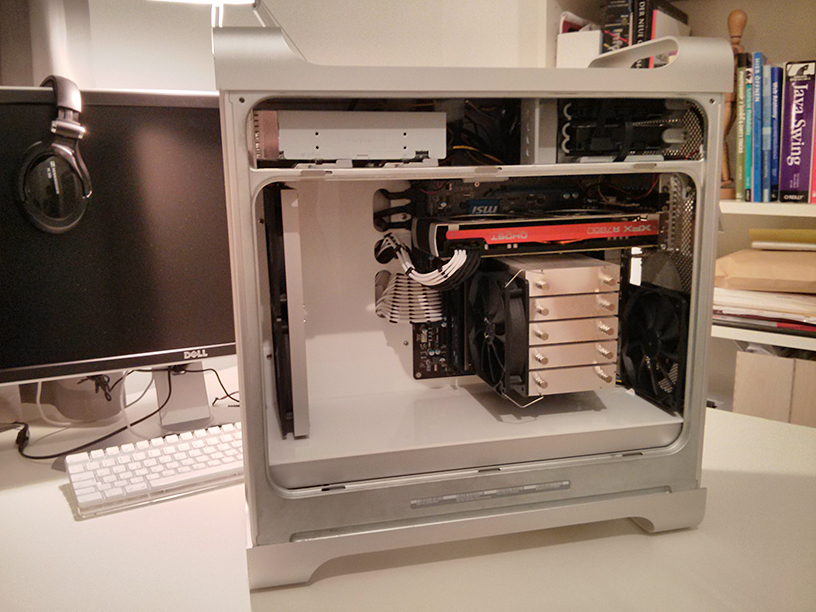
Yesterday evening I finally finished my G5 Hackintosh Mod.

My goals:
- keep the original layout for HDD and DVD-Drive in the top area.
- good airflow and almost inaudible cooling
- mATX Motherboard
- keep the PSU intact
- nice cable management, visually appealing


Here is a short documentation of the different works steps:

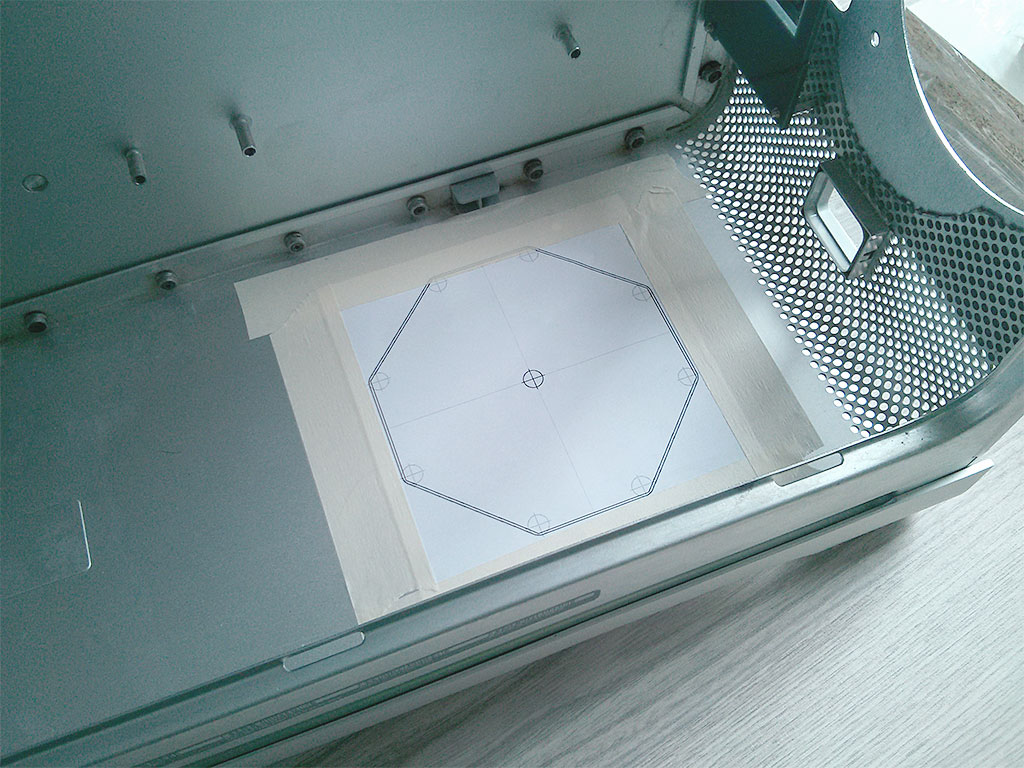
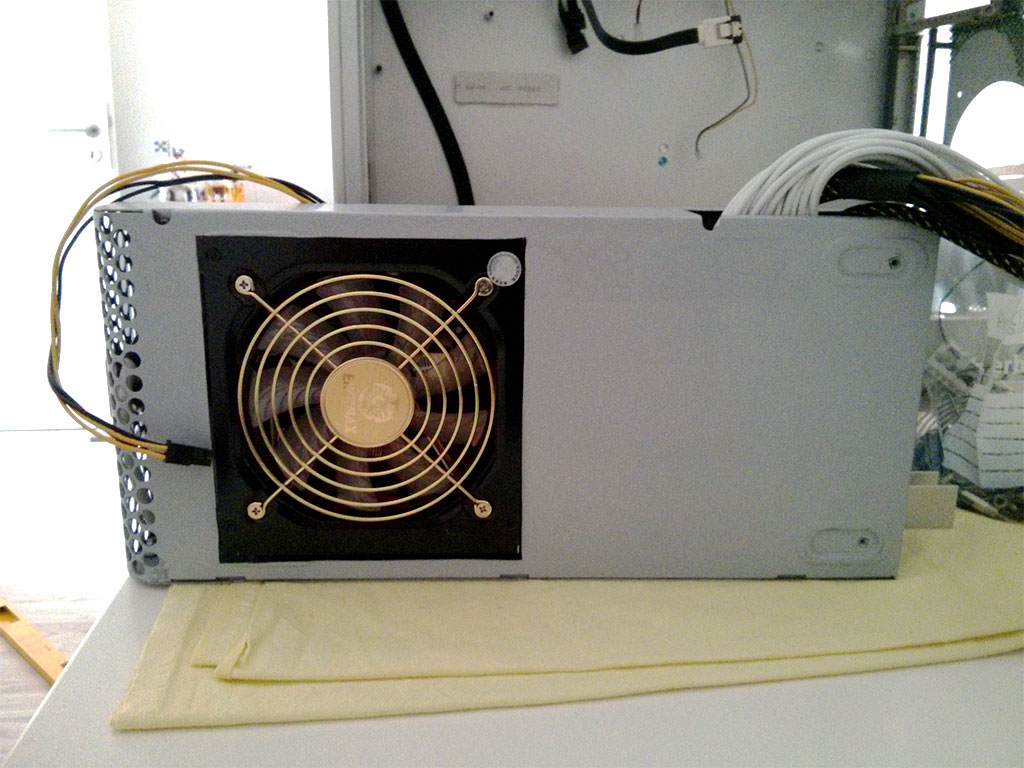
Cutting the case for the PSU fan:
65120-01-cut.jpg

65121-02-cut.jpg


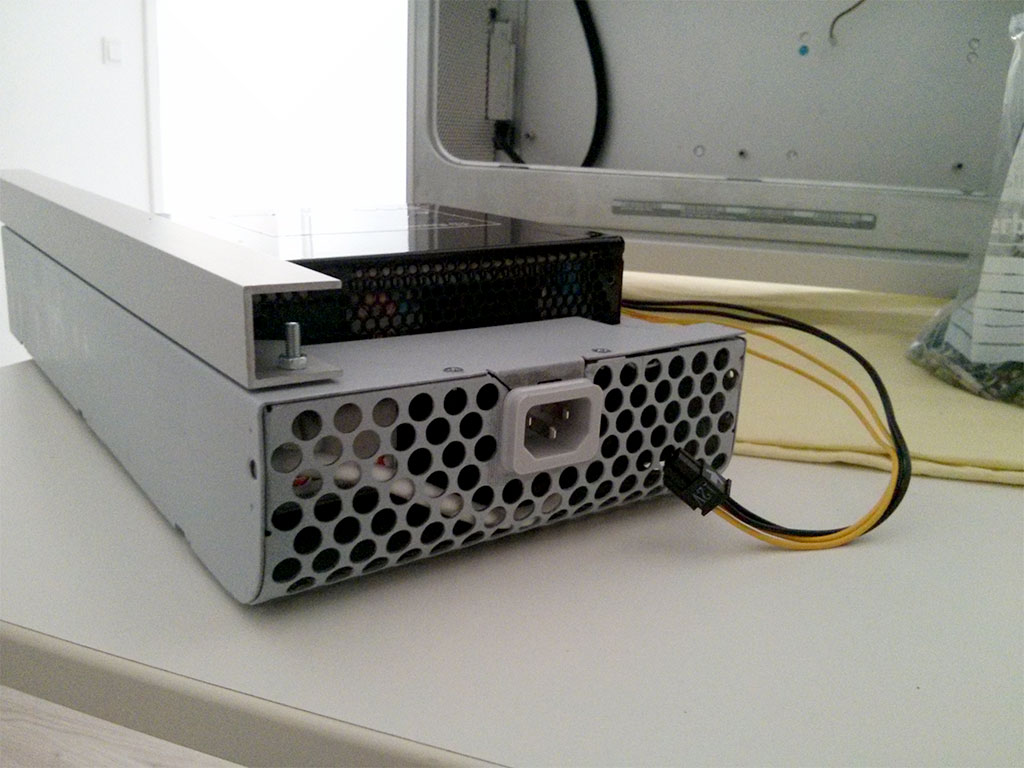
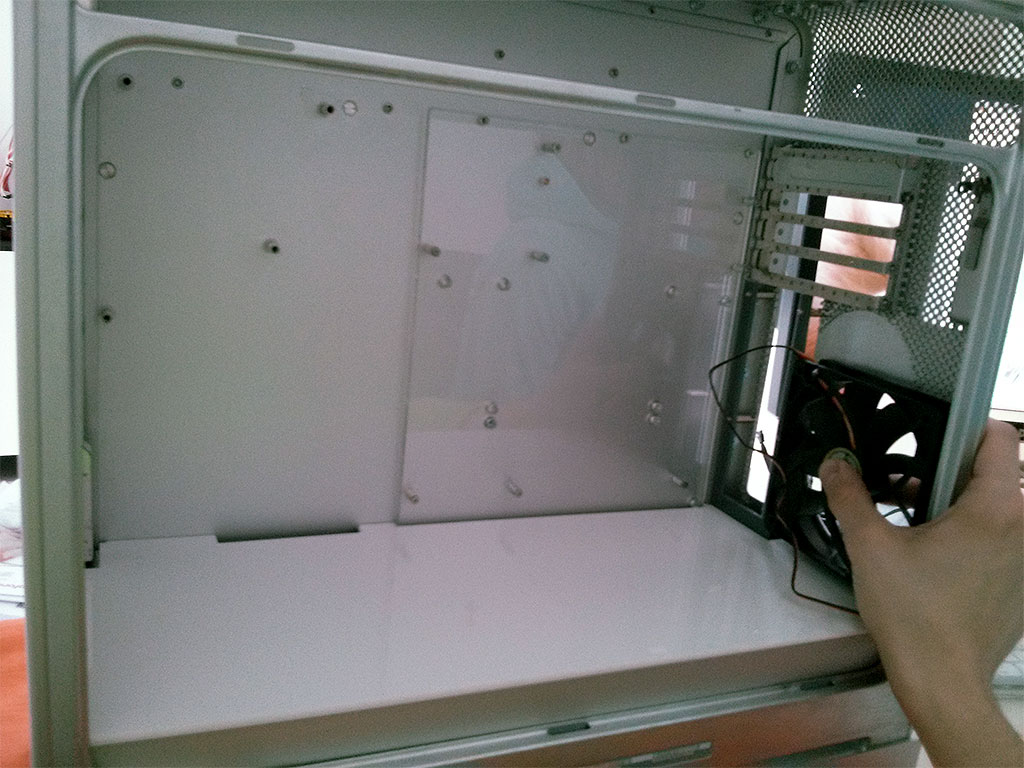
Fitting the PSU into the case of the old G5 PSU and adding a aluminium u-shape-bar:
65122-03-psu-fitting.jpg

65123-04-psu-fitting.jpg

65124-05-psu-fitting.jpg

65125-06-psu-fitting.jpg

65126-07-psu-fitting.jpg


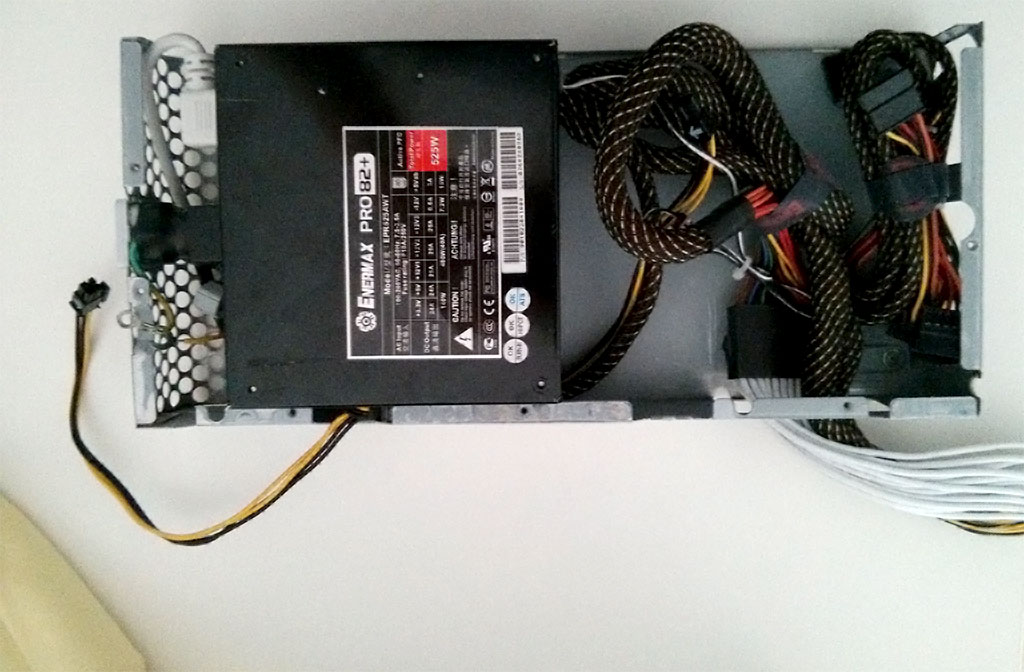
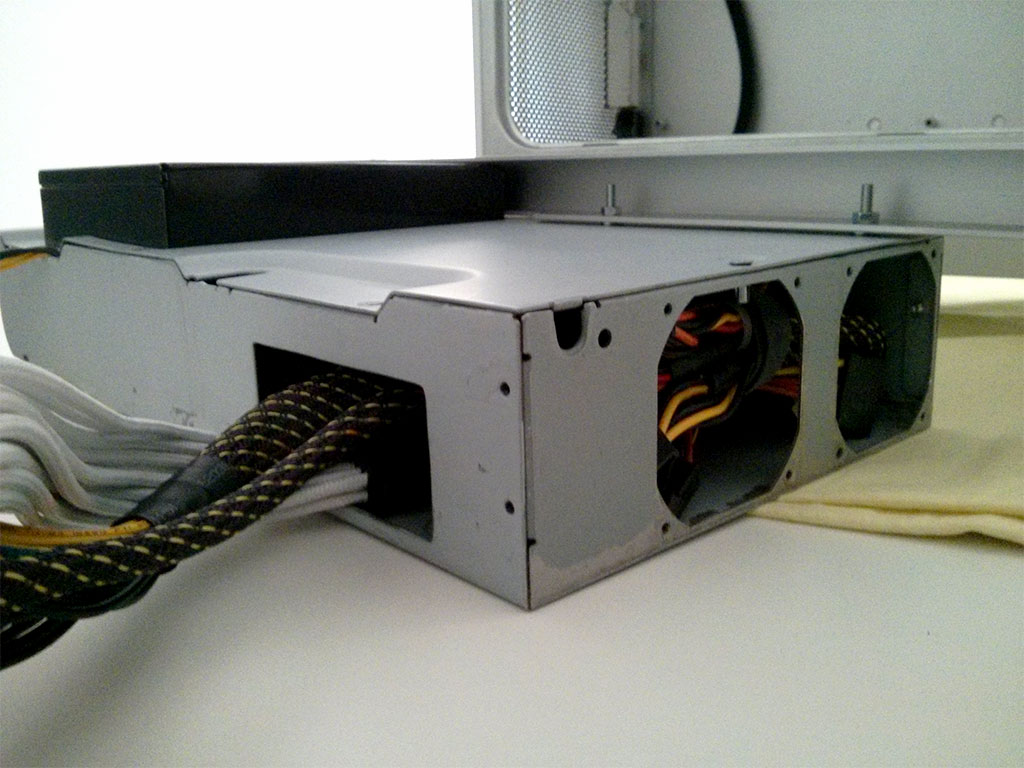
PSU installed into the G5 case:
65127-08-psu-fitting.jpg


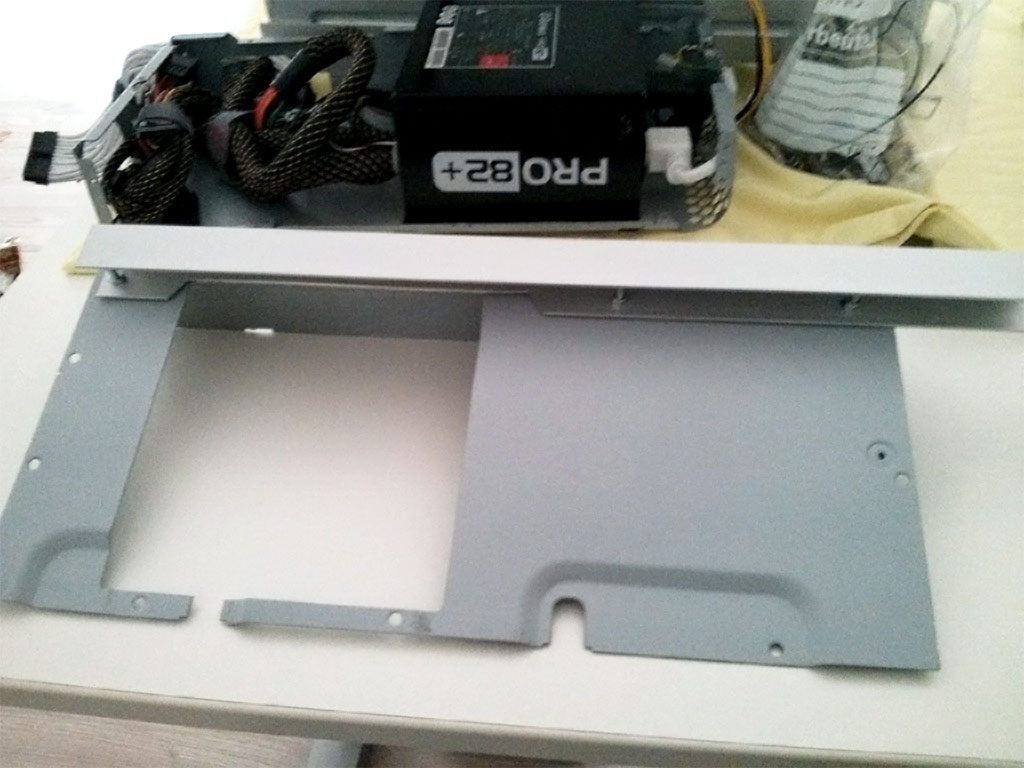
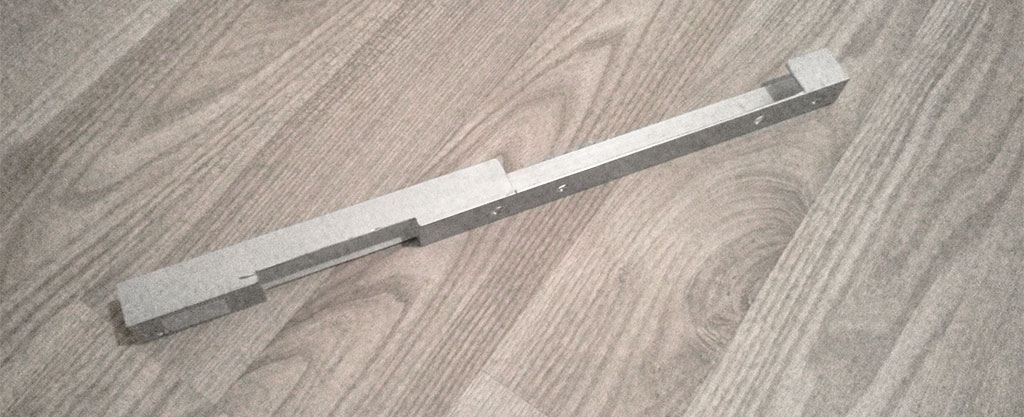
The second u-shape aluminium bar in detail:
65128-09-psu-fitting.jpg

65129-10-psu-fitting.jpg


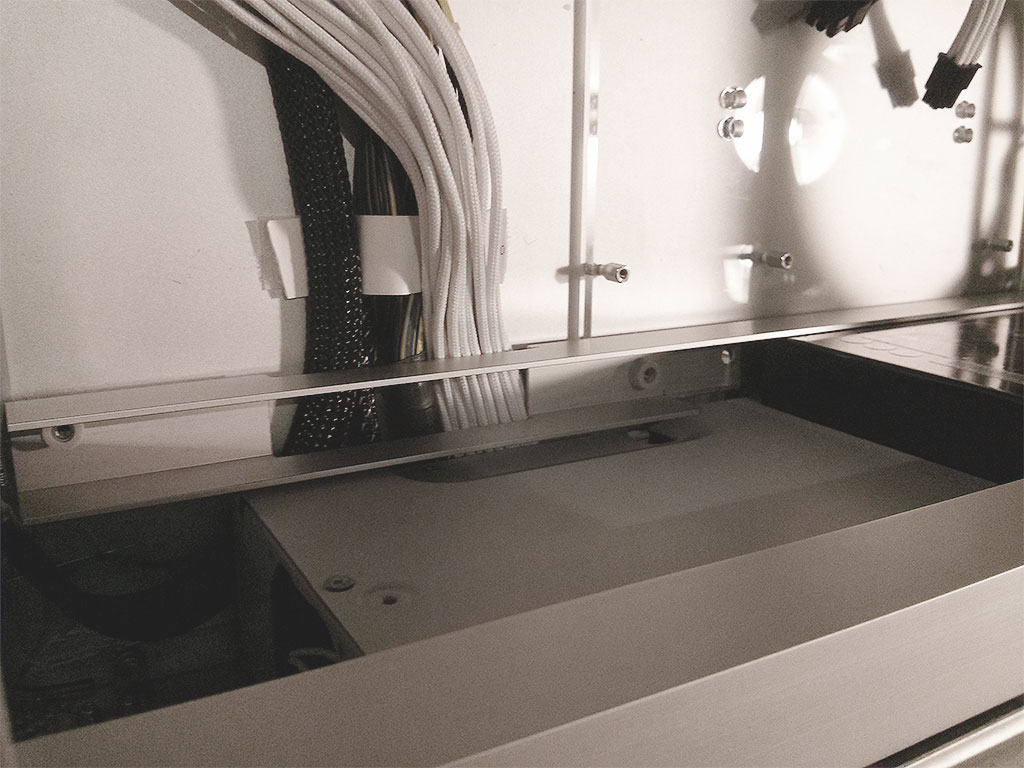
With the acryl-cover in place. One 120mm fan still fits into the planed position.
65130-11-psu-fitting.jpg
 
Last edited by a moderator:
This is looking like the start of a very nicely thought out mod! Love the aluminium bar/cable tidy idea.

Can I ask what you used to cut the floor of the G5 case? Dremel, jigsaw, other?

Looks too neat for a Dremel job or else you're the Dremel King... :)
 
Finished the mod yesterday evening:
93278-g5-done.jpg


I will add some better photos when I have the time …
 
Last edited by a moderator:
@minihack:
Thank You! The different mods from this great community were a great inspiration. And your G5 conversion kit came in pretty handy :D

@sebgreen
I am using four small square aluminum bars (not visible in the pictures) which I glued to the back of the case.
I drilled a hole into each bar and used an M4 tap with a tap wrench and four M4 Screws
Maybe I will use some countersunk screws in the end and spray paint them white.

The fan bracket is just “glued“ on the aryl cover with some 3M velcro tape.
 
At first, I marked the bottom of the case, as you could see in the first image. Then I drilled some holes in each corner section.
From the outside of the case I connected these holes with a dremel.
The rest was all about filing…


Check out the website of Attila Lukacs: http://www.stillthinking.com.au/aboutstillthinking.html, he has a great guides section where he explains in detail the different stages of modding and working with aluminum.
Great stuff and all of his mods are over the top.

Hello, great job :)
I have a doubt. How did you connect the wires from new psu to original case plug?
 
Last edited:
Status
Not open for further replies.
Back
Top