Contribute
Register

Mac G5 ATX Conversion - Noob Attempt 2

Status
Not open for further replies.
Joined
Dec 24, 2012
Messages
143
Motherboard
H81M-H
CPU
i7-4770
Graphics
HD7950
Mac
  1. iMac
  2. MacBook Pro
Mobile Phone
  1. iOS
Okay, here goes attempt two!

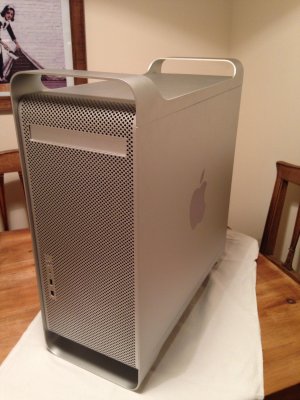
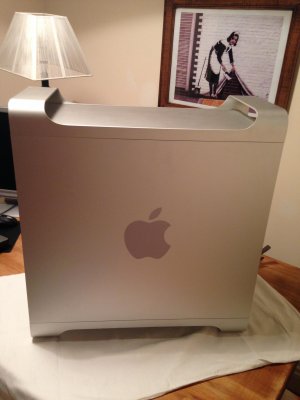
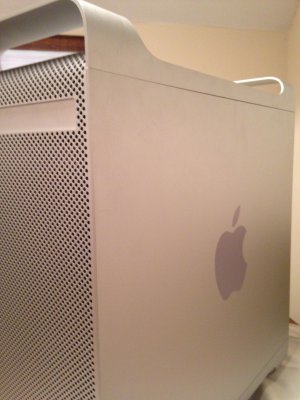
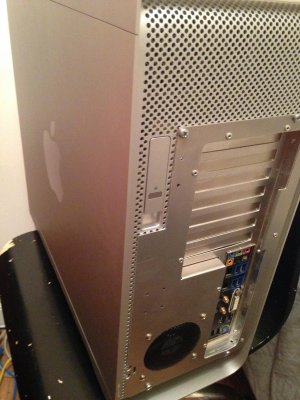
Below is the G5 I acquired for £40 from eBay. It was the Late 2005 water-cooled dual CPU quad core with 6GB of RAM.

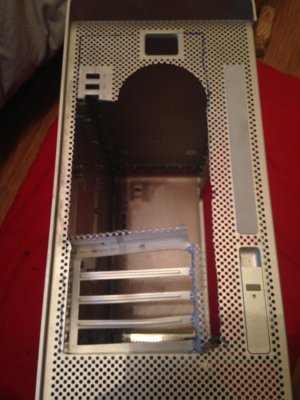
It didn't work when I purchased it, so all is good! I have already stripped the contents out and removed the PSU, as well as come to a conclusion on how I want to mount everything.

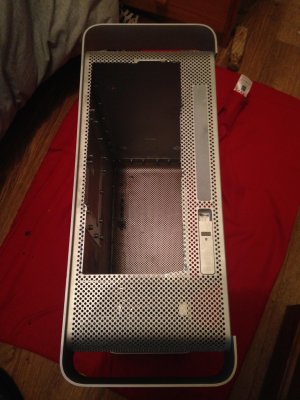
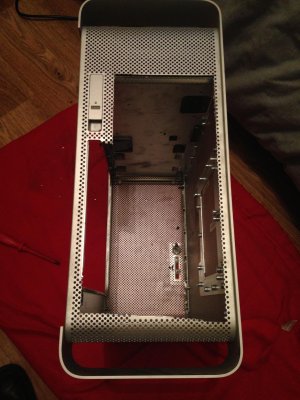
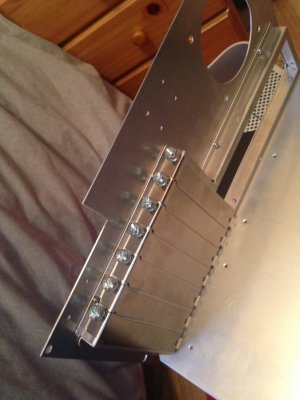
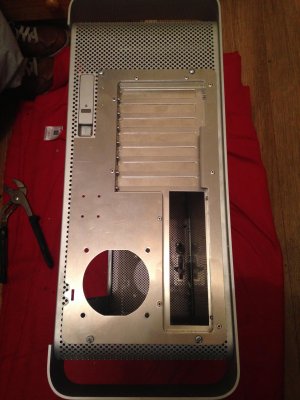
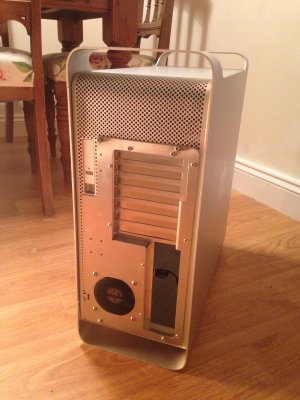
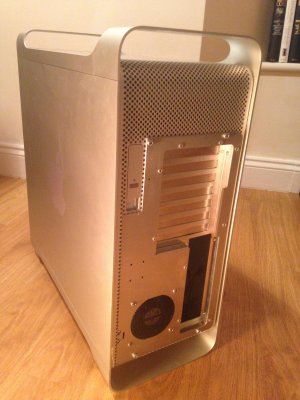
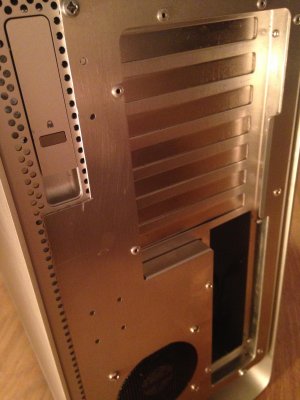
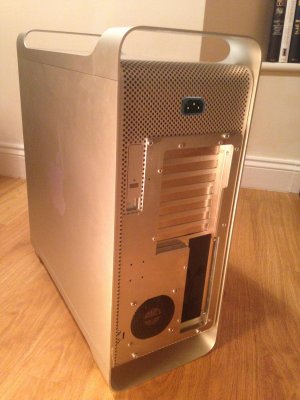
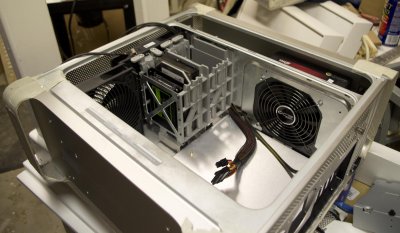
Below are some pictures of the G5 after I had finished emptying it out! :)

IMG_2254.jpgIMG_2255.jpgIMG_2256.jpgIMG_2257.jpgIMG_2258.jpg

Check back soon!
 
Okay, so here is a more in depth overview of my situation and a bit about the old G5.

Old G5:

Some of you may have seen my old G5 mod thread, it lasted about 2 months if I remember correctly. I put some thought into it long before I received the G5. After that I feel like I rushed it, and not giving things enough thought!

Anyway, the G5 is still in the condition it was in on my previous thread, if not slightly further ahead. I had basically installed the mb tray and backplate, fitted all my hardware, then just left it as I ran out of money for a while.

Not long after I had reached that point, we decided to move house. During the moving, a trusty removal man managed to drop the case, leaving it really damaged. Kinda bent, rather scratched and missing paint.

And thats why, I have decided, to do....

Mac G5 PPC to ATX Conversion Noob Attempt 2!

So, hows it going so far I hear you ask! I'll run you through that now!

Okay, so I did a lot of scouring around on eBay to find a really good condition one from a private seller, not from an outlet like last time!

I came across an immaculate Late 2005 G5, with 2 CPU's, 6GB of RAM with the water-cooling setup inside. It was selling for parts basically. The issue was LED's 1 and 7 were lighting up on the board after about 20 minutes. I did have a quick shot at fixing it, but lost hope when I found coolant on the motherboard. The machine cost me £40 with £14 postage down the country. Came next day which was amazing!

So at that point I got out my tools and set to work. In about an hour I had removed everything from the machine.

So, what am I going to do differently this time?

Well basically, everything!

- I am not going to paint the case as its in pristine condition.
- The original PSU will be chucked and that area used for the lower of the MB tray
- The top shelf will be used to house the PSU
- The front panel might be rewired if I can manage it
- I will handle it myself if I move again :lol:

So I have at the moment, the G5 itself (95% stripped) an actual mb tray and backplate from KustomPC's.

And thats it really....

I plan for this to take me around a month at the most?

I get paid on the 25th, which is when the fun really starts!

So make sure you check back soon, I have a really good feeling about this mod... touch wood.

Enjoy!

Jack :)
 
So over the weekend I couldn't do much with the G5 itself, but I did get chance to have a look online for the hardware I want.

I've decided on the following:

Intel Core i5 4670K CPU
Gigabyte Nvidia Gtx 960 Windforce 2 GPU
Corsair Vengeance Low Profile 8GB RAM
Gigabyte Z87N-WiFi Mb
600w Corsair PSU

And all of that should go nicely into my G5!

I plan to dual boot it between Windows 8 and OSX

Should be getting the hardware soon, over the next two months I should hope.

Jack
 
Last edited:
Well I decided to assign myself the evening and get some more G5'ing done! I managed to make good time and got the entire back panel done! I did it in about 15 cuts - removing section by section until my backplate fit nicely!

Have a look!

Here are the sections being removed bit by bit:

IMG_2365.jpgIMG_2367.jpgIMG_2369.jpg

I had to cut the backplate to account for the side latch:

IMG_2366.jpgIMG_2370.jpgIMG_2371.jpg

And here is the finished backplate and mb tray fit nicely:

IMG_2372.jpgIMG_2373.jpgIMG_2374.jpg

I should be getting my 600w Corsair PSU on Thursday (19-Mar-15), then I'll try remove the top shelf and fit that!

Next port of call is the front IO. I'm beginning to have second thoughts as I have the 2005 front IO. The one that doesn't have pins, it simply has a connecter which would have met with the motherboard in the original G5. This one to be exact:

_DSC0005.jpg

I might have to get creative here...

Stay tuned!

Jack :)
 
So I've just done some snooping around the interwebs, and the following pictures show exactly how I plan on fitting my PSU:

Credit to the respectful owners:

So yes, this is my own G5 with a photoshopped PSU port on the back. Use your imagination here, that psu port will be fitted there, then on the other side will be a power cable, soldered to that connection, and the other end going into my PSU...

1.jpg

This one shows the positioning I would like... Set almost at the back, but far enough forward that the PSU doesn't quite touch the rear bolts across the top, leaving room for the cable.

Image 13.JPG

This last one shows how I shall cut out the hole for the 120mm fan on the PSU. Mounting the entire psu using the holes for the PSU fan itself. This person used aftermarket screws. Looks like I'll be buying some more...

u8HJMrU.jpg - Credit to rehpotsirhc

Hope everyone is enjoying reading this! Would love some feedback!

Jack
 
This last one shows how I shall cut out the hole for the 120mm fan on the PSU. Mounting the entire psu using the holes for the PSU fan itself. This person used aftermarket screws. Looks like I'll be buying some more...

View attachment 130601

Hope everyone is enjoying reading this! Would love some feedback!

Jack

That last one is mine, I just used large, coarse sheetmetal screws I had laying around that matched fan screws pretty closely. Be careful not to use ones that are much longer than the originals or you may end up shorting something out inside your PSU.
 
Oh awesome! Thanks for the tip! I'll credit you in my initial post :)

Thanks :)
 
janyon

One option is to convert to the earlier G5 Front Panel Assembly. The form of the front panel is the same. You just remove the two standoffs from your panel and install the other assembly with two screws.

G5-FrontPanels.jpg


But before doing that, you might consider upgrading the assembly to newer technology. For example take a look at the LaserHive offering. http://www.thelaserhive.com/kits/front-panel-conversion-for-g5mac-pro/

Keep up the good work and your thread.

Good modding,
neil

Hi Neil!

Thanks for the feedback!

I didn't know the LaserHive alternative existed! I think I might go with that, as last time I looked, the front IO for the G5 was around £30 and the conversion cable was also around £30. So maybe that would work out slightly cheaper...

But money out of the equation I would love to retain the original look, so maybe I'll pickup ANOTHER G5 for dirt cheap, just for the front IO...

Thanks,

Jack
 
Last edited:
Tonight I decided to give the PSU fitting a test run. I got out the PSU from my old server machine, measured, then drilled!

Here is the measuring, cutting and fitting of the PSU itself!

As you can see, I decided to cut a rectangle, I just didn't have the amount of cut-off blades I needed to do the full circle. Maybe I'll do that once I get some more
IMG_2432.jpgIMG_2430.jpg

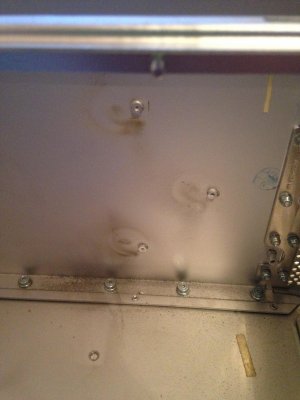
My G5 had 4 standoffs on the top, for the HDD cage. I had to cut these down without cutting through the case.

IMG_2435.jpg

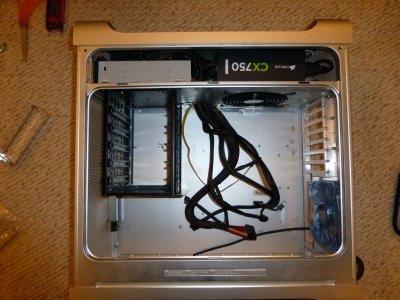
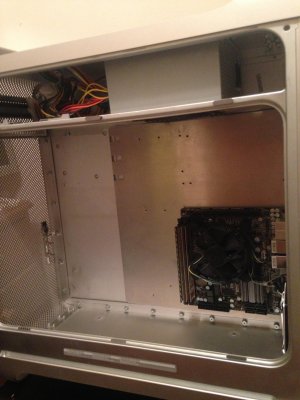
Here is the PSU installed, as well as my tiny mITX board, it looks very small in this case :lol:

IMG_2438.jpgIMG_2439.jpg

Here is the rear of the case, with the PSU and MB installed. I'm yet to create the power port, but thats probably tomorrow's job!

IMG_2436.jpg

I should be replacing that PSU on Friday after I have gotten my new one. I have also noticed, that the 24 pin power connector is in possibly the lowest place it could be. Making it VERY far away from the mb. I'm gonna have to buy a 24 pin cable extender.

Jack :thumbup:
 
Status
Not open for further replies.
Back
Top