- Joined
- Aug 1, 2011
- Messages
- 551
- Motherboard
- GA-Z170X-ULTRA GAMING
- CPU
- i7 6600k
- Graphics
- HD530
- Mac
- Mobile Phone
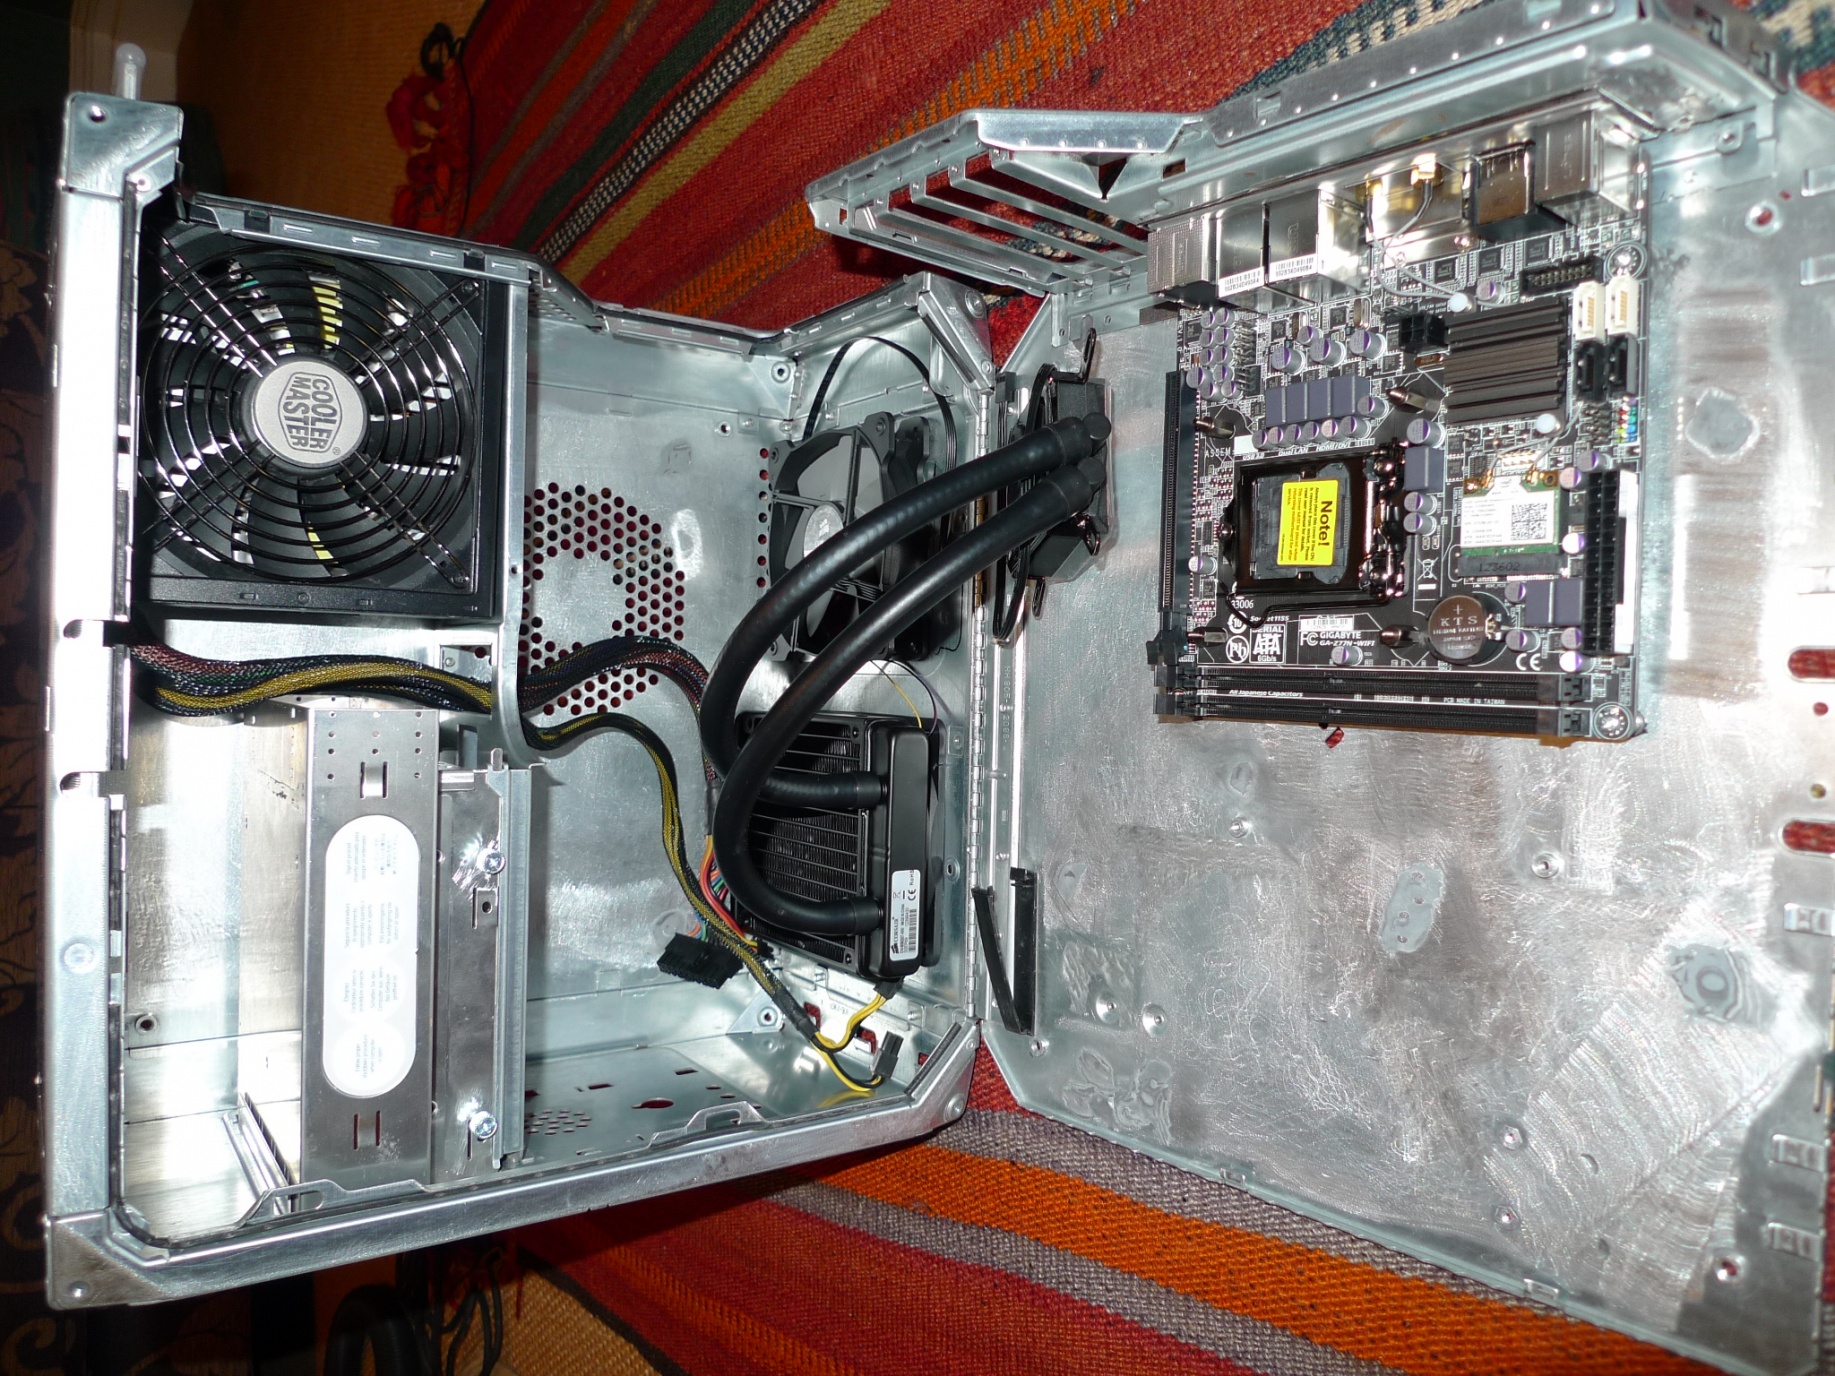
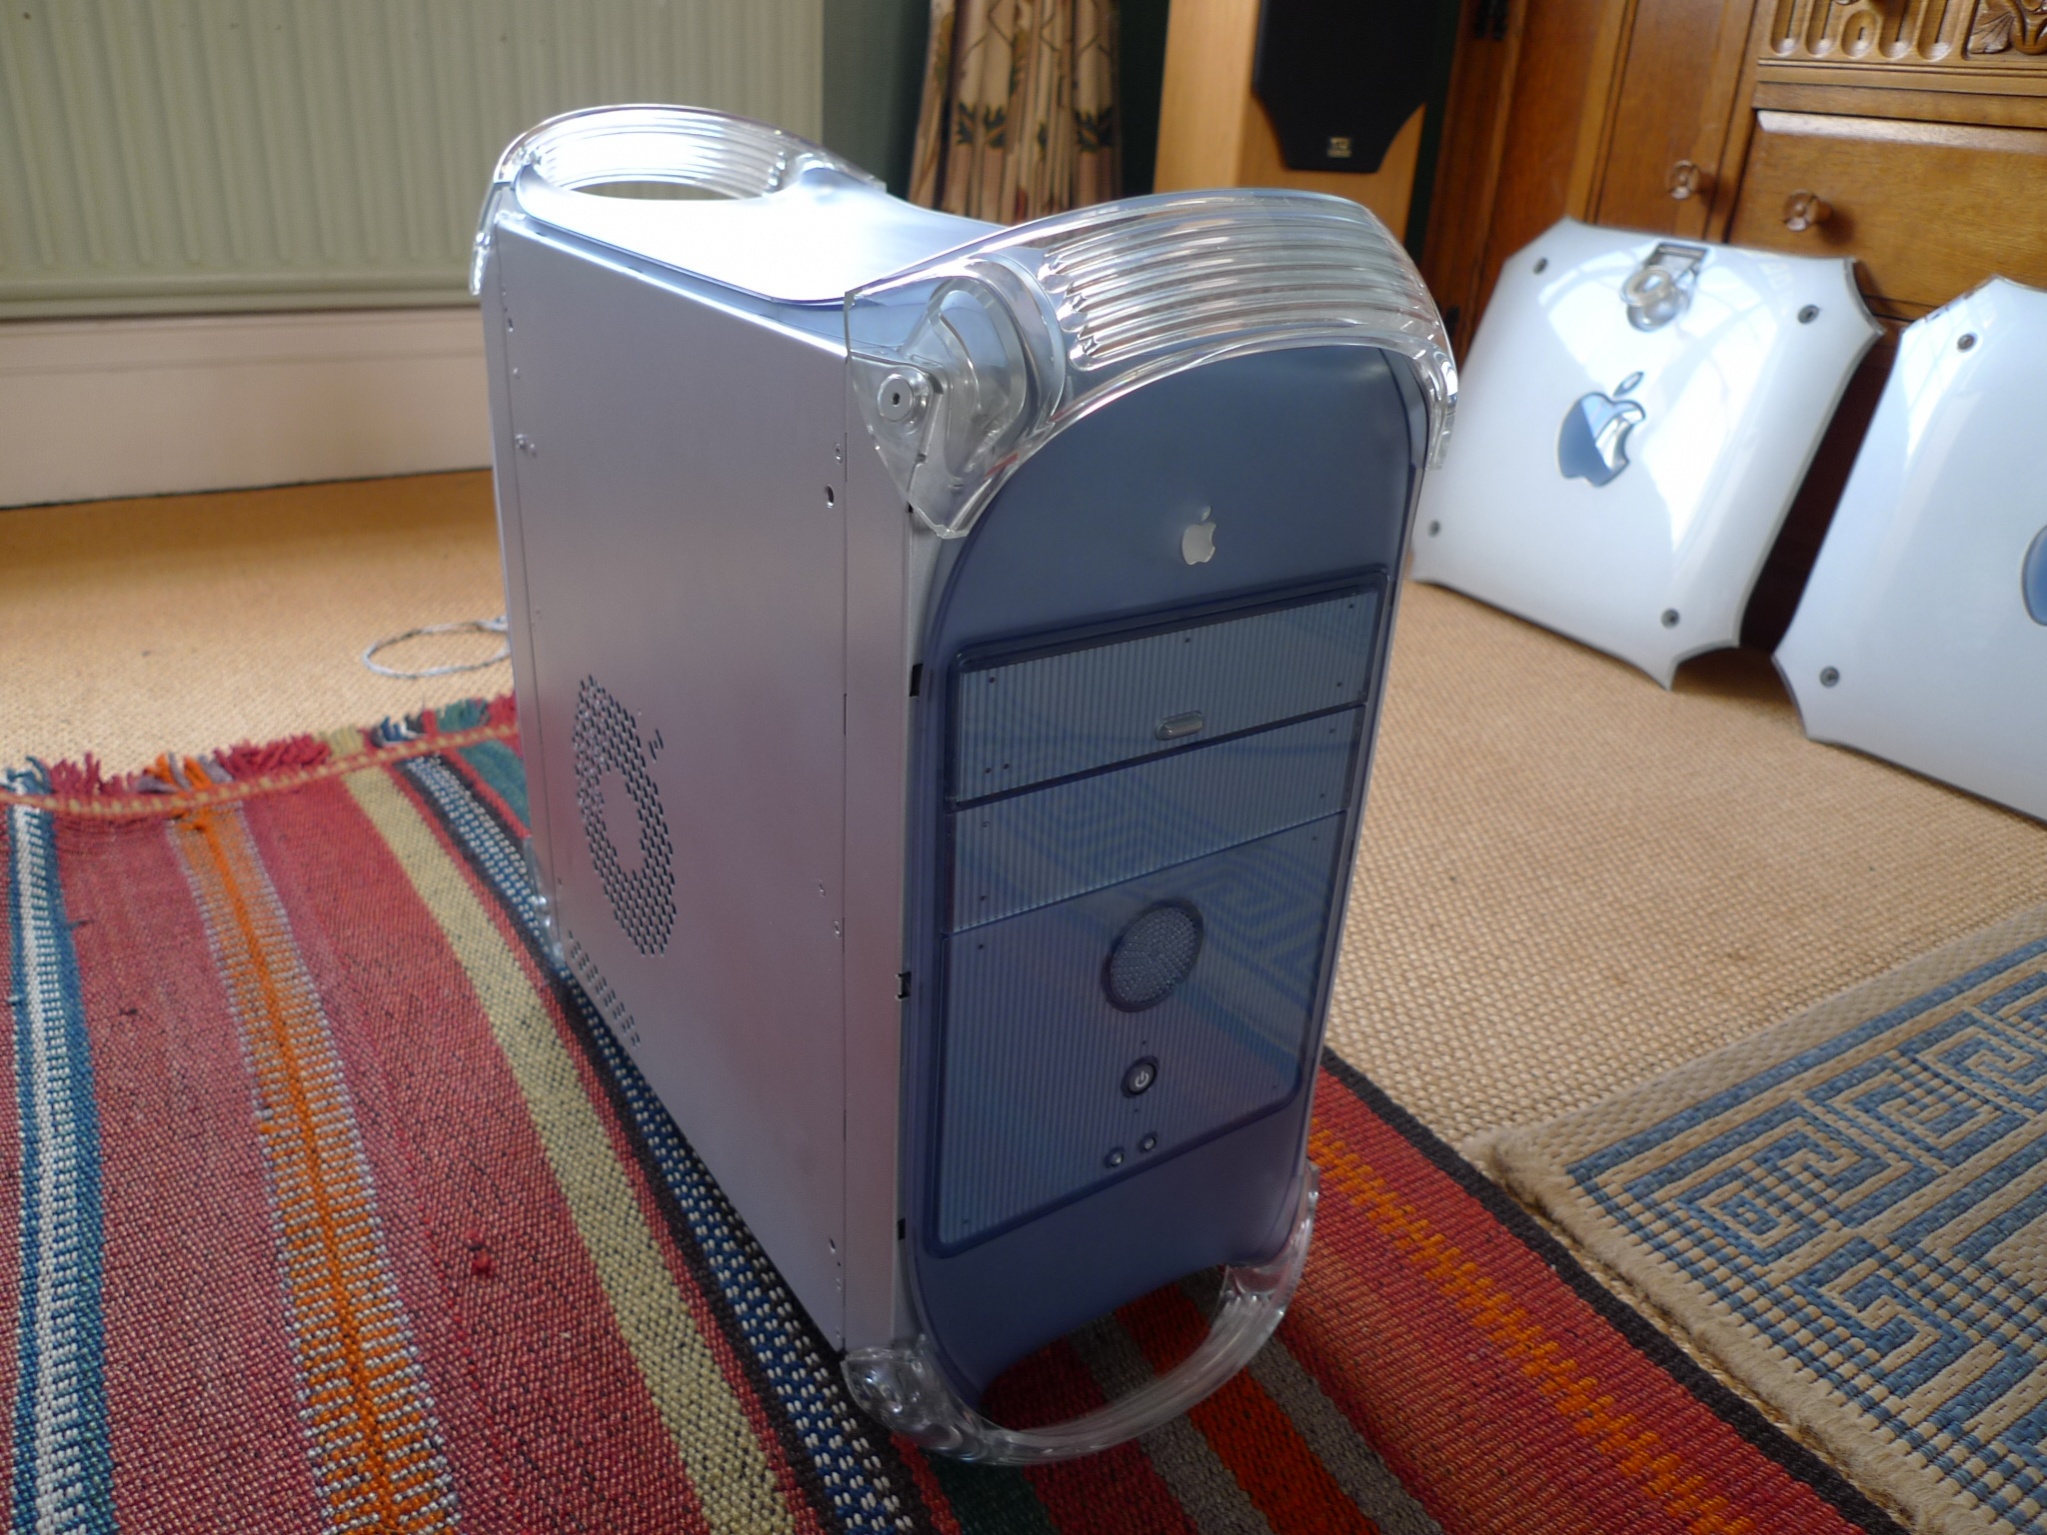
Hello, I've been slowly converting a mint G4 I picked up on ebay for 99p ") It was mint and actually booted up! Any I've stripped it all out and have been prepping the case to run a GA-Z77N-WIFI, Intel Core i5-3570K, Corsair H60.
It was mint and actually booted up! Any I've stripped it all out and have been prepping the case to run a GA-Z77N-WIFI, Intel Core i5-3570K, Corsair H60.
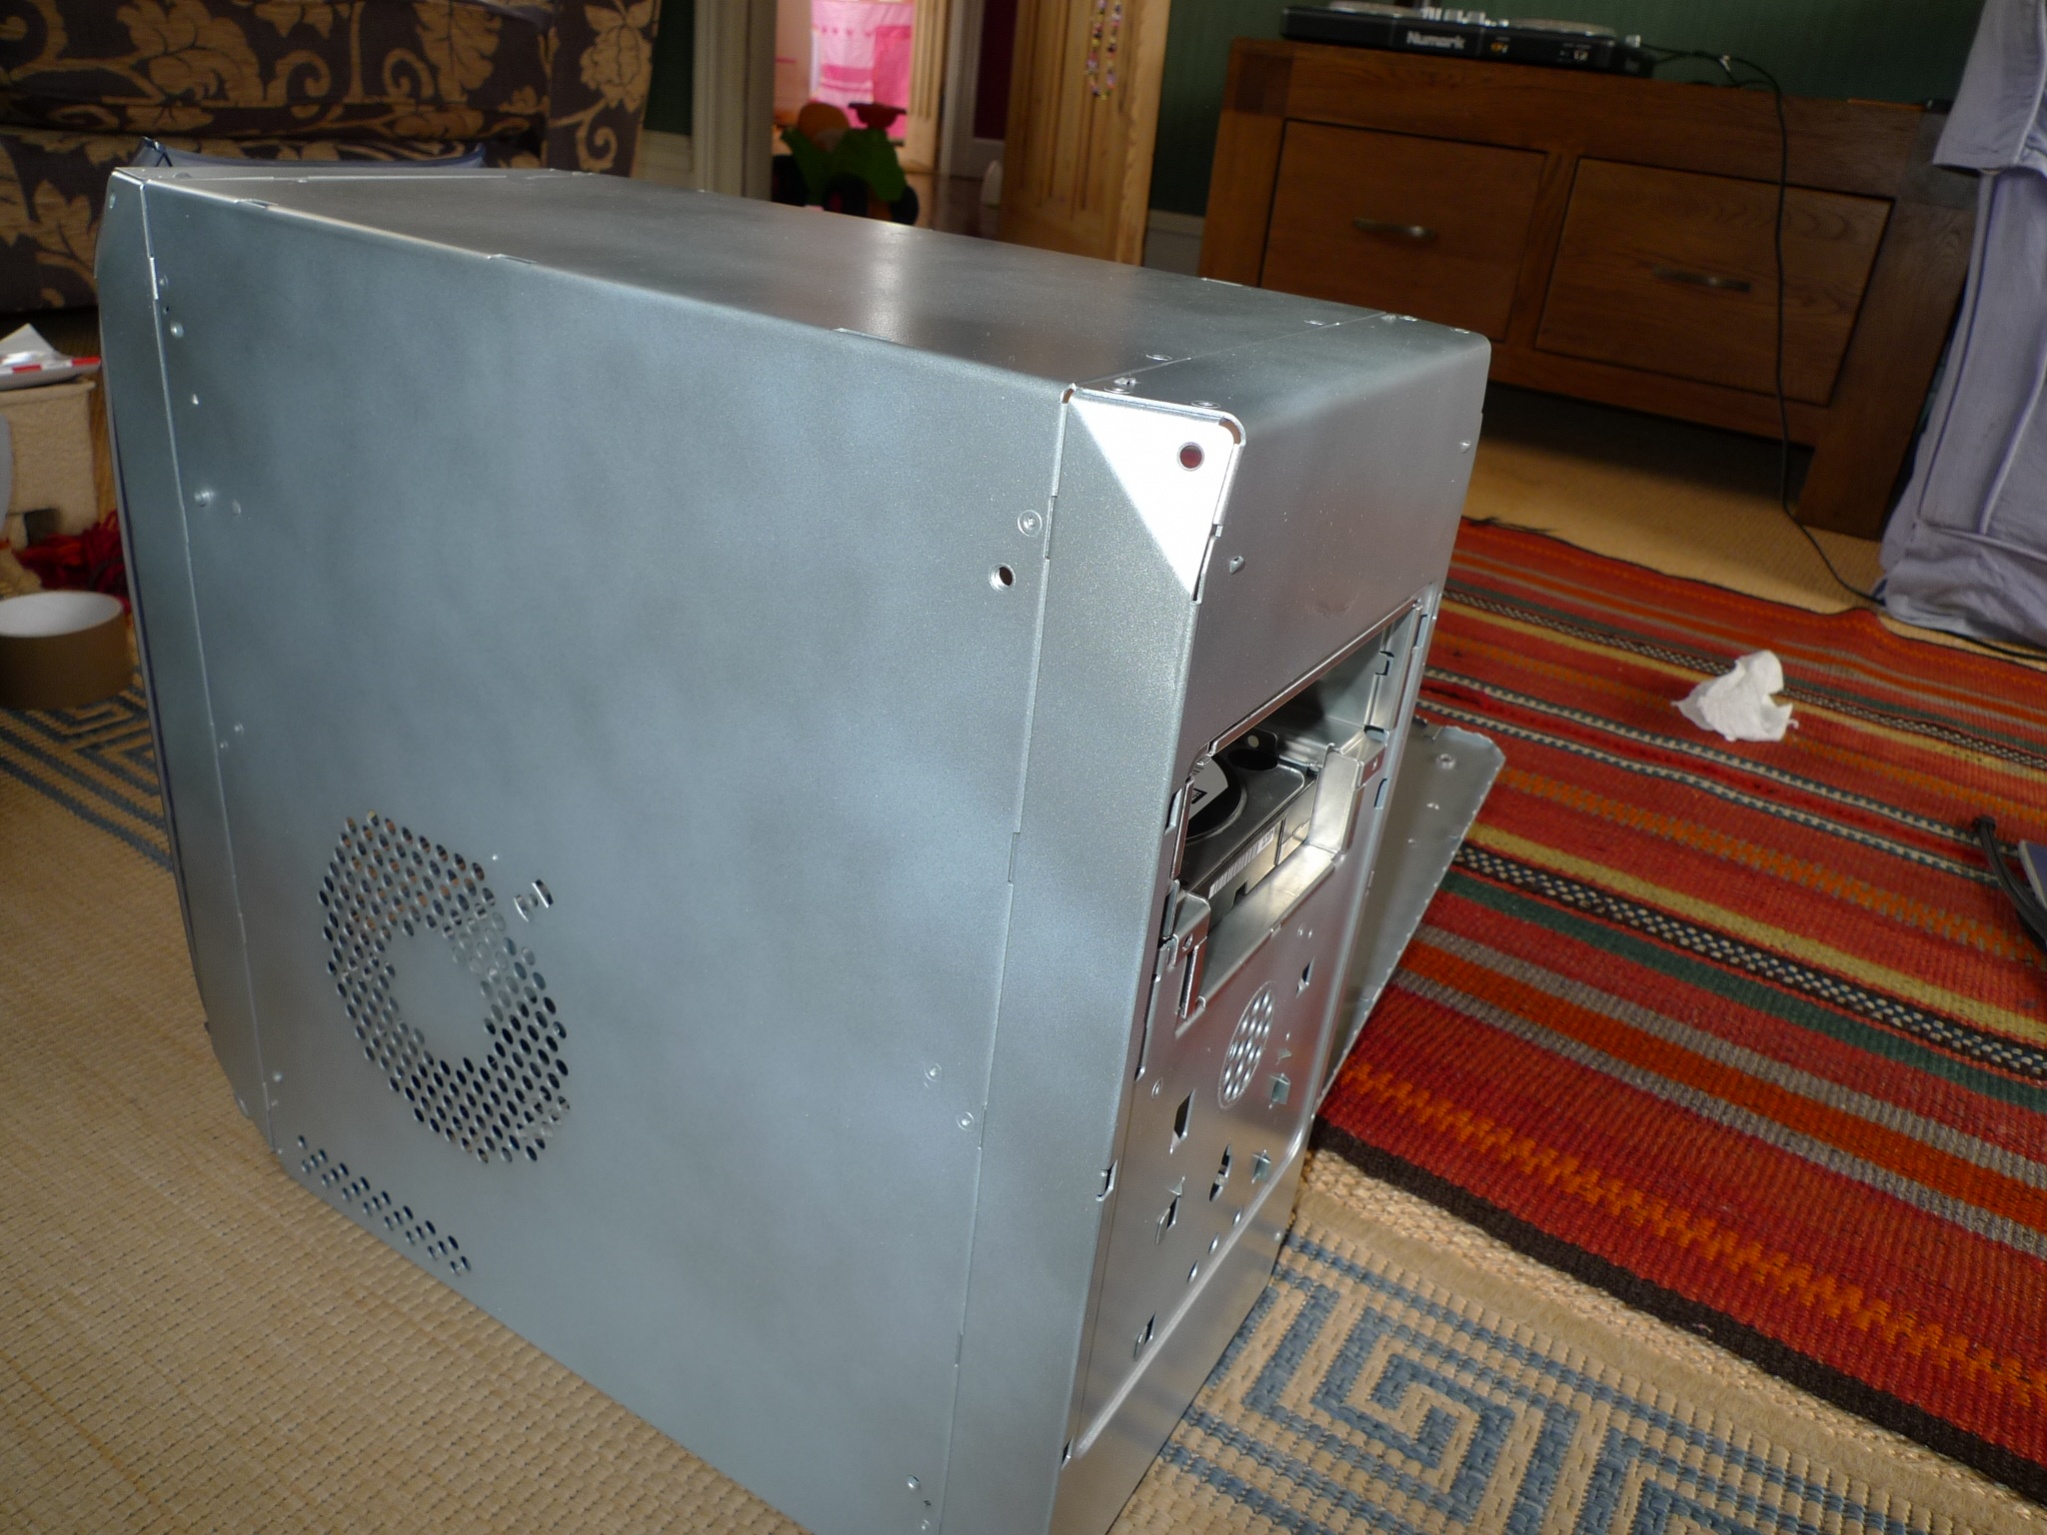
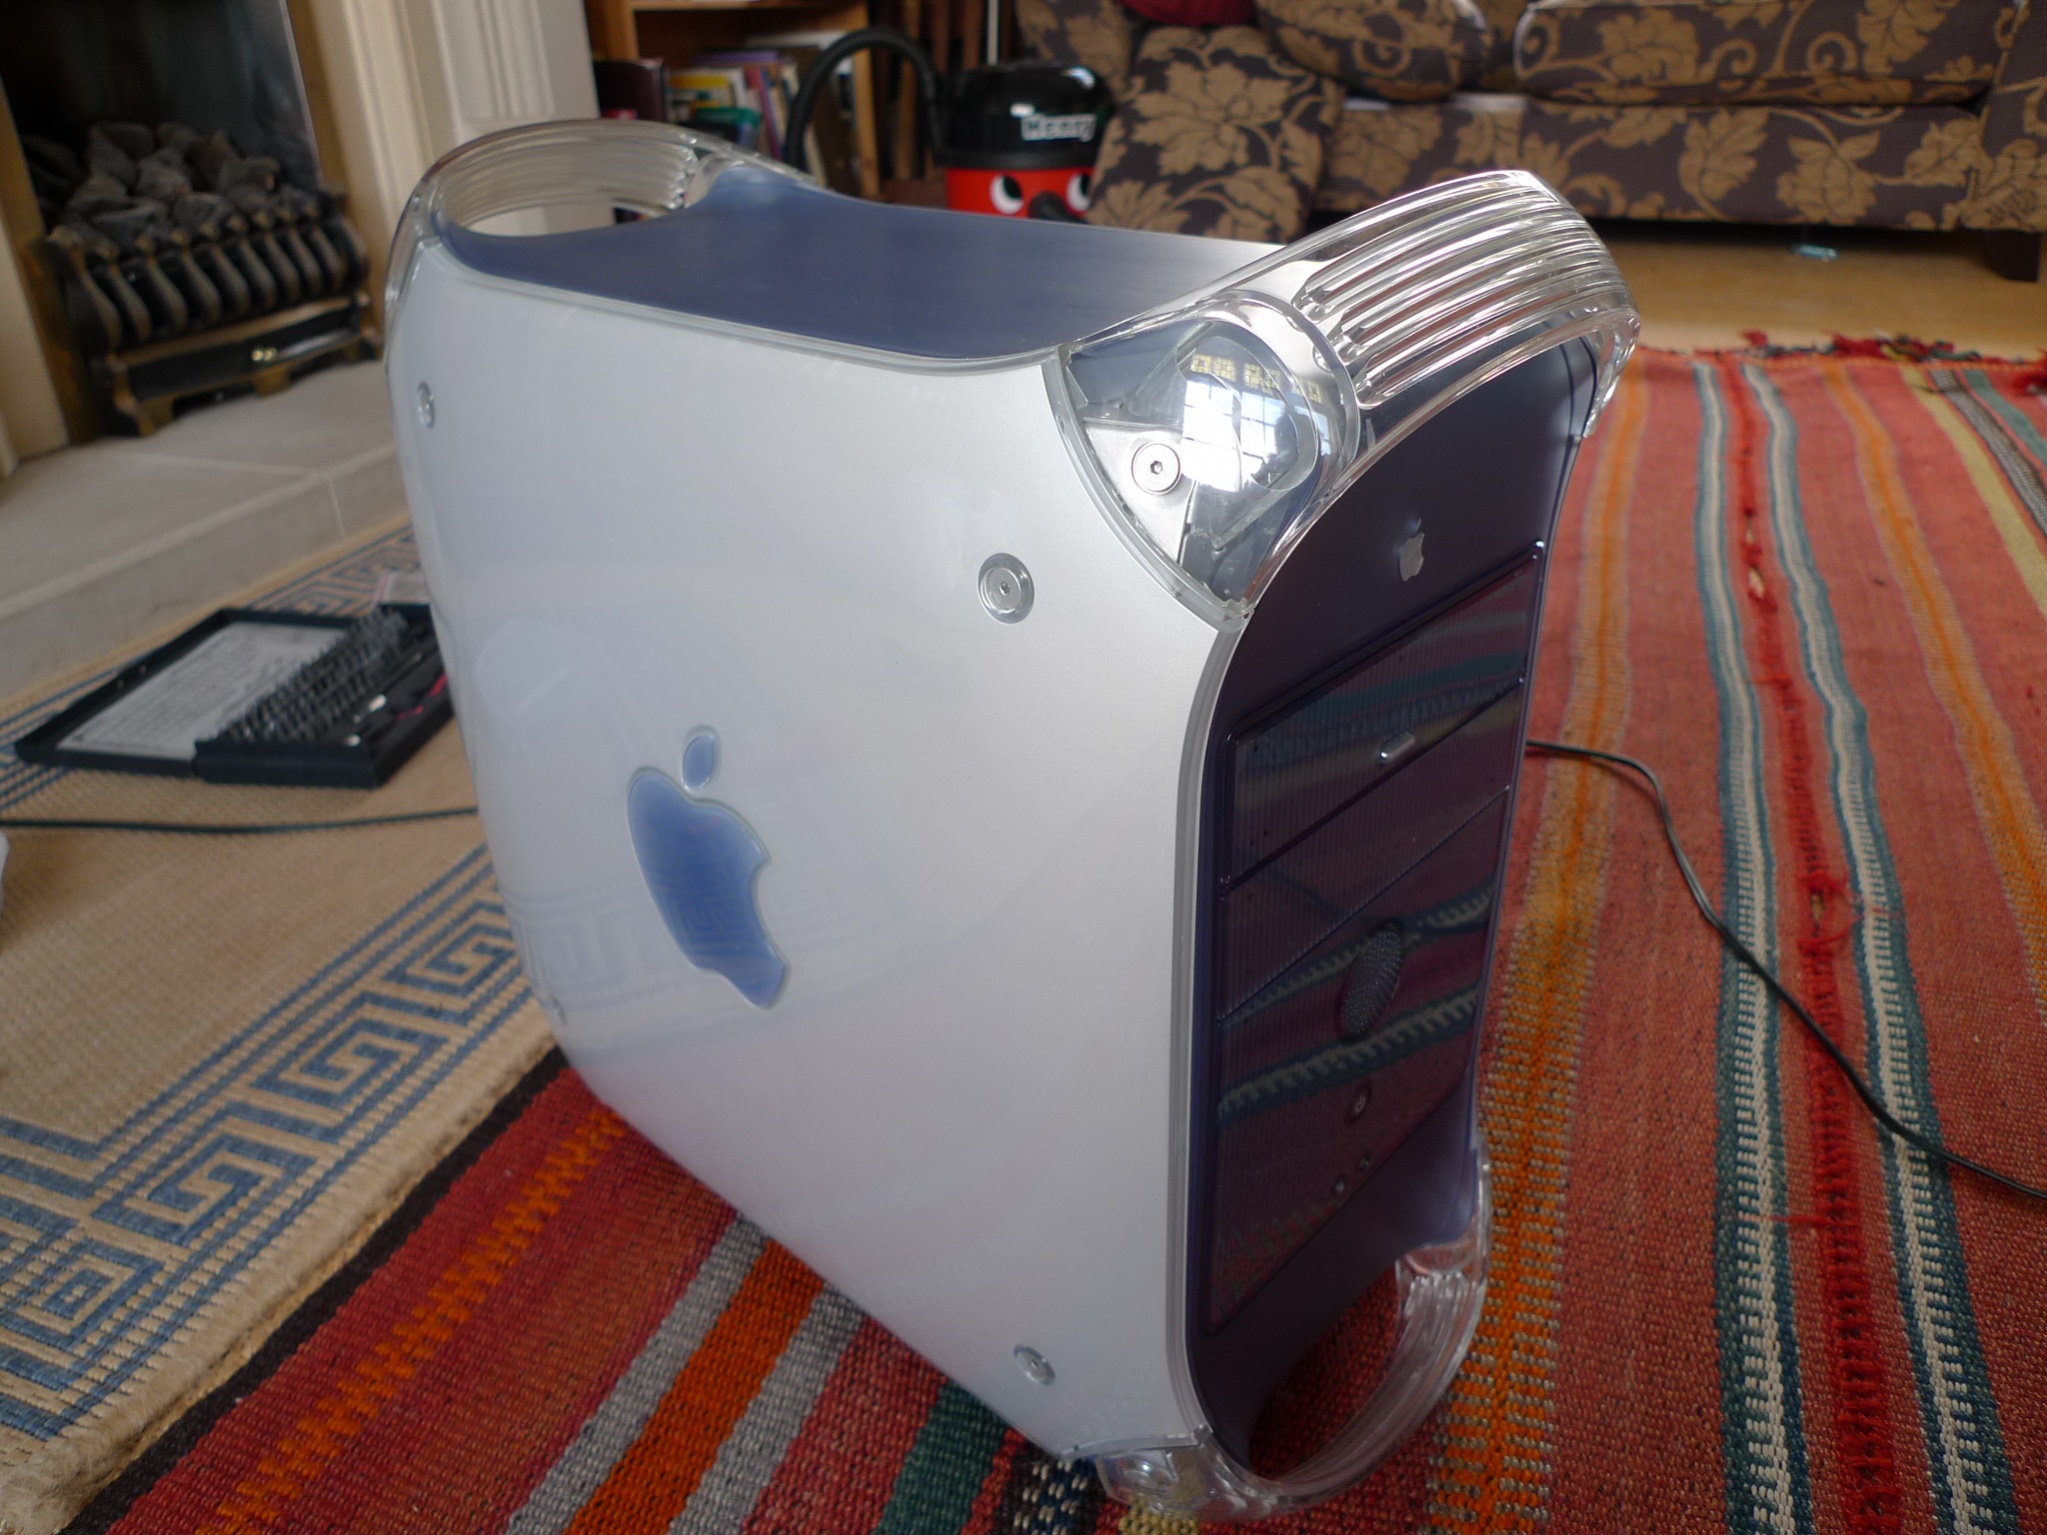
The case is mint so I can't decide whether to strip the paint off and paint the insides my own colours or leave it as Apple intended? To strip the paint seems a hassle using either isopropyl alcohol or brake fluid? Not sure which would work best? Need a lot of iso to soak the sides? Brake fluid is possible too harsh?
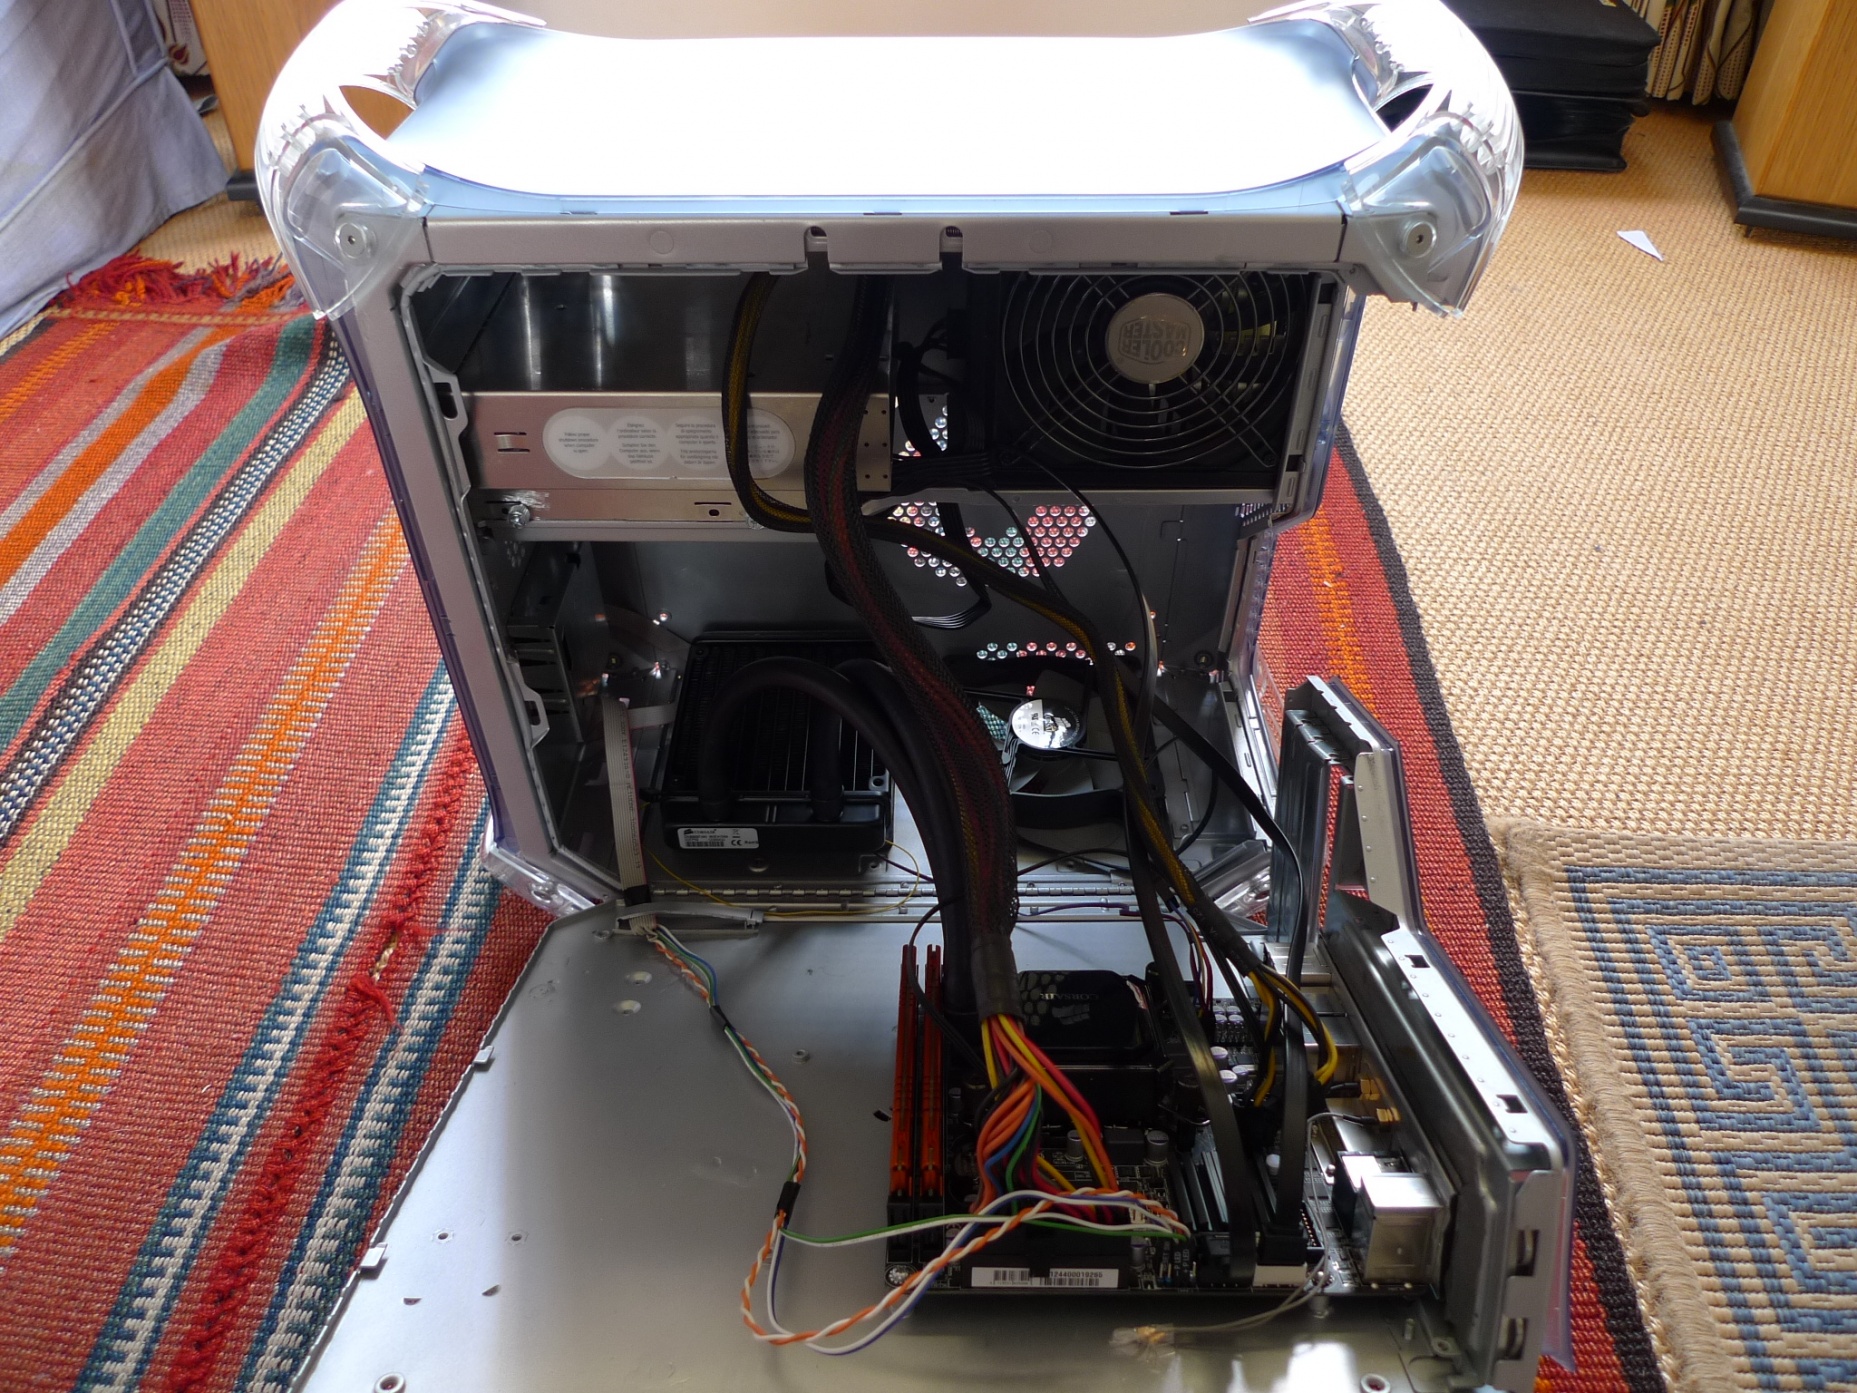
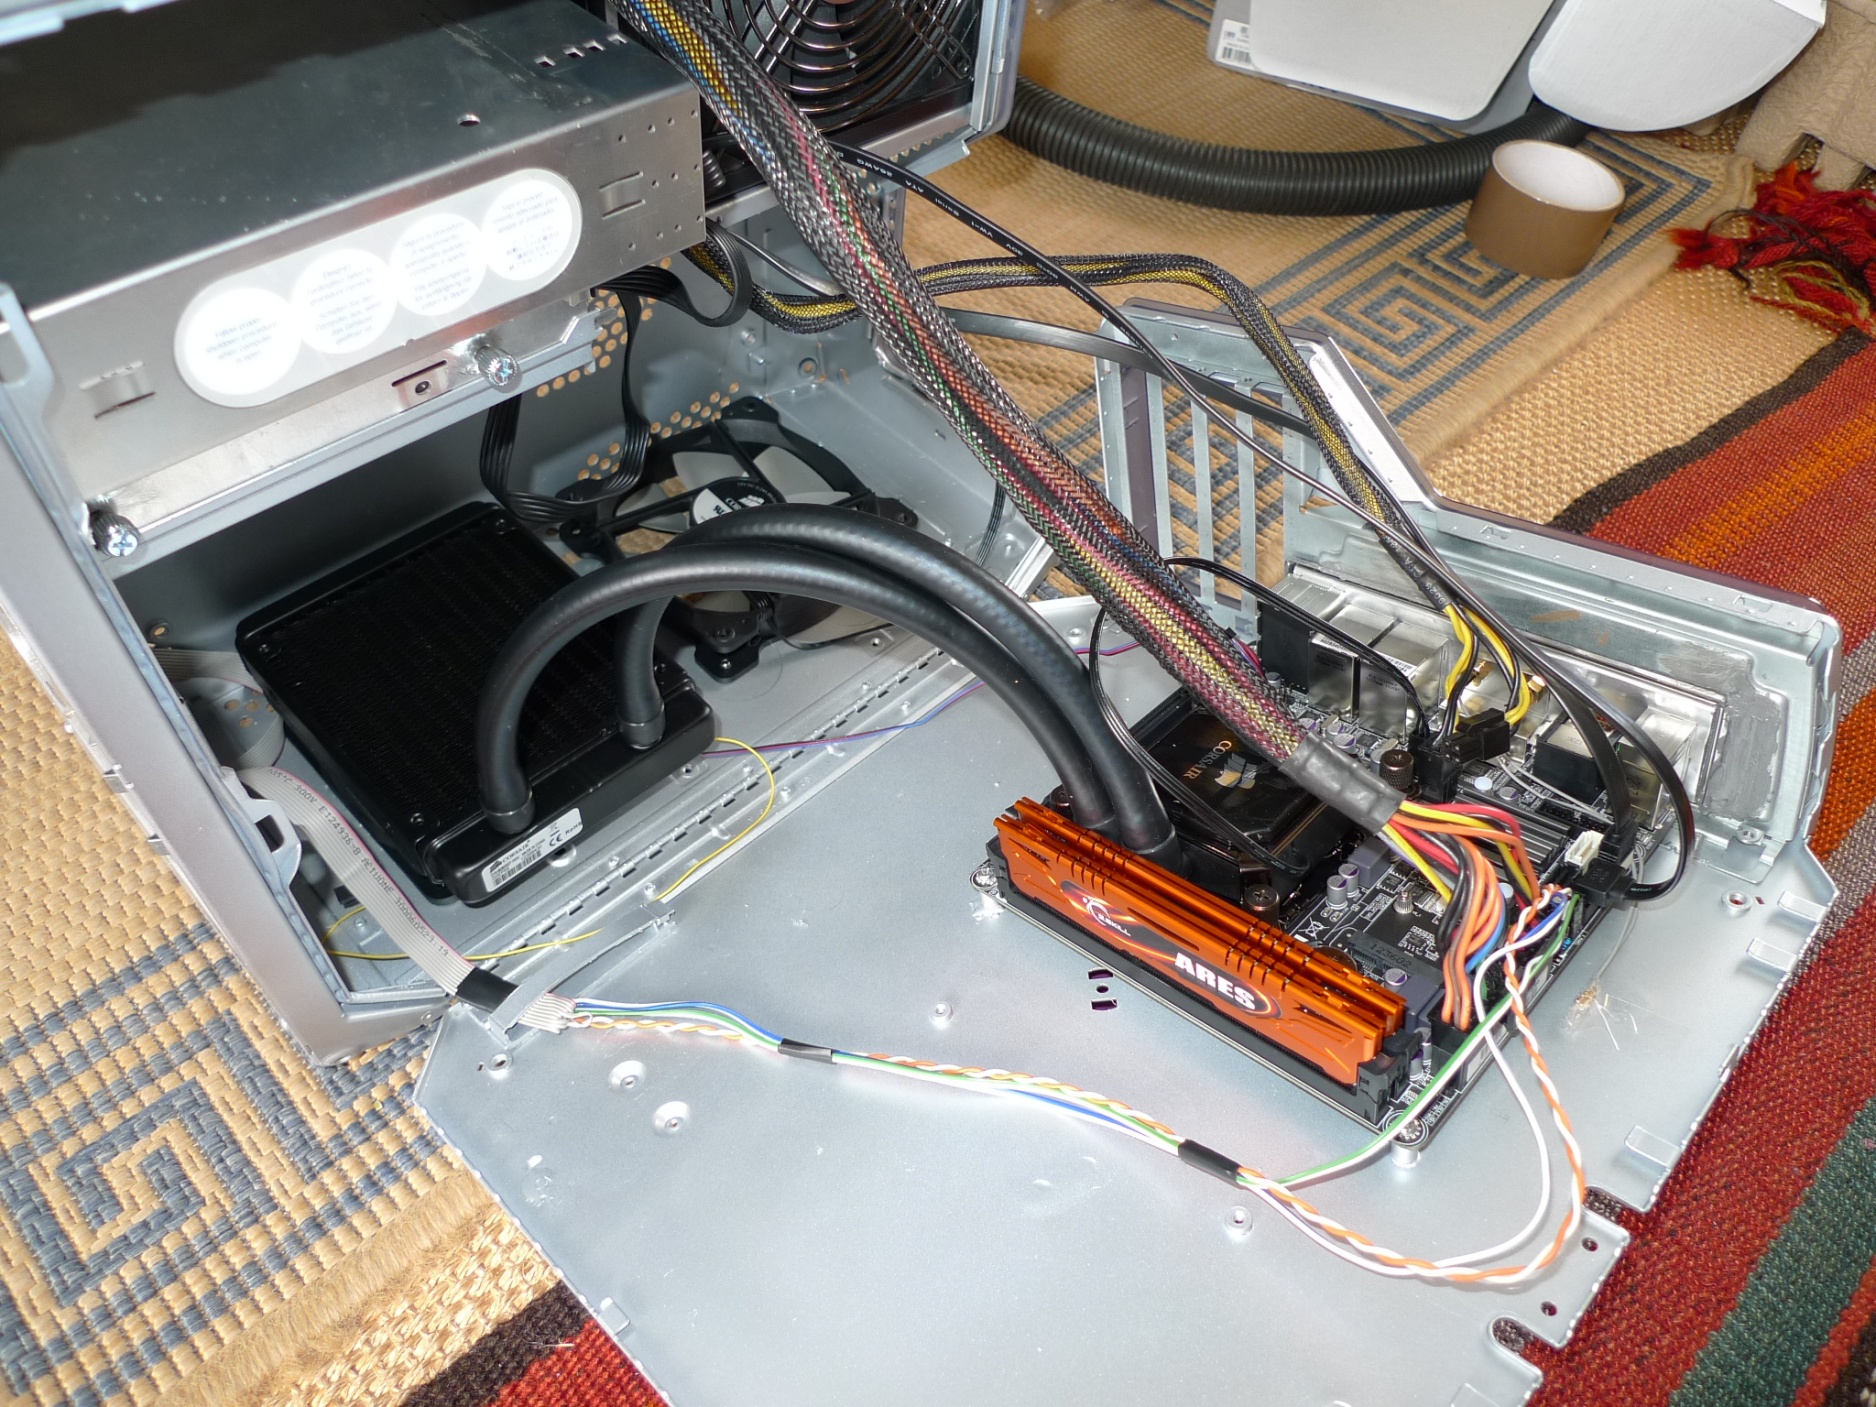
I'm thinking of mounting the H60 radiator on the bottom with an other 120mm fan next to it sucking air in? then the power supply would be blowing air out? Do you think that is sufficient cooling? Any advice would be gratefully received?
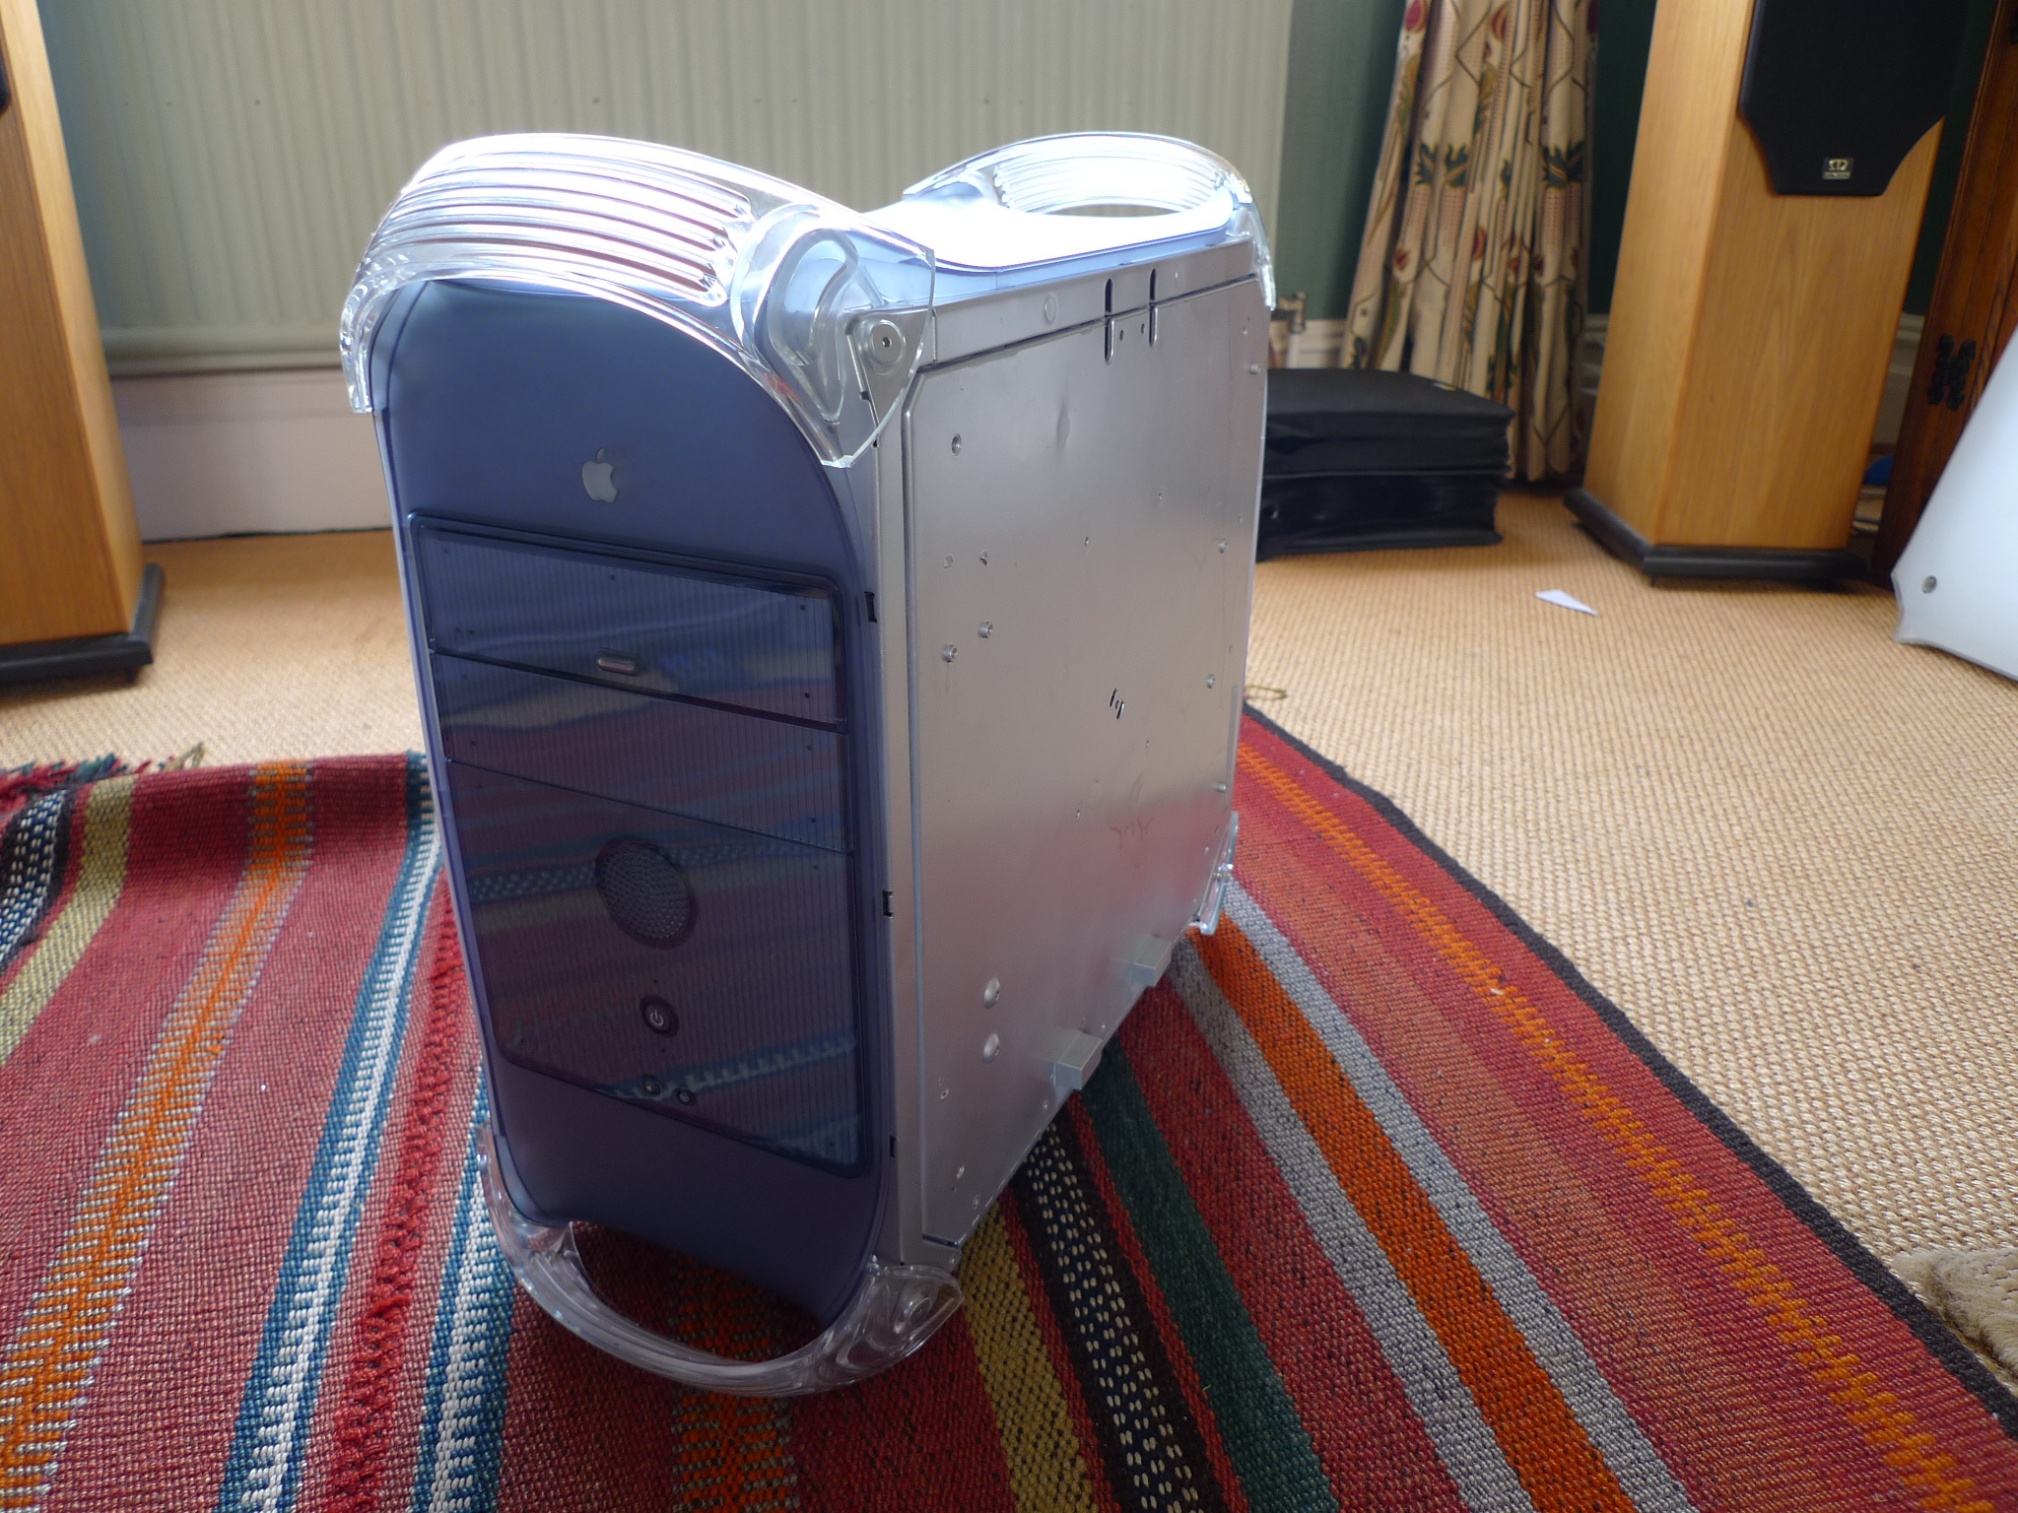
Anyway here are pictures of how far I've got? The case will be fully rubbed down and painted a flat black once fully ready.
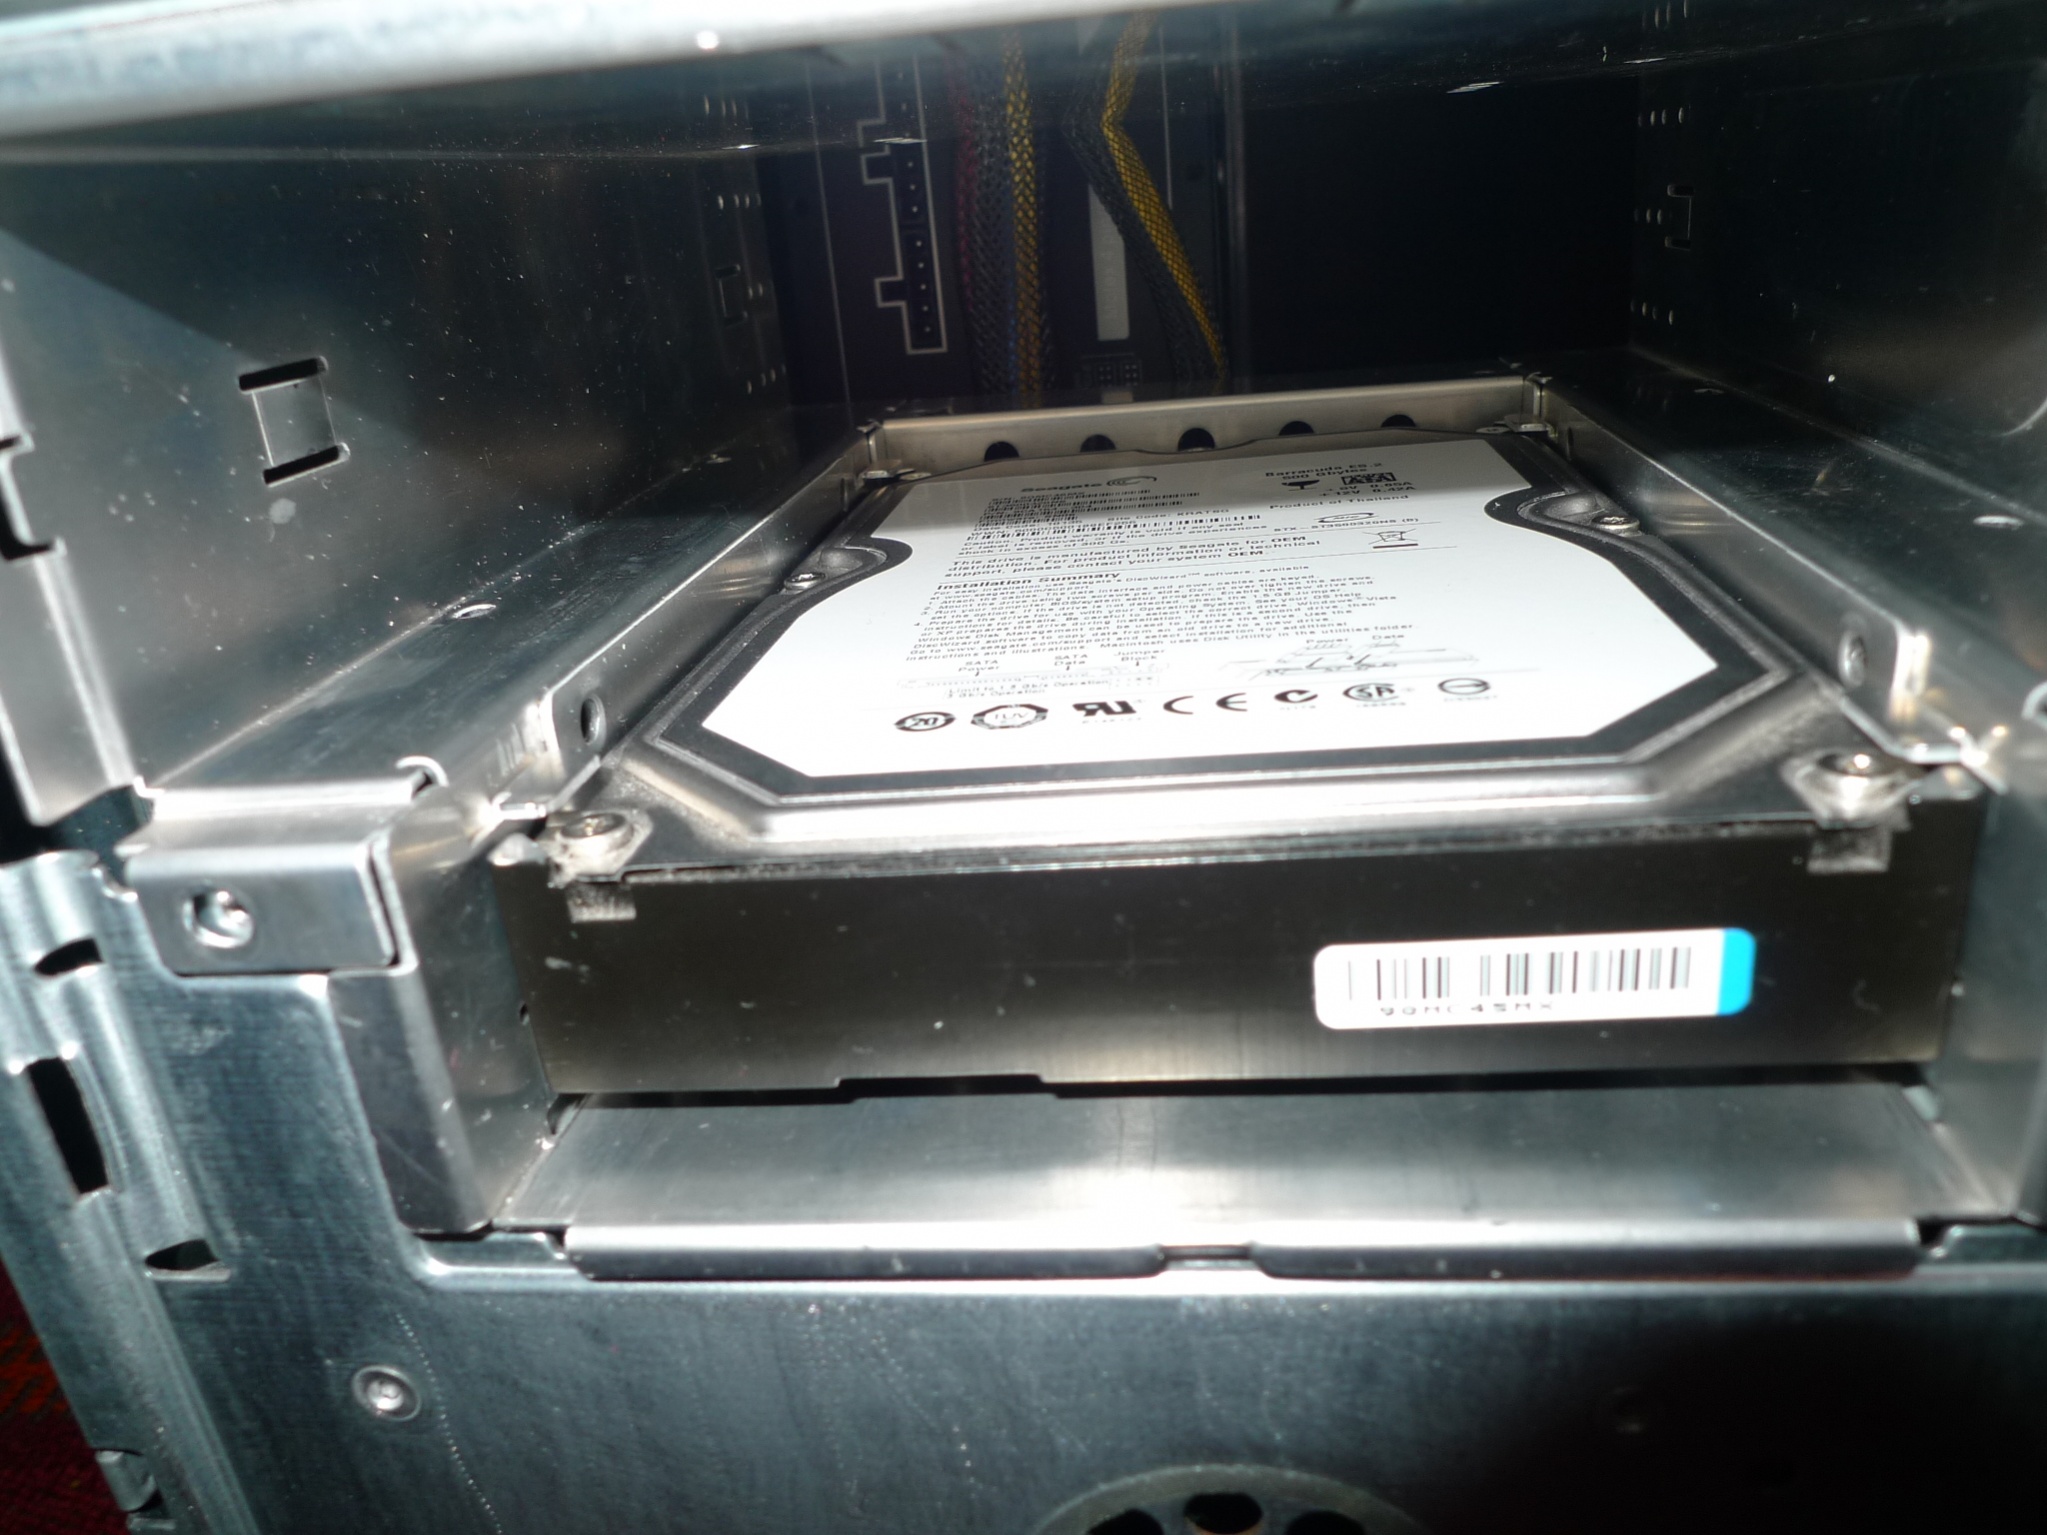
m-itx board looks too small in here but I'll have lots of room for RAM and DVD burner with none of the hassles experienced by other G4 hacks!
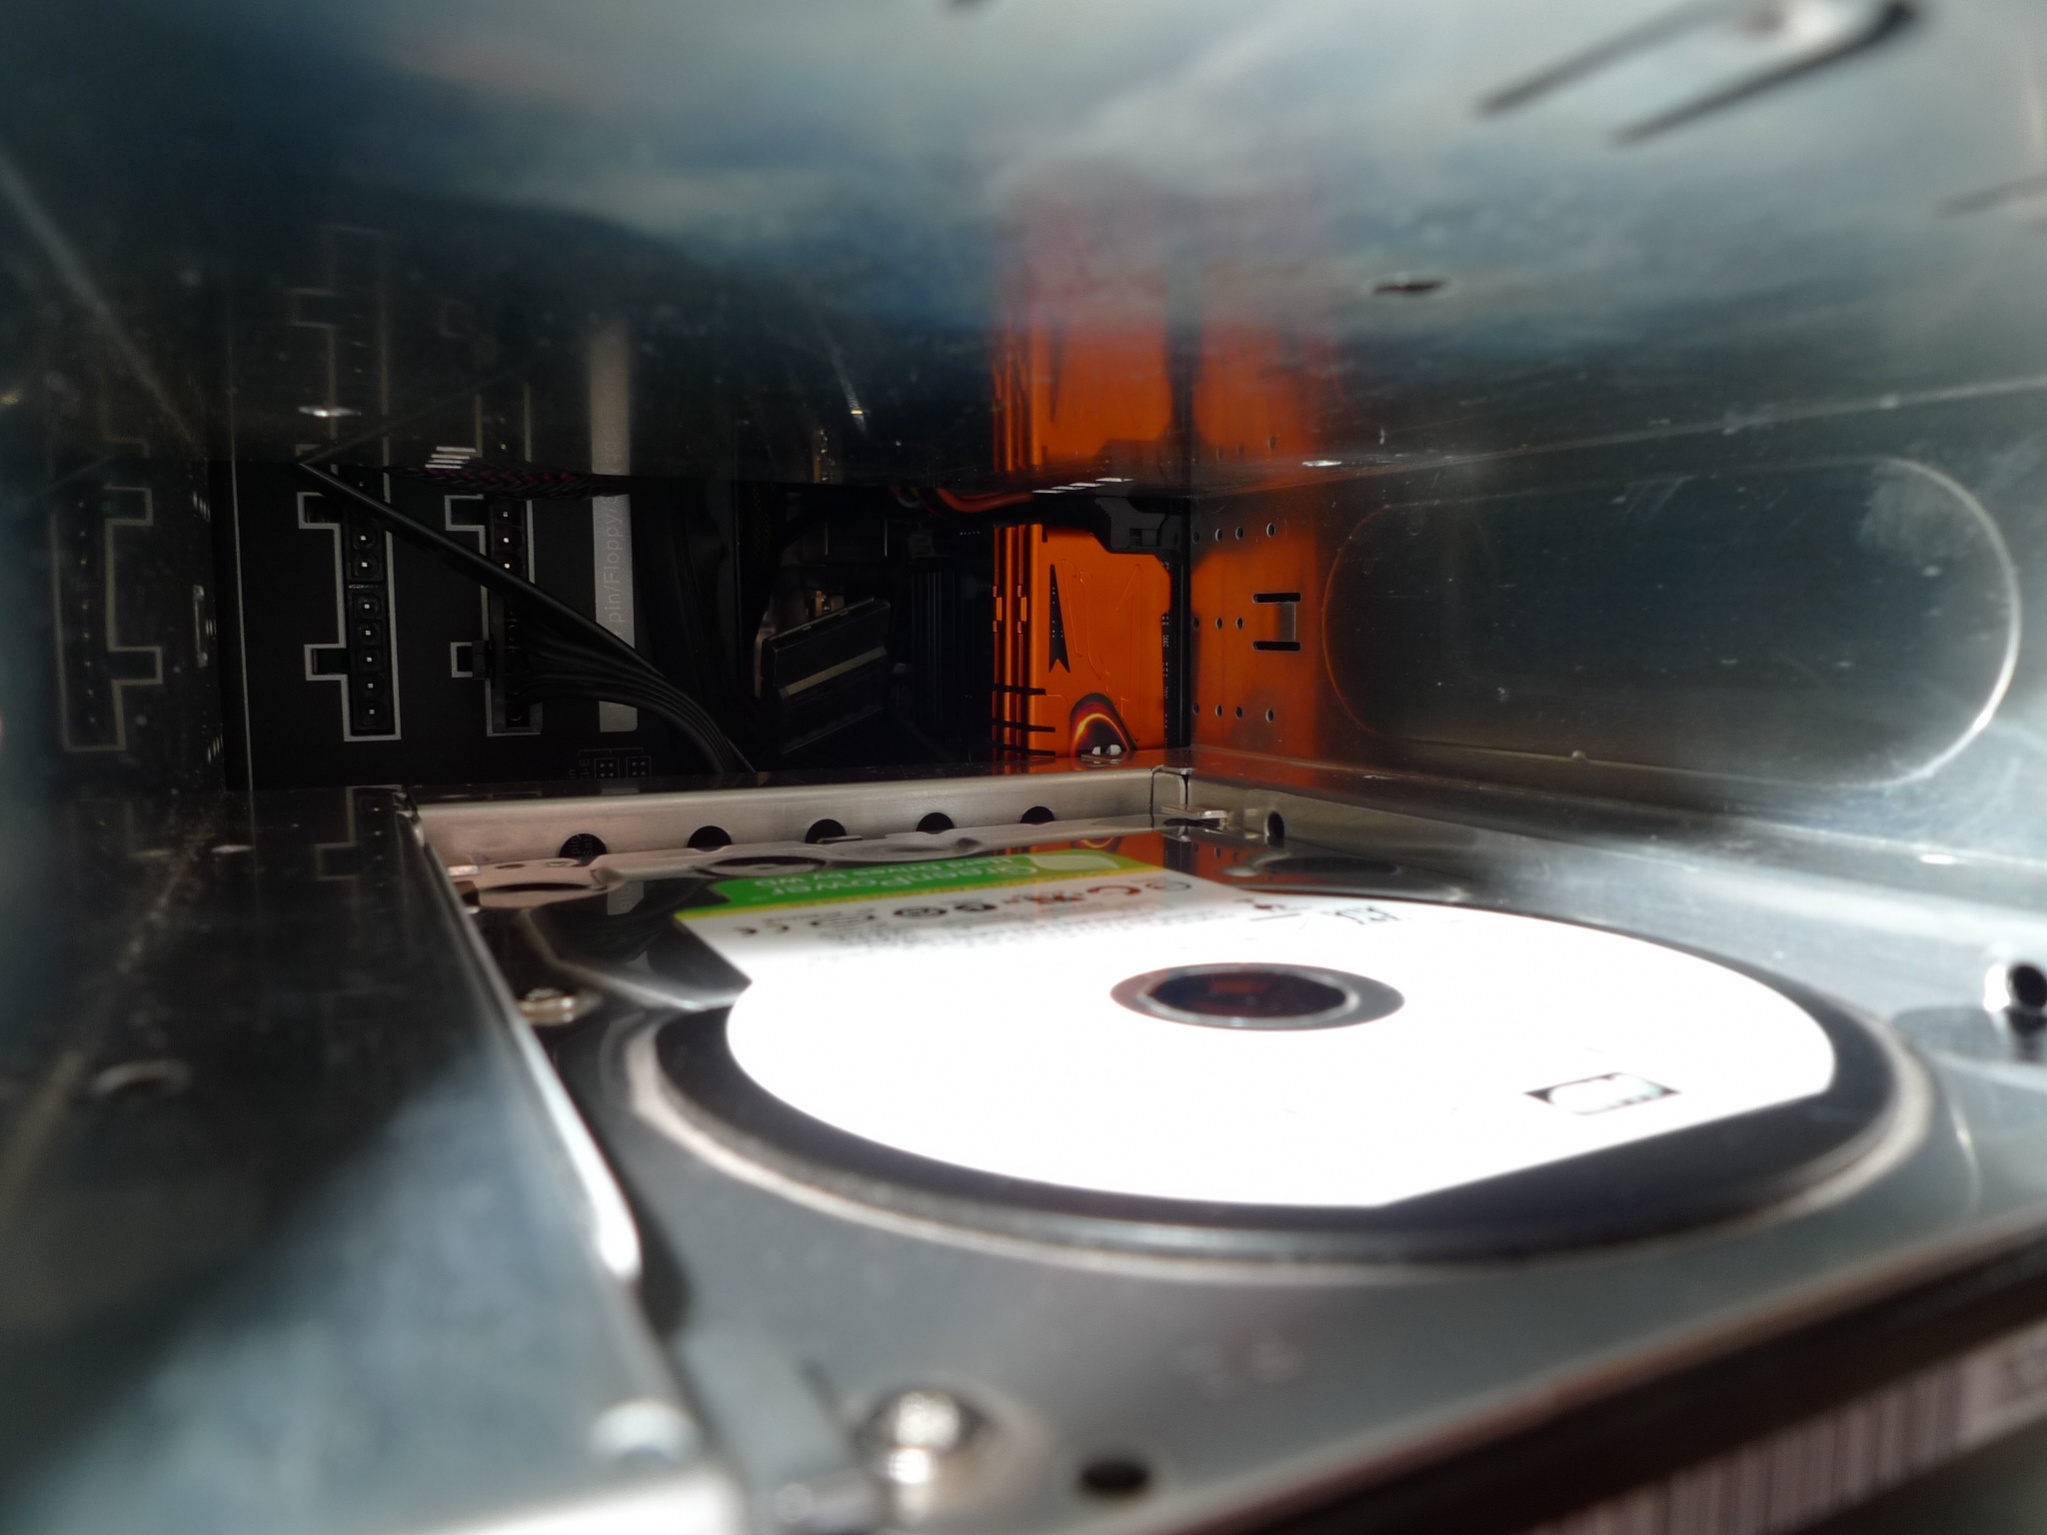
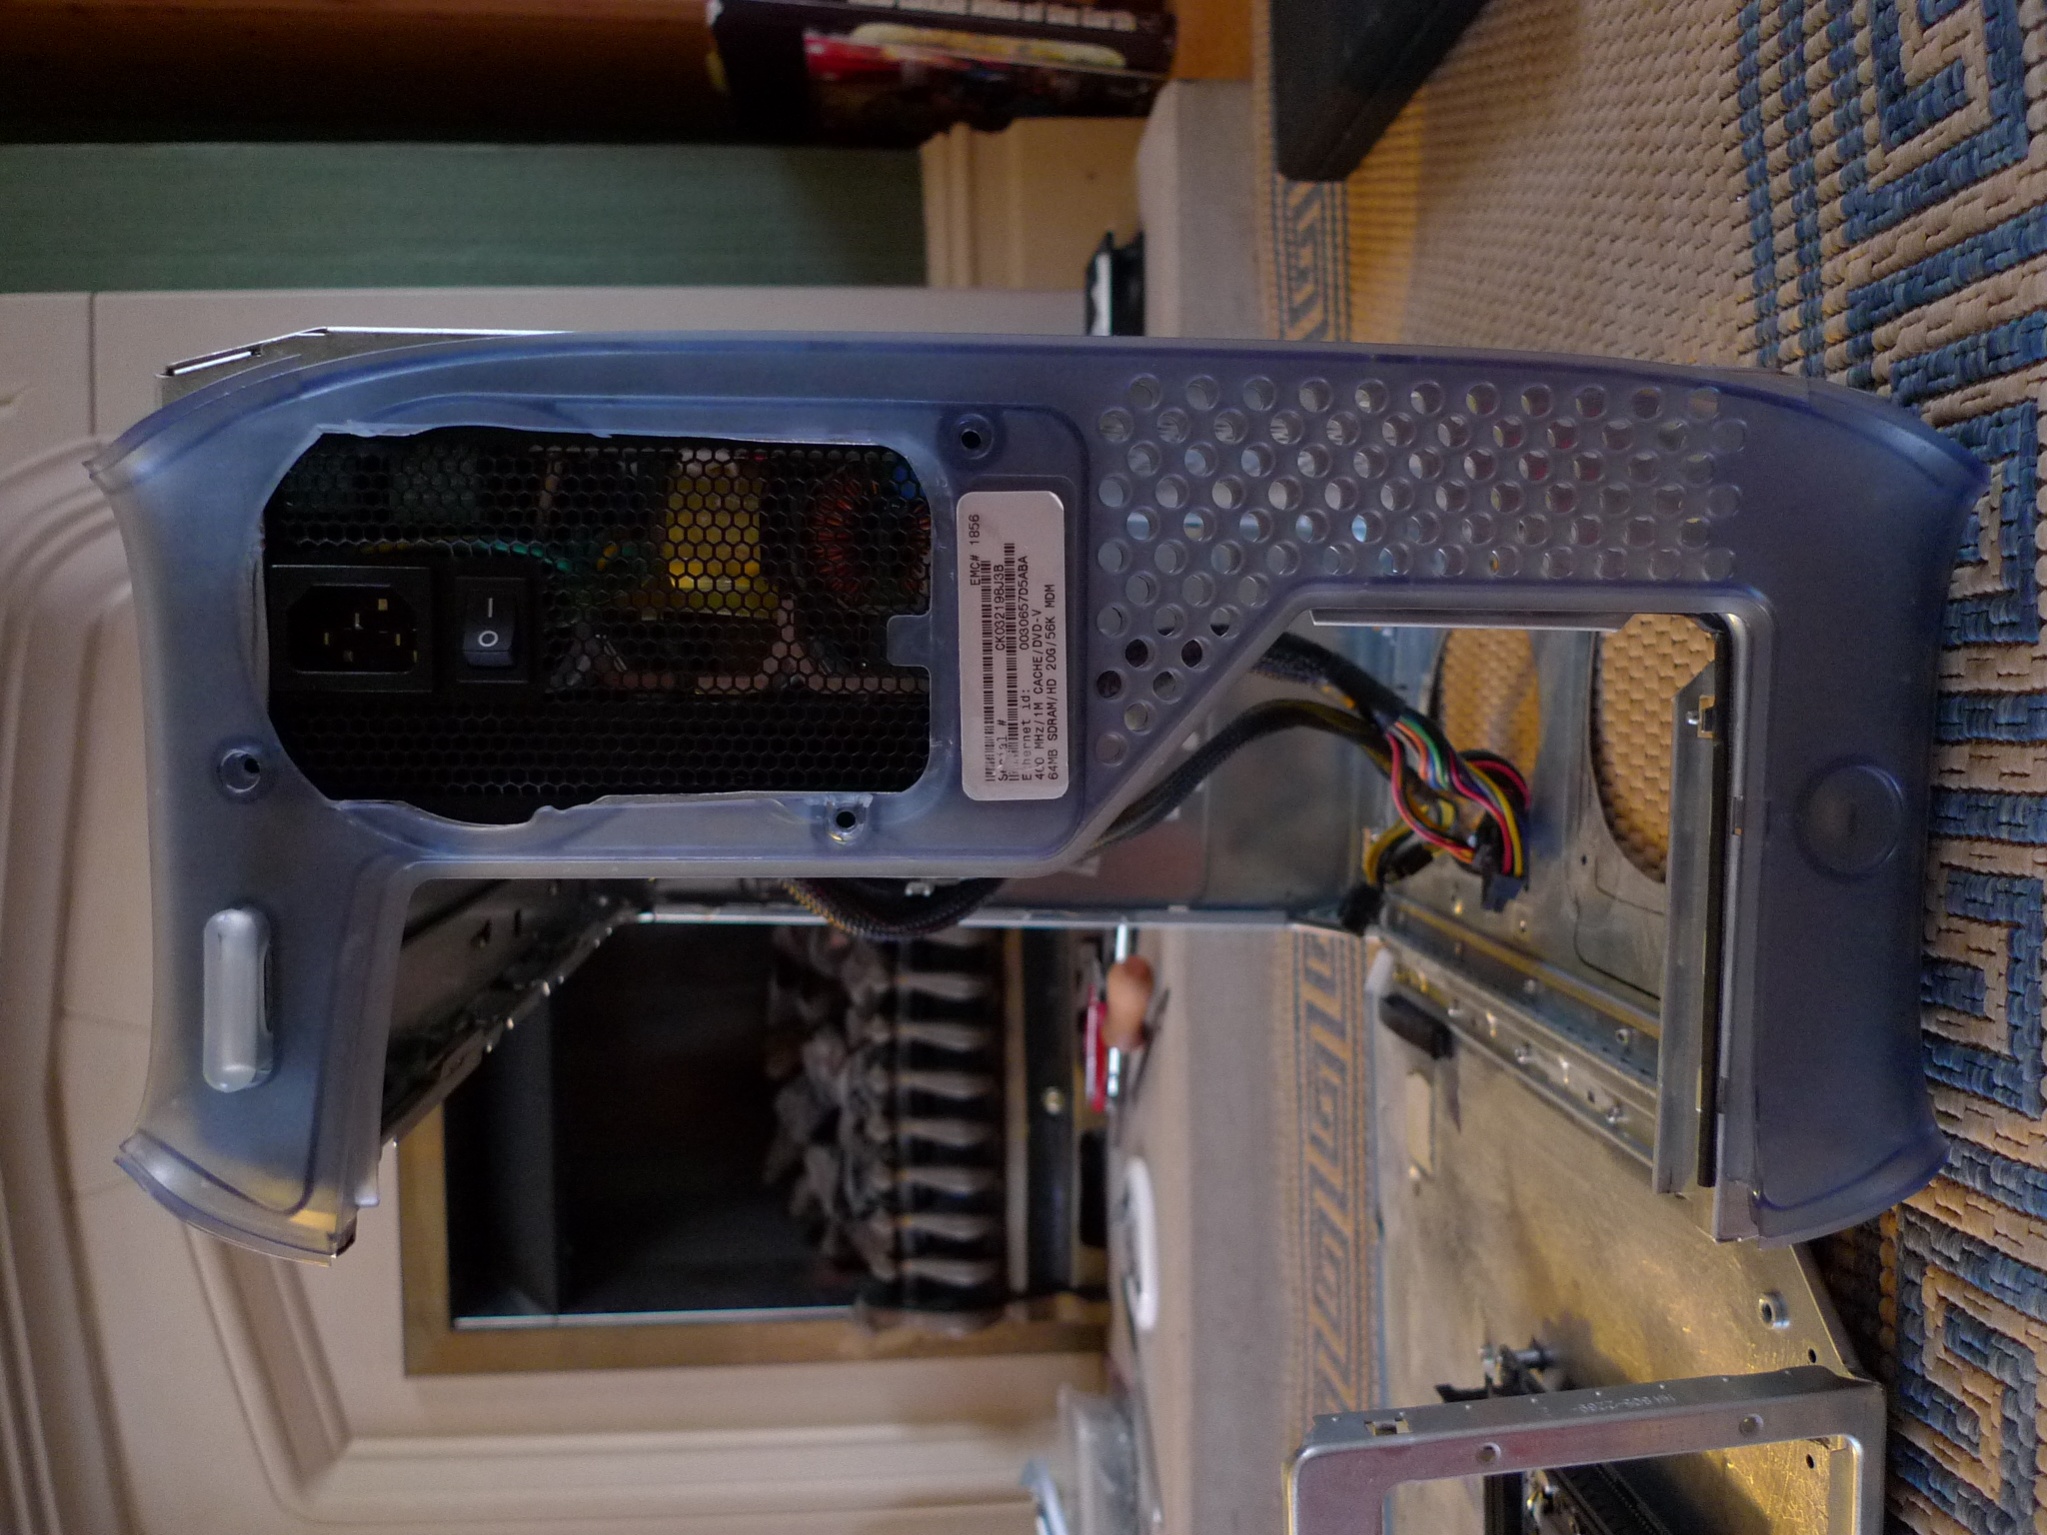
You can see the two circles cut in the bottom for the H60 and a 120mm intake fan. The power supply is taking hot air in from the case? I am thinking of turning it round and sucking in cooler air from under the side cover but that would mean cutting a substantial whole in the side of the case? Not sure about that?


I'm not very pleased with the hack job on the rear plastics but I've only got a jigsaw which makes the whole process a little rough and ready!
It was mint and actually booted up! Any I've stripped it all out and have been prepping the case to run a GA-Z77N-WIFI, Intel Core i5-3570K, Corsair H60.The case is mint so I can't decide whether to strip the paint off and paint the insides my own colours or leave it as Apple intended? To strip the paint seems a hassle using either isopropyl alcohol or brake fluid? Not sure which would work best? Need a lot of iso to soak the sides? Brake fluid is possible too harsh?
I'm thinking of mounting the H60 radiator on the bottom with an other 120mm fan next to it sucking air in? then the power supply would be blowing air out? Do you think that is sufficient cooling? Any advice would be gratefully received?
Anyway here are pictures of how far I've got? The case will be fully rubbed down and painted a flat black once fully ready.
m-itx board looks too small in here but I'll have lots of room for RAM and DVD burner with none of the hassles experienced by other G4 hacks!
You can see the two circles cut in the bottom for the H60 and a 120mm intake fan. The power supply is taking hot air in from the case? I am thinking of turning it round and sucking in cooler air from under the side cover but that would mean cutting a substantial whole in the side of the case? Not sure about that?
I'm not very pleased with the hack job on the rear plastics but I've only got a jigsaw which makes the whole process a little rough and ready!
Last edited by a moderator: