I have attached a copy of my working CLOVER EFI & legacy boot setup for the HP Microserver Gen8. I have regenerated a SMBIOS Serial Number etc. so it is not the one from one of my systems. I have checked the SN is not being used by a real Mac, so it will work with Messages, iCloud, App Store etc.
The CLOVER folder/installer was created using Clover_r5119.
To have macOS running on a HP MicroServer Gen8 I would recommend you do the following:
- Format a spare USB pen Drive (USB2 is fine and any size over 500MB) as GUID & HFS+, as if you were creating a USB installer.
- Copy the contents of the Microserver Clover folder attached below, to the EFI Partition on the USB pen drive.
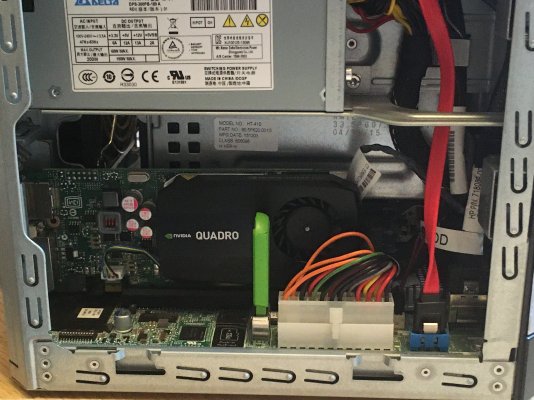
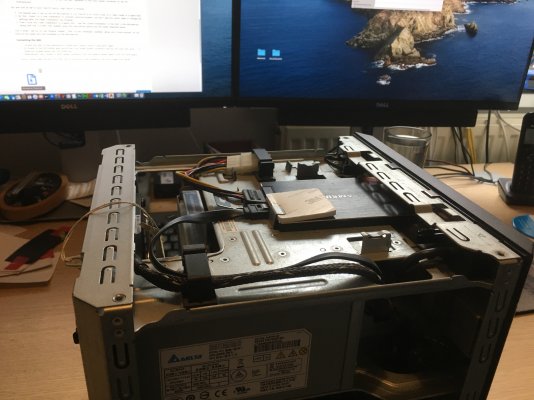
- Install the USB pen drive to the internal USB port, adjacent to the main power connector on the HP motherboard.
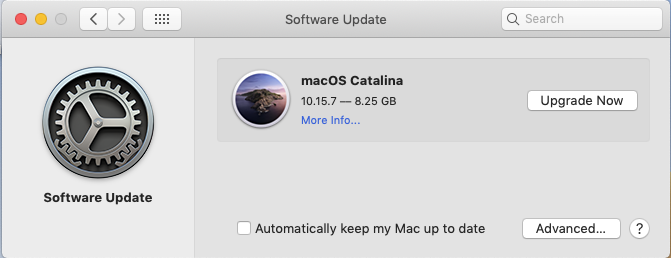
You are now all set to boot macOS Sierra, High Sierra or Mojave, it may run Catalina. I haven't bothered to see if it will work in Catalina as I see no benefit to updating the system to Catalina.
- I found the easiest way to set up the HP Microserver Gen8 to run macOS Mojave was to Clone a copy of a Clean install to a spare SSD.
- By this I mean run a new installation on another machine/system, but don't add any kexts, apps or change any settings after the clean installation has finished.
- Then Clone this Clean installation to a spare SSD. Use the Cloned installation on the SSD in the Microserver, along with the CLOVER USB created using the instructions above and the folder attached below.
This is what I did for my two Mojave installs. Then run any necessary updates, setup your iCloud account, so you have all the Apple Services available on the Microserver.
Connecting the SSD:
- Connect the SSD to the internal Port 5 SATA port, using a 30cm+ long SATA cable.
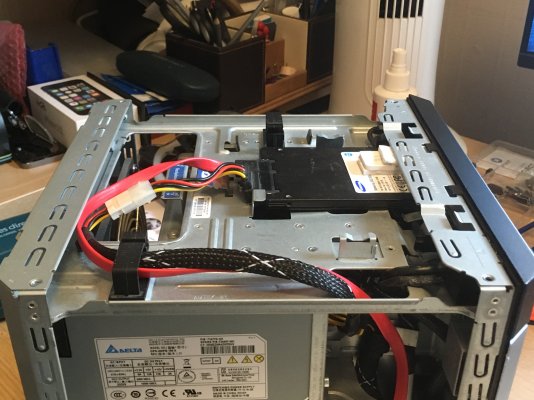
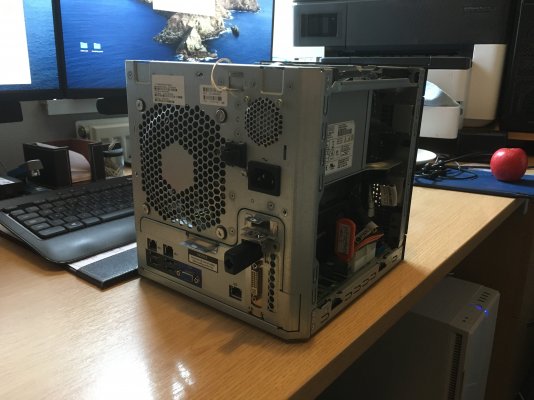
- For Power to the SSD either split one of the 4-pin molex power connectors serving the main SAS ports (1-4), these are located below the DVD ROM tray.
- Alternatively use a floppy to SATA power connector from the existing power cable in the DVD ROM space.
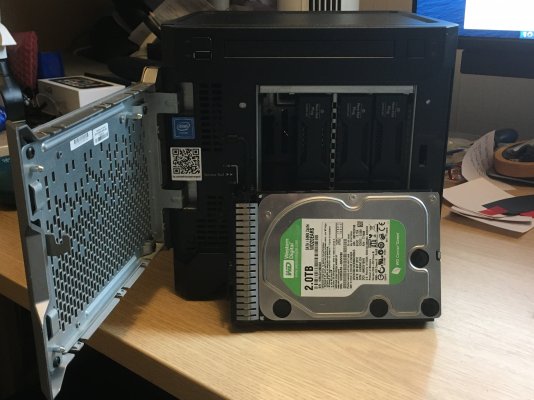
I found I never used the slim DVD RW unit I had installed in the DVD slot, so removing it and installing a 5th drive made more sense.
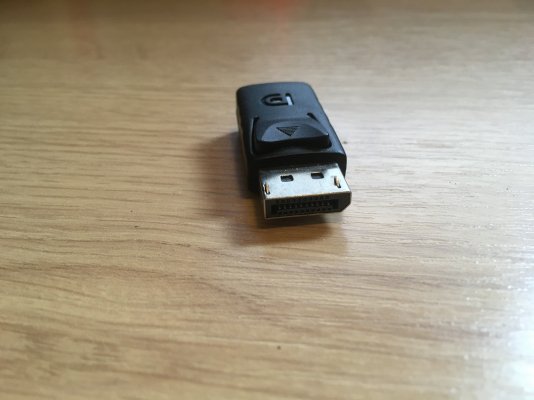
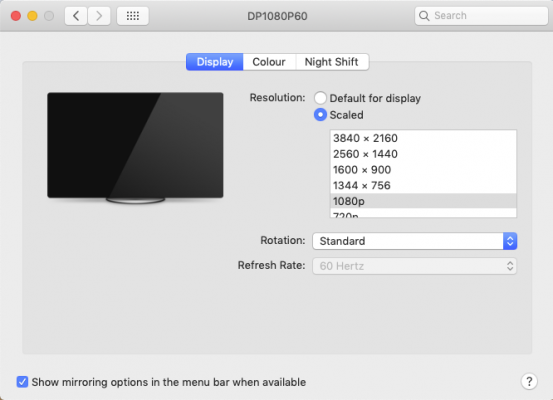
Headless connection:
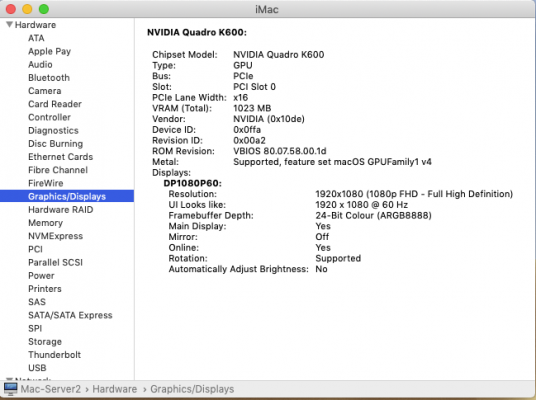
I use a DisplayPort dummy device for my Microserver hack's. This allows me to have a much better Screen Sharing experience, as the Microserver's screen is displayed.

Screen sharing image (1920x1080) on one of my Dell U2515H screens (2560x1440)
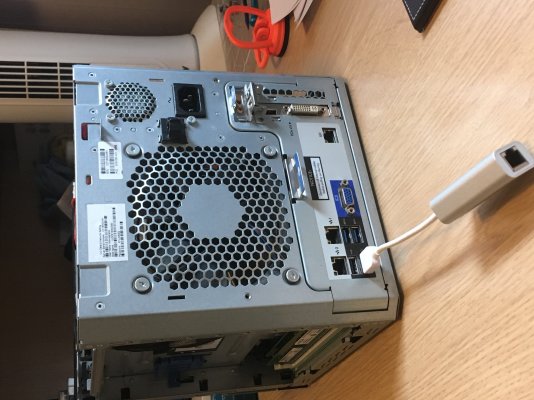
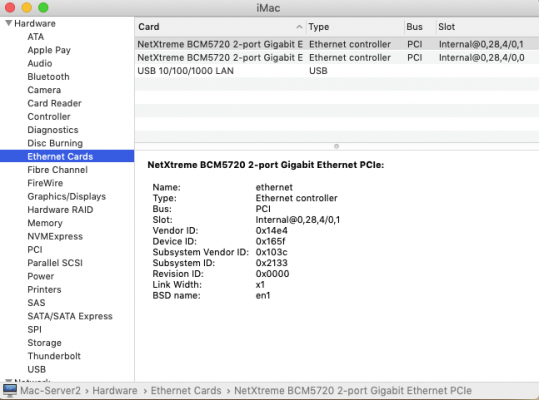
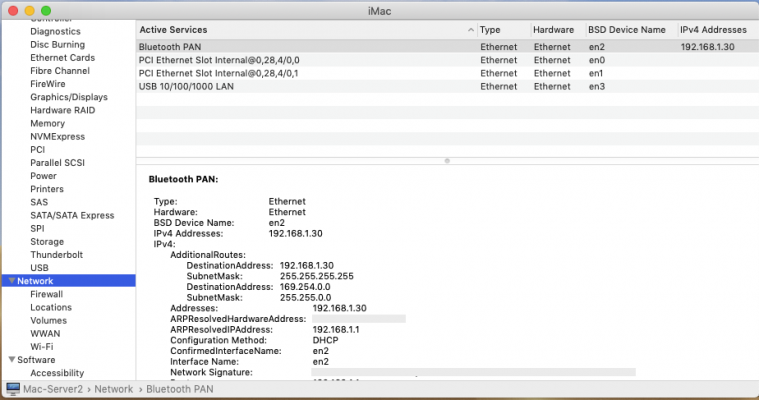
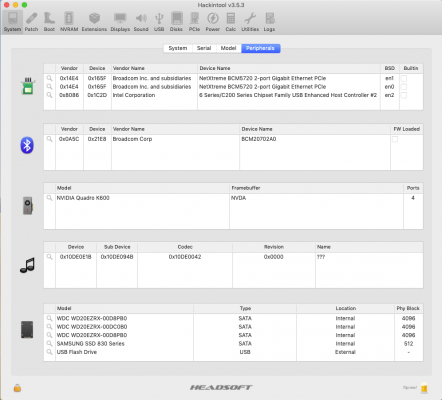
Ethernet:
I use a USB to Ethernet port connection, as I still have not been able to get the built-in ethernet ports to work. The USB to ethernet adapter works just fine for File Sharing, Time Machine, Carbon Copy Cloner backups on my local network.
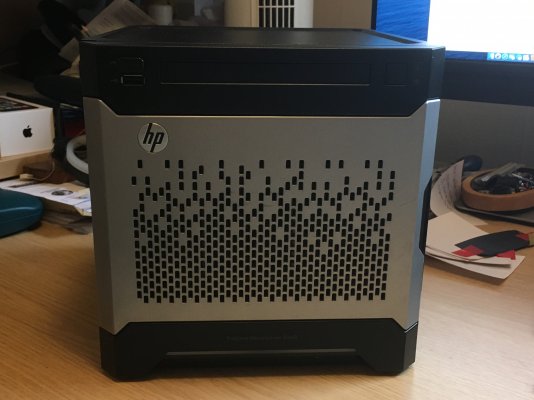
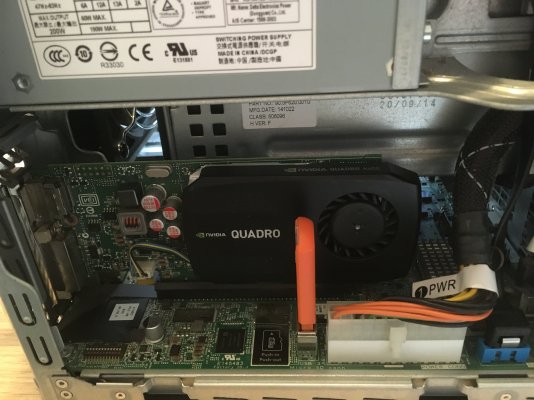
Images:
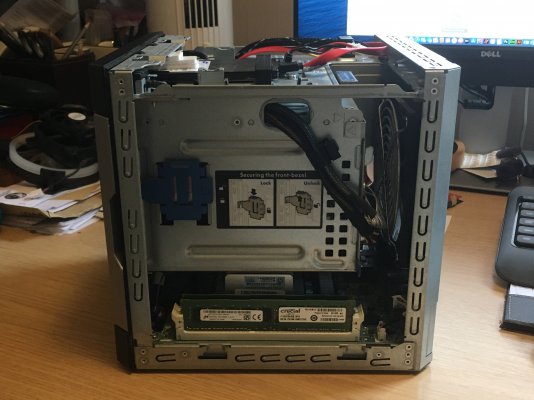
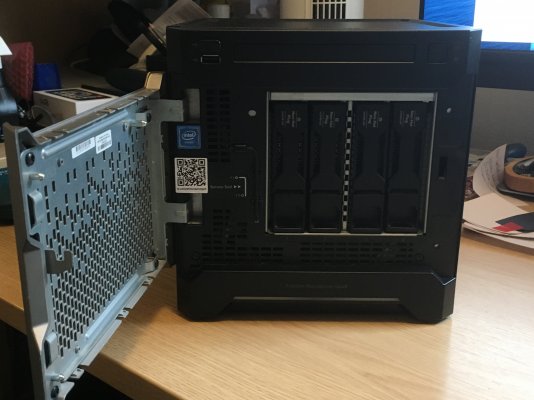
I have attached a number of photos, taken of the Microservers external and internal images.
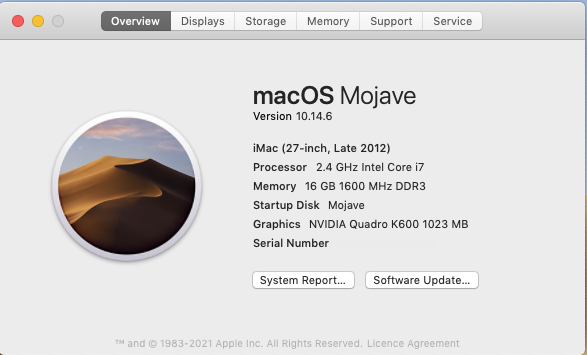
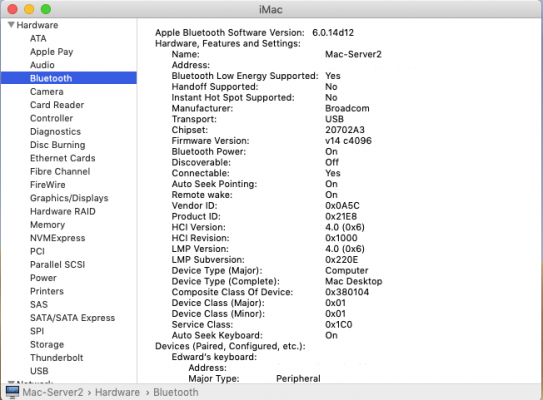
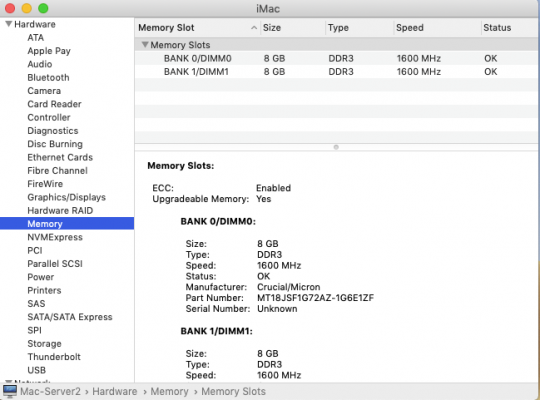
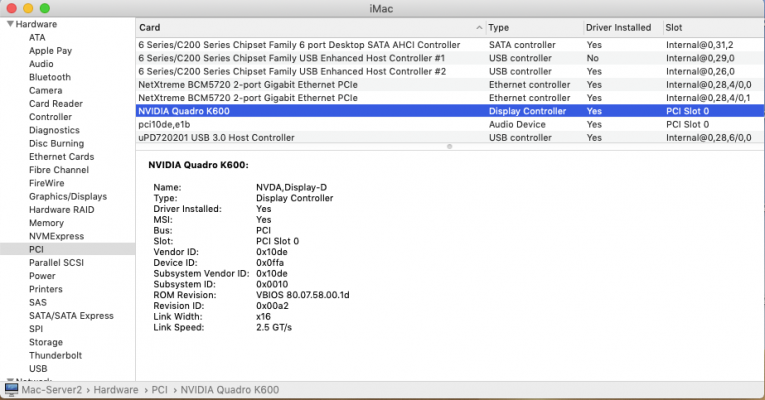
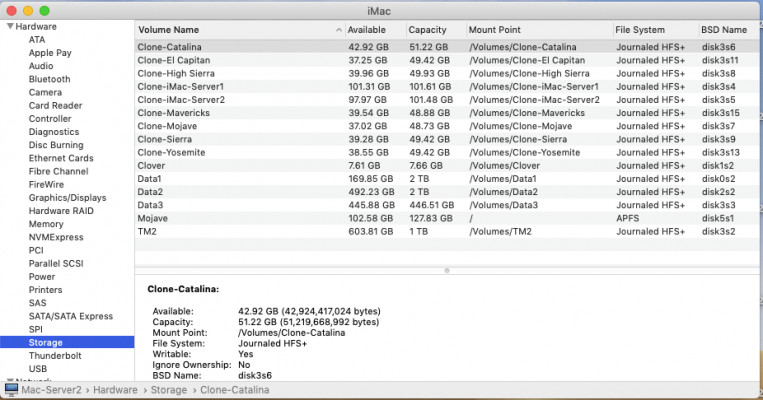
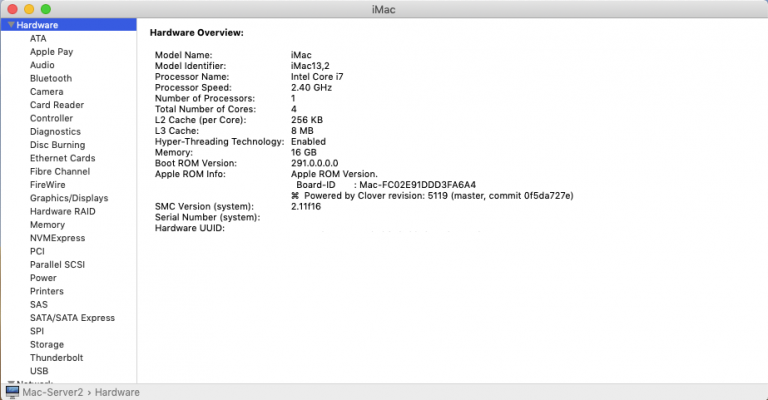
I have also attached a few screenshots, showing some of the System Information reports, a Hackintool screenshot showing the Peripherals tab and a couple of System Preferences screenshots.
If you have any questions regarding any of the files or images don't hesitate to ask.
Best of luck.