If you followed my Hack Pro build from last year, you may have noticed that I was very active right up to the point that the system way not quite done but useable and then I fell off the map only posting very infrequently. I took a new job and moved to a new town and got very busy and I never did finish up the last few odds and ends on that Mod, now that things are a little less crazy I am going to finish up where I started and build a new overclocked Sandy Bridge system, and I will document it in this thread as well as recap what all I did previously for anyone that is interested. If you want to see my previous topic I will post a link at the bottom. I will post pics of the current system this week as I break down to start work, happy moding.
Ok so after a crazy week at work I have some progress to report.
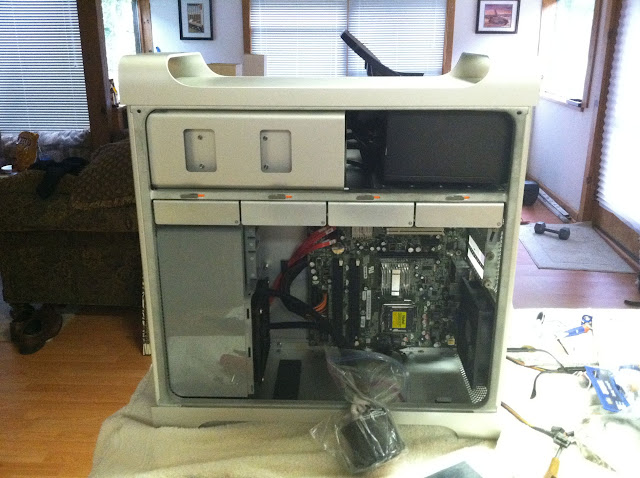
I at long last got the shelf out, and if you have never tried to do this you have no idea what a job this is. The process involves using 2 razor blades to pull down on the clips that hold the door latches and pop them out. Once there out you can remove the sliding latch its a tight fit so you have to pull a little. next you can pop the shelf out of place but it takes some skill to get it out of the case because it is a very tight fit.
You have to take out the allen screws at the top and the torx at the bottom not the Phillips head on the base those are for taking the shelf apart.
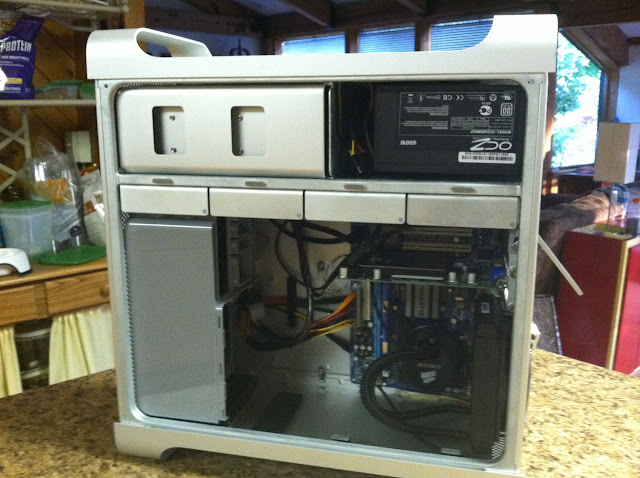
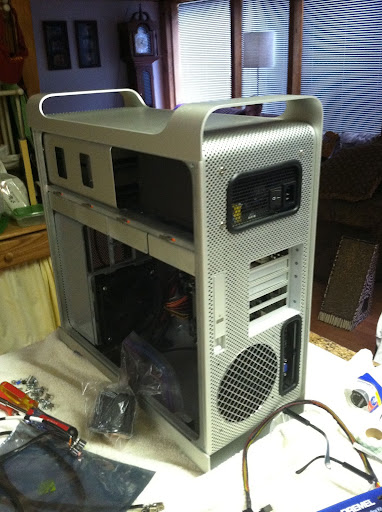
Once I had the shelf out I started working on the fan holder that is between the PSU and the DVD bay, it was not being used and just in my way so I took out all the bolts that hold it in and drilled out the 2 pop rivits that I could get to and worked it back and forth till the 2 pop rivits that I could not get to broke loose.
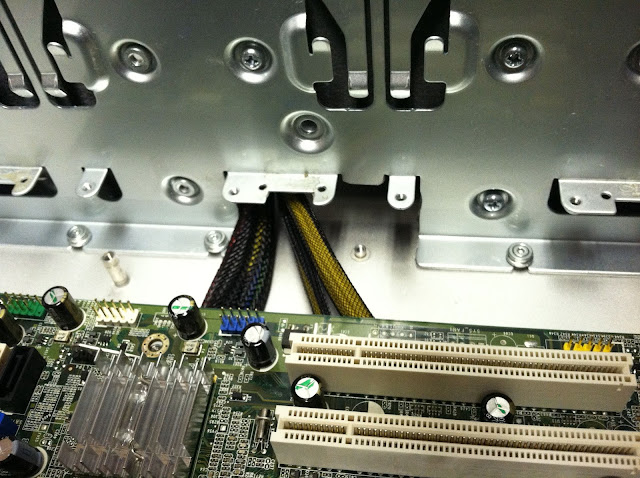
Now that I had the shelf out I cut a notch out of the bottom just under the 3rd hard drive bay so I could run the PSU cables out that hole and have a little cleaner cables.
I will post pics of the shelf back in later on today.
I cut a hole in the shelf for the PSU cables and DVD sata cable to come through, this removes the need to lengthen the PSU cables and lets you hide them under the mobo
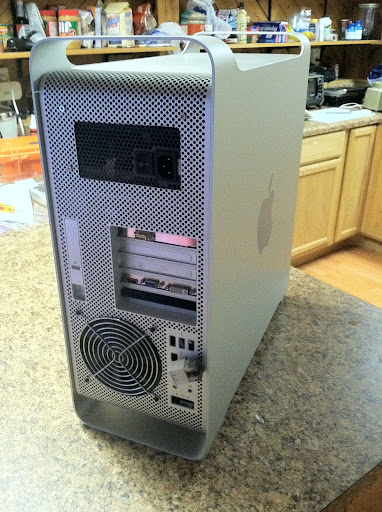
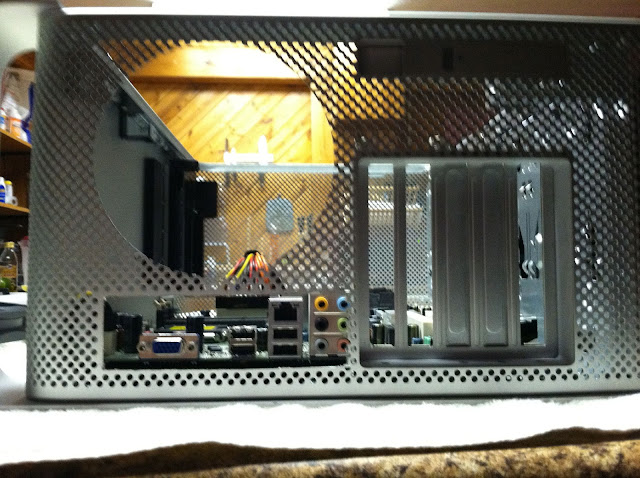
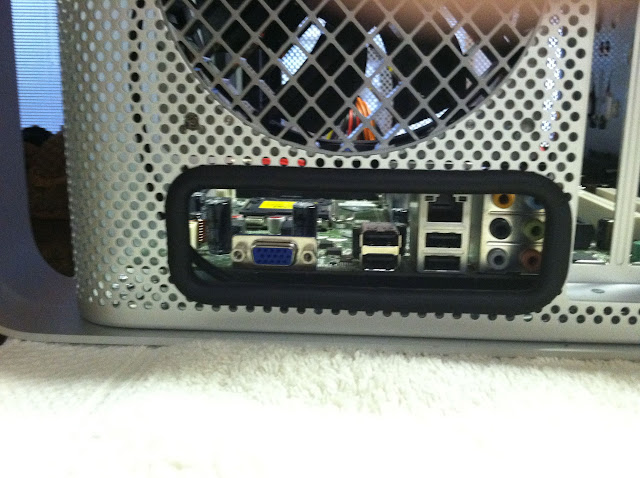
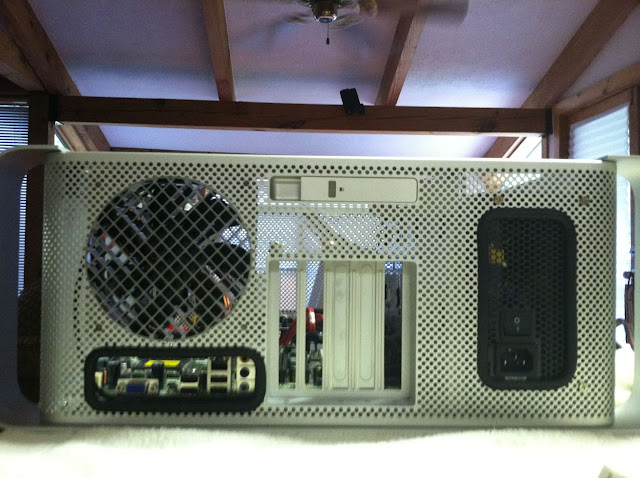
I also cut the back IO ports out, I am looking for some of the black edging like mooner used to make it look nicer.
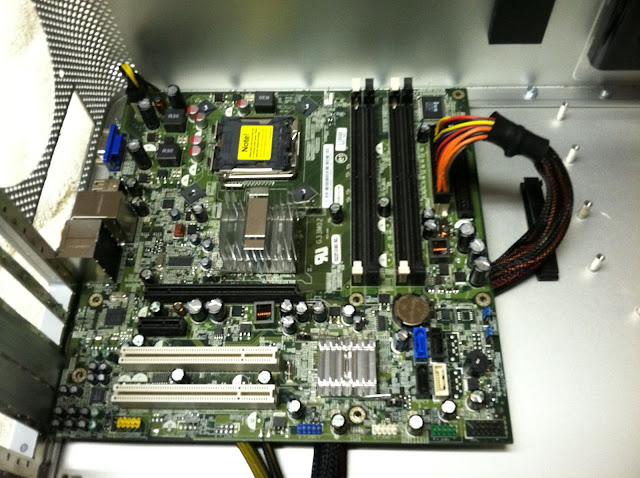
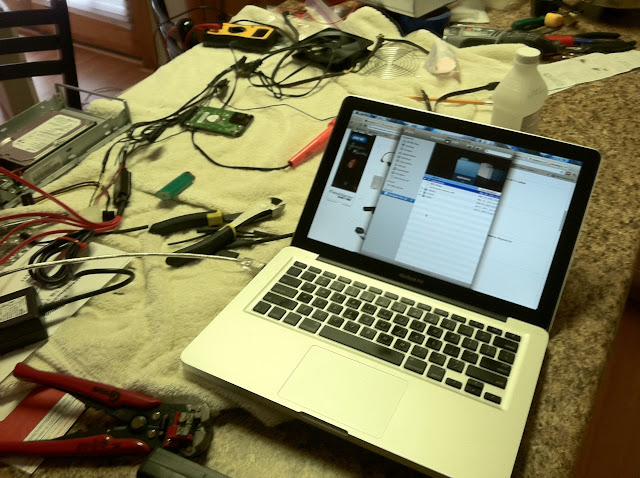
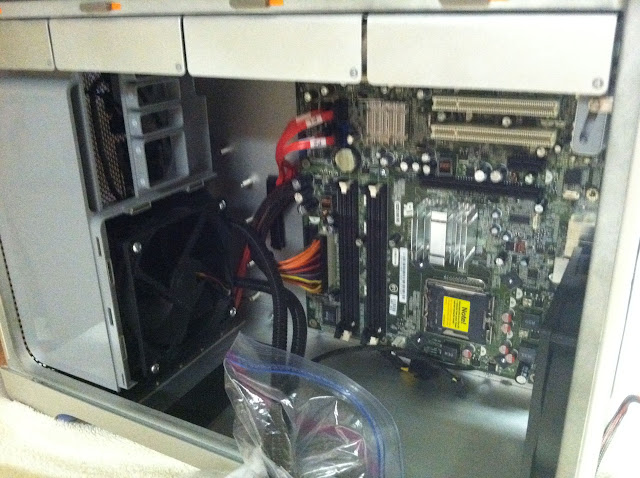
This is just a junk test board but you can see how having the cables run under the mobo looks much cleaner
Taking out the fan holder behind the PSU free's up a ton of space and having the cords run under the shelf makes a lot of room for the dvd drives and cables
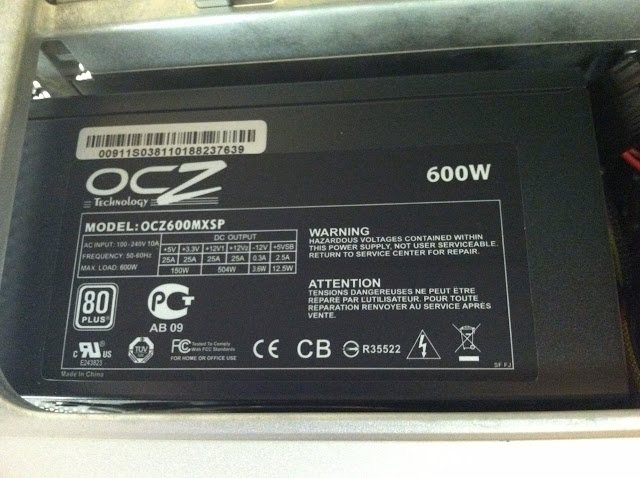
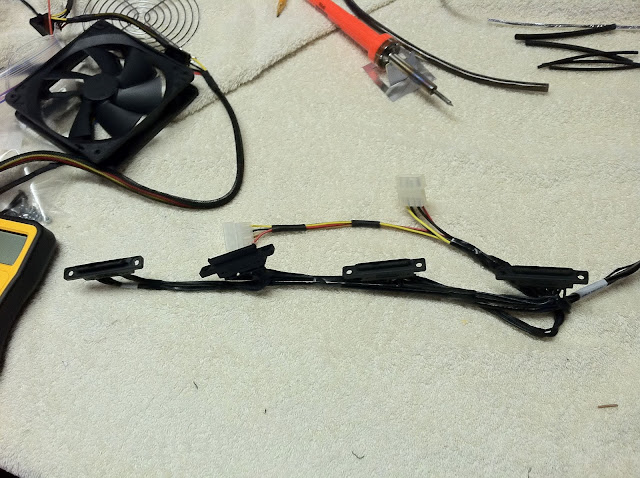
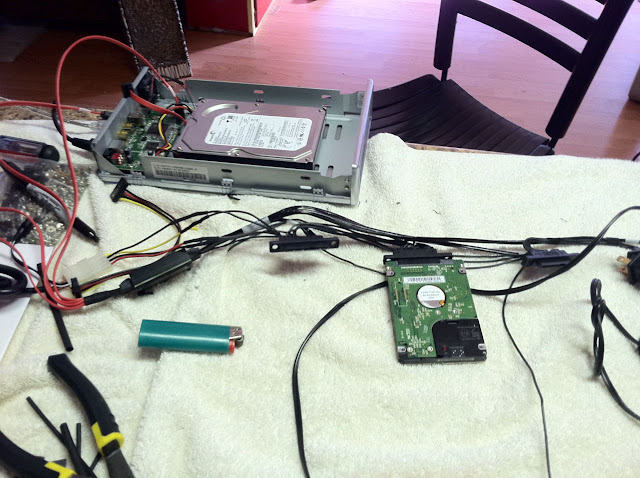
Ok so I worked on the Sata harness from the case today getting the power wired up. Mooner has a link to where you can get a matching plug to the apple one but I decided to do something a little different. Apple only uses 2 voltages 12v and 5v so a standard 4 wire molex power plug will do. So I found some in my parts bin off of cable adapters cut the ends and wired drives 1 and 2 to one and 3 and 4 to one so now if I ever upgrade the PSU it will be plug and play.
I also picked up the Mini SAS to Sata adapter that Mooner discovered so I can use the apple SATA with out having to cut anything. I tested it out using a sata to firewire adapter box and it came right up.
I did test the wires to be sure of the order so for anyone trying to do this mod later:
Starting from the outside edge of the apple connector it goes
Yellow 12v
Black Ground
Red 5v
Black Ground
I have the CPU cooler, in place I'm using a corsair H50 with 2 fans in a push pull configuration. This time around I have it at the front of the case pulling fresh air in passing it over the radiator and I have a exaust fan on the back of the case to keep the air flowing. I have ordered a PCI slot cooler just incase I need more air flow at the top of the case. This thing is almost done, all I have left is to rewire the power for the front ports since I am not using an extension on the 24pin power cord anymore so I will need to hook to a SATA cable.
Having the drives be hot swapable is going to be wonderful and cables drive me crazy, I like a clean case. eelhead I have a G5 case that I did first and would like to redo it later of if you come up with hot swap bays for your I would be interested in how you do it.
This site uses cookies to help personalise content, tailor your experience and to keep you logged in if you register.
By continuing to use this site, you are consenting to our use of cookies.