Contribute
Register

Hack Pro build using a new Mac Pro case

Status
Not open for further replies.
I did some more work on the case tonight, I am going to put the Mini-SAS idea on hold for now and focus on getting the case ready and with a little luck Core i7 950's or Core i5 760's will drop in price this month with Sandy Bridge coming out.

I ordered a power supply and the extension cable to hook it to the motherboard.

OCZ ModXStream Pro OCZ600MXSP 600W, $69.99 less $10 instant savings less $20 Rebate so assuming they pay the rebate $39.99 for a 600w Modular PSU
http://www.newegg.com/Product/Product.aspx?Item=N82E16817341017
http://www.newegg.com/Product/Product.aspx?Item=N82E16812198005
http://www.newegg.com/Product/Product.aspx?Item=N82E16812198007

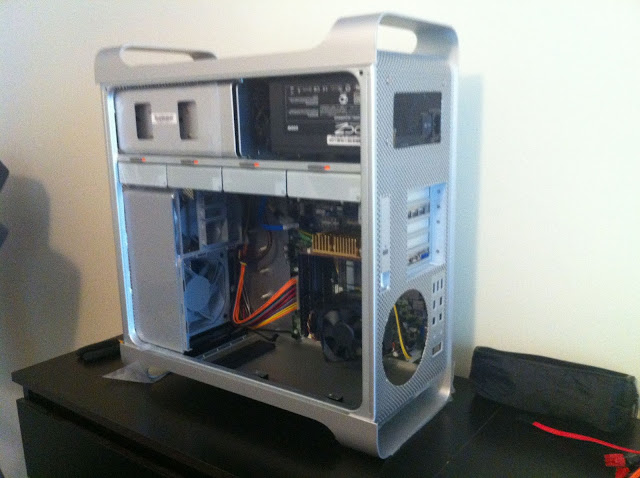
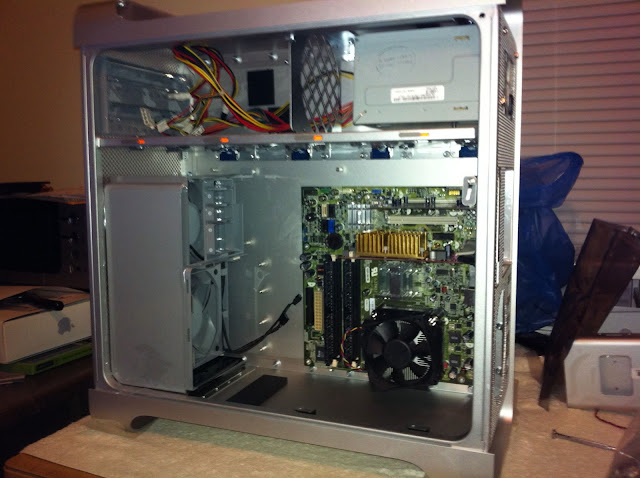
I also mounted my mach up PSU tonight
Photo%20Jan%2006%2C%205%2057%2055%20PM.jpg

Photo%20Jan%2006%2C%205%2058%2027%20PM.jpg

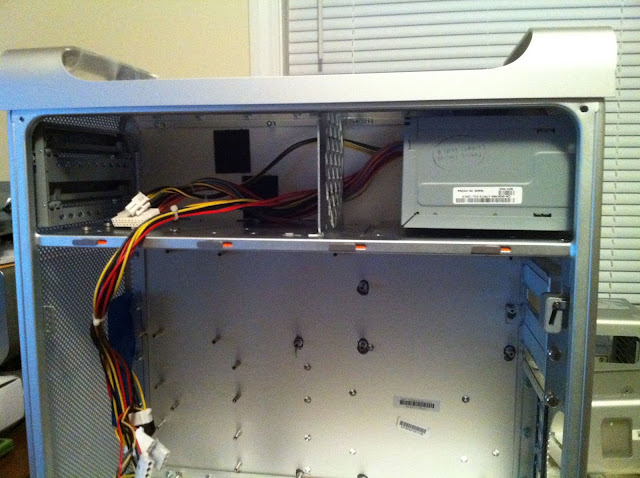
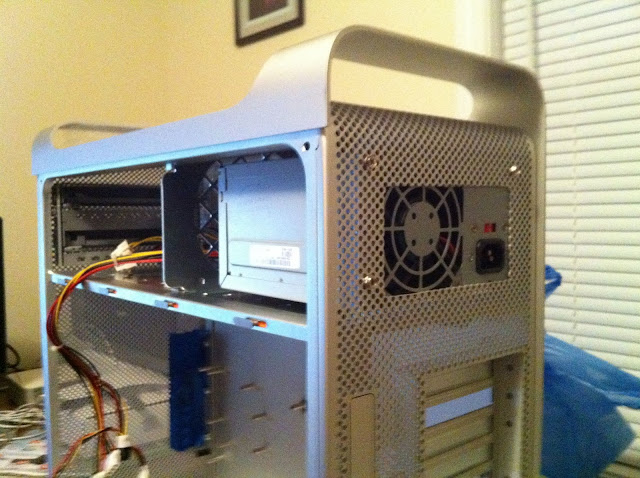
It will look better with the new one in there

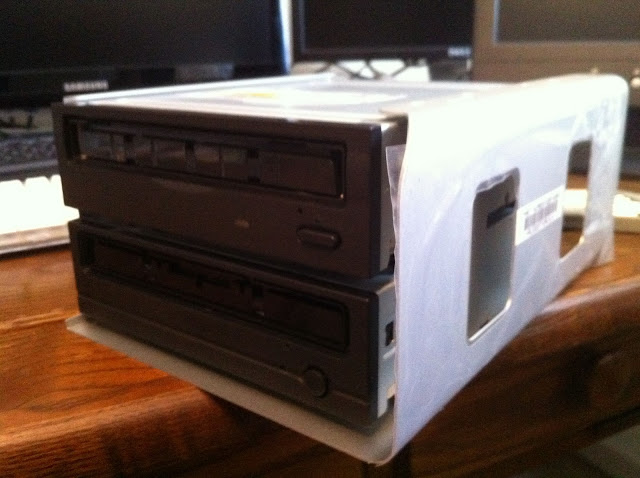
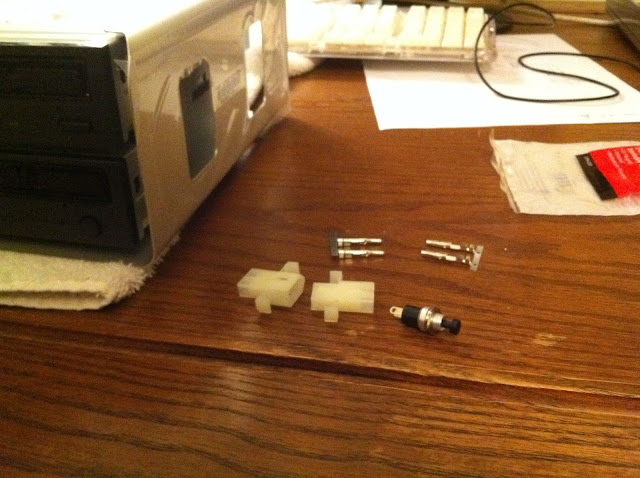
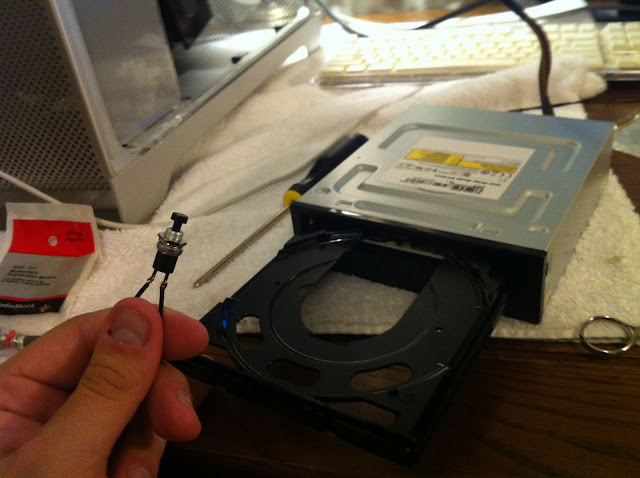
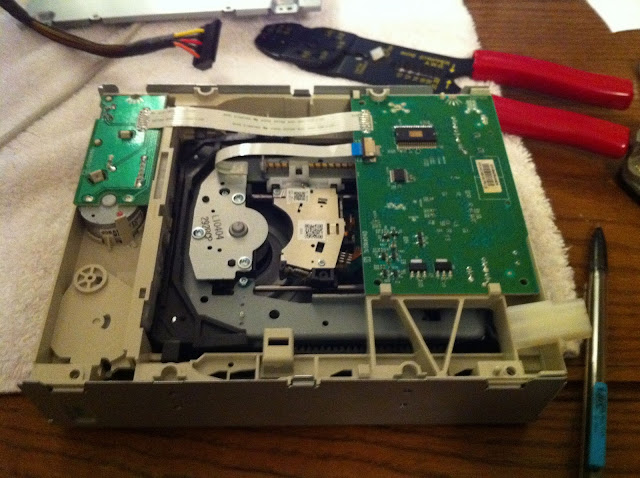
And I put the mach up motherboard back in along with the apple fan housing, next I need to swap out those fans or find a wiring diagram for them and wire them to work with ATX
Photo%20Jan%2006%2C%206%2020%2003%20PM.jpg
 
I should have some parts today assuming the snow does not stop UPS, also I sold my Mac Pro power supply last night on ebay for $150 so at this point I only have $75 in the case so when you figure I would have paid well over $100 for a nice high end PC case, I'm feeling less crazy for taking on this project. I also sold my 2008 Mac Mini on Ebay this weekend so I have all the funds I need to buy Mobo and Processor I just have to decide what to order. After seeing the prices I want Sandy Bridge just not sure what Mobo to bet on since at this point it's a crapshoot.
 
Cost so far.

Case after selling the PSU
$75

OCZ ModXStream Pro OCZ600MXSP 600W and cable extension
$82 before $20 rebate (I dont count rebates in my build totals unless I have already gotten them)

EVGA 512-P3-1240-LR GeForce GT 240 512MB
$50 ($84 less a $34 Rebate I have already gotten)

Scythe SY1225SL12SL 120mm "Slipstream" Case Fan
$18

CORSAIR CWCH50-1 High Performance CPU Cooler
$60

So far I have spent
$285

The parts I am thinking about ordering next

GIGABYTE GA-H67MA-UD2H LGA 1155 Intel H67
$133

Or

ASUS P8P67-M PRO P67 (not out yet)
$130

Intel Core i5-2500K Sandy Bridge 3.3GHz (3.7GHz Turbo Boost) LGA 1155 95W Quad-Core
$225

CORSAIR XMS3 4GB (2 x 2GB) 240-Pin DDR3 SDRAM DDR3 1600 (this is faster ram than I need but it gives me some head room for overclocking)
$60

Build total with this configuration, still less than a Mac Mini and about 1000x faster
$703
 
I'm snowed in so I may make a lot of post today :p

BluRay and DVD-RW drives mounted and ready to go, lets hope the snow does not keep the UPS truck away with my new PowerSupply so I can get the system fully running today.
Photo%20Jan%2010%2C%2011%2006%2025%20AM.jpg
 
I got my PSU today, and installed it. It looks like I need some longer SATA cables for the DVD and BluRay drives. I also ordered a Core i5-2400, Newegg has this processor for $195 - $20 off with coupon code Celebrate10 = $175 with free shipping, so I couldn't pass that deal up. Now I have to figure out what MOBO to order.
Photo%20Jan%2012%2C%202%2008%2000%20PM.jpg

Photo%20Jan%2012%2C%202%2008%2026%20PM.jpg


I still need to wire the fans and install the liquid cooling (once I have the new mobo) I will test boot the system this evening after work.
 
OK so I did it (holy crap that was hard to figure out)

I wired up the front panel for my Mac Pro.

This power diagram does not work for the board marked 2007.
macprofrontpanela.jpeg


On the 2007 board it turns out that pin 7 is 5v

As for the Sata to USB header cable this diagram was helpful
Mac-Pro-USB-Connection.jpg


But it left out one little thing, what side to start from so I traced the wires starting from the L side of the sate cable it goes
Ground
Green
White
Ground
Ground
Green
White
Ground

I hope that helps someone someday because it took me hours and lots of burns from a soldering iron to get this thing working but now my power button works and the USB, I have not tested the FireWire yet as I do not have a firewire card to test it with.
Photo%20Jan%2015%2C%205%2021%2045%20PM.jpg
 
Thanks Tony

I will post more pics later today, I am going to blow it all back apart and start hiding all the wires. I have decided to put of the sandy bridge build on hold for the time being until it is supported by apple and we know what motherboard works the best.

So I have ordered a GIGABYTE GA-G41M-ES2L LGA 775 to go in it for the time being I will pull the C2D chip out of the test board since I have confirmed that it works and hook it up with the H50 water cooler and see what kind of overclock I can get on it.

My plan is to make this my home theater computer, I hope I can get the HDMI audio working on my EVGA 512-P3-1240-LR GeForce GT 240.

After Sandy Bridge is fully supported I will build a new system, If there is a good supported mAtx board I will put it in this case and move the G41M-ES2L to the G5 case if the ATX boards have better support I may rebuild the G5 into my Sandy Bridge machine and keep the Mac Pro as is for the living room.

More pictures later today when I button everything up in prep for the new board on Tuesday.
 
Ok so no parts came in today but I did do some very cool work. I figured out the front USB ports, it turns out that pin 7 and 5 both need 5v, it looks like apple made a board between the first board that is in the diagram and the one that has a ribbon cable and they gave each USB port its own 5v feed. Not sure why, but what ever I am also not sure why that front board needs 12v and 3.3v unless its powering the firewire.

Ok so on to the cool work...

It has been bugging me that you can not open the DVD and Bluray drives with out being in the OS due to lack of buttons on the front of the case, so I looked around the web to see if there was a way to add remote buttons and I found nothing. So I thought its a switch how hard could it be.

So I opened up and old CD drive I had laying around and hot wired the 2 solder points on the bottom of the PCB that run to the switch and it opened, I did it again and it closed.

So I start thinking how can I use this, one trip to Radio Shack later...
Photo%20Jan%2017%2C%205%2051%2055%20PM.jpg

Next I open up the DVD-RW drive from my project I wanted to start on it before cracking in to the BluRay drive since a DVD drive is about $20 and a BluRay is $100+
Photo%20Jan%2017%2C%205%2055%2057%20PM.jpg

So much extra room inside and a nice little inset to add a plug
Photo%20Jan%2017%2C%206%2019%2002%20PM.jpg

The two front ones are the solder points to use, you can test by bridging them.
Photo%20Jan%2017%2C%206%2040%2023%20PM.jpg

I give it a test run and it works wonderful.
Photo%20Jan%2017%2C%206%2056%2008%20PM.jpg

Now on to the BluRay
Photo%20Jan%2017%2C%207%2020%2049%20PM.jpg

Still lots of space but dont hot glue the wire down till you have tested for clearance, I found that out the hard way, after I was done the drive would not open I had hot glued the wire in a spot that the tray had to go and you could not see it till it was open.
Photo%20Jan%2017%2C%208%2009%2041%20PM.jpg

The drives are done now I just need to find a place easy to reach but hard to see on the out side of the case to mount the buttons. Im thinking under the front of it, in the wifi antenna hole.
 
PtMays, This is a great series of posts.
One, because its cool, and two, I want to do the exact same thing.

Two weeks ago, I bought a mac pro case off of ebay and was about to order a mobo as specified in the Lifehacker hackintosh guide: http://lifehacker.com/5672051/how-to-bu ... easy-steps
Luckily, I came across this thread and found out that a regular size ATX board would not have fit. I'll look at the mATX board you have in mind as well as others I find on this site.
I have a couple of questions, please forgive me if they are too easy.
My mac pro case came with a small front panel circuit board, it is the 2007 one you reference in your posts. I assumed that I was going to have to throw it away and hot glue some female usb connectors on the inside of the case, as I assumed that the chips on the board were some sort of circuit that would only work with Apple mobos. From your diagram, it looks like you are custom wiring power and ground from your power supply to the circuit board, and then the data and ground lines to a chopped up SATA cable. Am I correct in assuming that the apple circuit board is a PowerButton/USB/Firewire to SATA adaptor and that it will plug into an ATX SATA cable socket?
My case did not come with the dual fans in the front of the case like yours has. What is the difference between the mac pro case fans and regular PC ones? I am guessing the mac ones need a different voltage?
Thanks for reading my questions. I have not built a PC since the P4 days. If you don't mind, I will watch, ask more questions and draft off of your expertise.
thanks -w
 
Status
Not open for further replies.
Back
Top