- Joined
- Jun 26, 2012
- Messages
- 4,069
- Motherboard
- Asus Z170 Deluxe
- CPU
- i5-6600K
- Graphics
- GTX 970
- Mac
- Mobile Phone
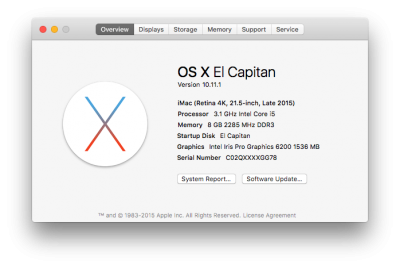
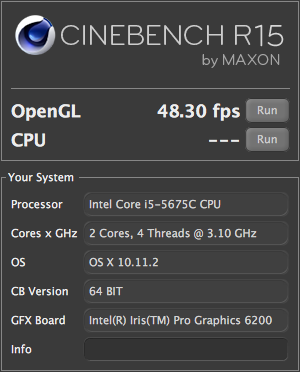
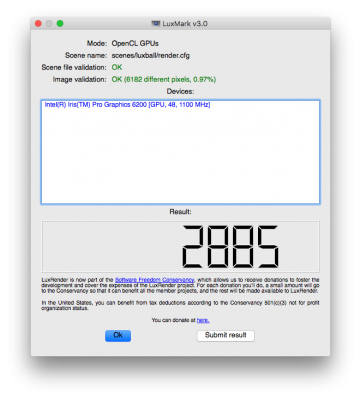
SPECS : MSI Z97-Gaming 7 | i5-5675C Broadwell | HD6200 | 8GB 2400MHz OS X El Capitan 10.11.X | UniBeast & MultiBeast
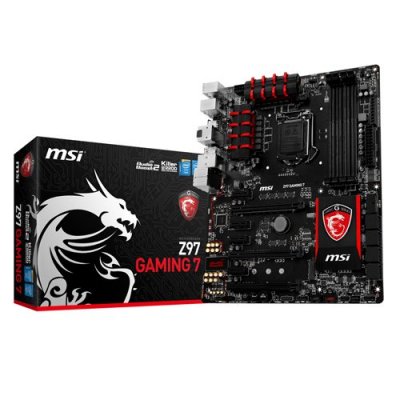
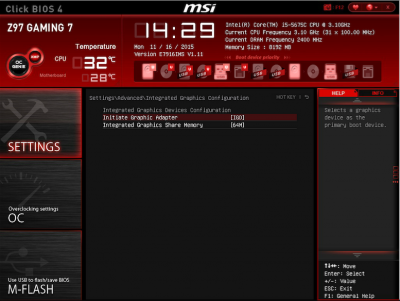
Having the opportunity to build a system with the MSI Z97 Gaming 7, I thought "What generation processor and graphics card should I get?" Already owning a very good Haswell Z87 machine and with the recent release of Skylake I was torn. Now.... Apple has released both their new iMac's (21.5" and 27"). The 21" iMac comes with Intel's Broadwell processors with improved graphics so my mind was made up...I decided on the Intel i5-5675C with Intel Iris Pro HD6200. My first initial thoughts of this platform are; the system is very snappy and the onboard graphics are also really good, I can see why Apple used these chips for the 21" iMac with no discreet graphics card. Personally and my honest opinion, if you are building a system and want to use integrated Intel graphics, Broadwell processors are the best choice on the current market. So let the fun begin.
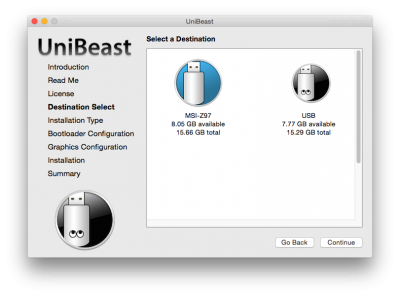
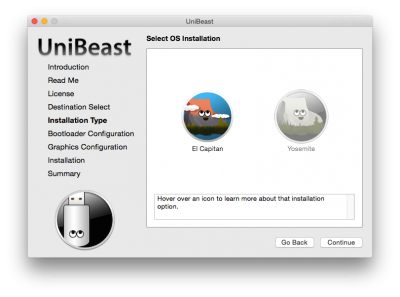
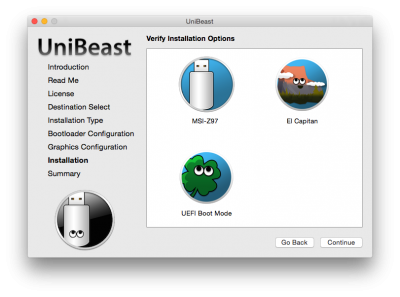
1. I created the installer using a 16GB USB drive following the 10.11 Installation guide and UniBeast 6. With Mac OS X El Capitan downloaded from the Mac App Store. I opened UniBeast and selected the USB for the installer creation. Boot Mode selection is UEFI Mode. For graphics I used the standard Installation with nothing selected. Final screen shot is to Verify Installation Options. Tip: Download MultiBeast 8 and put it on the USB Installer once UniBeast completes. (You'll need it later)
2. With UniBeast created I inserted the USB into a 2.0 port on the front of the case. Started the system continually pressing F11 (Hotkey for boot priority) to bring up the boot menu where I can select the UEFI USB drive. After selecting the boot device(UniBeast USB) the system arrives at the Clover bootloader where I select the USB installation. No extra boot flags were needed other than the ones selected universally by UniBeast creation.
3. Reaching the installer at the top of the screen under Utilities, select Disk Utility and format the drive or partition as per the 10.11 Installation guide. Here I renamed my installation drive "El Capitan". Then close Disk Utility.
4. I continued with the installer selecting my SSD for the fresh installation of OS X El Capitan. The install process took about 13 minutes to complete. Install times will vary depending on your HDD/SSD. Once the Installer completes it automatically restarts, so get ready to catch the next boot.
5. Pressing the hotkey (F11)the drive boot menu appeared and I selected to boot from the UEFI USB drive again. Once at the Clover boot menu I selected the new Installation drive named El Capitan. I had no problem reaching registration of OS X and the desktop.
Post Installation
2. Navigate to your USB (For MultiBeast) and drop it in your Applications folder. Open MultiBeast and select the following shown in the screenshot. If you're familiar with and for ease of use, MultiBeast can load the created install file >View attachment MSI Z97 G7MB.mb into MultiBeast using the load icon on the top right of the App. If you load the file select Install or if you manually selected each item choose Build then Install. Continue to step 3 before you restart.

3. MultiBeast leaves the EFI partition mounted. Download Clover Configurator and drop it into your Applications folder. With EFI mounted on the Desktop, open EFI/EFI/Clover/Config.plist with Clover Configurator. Under the Graphics section you'll see ig-platform-id. For the Broadwell desktop processor use 0x16120003. This will give you full accelerated graphics once you restart. (but not yet)
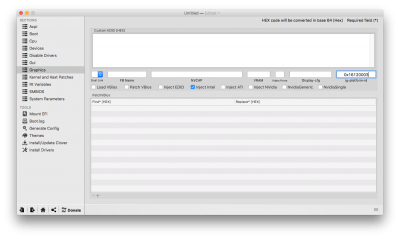
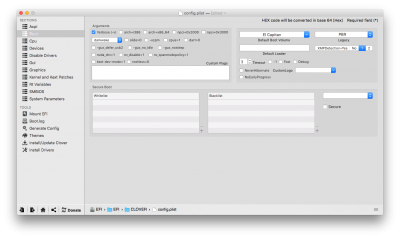
Time to restart, before we continue grab yourself a beer, glass of wine or a cup of tea.
Upon restarting you should be greeted with accelerated HD6200 graphics, audio and ethernet.
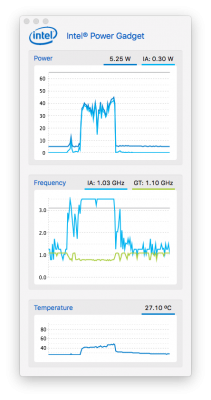
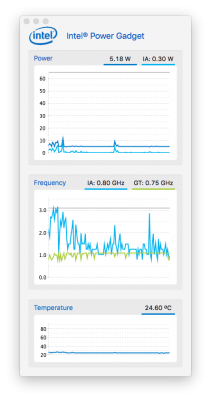
Mount your installation drive's EFI partition with Clover configurator. Open EFI/EFI/Clover/ACPI/Patched and place the SSDT in there (leave the folder open for step 5). A couple of screen shots below of Intel Power Gadget. Restart required but move to step 5 if you'd like HDMI audio.
5. Audio and patch credits: toleda
HDMI & DP HDMI audio. (Connected to the HDMI port beside the display port).
If you do not need HDMI audio then you are complete, if you'd like HDMI audio then there are a few more steps required. If you would like to read the detailed guide by toleda it is here :Audio - HDMI Audio AppleHDA [Guide] It has a few different methods for enabling HDMI audio. The method I'm using is the SSDT route. So first off we need the HDMI audio SSDT from the guide, located in
Table1/Section11/Broadwell HD6000/9series/4th column/ssdt_hdmi-hd6000+ When you visit the link you see 4 options, for my processor graphics I'm using ssdt_hdmi-hd6200.zip so I select it, view raw and download the SSDT-1.aml (EDIT: Please use this View attachment SSDT-1.aml as I've edited the framebuffer to match the working port layout). The result of using this SSDT+Framebuffer gives native HDMI audio over the Display Port, adding the patch in step 5a allows HDMI audio over the HDMI port.
5a. From step 4 you should still have the Patched folder open where you placed the power management SSDT. Place SSDT-1 you've just downloaded in the Patched folder. Navigate back in Finder to your config.plist. Open it with Clover Configurator and navigate to the section Kernel and Kext Patches. We need to continue with the HDMI audio guide and patch the AppleIntelBDWGraphicsFramebuffer.kext.
Name : AppleIntelBDWGraphicsFramebuffer.kext.
Find : 02040B000004000007050000
Replace : 02040B000008000007050000
Comment : 10.11-BDW6200-Port0x6_DP2HDMI
Name : AppleIntelBDWGraphicsFramebuffer.kext.
Find : 030603000008000006000000
Replace : 030603000004000006000000
Comment : 10.11-BDW6200-Port0x7_HDMI2DP
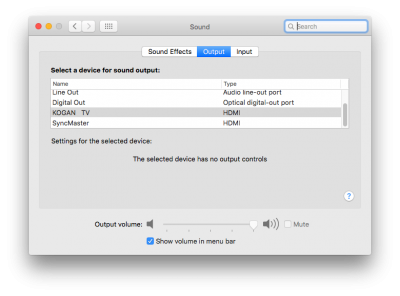
Save the config.plist, restart your system, when you boot check in System/Preferences/Sound/Outputs and you should see HDMI Audio.
Summary
(Using DP Active adapter) Display Port booting on its own doesn't work(scrambled screen).
Display Port and HDMI port together gives Mode Not Supported on DP connected monitor.
Both HDMI ports work simultaneously(dual monitors). Fixed: Post Installation/Step5.
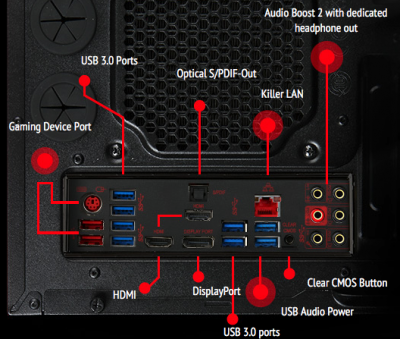
Picture below
a) The 4 USB 3.0 ports in a row next to the Gaming Device port are the AsMedia Chipset and work at USB 2.0 speeds/480Mps.
b) The 2 USB 3.0 ports next to the Display port are Intel and work at 3.0 speeds.
c) The 2 USB 3.0 named USB Audio Power are AsMedia and work at USB 2.0 speeds.
Last edited:

