trs96
Moderator
- Joined
- Jul 30, 2012
- Messages
- 25,535
- Motherboard
- Gigabyte B460M Aorus Pro
- CPU
- i5-10500
- Graphics
- RX 570
- Mac
- Mobile Phone
Install Snow Leopard on the HP Elite 8000

HP Elite 8000 SFF
Minimum Requirements: Intel Core 2 Duo CPU - 2 x 1GB or 1 x 2GB of DDR3 Ram
CD or DVD-Rom drive - Hard Drive for installation - Intel 4500HD graphics
SFF dimensions: 100 x 338 x 378 mm (3.9 x 13.3 x 15 in.)
HP Elite 8000 SFF
Minimum Requirements: Intel Core 2 Duo CPU - 2 x 1GB or 1 x 2GB of DDR3 Ram
CD or DVD-Rom drive - Hard Drive for installation - Intel 4500HD graphics
SFF dimensions: 100 x 338 x 378 mm (3.9 x 13.3 x 15 in.)
Ebay.com There are many Elite 8000's that come at low prices with 4 or 8GB of ram installed.
hp elite 8000 sff for sale | eBay
Get the best deals for hp elite 8000 sff at eBay.com. We have a great online selection at the lowest prices with Fast & Free shipping on many items!
www.ebay.com

Snow Leopard Retail OS X 10.6.3 Disk Lowest price, $19.99 is direct from Apple.com

iBoot 3.3.0 CD iBoot Download Link You will need to burn this iso image to a CD (can use Windows)
To skip the intro comments and go right to the setup and install:
Elite 8000 BIOS Setup
Comments on the Snow Leopard Install & The Elite 8000
In my 2 + years of moderating on tonymacx86.com I've heard many state that they don't own a Mac to use for the download of OS X. They also don't have access to one they can use temporarily. They often claim in exasperation, "That's why I'm building one of these, because I want a Mac but don't have one right now!" So we've pointed out the option of buying the Snow Leopard DVD from Apple to install on their new build. iBoot + Multibeast method is used as a temporary solution to get OS X Snow Leopard installed from the DVD. Not all hardware is compatible with this approach and many will give up in frustration because they cannot access the Mac App Store to get OS X. So what else can be done ?Elite 8000 BIOS Setup
Comments on the Snow Leopard Install & The Elite 8000
This guide shows you how to temporarily install Snow Leopard on an older pre-built system, the HP Elite 8000. Then how to make a Unibeast installer with any version of OS X newer than Snow Leopard.
A Mac or Customac like the Elite 8000 with Snow Leopard 10.6.8 installed is used to make the Unibeast installation drive. You cannot make the Unibeast installer on a Windows PC or in a VM running OS X. (Follow the site rules please)
Having at least Snow Leopard 10.6.6 running on a PC is required to download OS X from the Mac App Store (MAS). The Snow Leopard retail DVD has version 10.6.3. After you install from the DVD it's best to download the 10.6.8 combo update and run that. This will allow you to make your Unibeast installer for a newer version of OS X. Then you can run OS X Mountain Lion or other newer versions of OS X long term on the Elite 8000. This is covered in a User Build that is currently posted here: EZ 8000 User Build
This HP SFF PC can be purchased refurbished for 40-60 USD. If you want to eventually install a newer version of OS X, Lion through El Capitan on the Elite 8000, make sure to purchase the SFF version as it has a PCI-e 2.0 x 16 slot for a compatible graphics card. For the Snow Leopard install, we'll use a VGA monitor and the X4500 HD graphics. The graphics resolution is limited to 1024 x 768 when using this install method. There is a Display Port output on all of the Elite 8000 models. I have tested a low cost DP to HDMI adapter and that is working with Snow Leopard.
https://www.amazon.com/dp/B017Q8ZVWK/?tag=tonymacx86com-20 That is another option if you have no VGA cable or monitor input.
STEPS TO INSTALL SNOW LEOPARD and MAKE YOUR UNIBEAST INSTALLER
1. Preliminary Steps
Power on your Elite 8000 and boot into Windows to make sure that all of your hardware is functioning properly. Also, while in Windows, you can download the version of Unibeast appropriate to your chosen version of OS X. Make sure to purchase a 16 GB USB flash drive for making your El Capitan, Unibeast drive. If you will be creating a Unibeast installer with Yosemite or an older version of OS X, 8GB will be large enough. Transfer Unibeast to the flash drive and eject it for now. This is also a good time to make your iBoot 3.3.0 CD if you haven't already. Burn it to CD and put it aside with the flash drive.
You will not need to purchase a Snow Leopard compatible graphics card to succeed. It is suggested that you get one if you want to run OS X longer term on this system. Use of the onboard VGA output will be adequate for the Snow Leopard install and to make your Unibeast USB installer. Do not install a GeForce 210 graphics card before the OS X install as it will not work with Snow Leopard. Gives a black screen. Some cards such as the Nvidia 8800GT or 8400 GS will not be a problem for the install.
2. Elite 8000 BIOS Setup
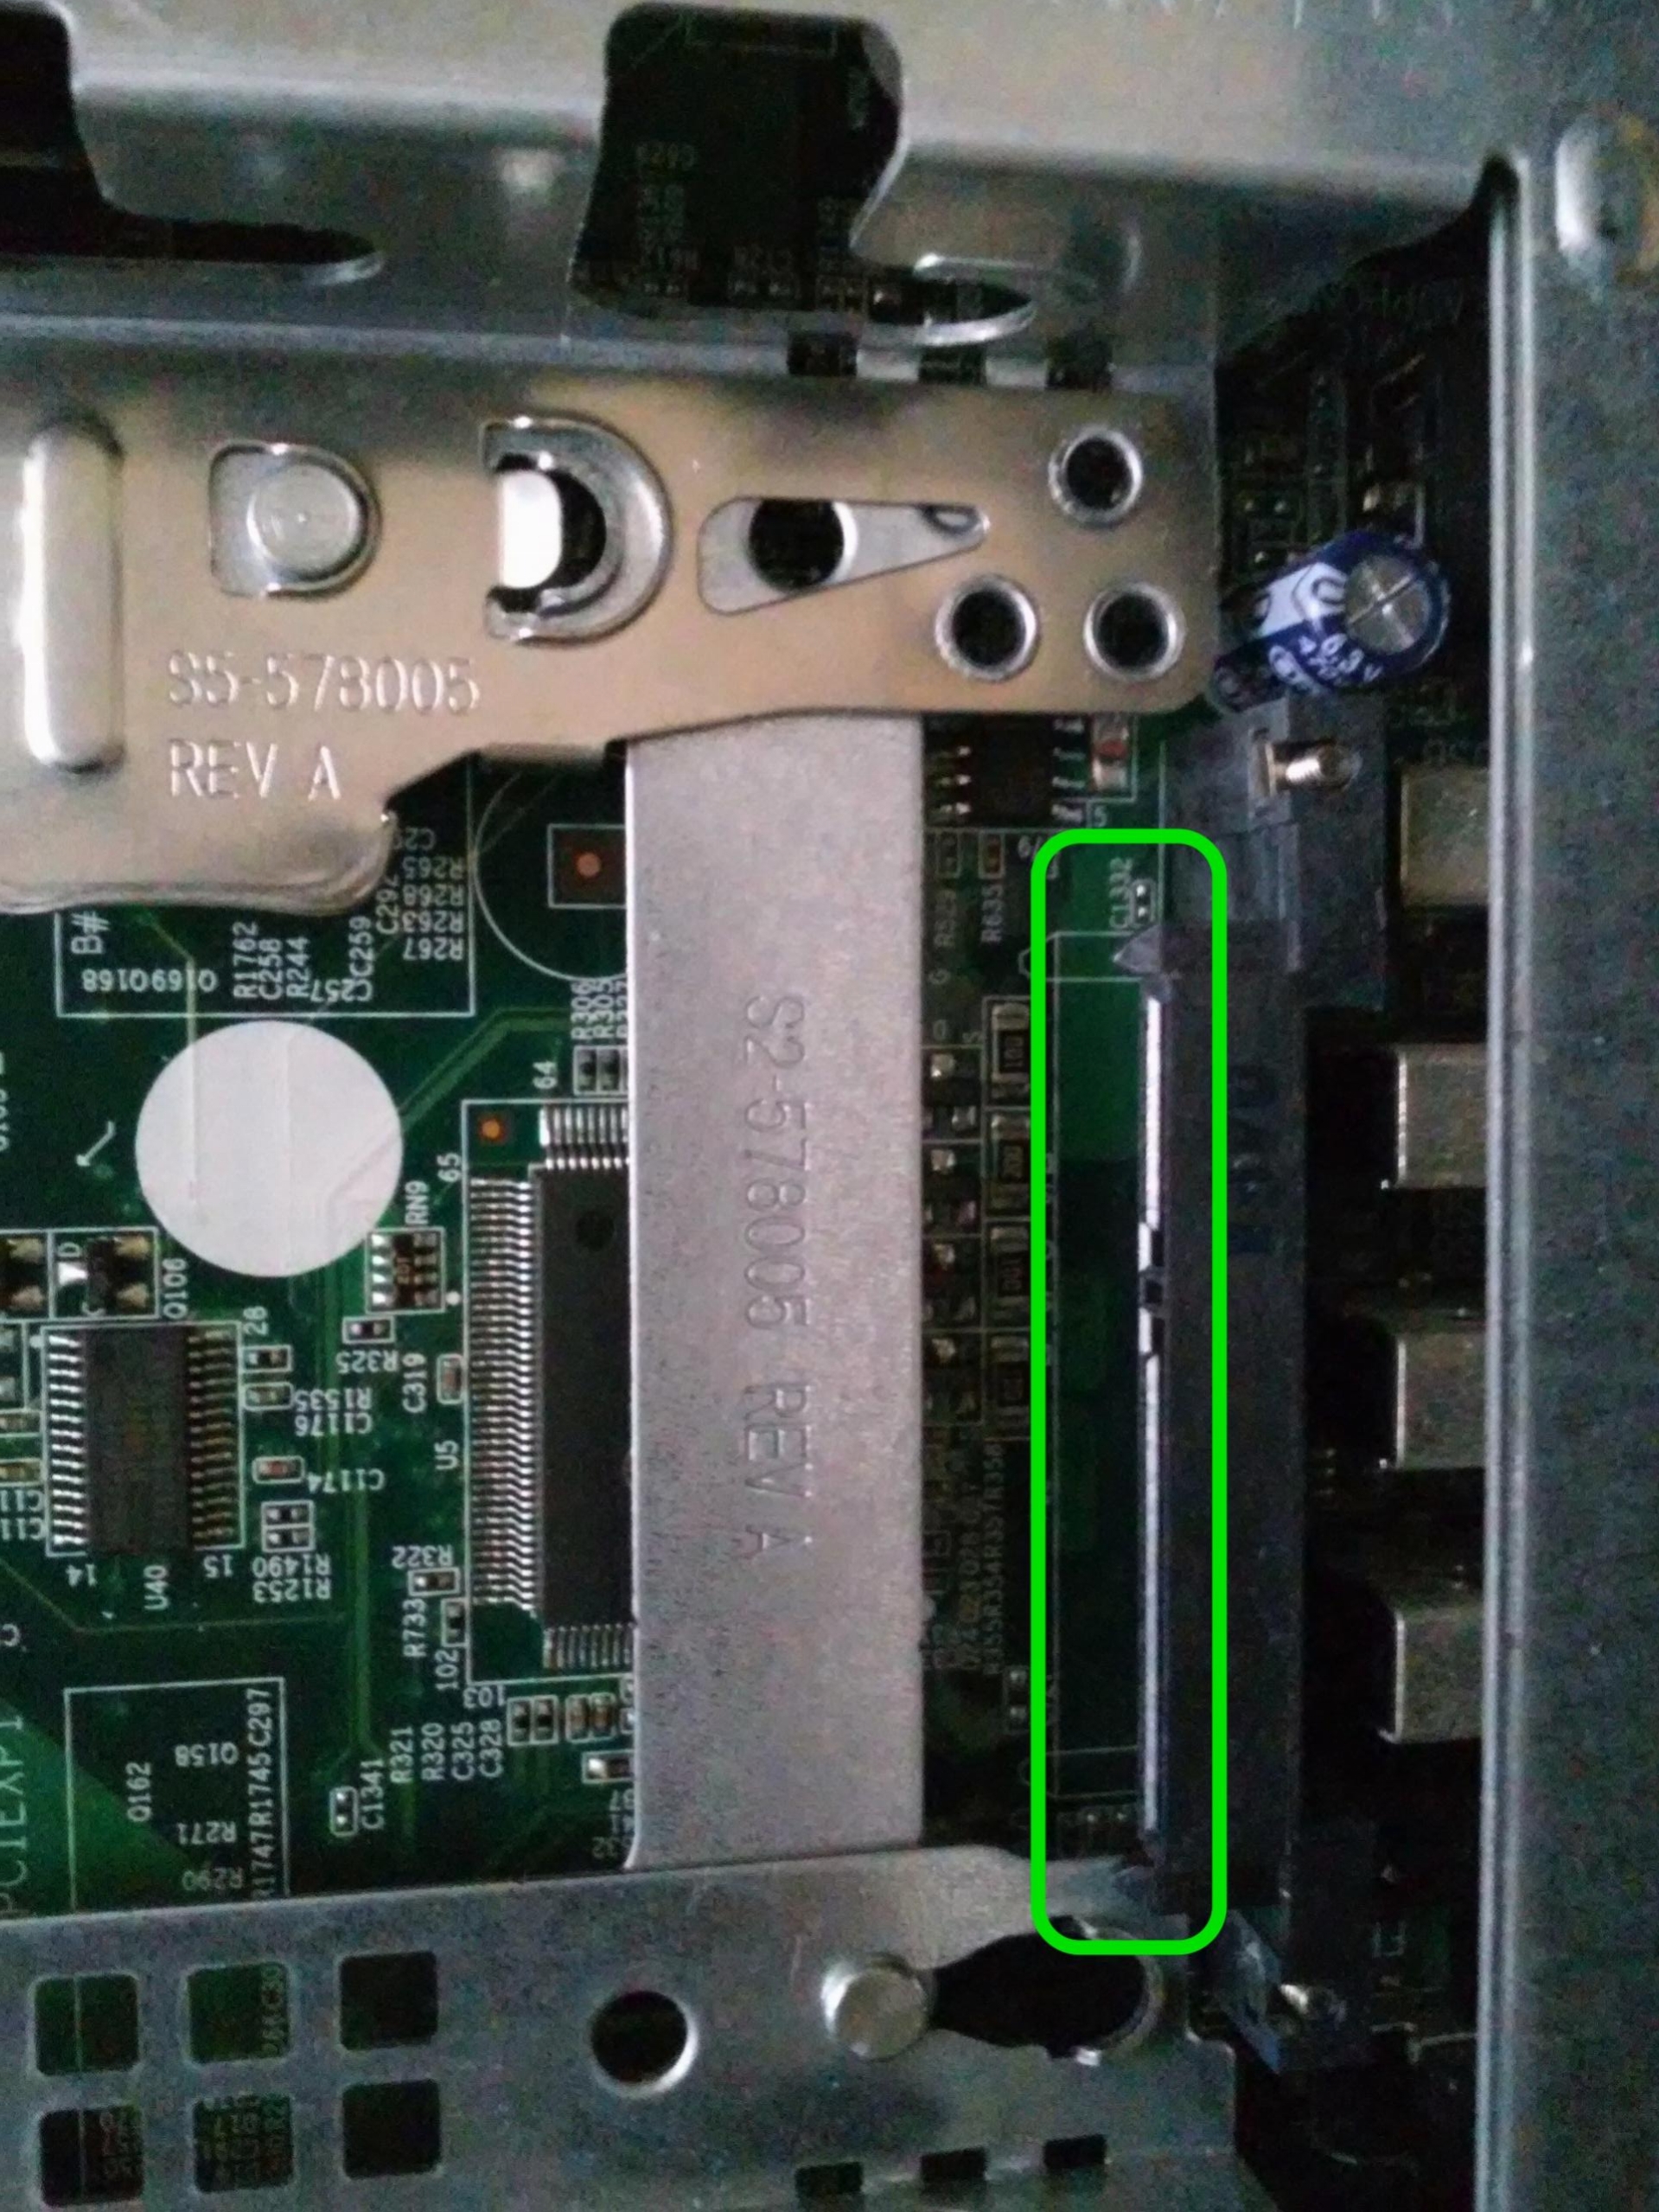
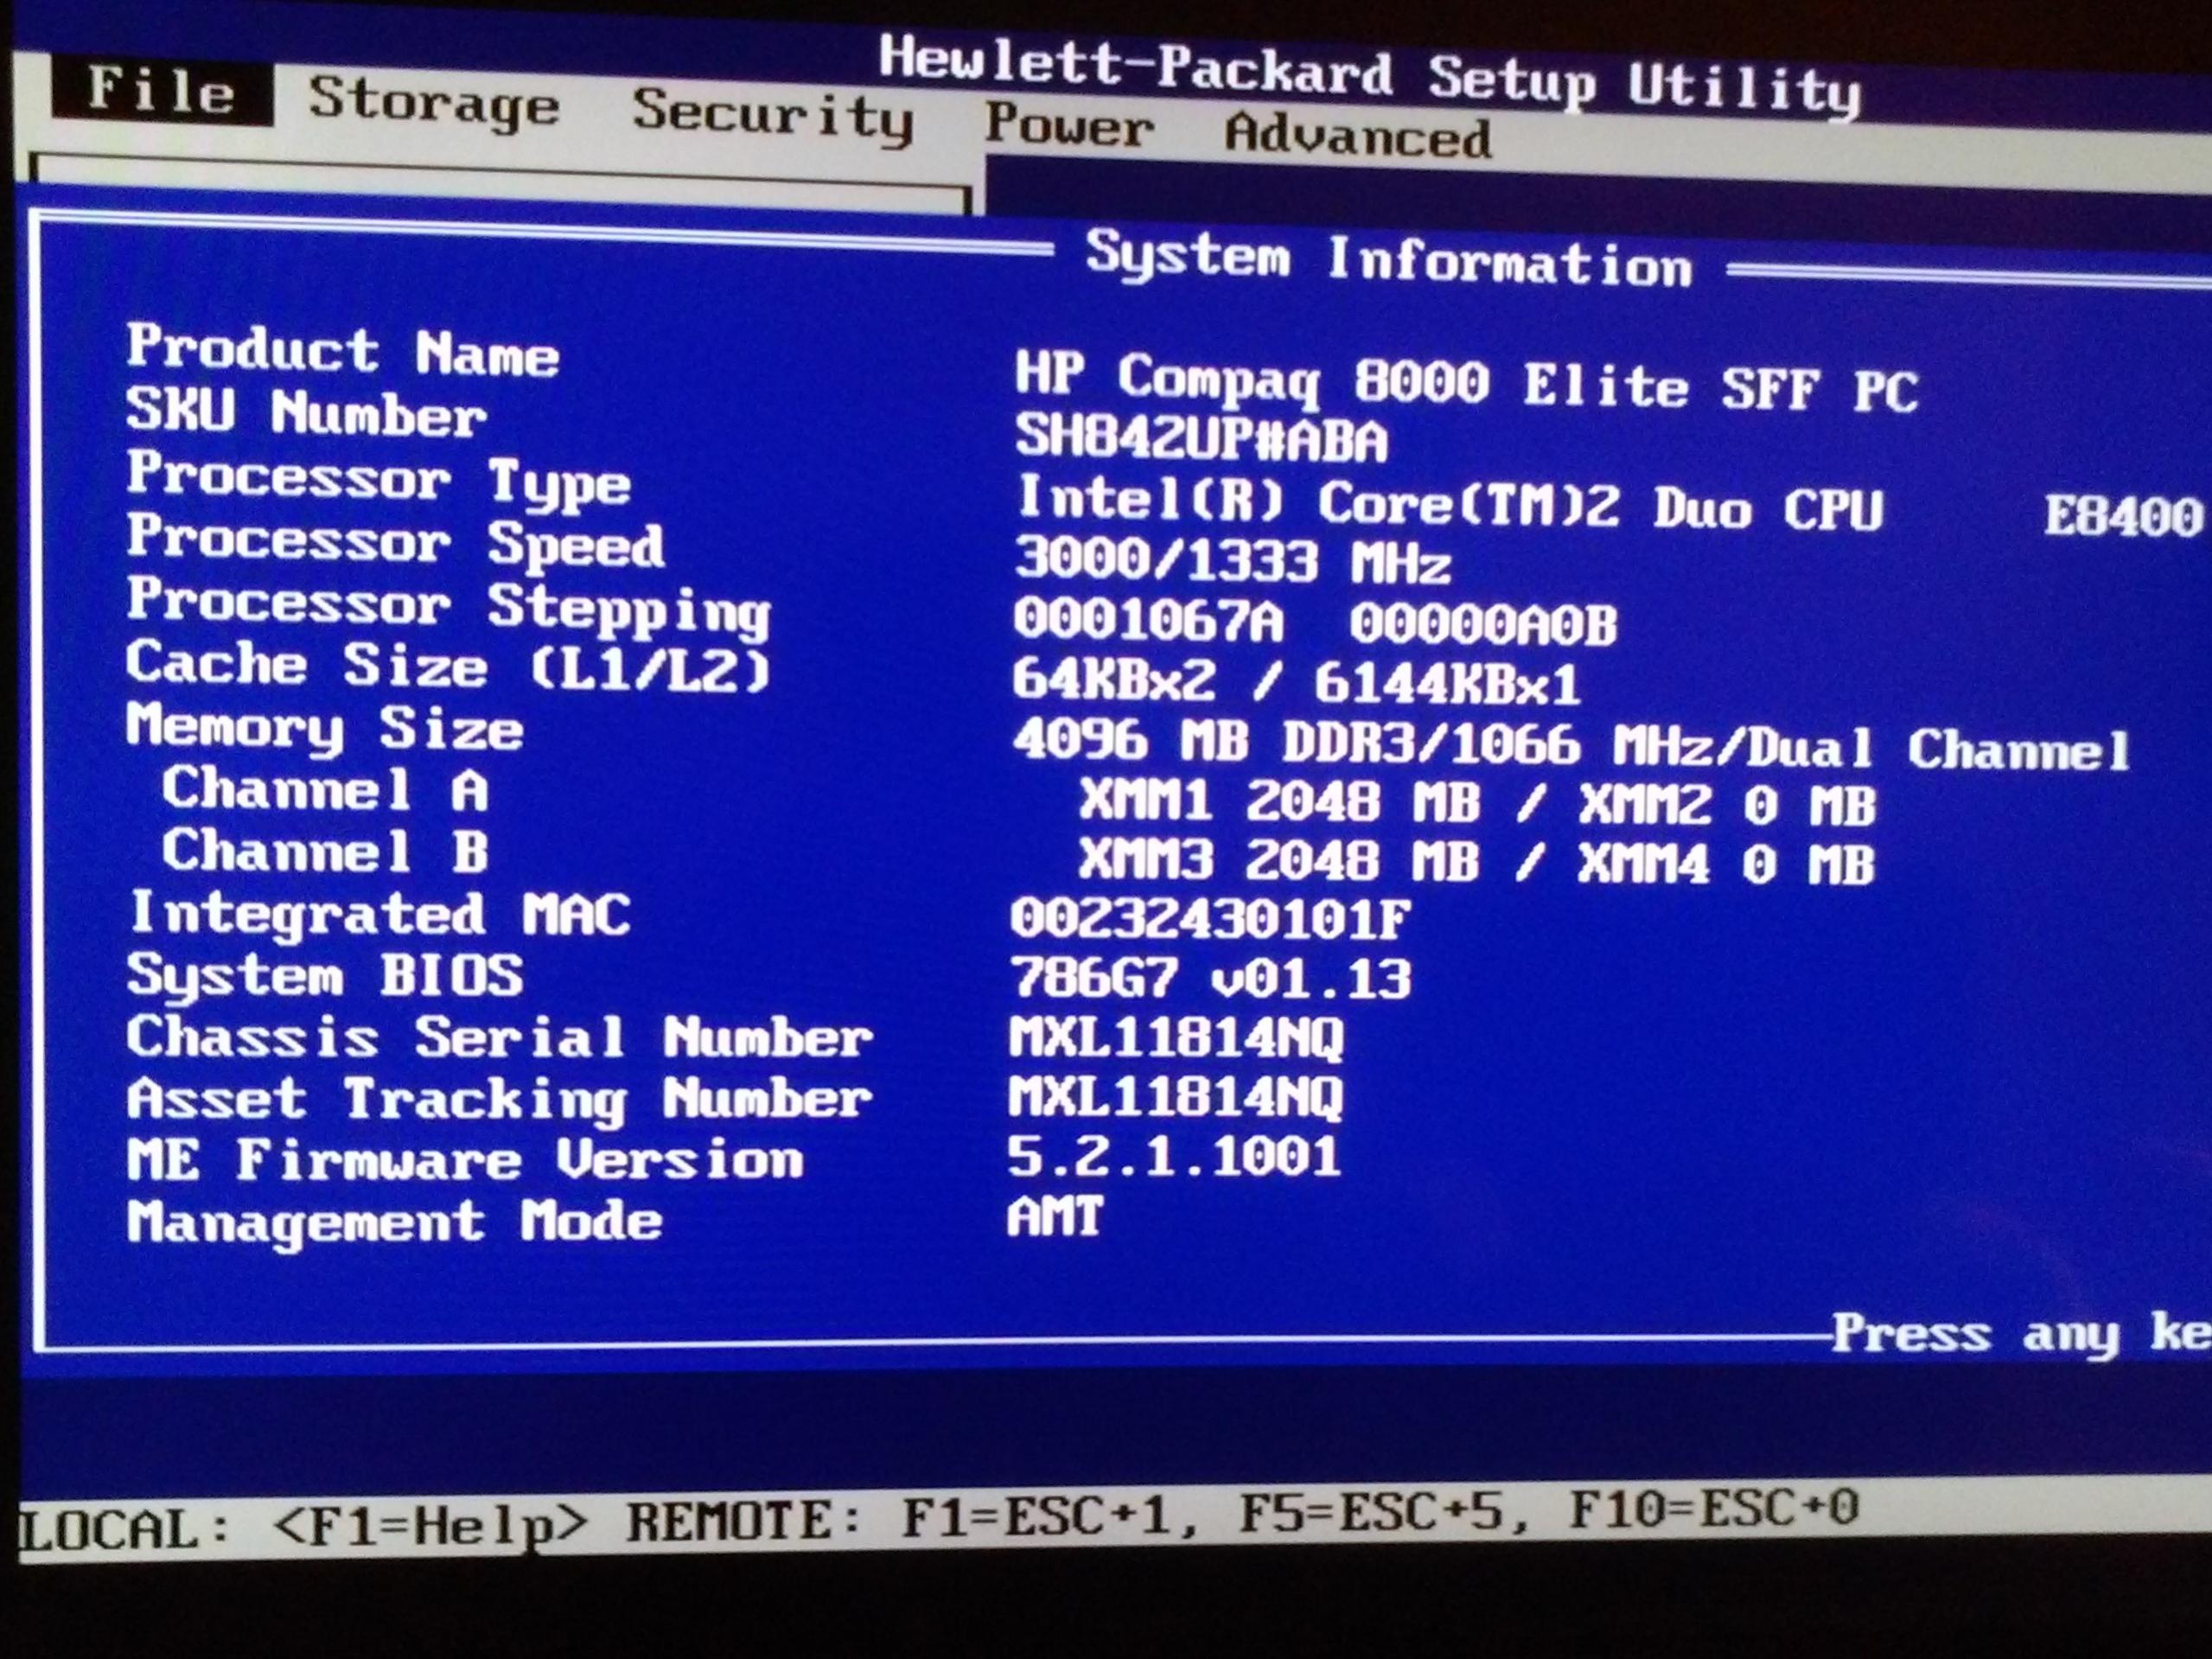
After powering on, mash (tap) the F10 key repeatedly to enter the Elite 8000 BIOS. Check under the system information tab, that all of your hardware shows correctly and note your BIOS revision.
Now that you've determined which BIOS Revision is installed you can update or "flash" it if you'd like.
If all you will do with this HP PC is install Snow Leopard and make your Unibeast drive, then it is not
mandatory that you flash your BIOS.
HP gives instructions on how to do this. Updating your HP Computer's BIOS
Easiest way to update is within Windows 7. Best method involves using HP's QFlash utility. NOTE: To use HPQFlash you must have Internet Explorer set as your default browser. Chrome or Firefox or other browsers will not work and will give you an error message that says your bios is missing or corrupt when it is actually not.
Here is the BIOS download page for 1.13 Rev. A. HP BIOS download page
Open the file on Windows 7 desktop. Your Internet Explorer browser will open. Then select the HPQFlash utility and the BIOS update is all automatic from there. Do not interrupt the flashing. Restart after it has fully completed.
There is a newer BIOS available but the only difference between 1.14 Rev A. and 1.13 Rev. A. is a fix for those running Windows on this hardware. If you will be running OS X, go with 1.13 Rev. A. Some have reported problems trying to install OS X after upgrading to 1.14.Making Necessary BIOS Changes


Next go to the advanced tab, under onboard devices, disable Serial Port A. If your PC has a Parallel port installed via PCI-e then disable that too. Hit F10 to save. Next click on Exit and Save Changes to complete your BIOS setup for the install.
3. Install Snow Leopard from the Retail DVD and update to 10.6.8
Reference the original iBoot + Multibeast guide written by tonymacx86:
http://tonymacx86.blogspot.com/2010/04/iboot-multibeast-install-mac-os-x-on.html
Where there are differences for this specific hardware I've pointed them out clearly for you to follow.
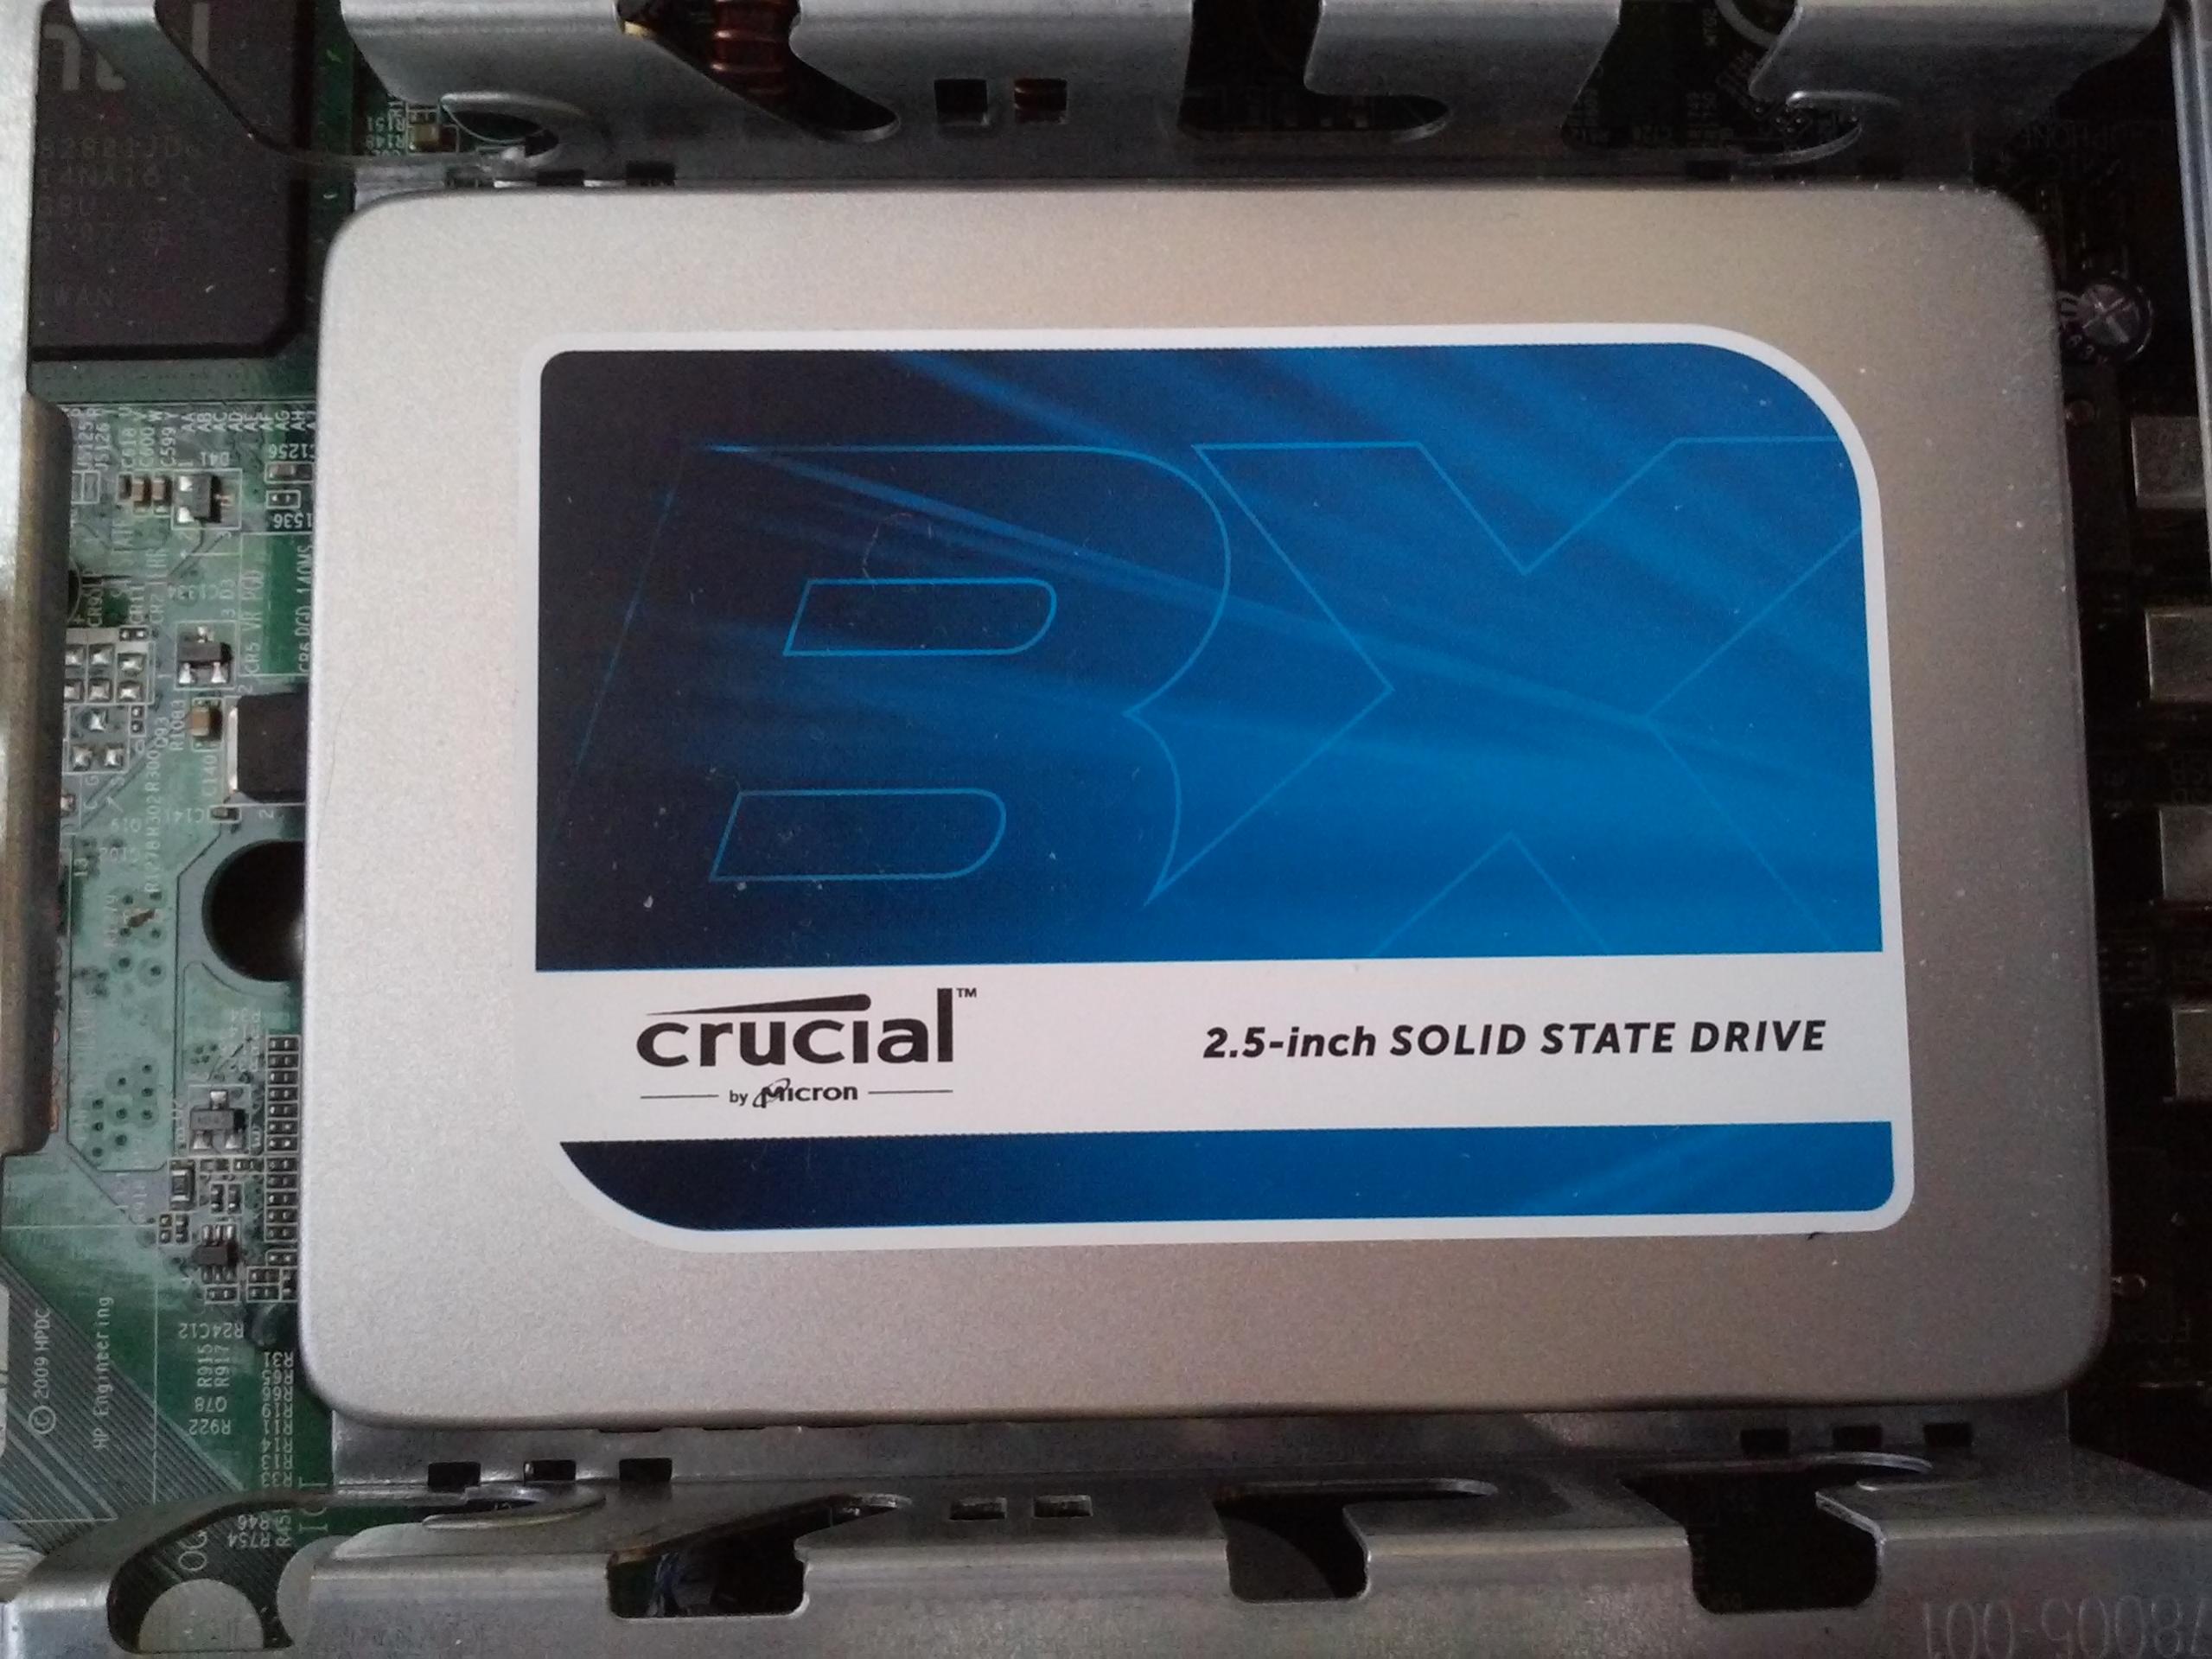
First, while powered down, disconnect the Windows 7 HDD and connect a blank SSD or HDD for the install. Power on and tap on the F9 key. Open up the PC's DVD drive and load up the iBoot 3.3.0 CD. Select the boot from CD-Rom option, swap the iBoot disk out for the retail 10.6.3 DVD press F5 and then press the right arrow key to get to the Mac OS X install DVD. Press the space bar and enter these three boot flags:
-x -f -v

All three are lower case with a space between each. This process takes a long time since Snow Leopard is being accessed from a very slow DVD drive and not from a USB flash drive. After the lengthy verbose boot, the boot up will stop at systemShutdown false. Here you need to wait at least 1 minute longer. This is not a kernel panic or other problem, things are still happening, just wait till done.

Next, select your language and then you'll see this screen:

- Partition your hard drive to GUID Partition Table
- Format your hard drive to Mac OS Extended (Journaled).
- The bootloader can only boot from a disk or partition of 1 TB or less.
You can now download the 10.6.8 combo update v.1.1, Click Here, install that and then reboot with
iBoot 3.3.0 once again, select Snow Leopard and enter the 3 boot flags -x -f -v, hit return.
You may want to update to the most current version of Safari for Snow Leopard from the Mac App Store. It will give you fewer graphics artifacts and other problems. Now you are able to access the MAS. Sign in with your Apple ID and start downloading El Capitan.
The only changes from the original iBoot guide are the absence of an installed graphics card and that you will not need to run Multibeast as described in steps 3 and 4. All you are doing here is reaching the goal of downloading El Capitan and making the Unibeast USB installer drive.
4. Make the Unibeast OS X Installation Drive
Once you have downloaded OS X into your Applications folder you can then run Unibeast and make your installation USB drive. Use it for the OS X install on your newer hardware or install that version of OS X on your Elite 8000 PC. When writing to the USB you may not see the progress bar moving. That is normal in this situation. The second hand on the stopwatch will still be moving though. It's a long, slow process at USB 2.0 speeds so be patient for it to complete. You can watch the amount of free space available in the OS X base system window if you'd like to know how far along the install has progressed.
That's the basic outline for installing Snow Leopard on the Elite 8000. This hardware is perfectly suited to installing OS X and gaining access to the MAS. Almost seems that HP designed these for running OS X. The install takes a minimal amount of effort and should be completely successful for you.
What should I do with the Elite 8000 after I've completed making the Unibeast drive ?
1. You can reconnect the Windows 7 HDD and use it as a PC. Onboard VGA gives you 1080p res.
2. You can install a newer version of OS X such as Mavericks. (requires a graphics card)
What if I want to keep Snow Leopard installed on the Elite 8000 and continue to use it ?
1. This is not recommended as Snow Leopard is end of life and no longer supported by Apple.
2. If you do want to keep it to run legacy PowerPC programs with Rosetta, for example, then install
a graphics card so that you can at least get a 1080p resolution and graphics acceleration. The GeForce
8400GS is a good low budget choice that you can still purchase new or used online.
3. Install Easy Beast and the Intel Ethernet Kext via Multibeast for Snow Leopard. Run Disk Utility
and repair permissions. In /S/L/E delete the AppleHPET kext. Empty the trash. Is also a good idea to remove the 3rd party Sata kext from /Extra/Extensions. Reboot and then run all the Apple software updates. If your USB ports stop working after an update from Apple, reboot with the -f flag, then go back to /S/L/E to delete the AppleHPET.kext. Restart to boot again without any flags.
Last edited: