
You are using an out of date browser. It may not display this or other websites correctly.
You should upgrade or use an alternative browser.
You should upgrade or use an alternative browser.
Graphite 5
- Thread starter nagyizom
- Start date
- Status
- Not open for further replies.
")
- Joined
- Oct 23, 2012
- Messages
- 7
- Motherboard
- X86
- CPU
- C2D E8400
- Graphics
- GTX650TI
- Mac
- Classic Mac
- Mobile Phone
From those who has followed my blog. I have to apologize because of this long break.
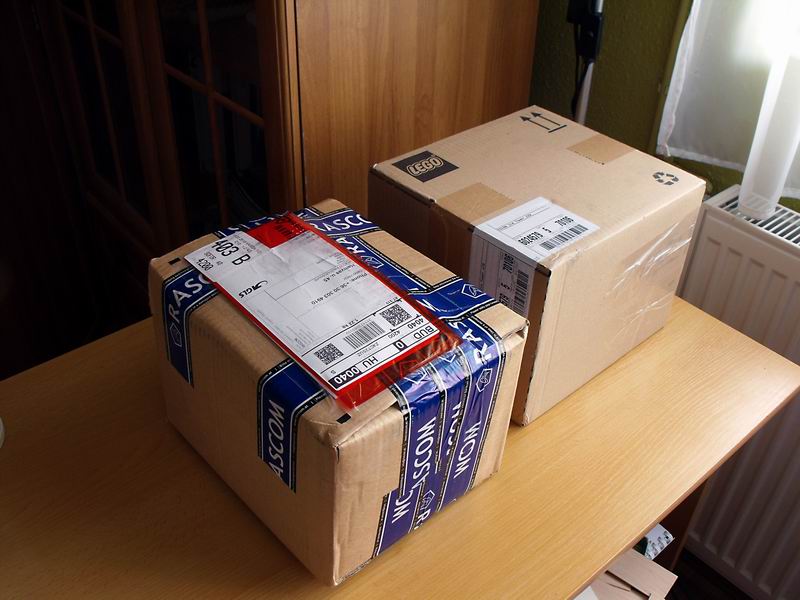
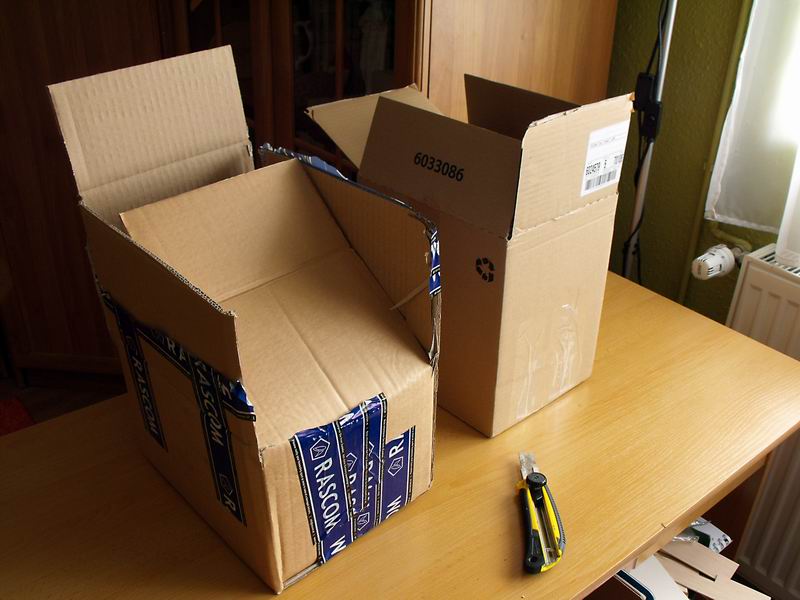
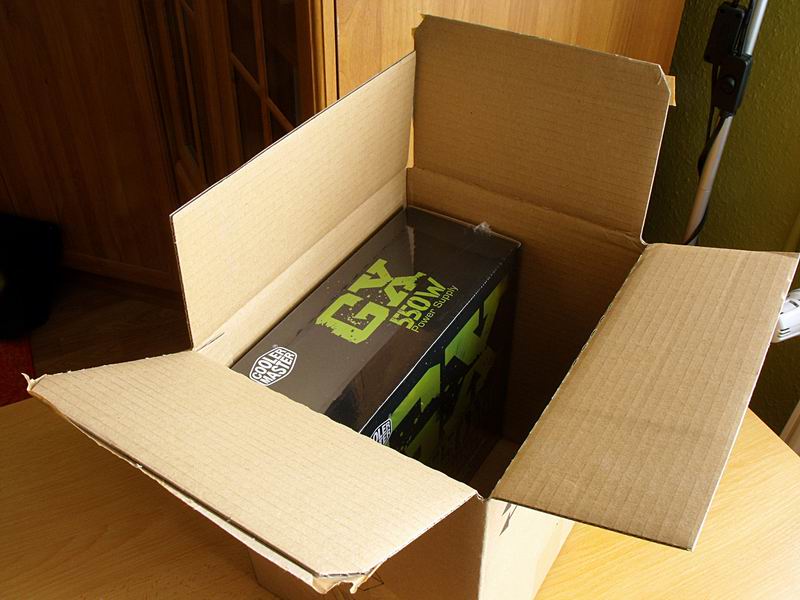
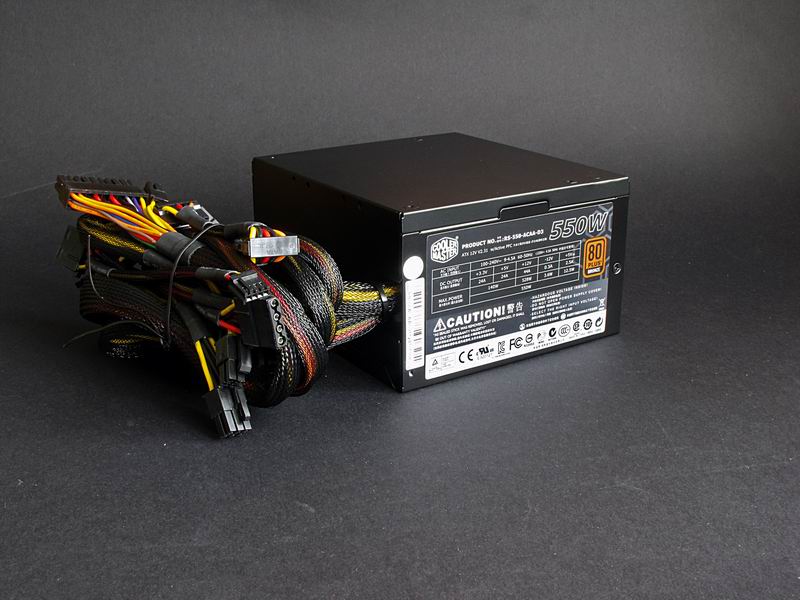
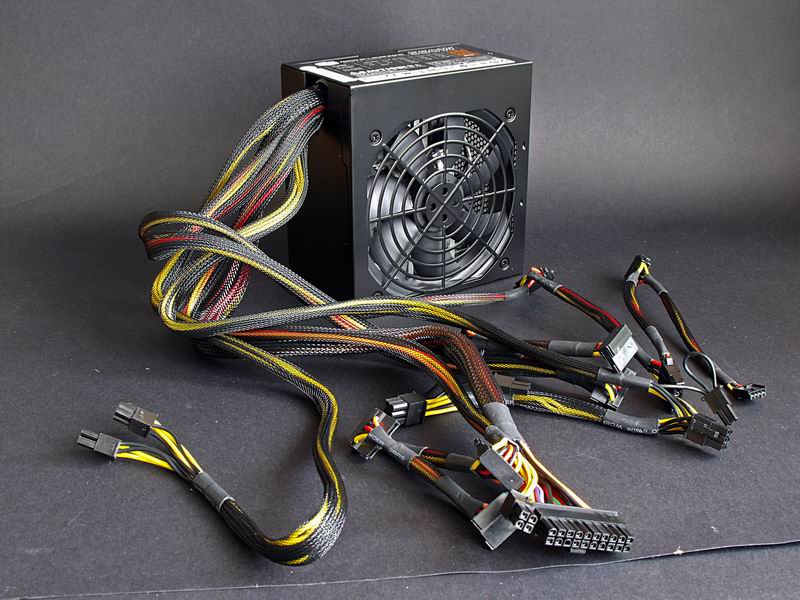
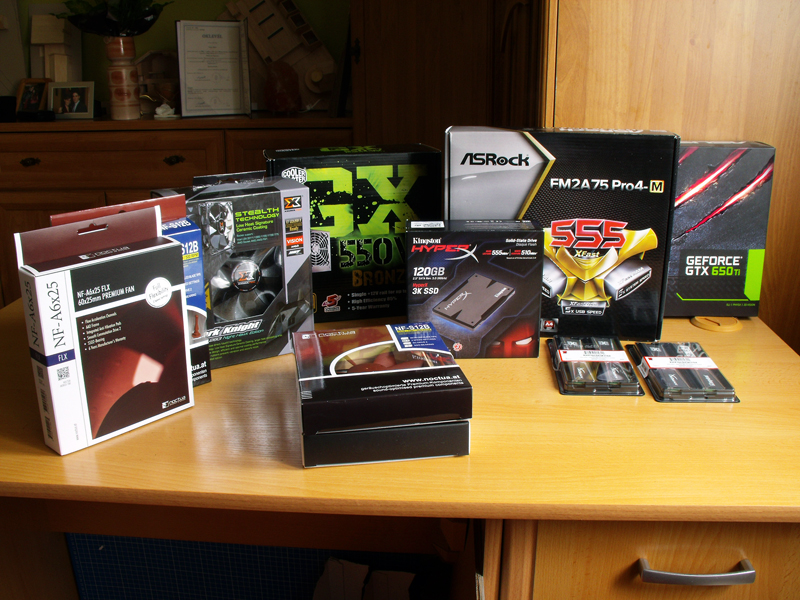
In one of the boxes was a Cooler Master GX520w PSU

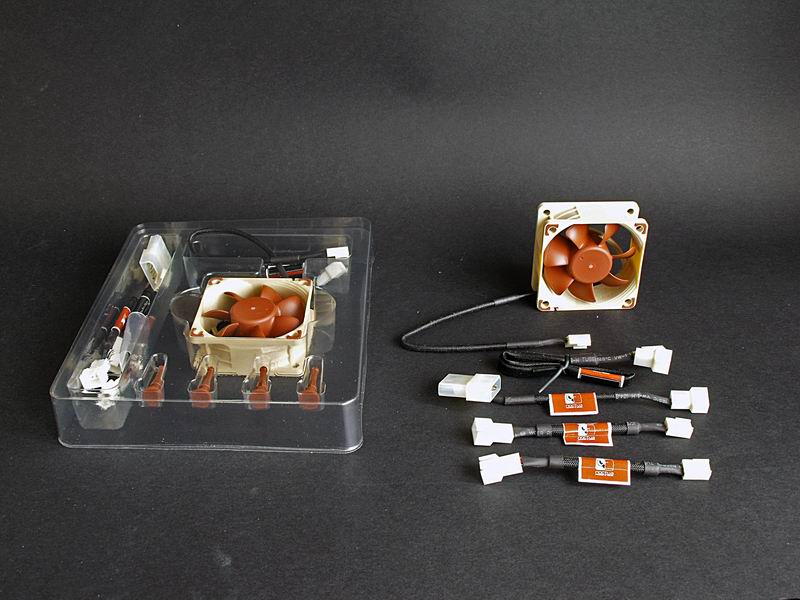
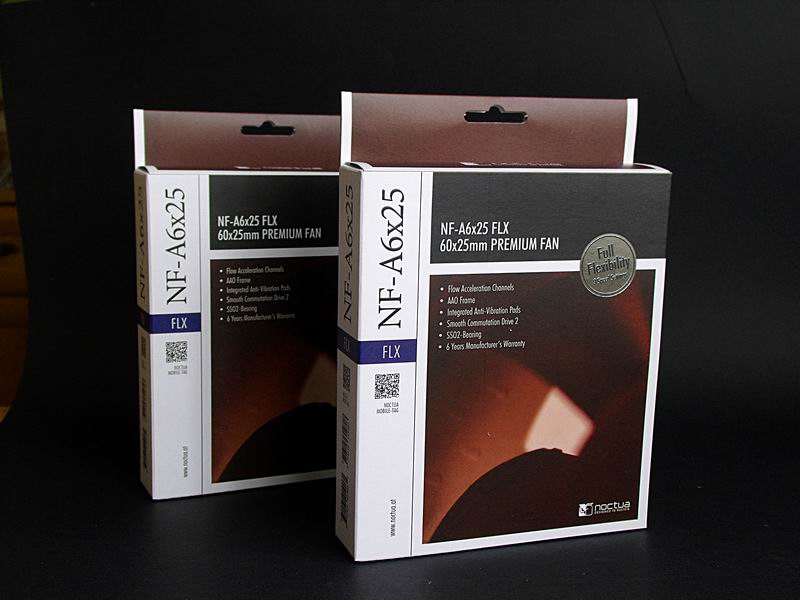
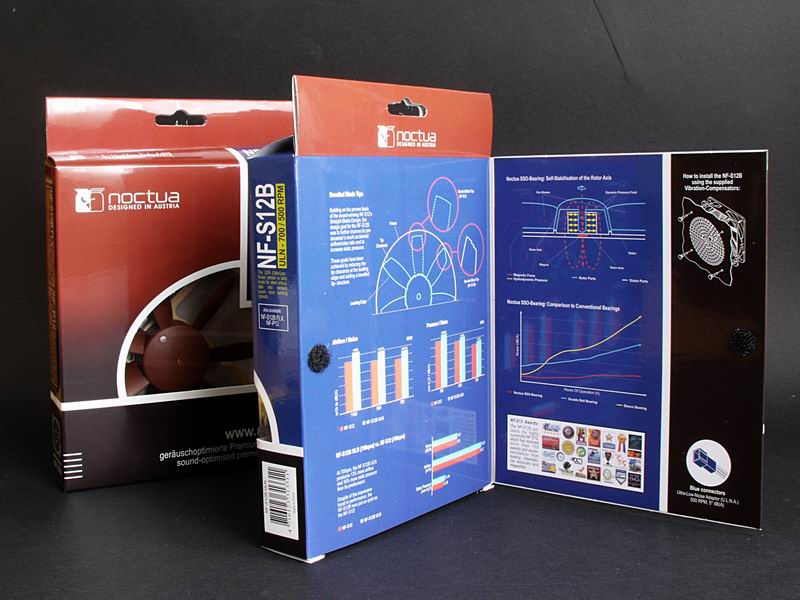
I use the Noctua fans for long years and I am very satisfied with their products, 2 NF-S12B and 2 NF-A6x25 FLX fans. The first two will provide cooling for the case , the 6 cm fans will cool the PSU.


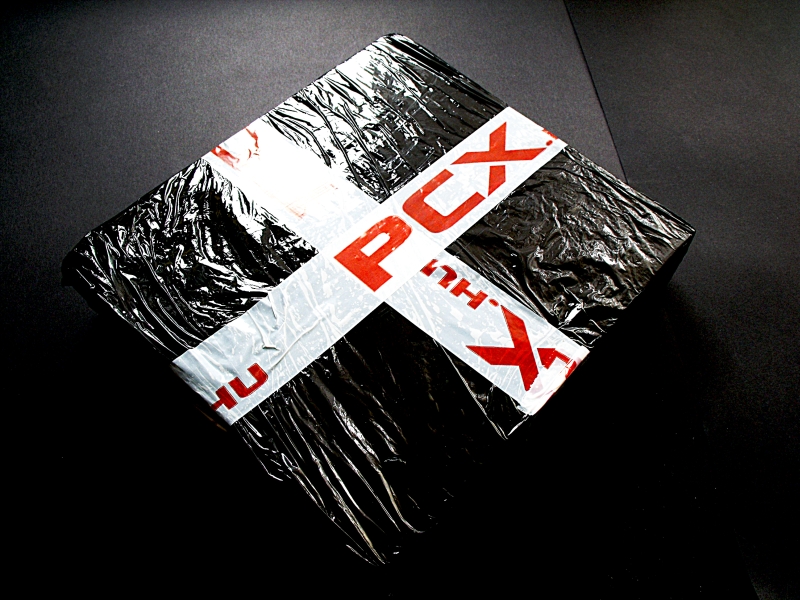
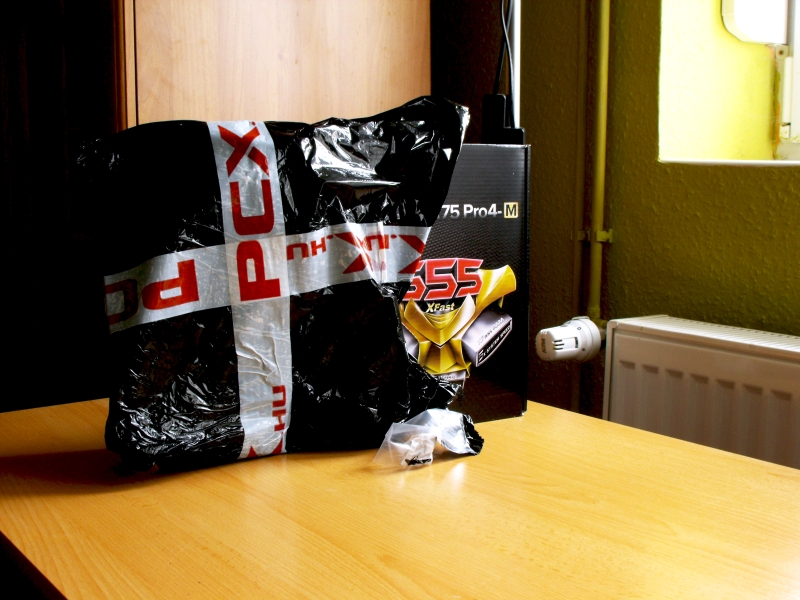
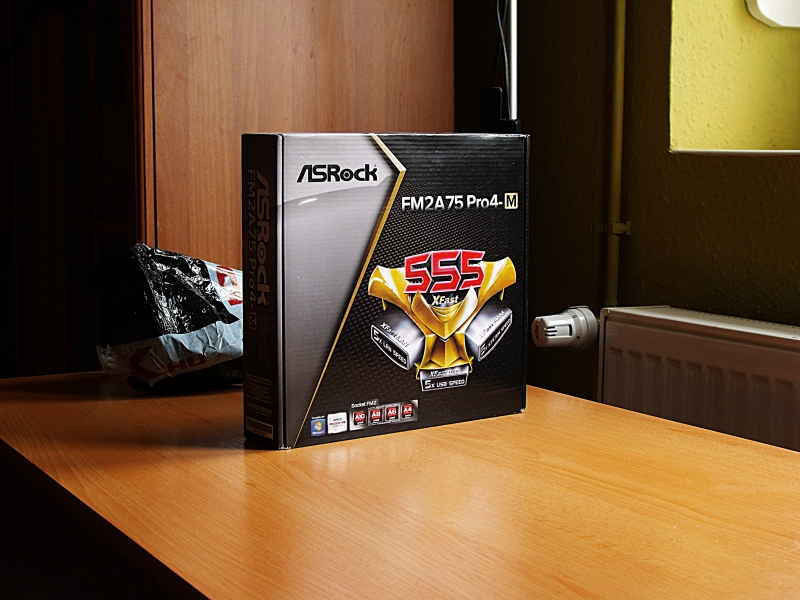
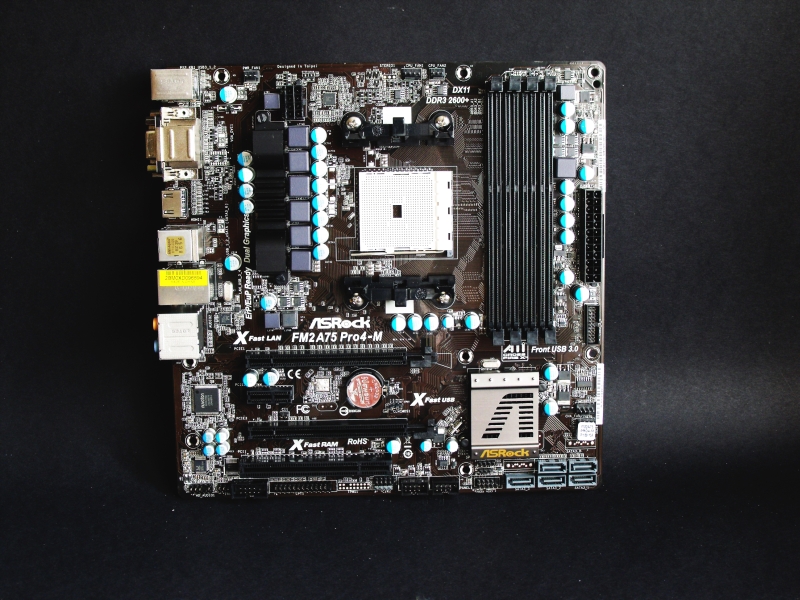
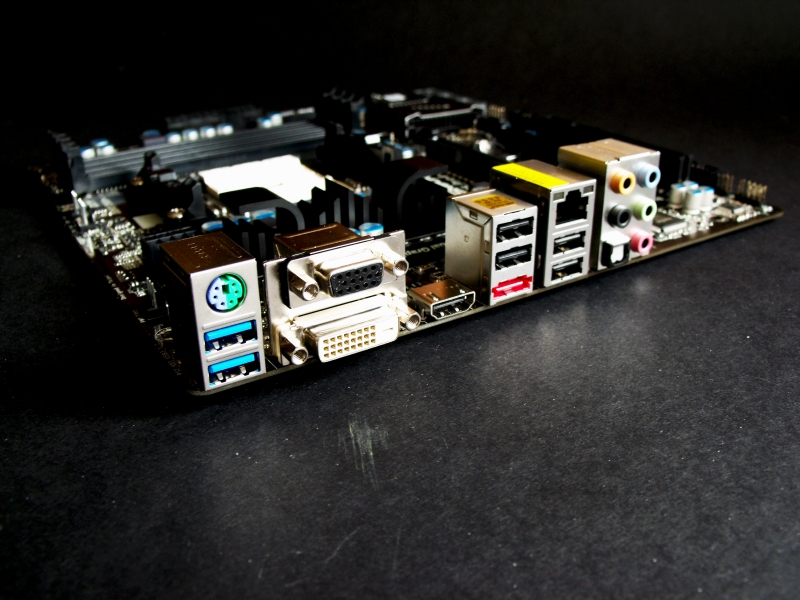
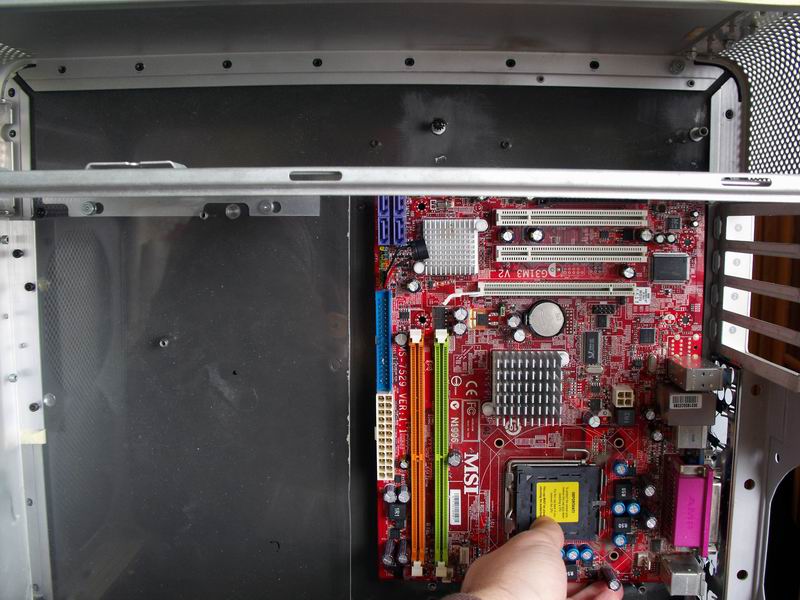
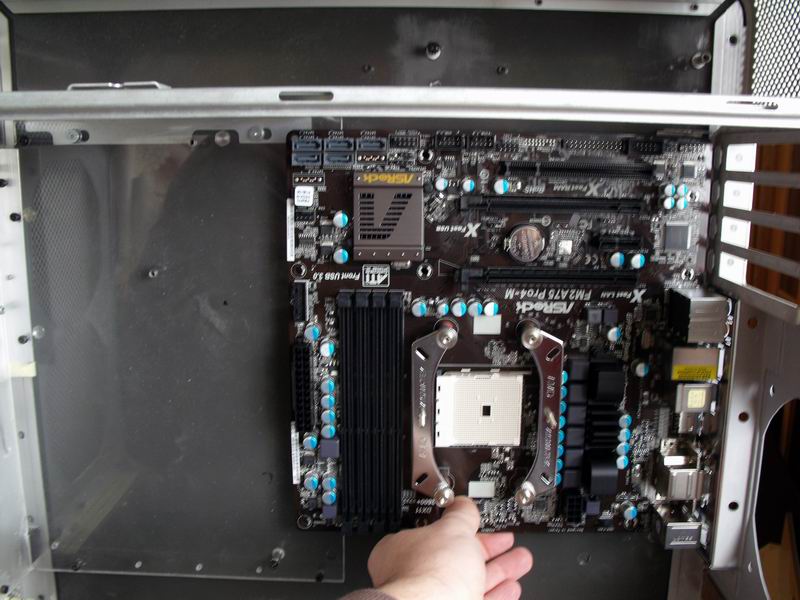
Asrock FM2A75 Pro mainboard. Great!

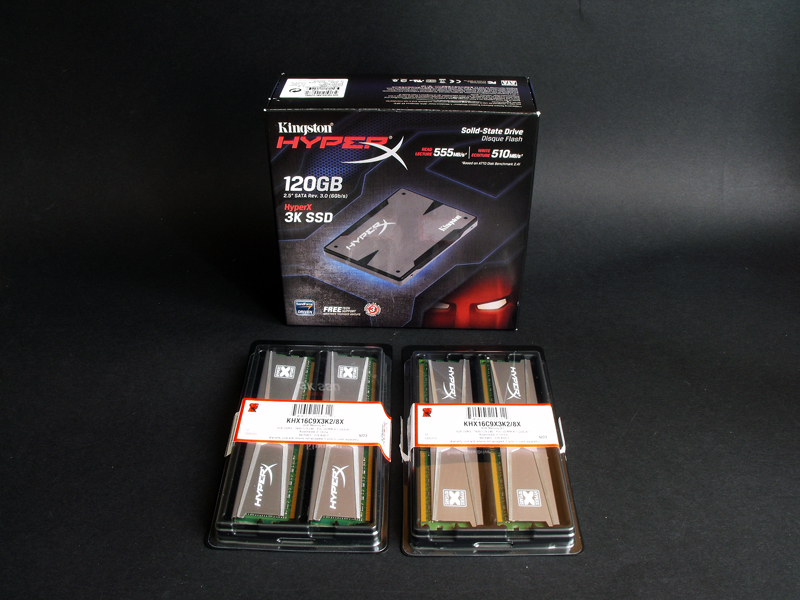
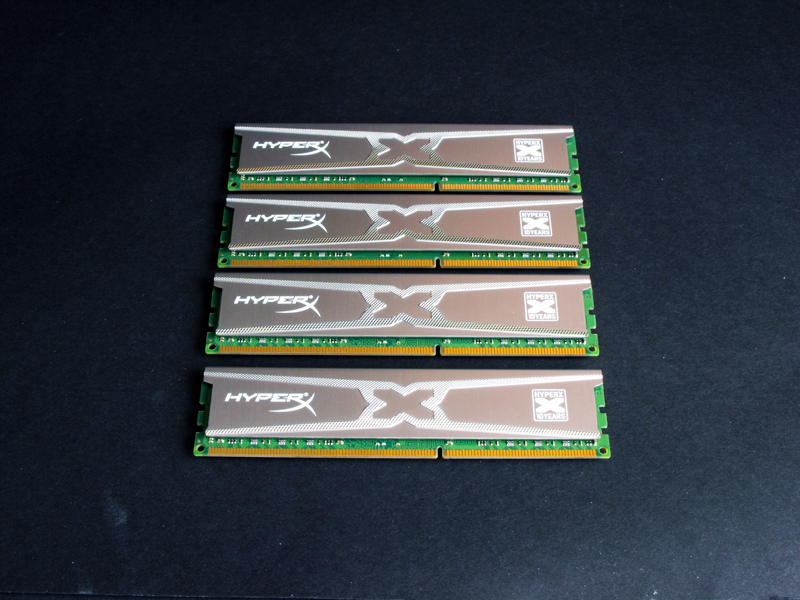
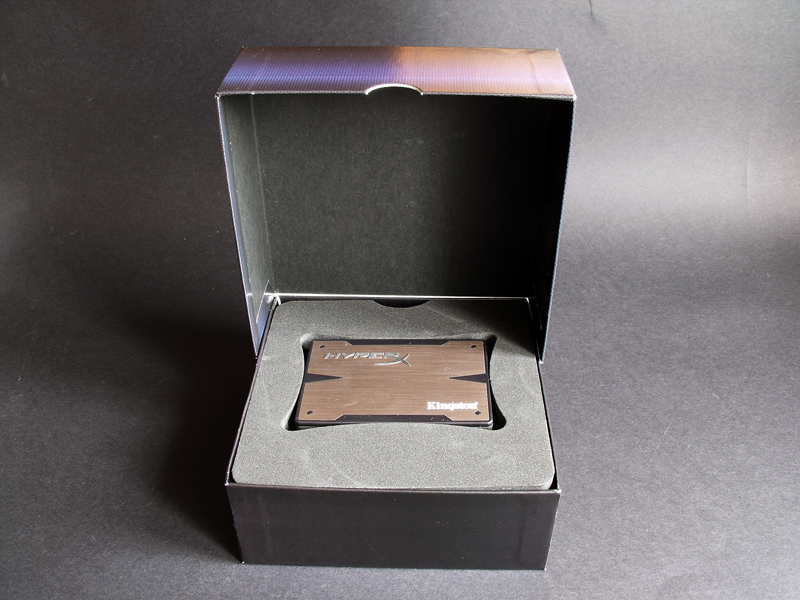
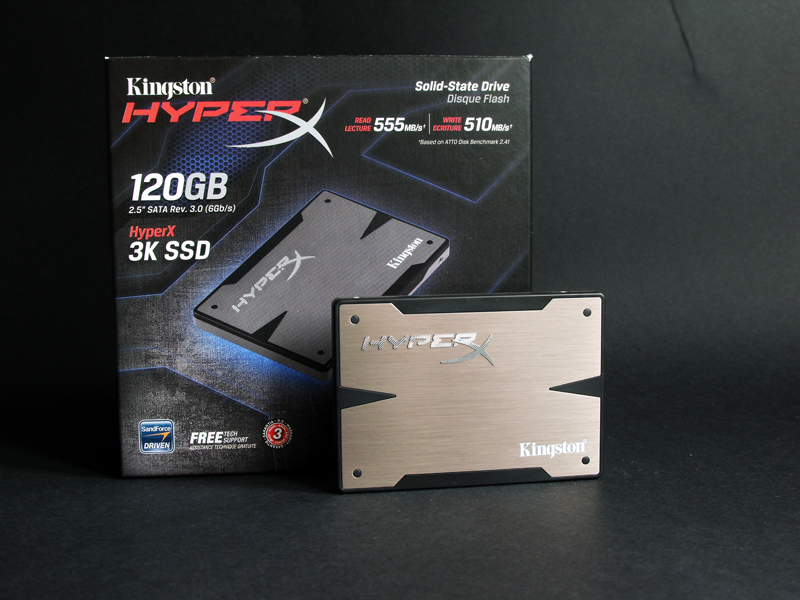
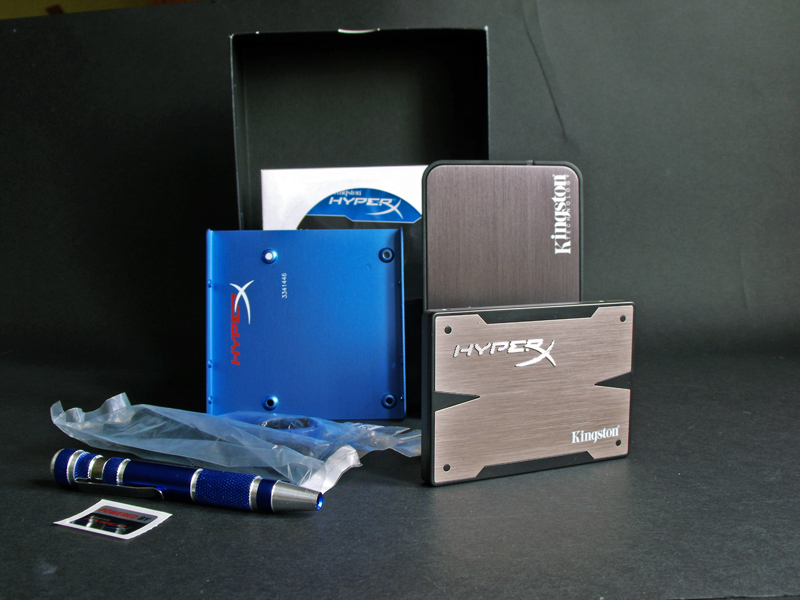
The careful packaging has contained two sets (16gb ) Kingston DDR3 Hyperx 10th anniversary memory, witch will be more then enough for me. In an other package has arrived a 120Gb SSD also from the HyperX3k series.
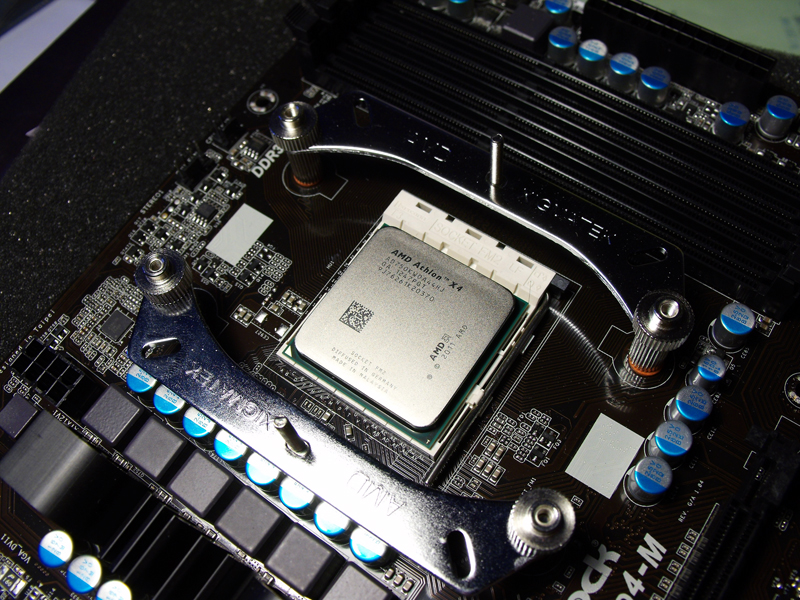
Only one thing was needed from here to complete the machine. I needed a CPU. This one I have bought from a shop.
I have chosen a Athlon II X4 -750k CPU, I think this is perfect in this configuration.
So the list of components:
Mainboard: Asrock FM2A75-Pro4-M
CPU: AMD Athlon !! X4-750K @3,4 GHz + Xigmatek Dark Knight Night Hawk Edition
GPU: Nvidia Geforce GTX 650 Ti
Memory: Kingston HyperX 10th Edition 4+4 GB DDR3 - 1600MHz CL9
SSD+HDD: Kingston HyperX 3K 128 GB SSD + Samsung 320 GB 7200 rpm HDD
PSU: Cooler Master GX 550 Bronze
------------------------------------------------------------------------
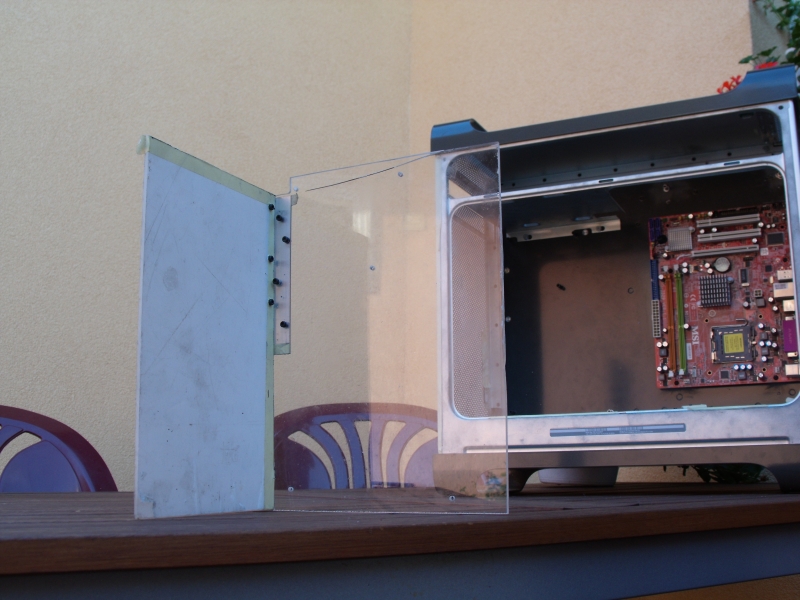
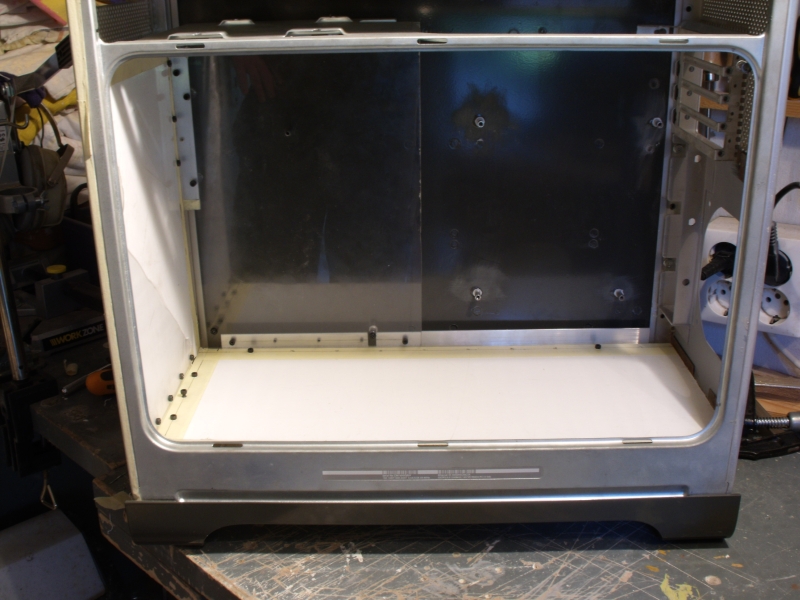
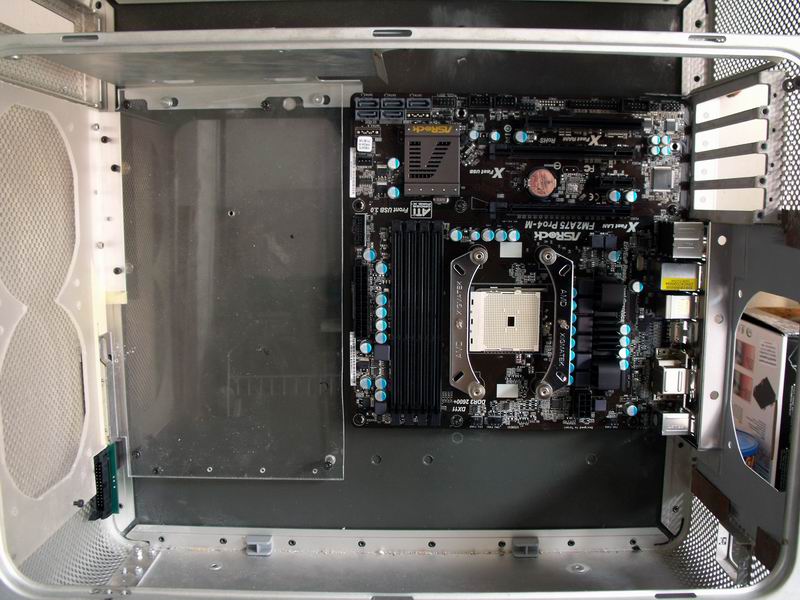
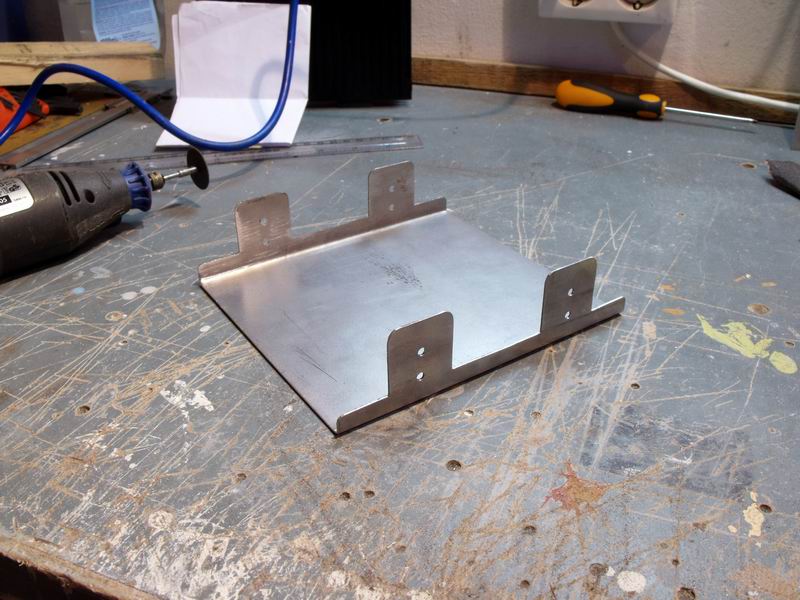
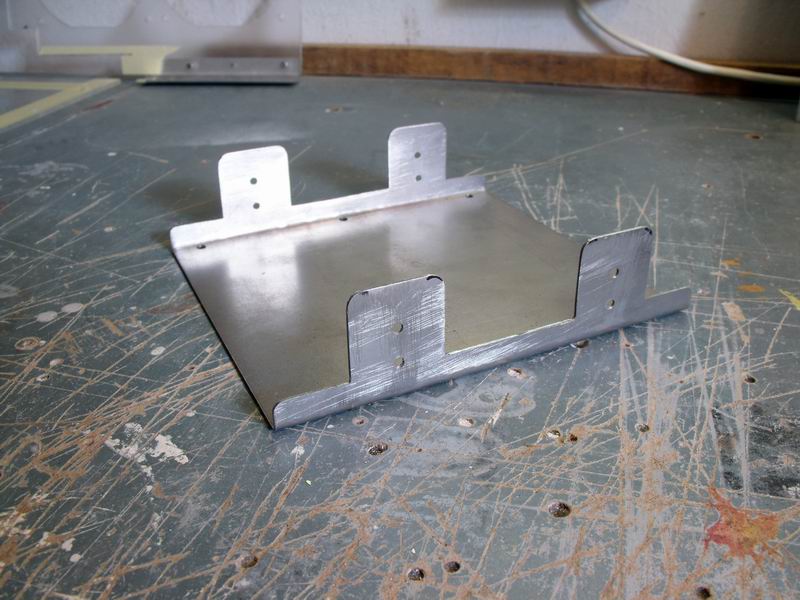
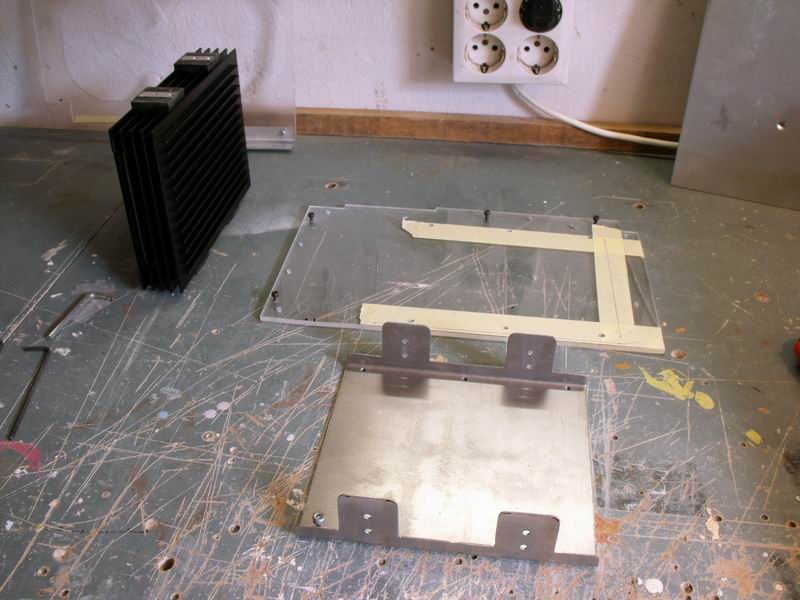
In August I have started to shape an inner cover plate.This has two main reason.
The first is that the case almost no cable management. I did not wanted the cable to go in chaos in the inner section, this why I have decided to make these cover plates.
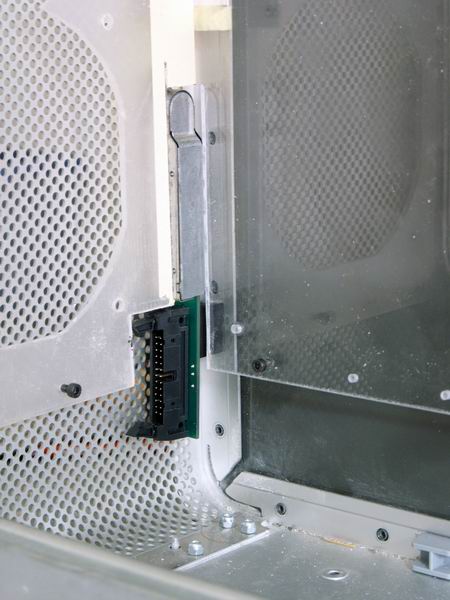
The other reason , witch was a problem at the mainboard too, that the usual fixing points are missing from this case. They are needed to fix the drives , fan controls , fans .... etc.
So I decided to solve the two problems in one step, they will work as covering plates and they will hold the consoles for the components to be buld in.
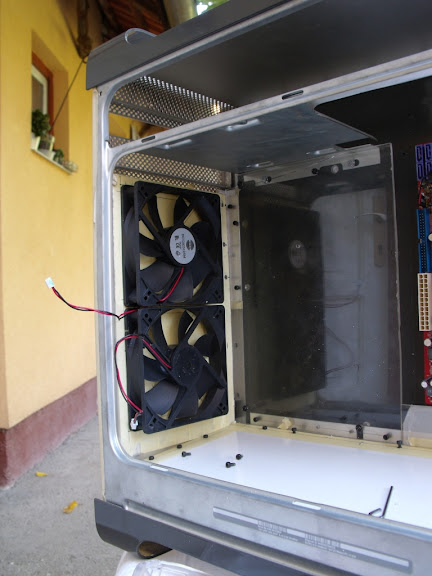
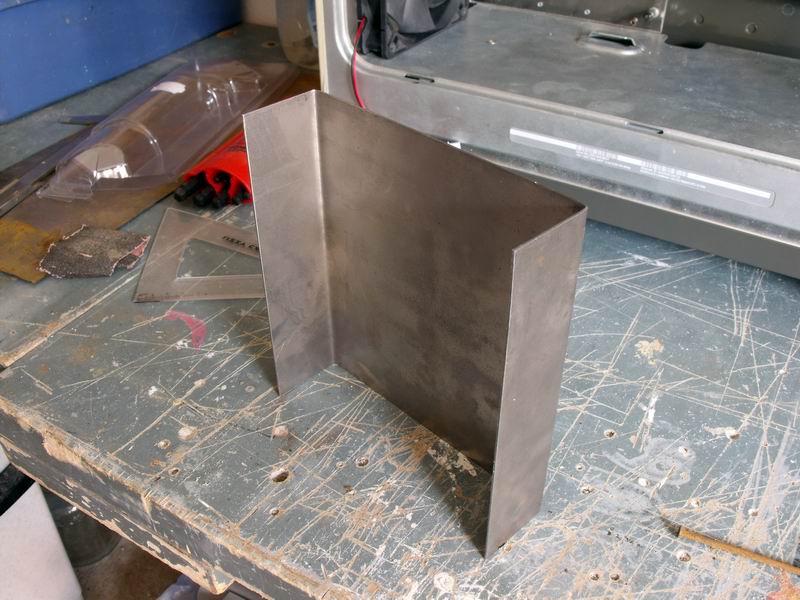
In the beginning I planned to create 3 plates. One horizontal to the mainboard, on this one I wanted to fix the fan controller and maybe the SSD. One other behind the front panel to fix the fans.
The third one was to do as the bottom plate to cover the PSU cables and to hold the Himuro with the HDD.
Fortunately the CM PSU is fits to the G5’s original PSU box so it can go back to it's place and I can use the original cover plate too. With this I will get closer to my goal to use as many original components as I can during the rebuild.
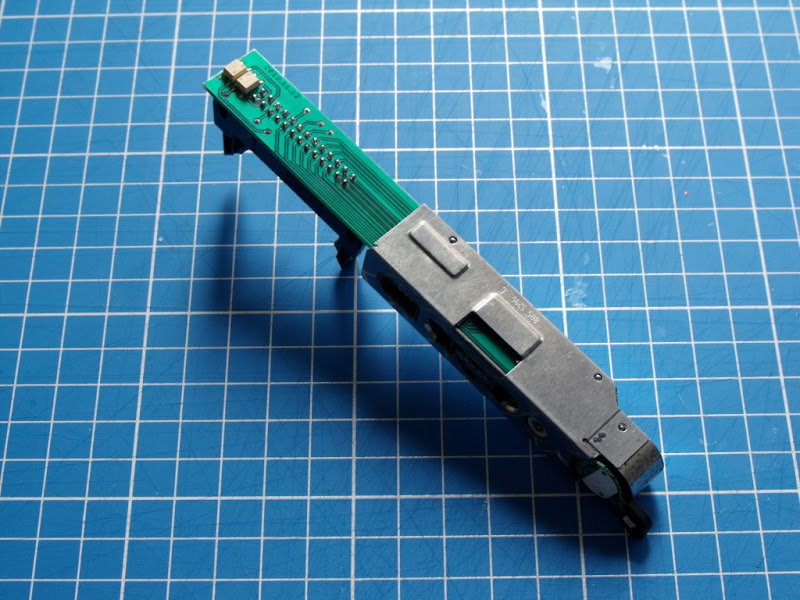
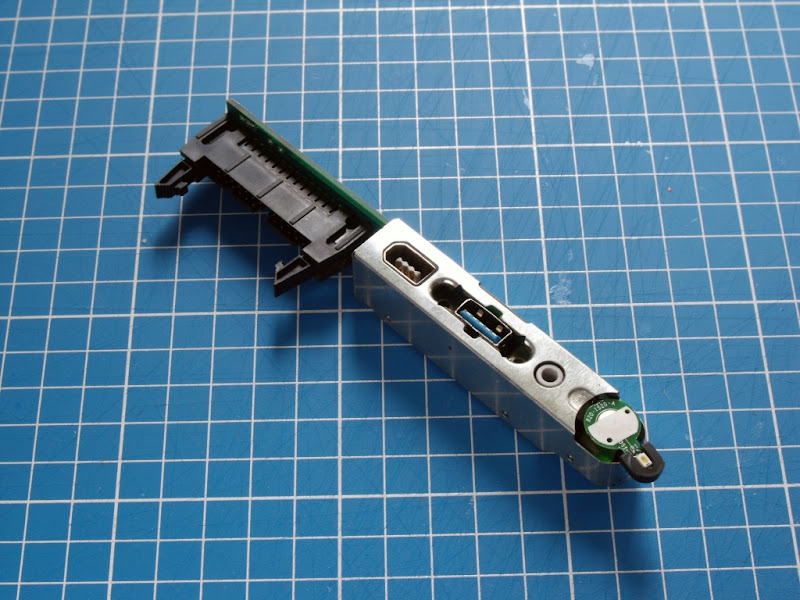
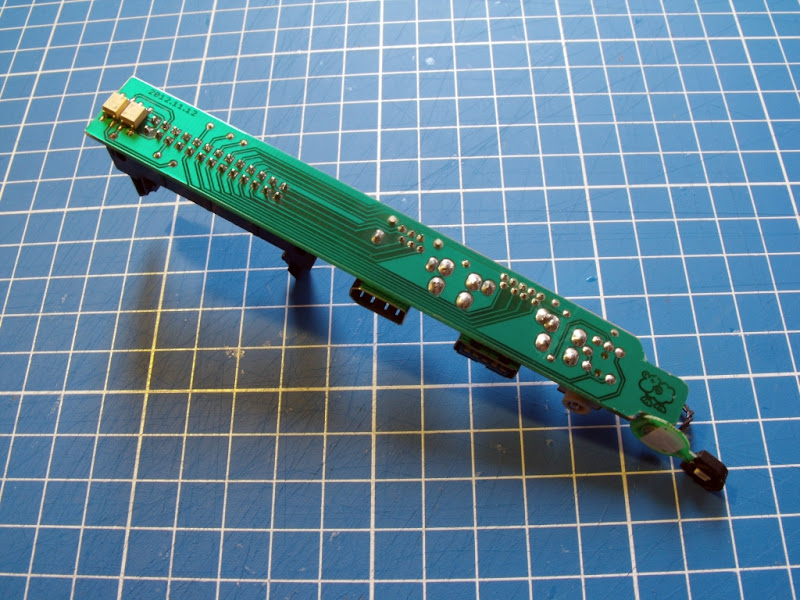
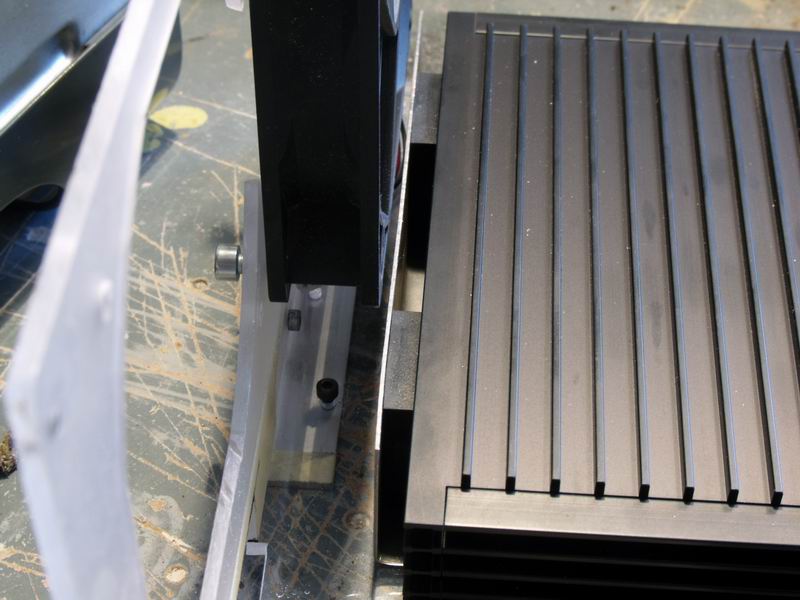
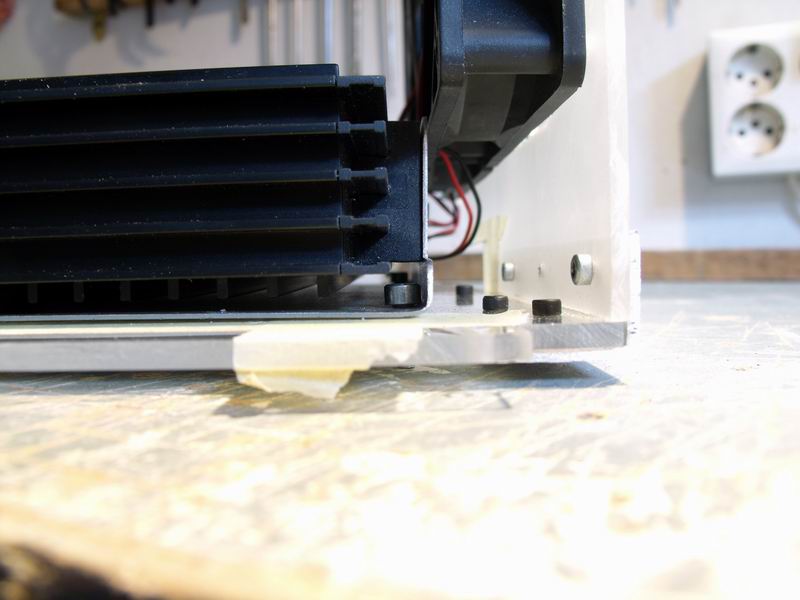
After the making of the cover plates I have to mention one more thing. Thanks to one of my good friend the case has a new front panel, witch is special because the original functions works on the PC too!(Meaning the power button, FireWire,USB). This has been upgraded from USB 2.0 to 3.0. Thank you very much Bari!

The first mod was the place of the turn on panel.
The plexi was in the way so I have to cut it out and now the covering parts can be put to place.

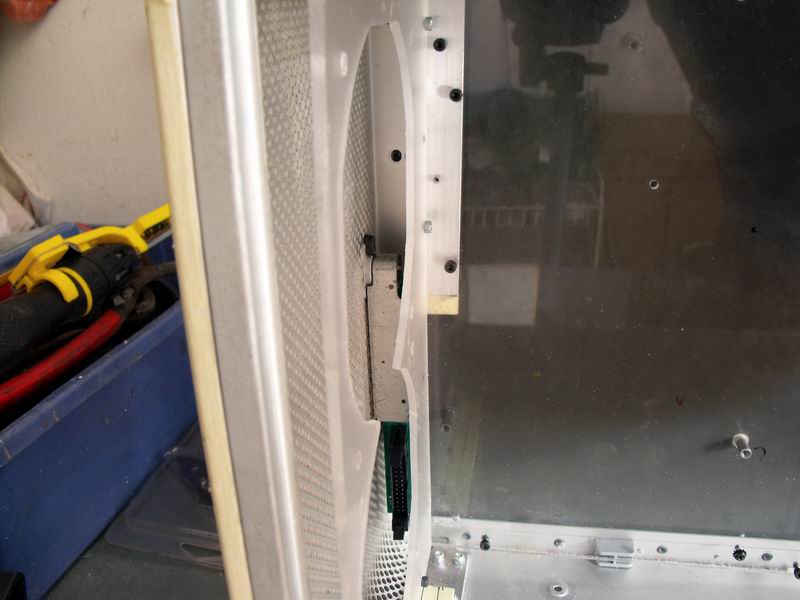

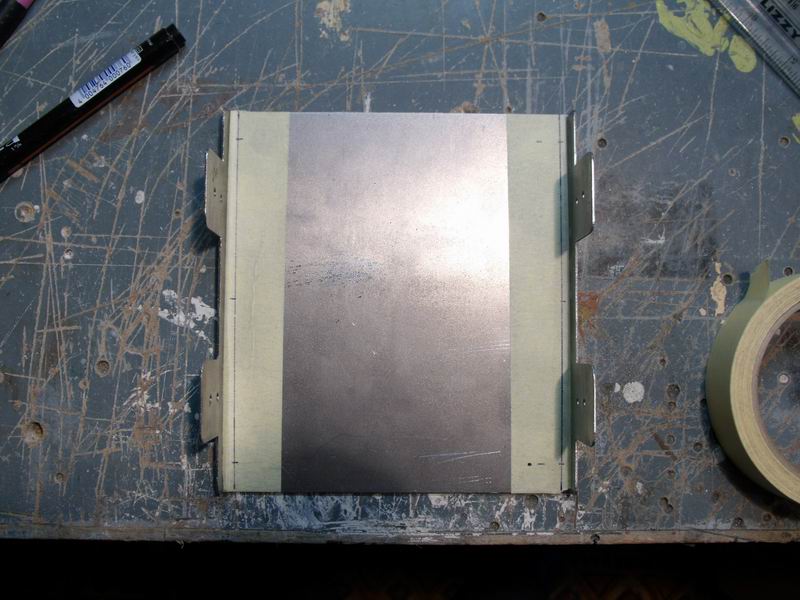
The other task is with the board. The board wich was used as a model is not as wide as the final Asrock board so I have to cut a piece from the cover plate again to fit the board to it’s place.
Finally I had to do an ear with I can fix the plate behind the front panel to the horizontal plate to avoid its side swing.
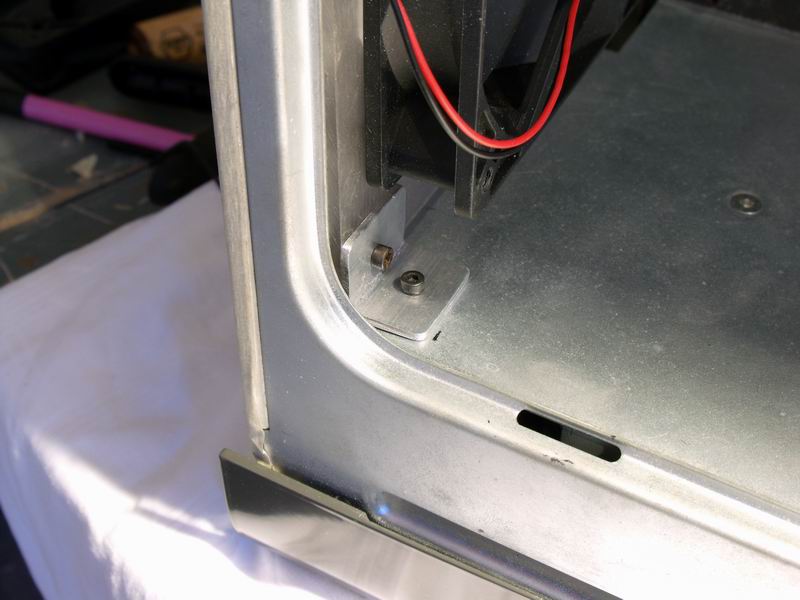
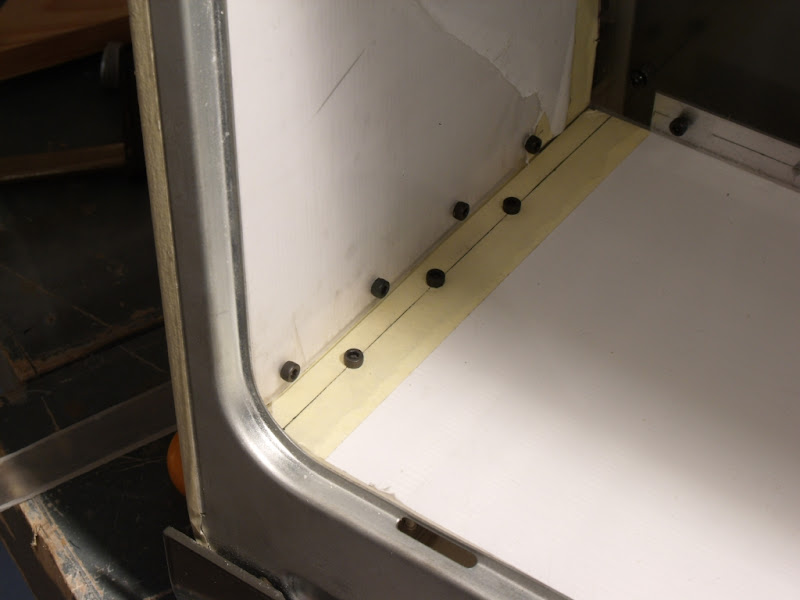
The unnecessary drilled holes will be covered with some kind of stickers so they wont worsen the final look.
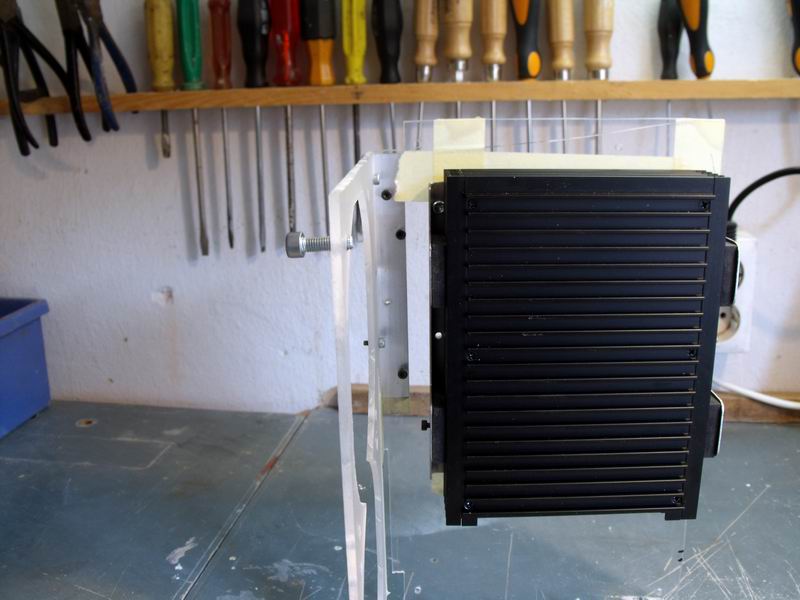
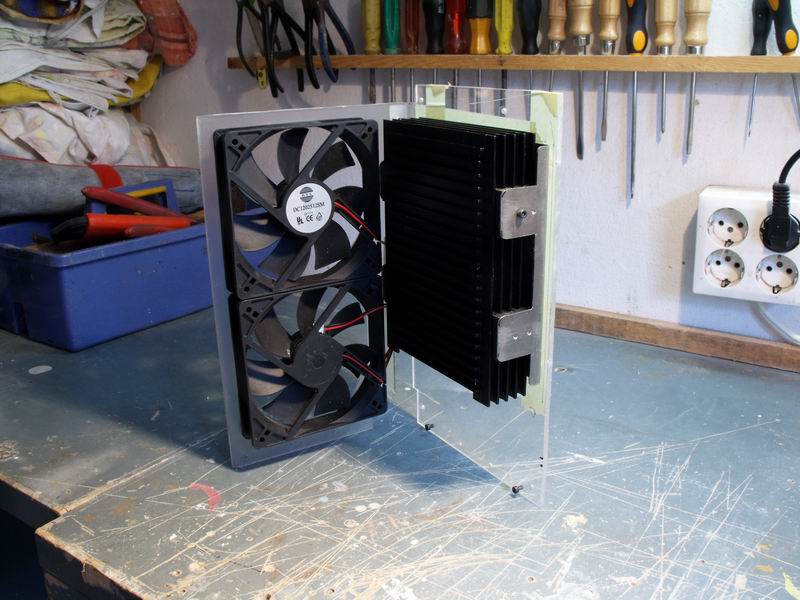
The next task was to fix in the Himuro to the case.
I have thought about it very much. I had 2 plans. First I wanted to turn it on the side and wanted to fix it on the Psu’s cover plate. The second plan was to fix on the vertical plate ,parallel with the mainboard.
The best choice was the 2nd plan.
I wanted to make a frame for the fixing witch I can move in and out from the case without taking out the Himuro from it and without taking apart the whole case again.
For this I had to ask for help again, because I don't have any tool to bend metal.
My friend could do it for me in no time, so I could moved on with the work.
I made 4 ears than I have drilled the holes for the rubber bands. At the probe everything was at place, so I made the 6 drill to fix the frame. First I merged the place on the plexi, after it I strengthened together the 2 pieces.
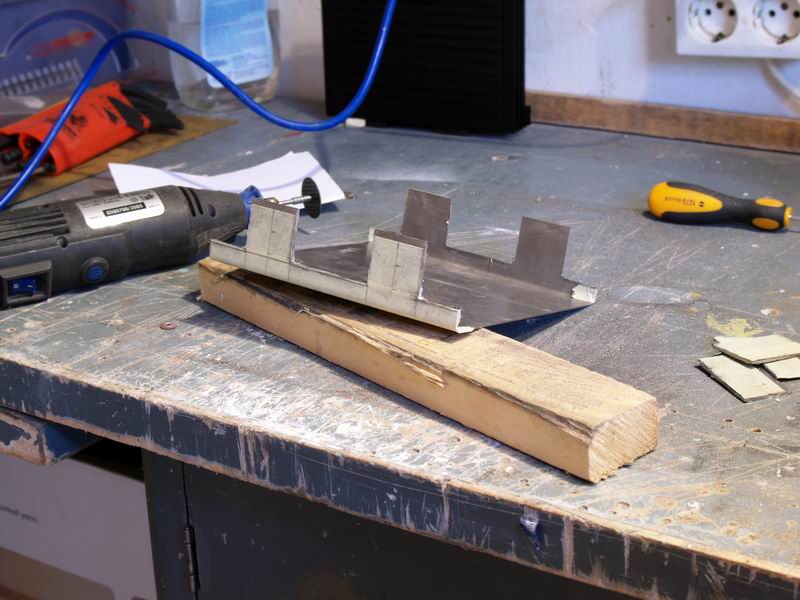
At this point I made one mistake, the screw’s head was too large so if the Himuro is on it's place I can not screw out the frame.
Fortunately with the change of the mounting sequence I could fix it.
The pictures are shows the right sequence:


Thats all for now. I hope you like it!
Attachments

- Joined
- Jun 1, 2012
- Messages
- 142
- Motherboard
- ASRock Extreme7 X79
- CPU
- Intel Core i7 3820
- Graphics
- Diamond AMD Radeon 7970 x2
- Mac
- Classic Mac
- Mobile Phone
Pretty sweet! But I don't know why you went with AMD because you can't install OS X on it without a hack.
Jeffinslaw
Jeffinslaw
- Joined
- Oct 23, 2012
- Messages
- 7
- Motherboard
- X86
- CPU
- C2D E8400
- Graphics
- GTX650TI
- Mac
- Classic Mac
- Mobile Phone
Pretty sweet! But I don't know why you went with AMD because you can't install OS X on it without a hack.
Jeffinslaw
Thank you! I don't want to install OS X on it, just use as an original PC with W7.
- Joined
- Nov 23, 2019
- Messages
- 8
- Motherboard
- Asus Maximus VII Hero
- CPU
- i7 4790k
- Graphics
- nVidia 1080ti
Top #3 best builds EVER. Thanks for the inspiration.
trs96
Moderator
- Joined
- Jul 30, 2012
- Messages
- 25,535
- Motherboard
- Gigabyte B460M Aorus Pro
- CPU
- i5-10500
- Graphics
- RX 570
- Mac
- Mobile Phone
The case modding is great but nagyizom installed an AMD CPU and Motherboard in it. Low quality ones at that. Not great choices. BTW he has not signed in here for about 6 years.Top #3 best builds EVER. Thanks for the inspiration.
- Status
- Not open for further replies.
Copyright © 2010 - 2024 tonymacx86 LLC