- Joined
- Aug 29, 2021
- Messages
- 14
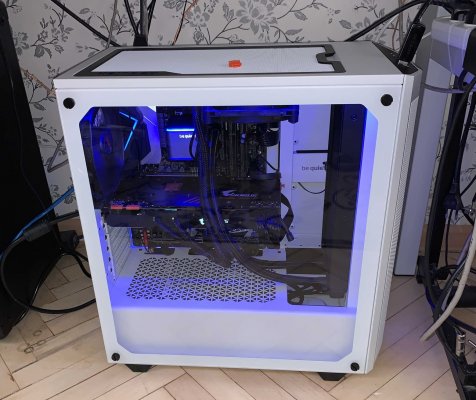
- Motherboard
- Gigabyte Z490 Vision D
- CPU
- i9-10850K
- Graphics
- GTX1080ti
I managed to get OSX High-Sierra it working on our board with Nvidia GTX1080 video card with OpenCore 0.6.5. This topic served as the basis for the configuration. The configuration was adapted to our board. The incorrectly launched Opencore 0.6.5 has also been fixed (some modules remained from version 0.5.9)
Works:
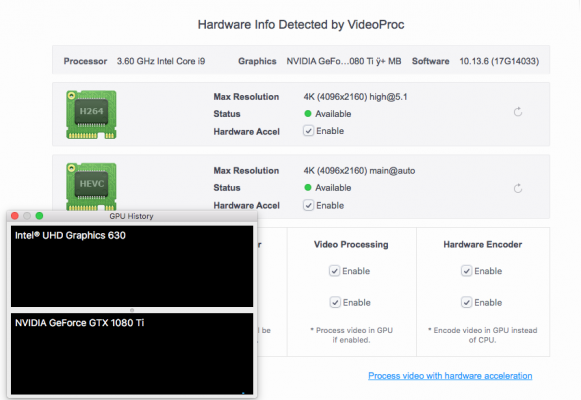
Nvidia GTX 1080 ti hardware acceleration;
Intel hardware acceleration (monitor connected to Nvidia card);
Intel i219 network adapter;
Integrated Intel bluetooth;
Integrated audio..
Does not work:
Intel i225 network adapter;
Integrated Intel Wi-Fi;
If you connect the monitor to the iGPU, the image with artefacts. Perhaps this can be fixed, but I don't need it. The monitor is connected to an Nvidia card.
Serial numbers have been removed from the configuration file. To work, you need to generate new numbers in the configurator (version 2.25.0) for OpenCore 0.6.5.
Works:
Nvidia GTX 1080 ti hardware acceleration;
Intel hardware acceleration (monitor connected to Nvidia card);
Intel i219 network adapter;
Integrated Intel bluetooth;
Integrated audio..
Does not work:
Intel i225 network adapter;
Integrated Intel Wi-Fi;
If you connect the monitor to the iGPU, the image with artefacts. Perhaps this can be fixed, but I don't need it. The monitor is connected to an Nvidia card.
Serial numbers have been removed from the configuration file. To work, you need to generate new numbers in the configurator (version 2.25.0) for OpenCore 0.6.5.
")