- Joined
- Jan 5, 2013
- Messages
- 19
- Motherboard
- GIG-UD5H 32GB
- CPU
- i7 3770k
- Graphics
- 6870
- Mac
- Classic Mac
- Mobile Phone
Gigabyte GA-Z77X-UD5H Motherboard
Intel Core i7-3770K Quad-Core Processor 3.5 GHz 6 MB Cache LGA 1155 - BX80637I73770K
Corsair Vengeance 32 GB (4x8GB) DDR3 1600MHz PC3 240 Pin DIMM Memory
XFX AMD Radeon HD 6870 1gb Video Card
TP-LINK TL-WDN4800 Wireless N900 Dual Band PCI Express Adapter, 2.4GHz 450Mbps/5Ghz 450Mbps, IEEE
LITE-ON DVD Burner - Bulk Black SATA Model iHAS124-04 - OEM
CORSAIR Hydro Series H60 (CWCH60) High Performance Liquid CPU Cooler
COOLER MASTER R4-S2S-124K-GP 120mm Case Fan 4 in 1 pack
OCZ Vertex 4 VTX4-25SAT3-128G 2.5" 128GB SATA III MLC Internal Solid State Drive (SSD)
CORSAIR Builder Series CX600 600W ATX12V v2.3 80 PLUS BRONZE Certified Active PFC Power Supply
(x2) Segate 5400RPM 250GB Harddrive
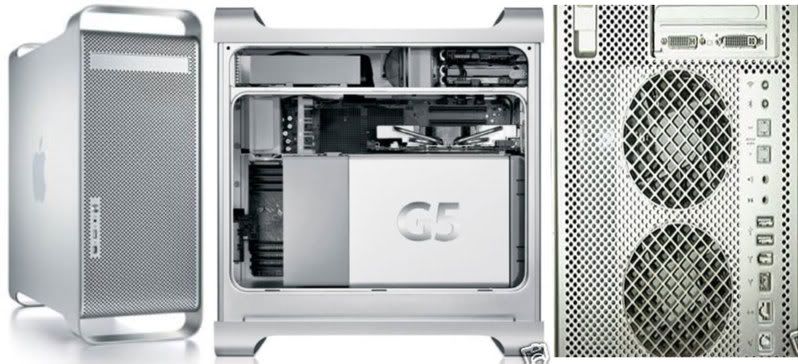
G5 Power Mac Case
JourneyBegins
This is my very first hackintosh I've ever built, inspired by a video I came across on youtube in October from CPUKIDD while looking up a budget Apple Mac mini (that was my budget). Shortly after that I came across the understanding of this website and here was what really spark/drive me into doing more research and making myself one. Seeing the Golden/User build thread intrigued me with creativity and here it begins...
Bought the g5 Case at a local computer shop for about 75$ with minor deep scratches but still it wasnt perfect. Decided to prime and paint the case instead.
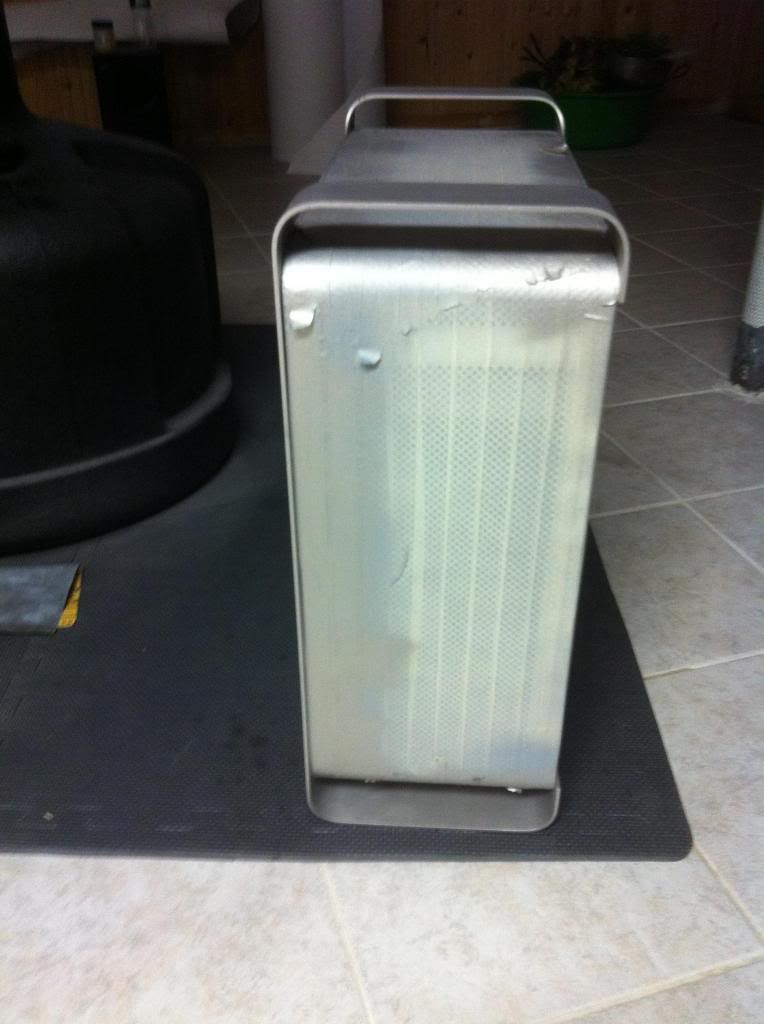
It took me quite a while to find a paint color closely resemble the original Paint of the g5 and I think this was the closes I could get
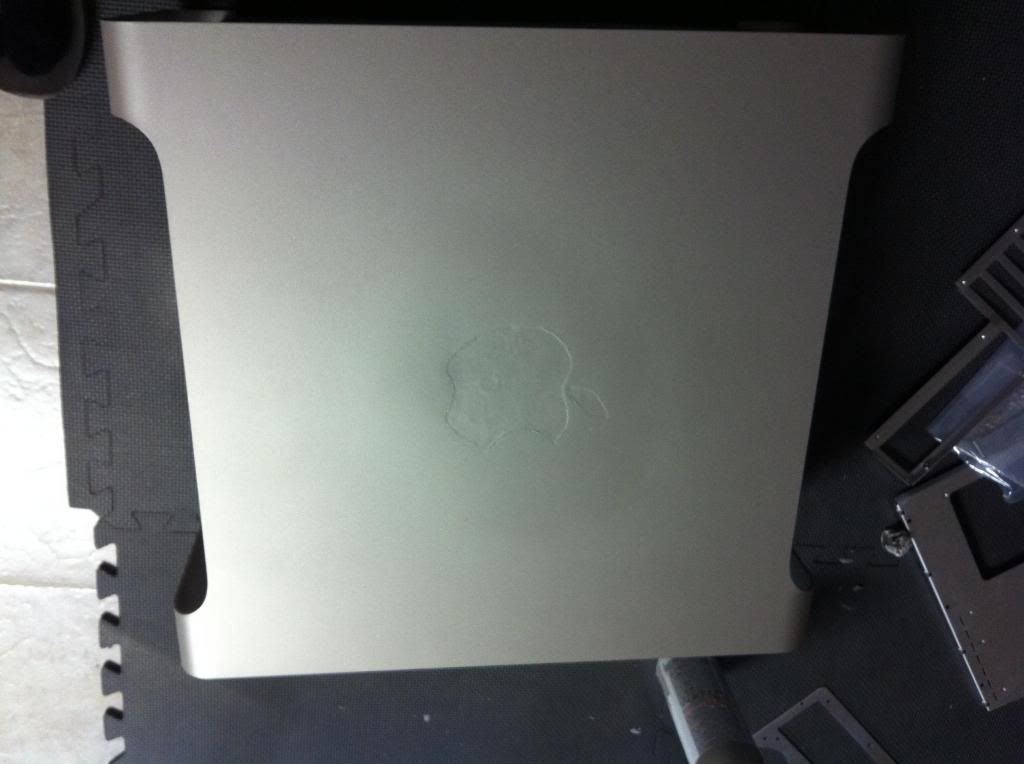
Results of the color was more than satisfying. (The apple logo later ended up getting painted over because of the rough edges.)
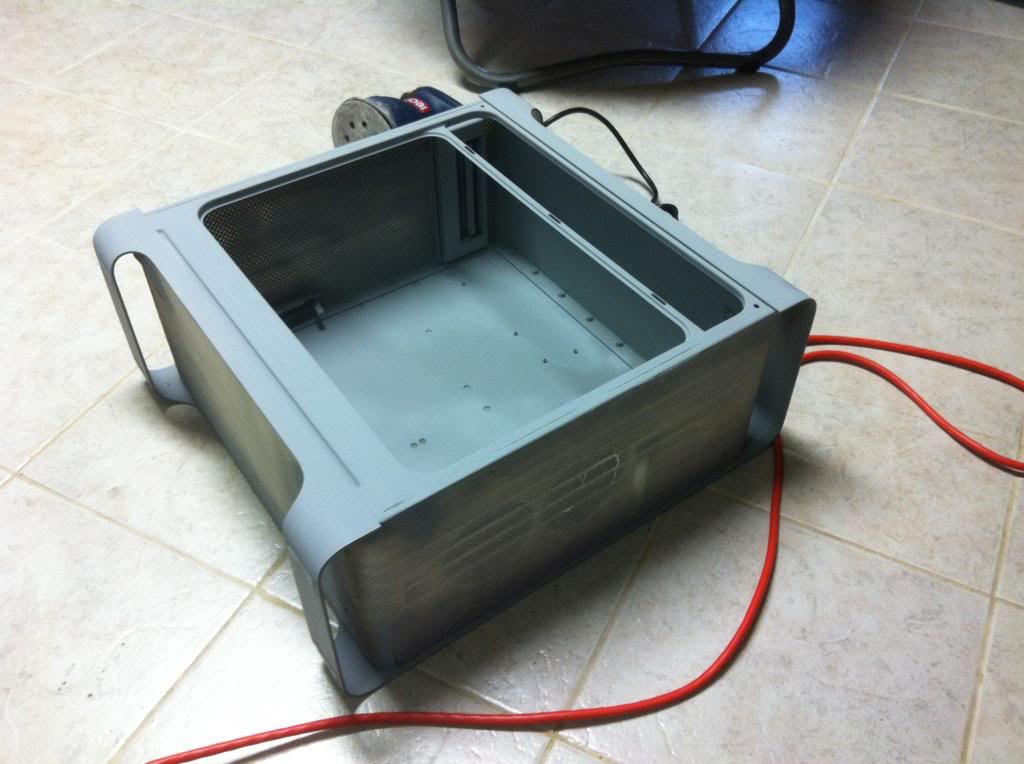
Getting Dirty.
End result of the terrifying part

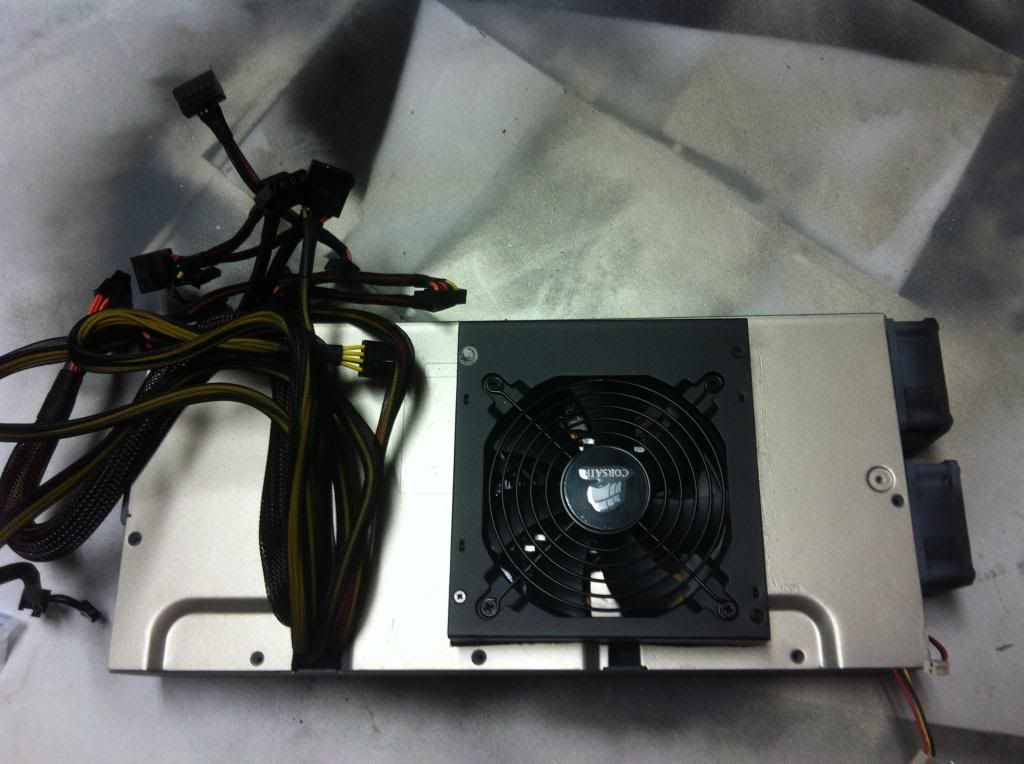
Decided to place my Powersupply in the orginal G5 Power suppler chasis for a better appealing look. (this idea was also from another member on here)

Primed the interior and painted it.
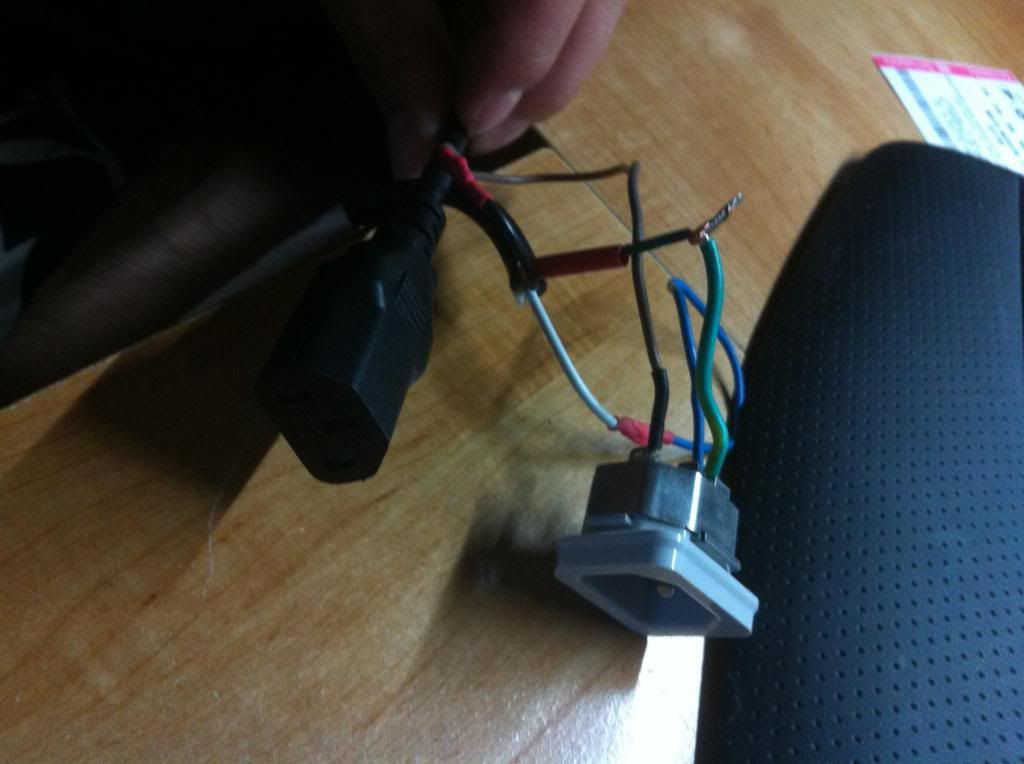
Figuring out how to Power the Powersupply within the G5 Power supply chasis so that it looks Orginal.
The final results...Perfecto!
")
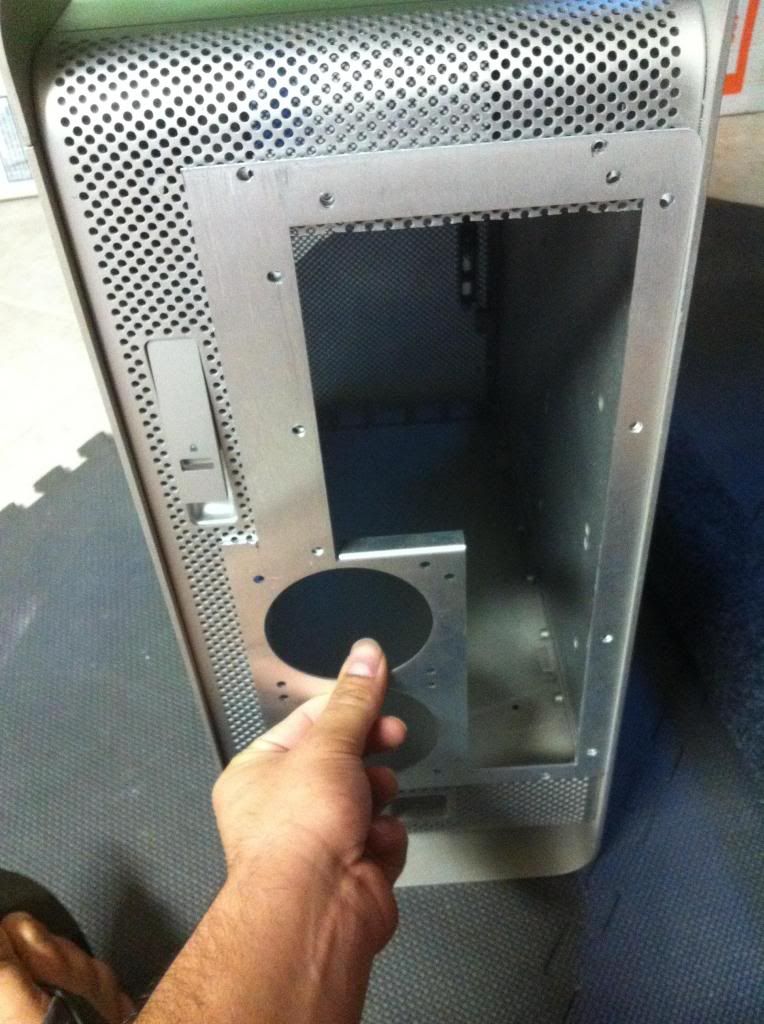
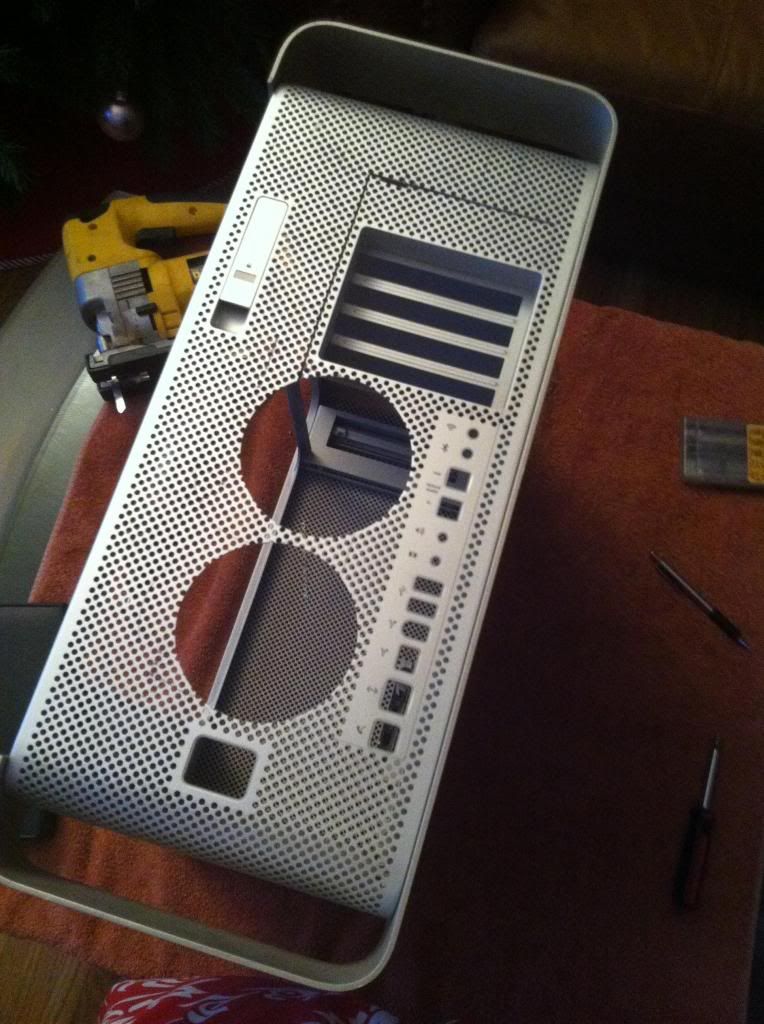
Back to the Case after the paint dried. I got the Back plate from Mountain Mods. (Its Mountain..{something})
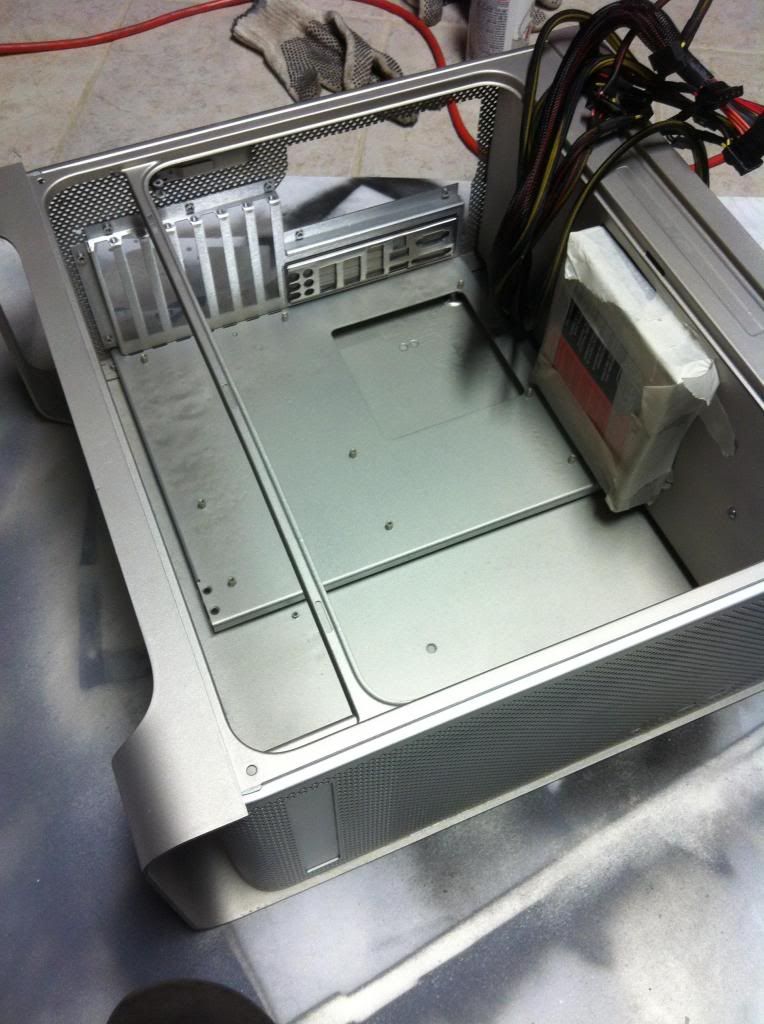
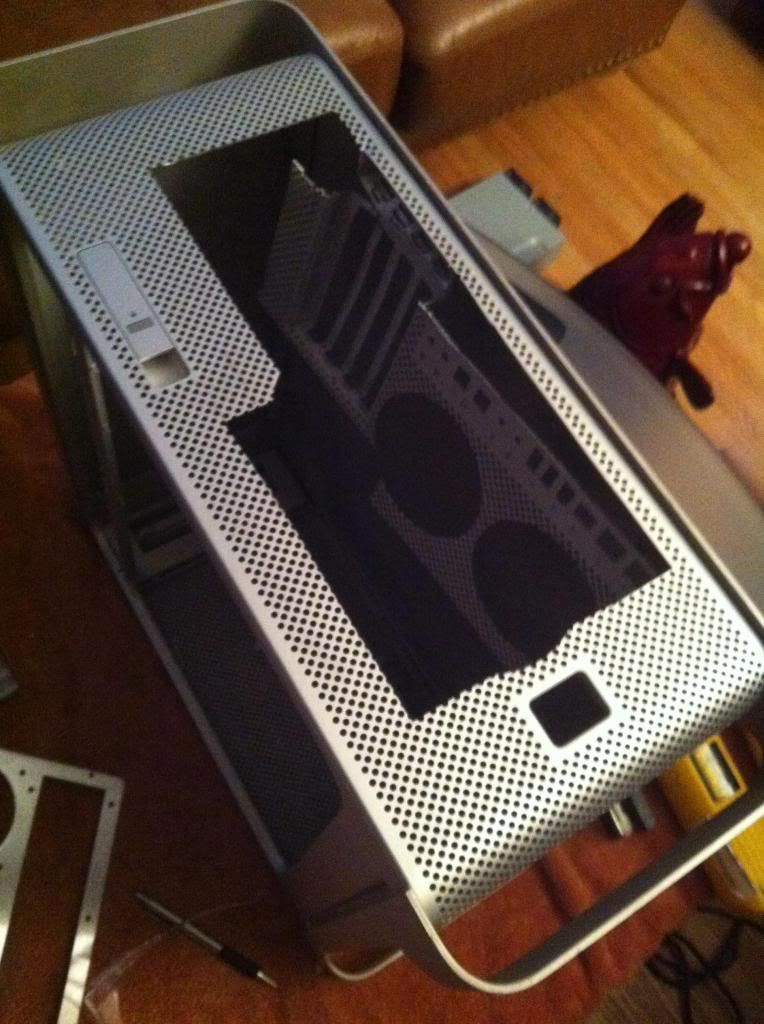
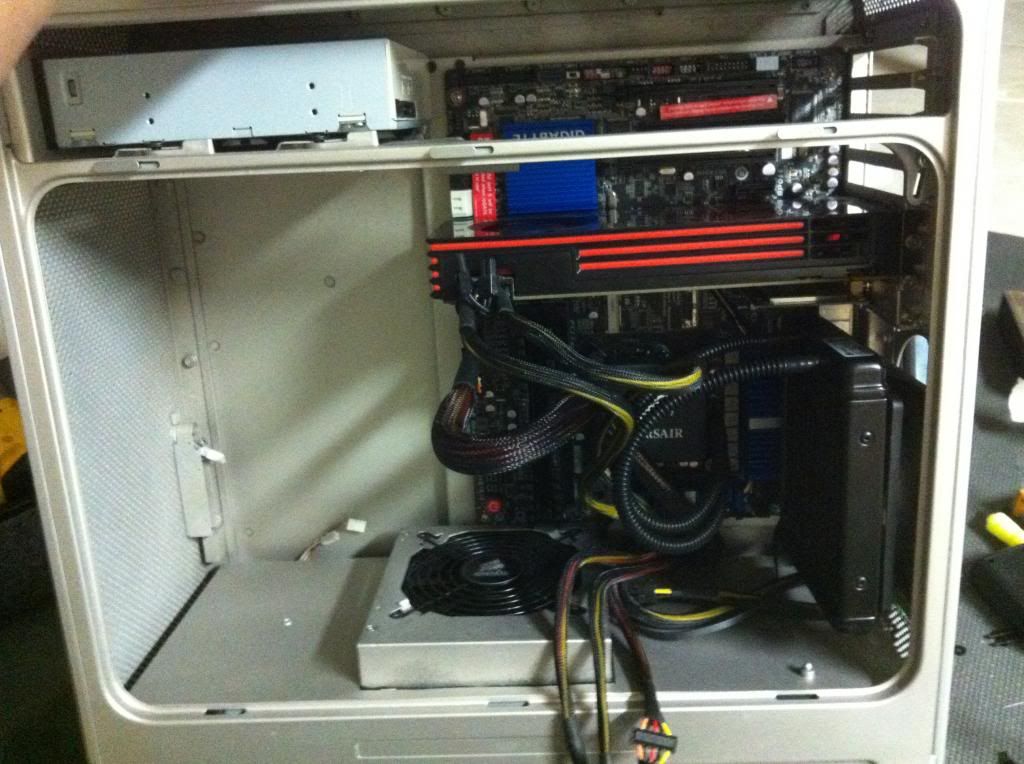
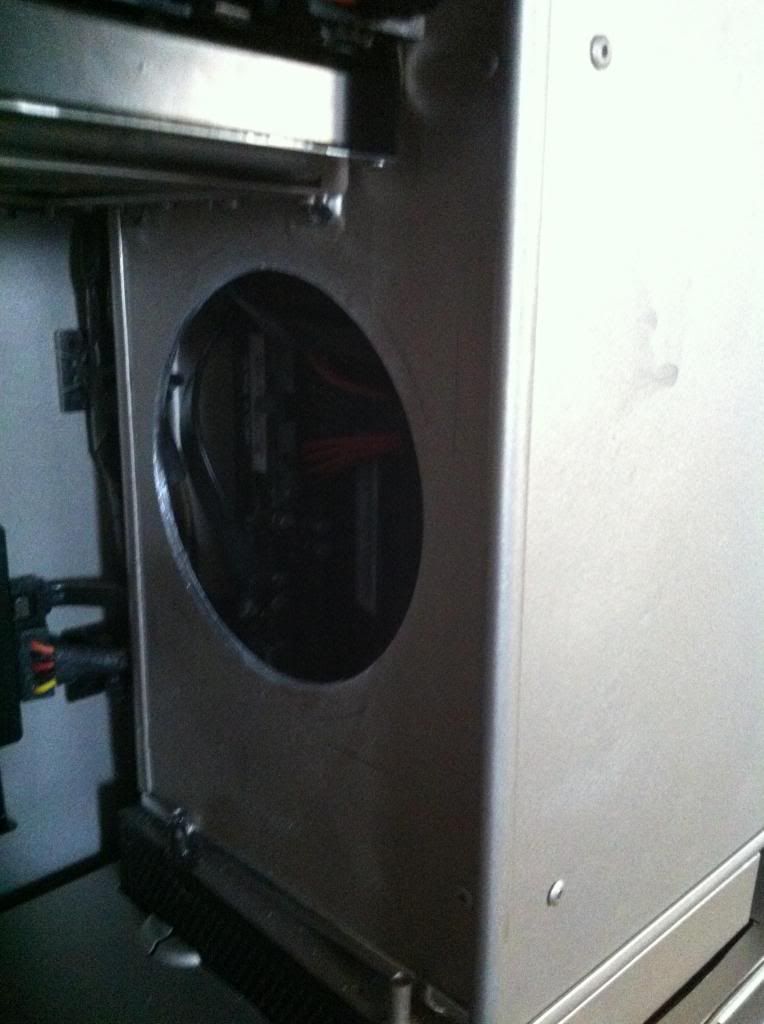
Fitting everything in to make sure its perfect before making everything permanent.
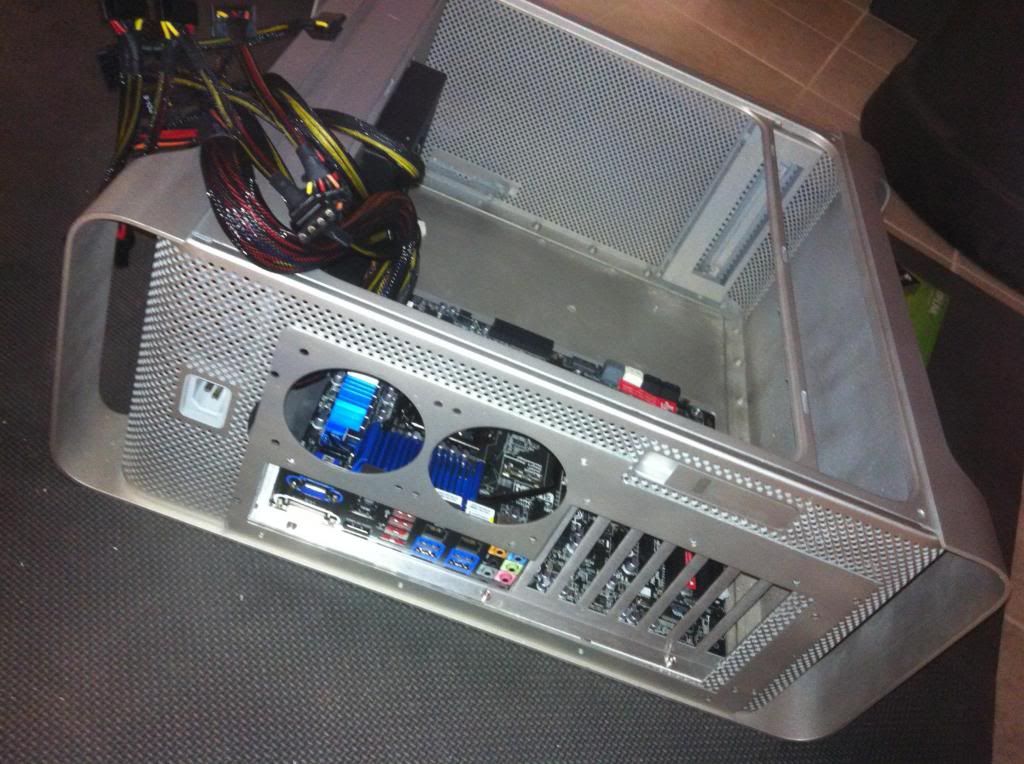
Everything works. Beware those who follow this build, I only had about 1/8 of an inch of room before my MOBO hits the powersupply....Tight fit.
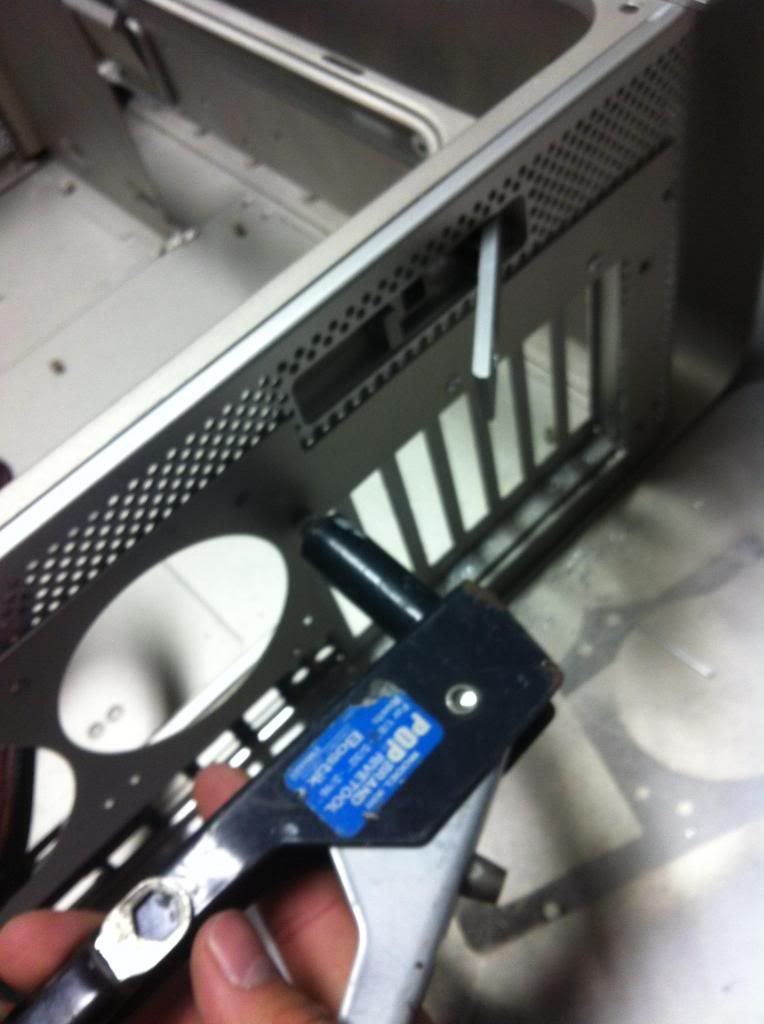
Rivet the Back Plate to the chasis.
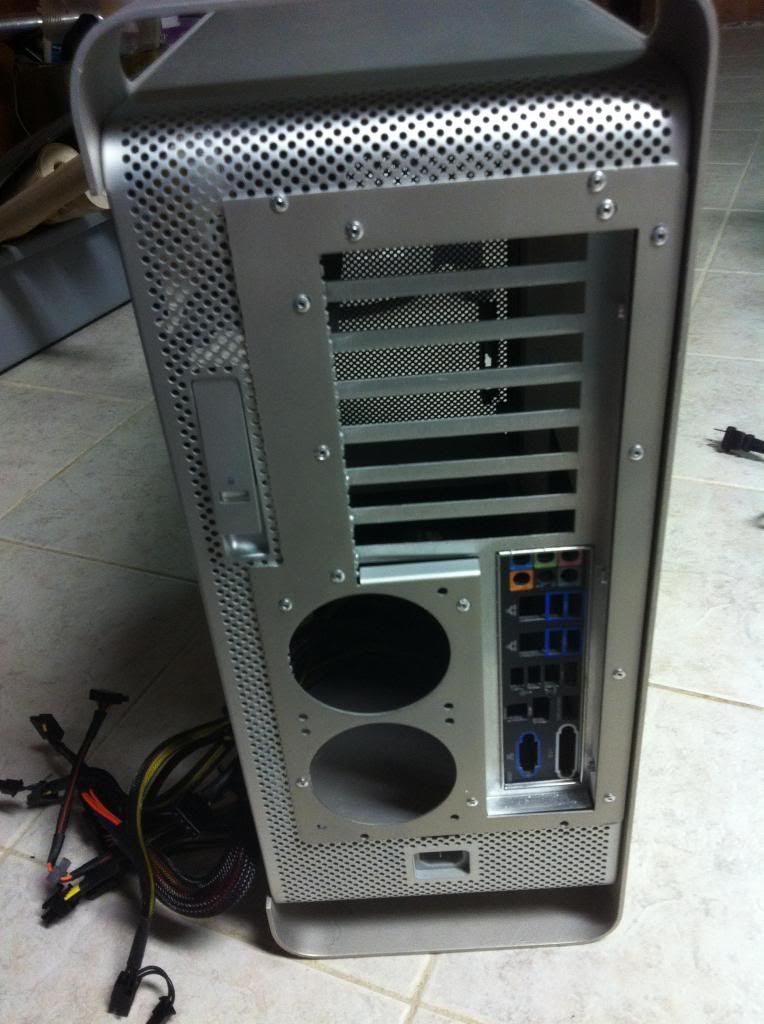
The results (above)

I saw a few folks on here using JB weld to attach the Mobo plate to the G5 Case housing. I tried doing that but when I riveted the Back plate it pulled the mobo tray towards the Back of the case breaking the bond. My final solution was to Aluminum Weld the the (aluminum)Mobo Tray to the (aluminum) G5 case. It took awhile to heat up the two with a regular blow torch but it got the job down. Above was where I welded it, That was my only welding point.
Results, Everything held up just fine. Oh and I painted the powersupply to make everything look more Factory.
Cpu cooler
Before wire management. I need to rigged up a power switch to see if it works. ( wiring diagram for the g5 power switch can be search on Google image)
Extended my power switch cable and did some wire management.
That aluminum Plate Serve as a means to block the Red Power light comming from the Mobo. It was annoying to look at on the outside of the G5 case.
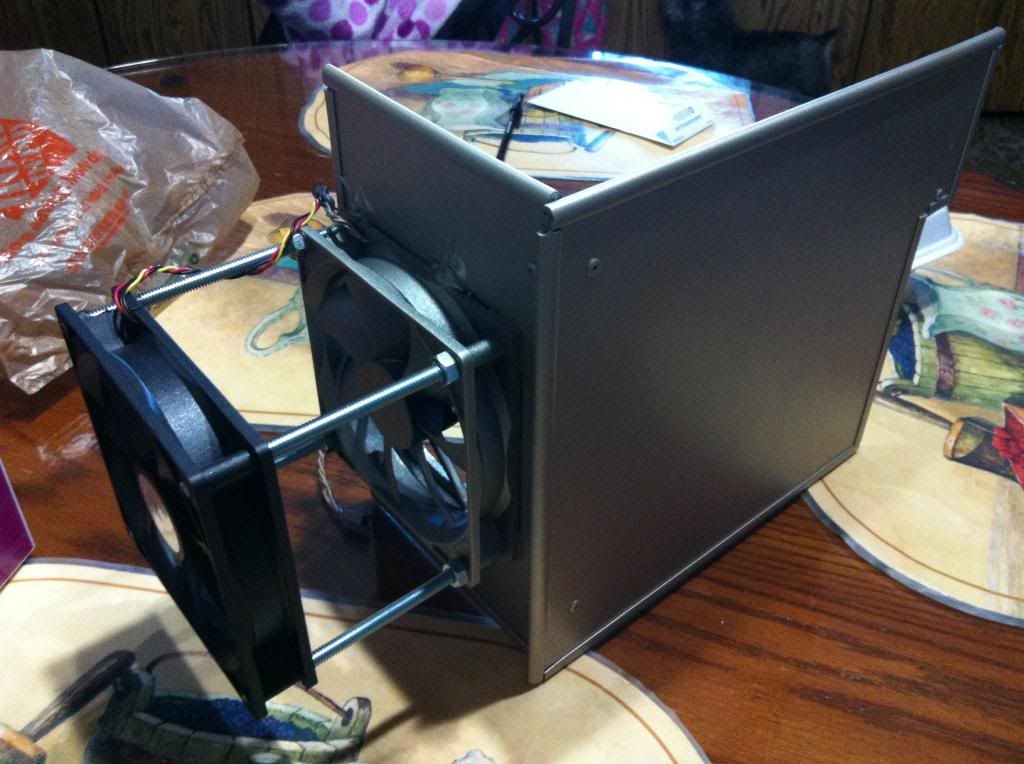
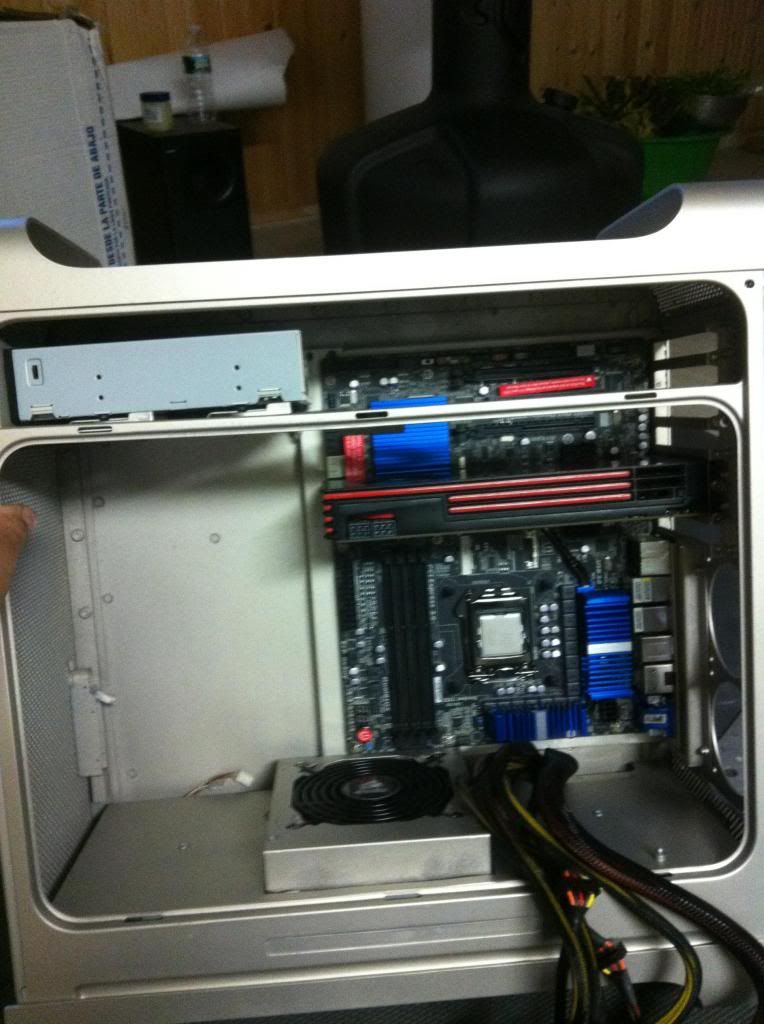
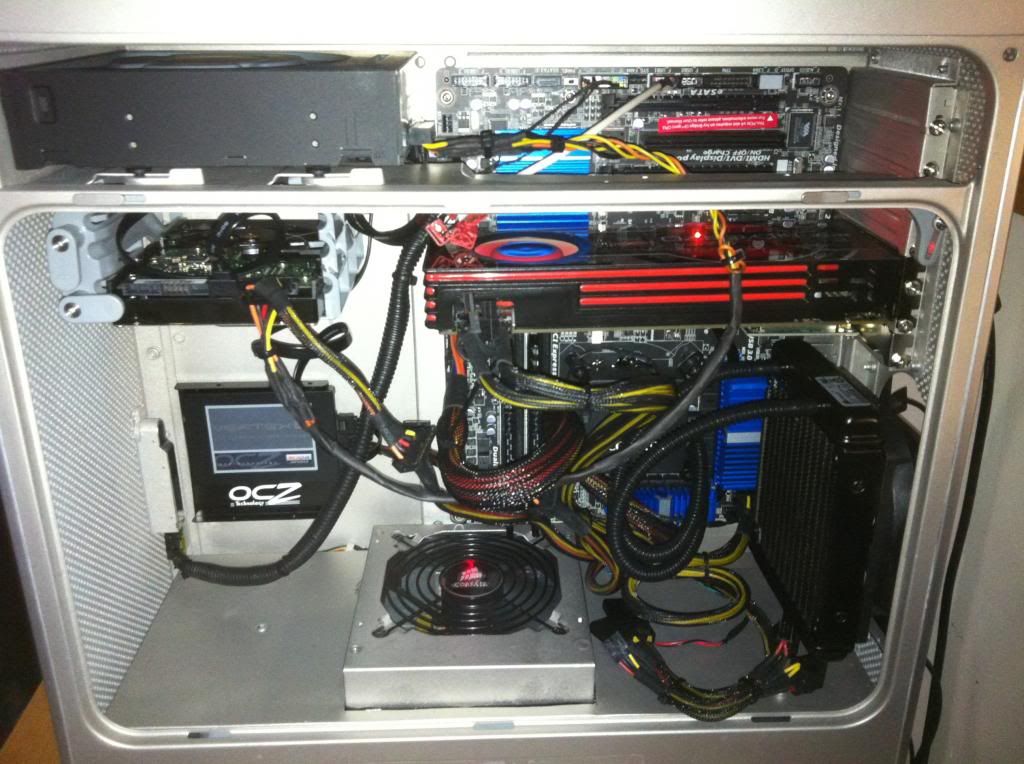
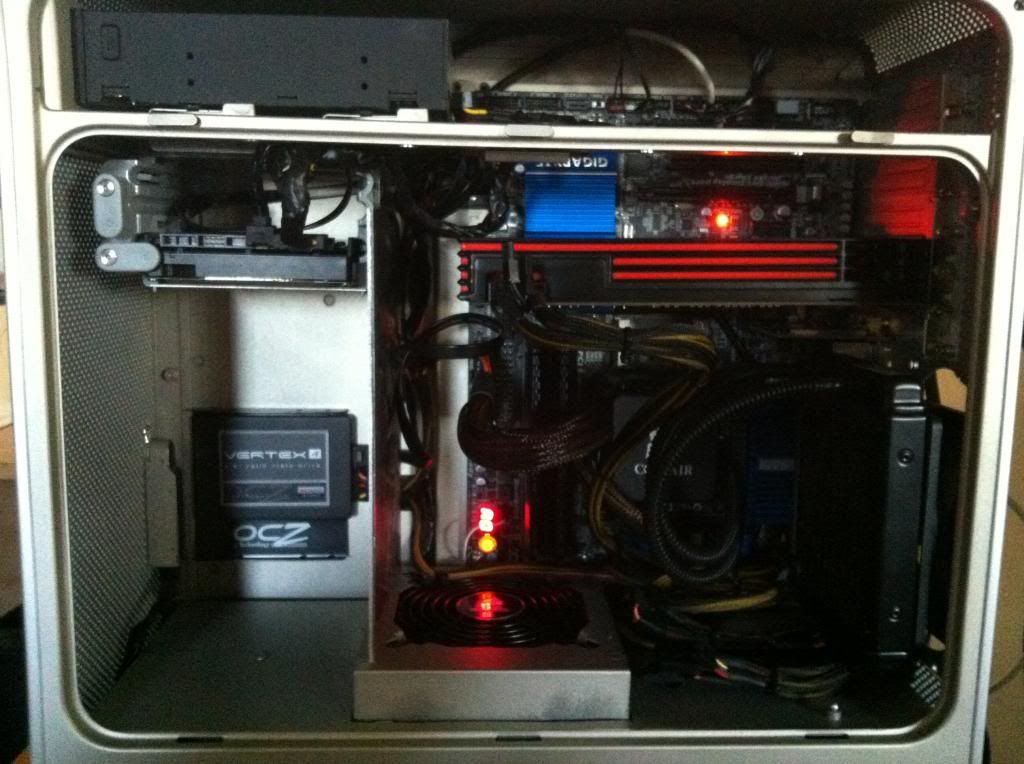
Than decided to add Some Fans because the graphics card was burning up ( at this point i installed windows 8 to see if all parts were running)
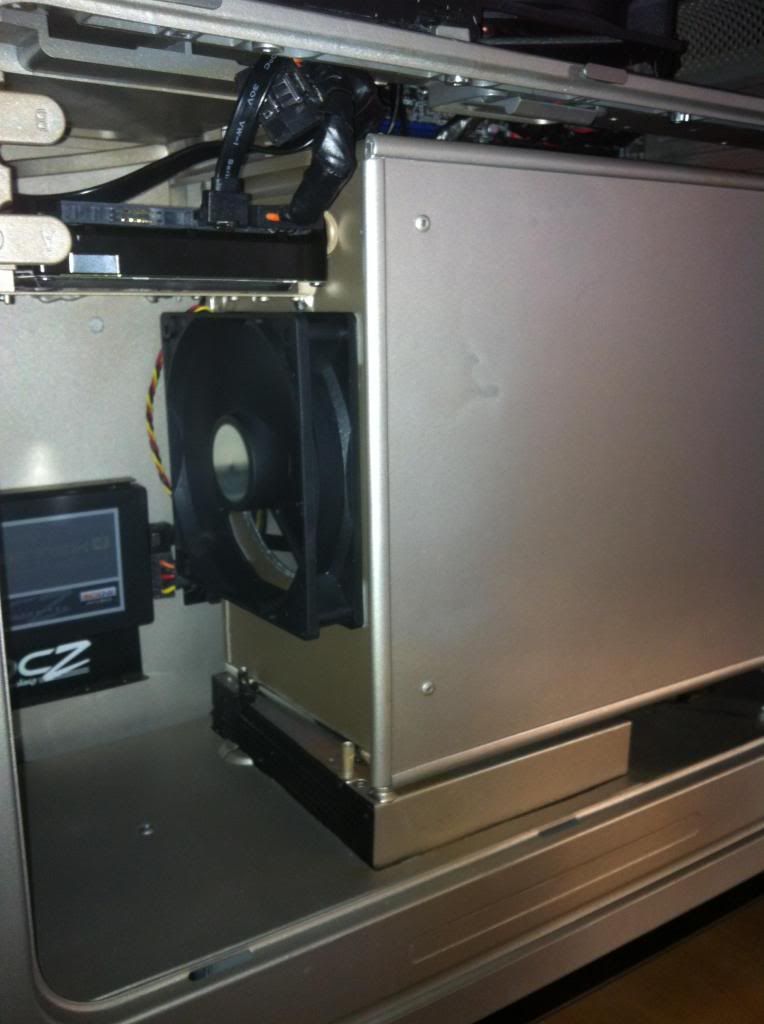

here's another one directly above.
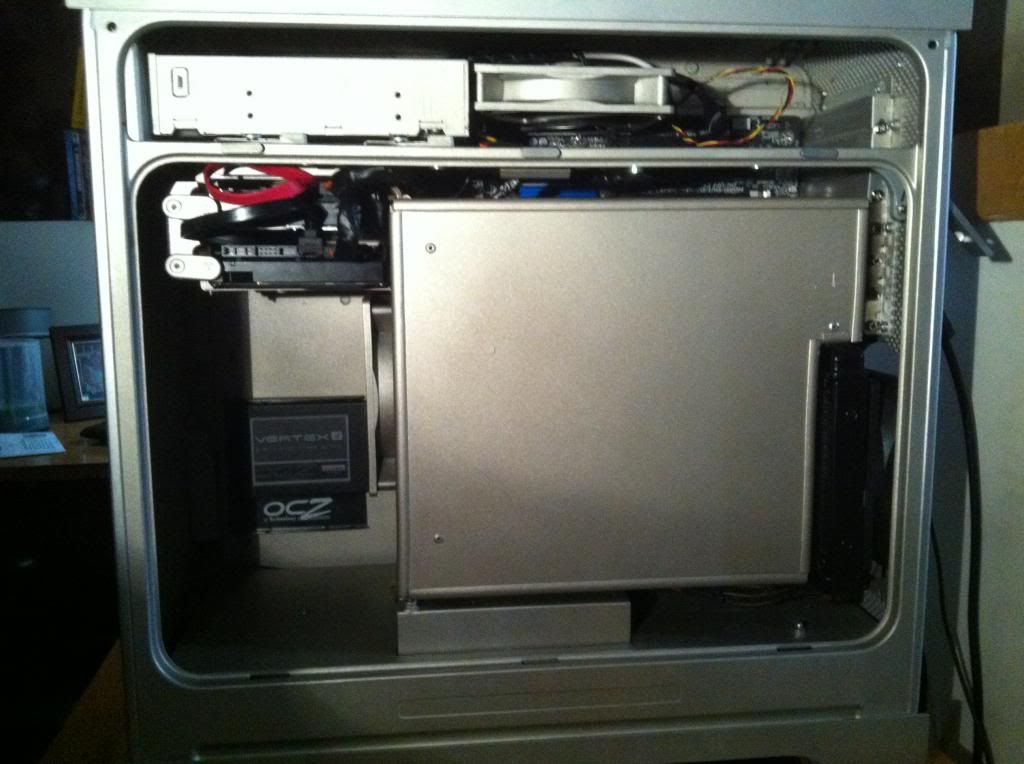
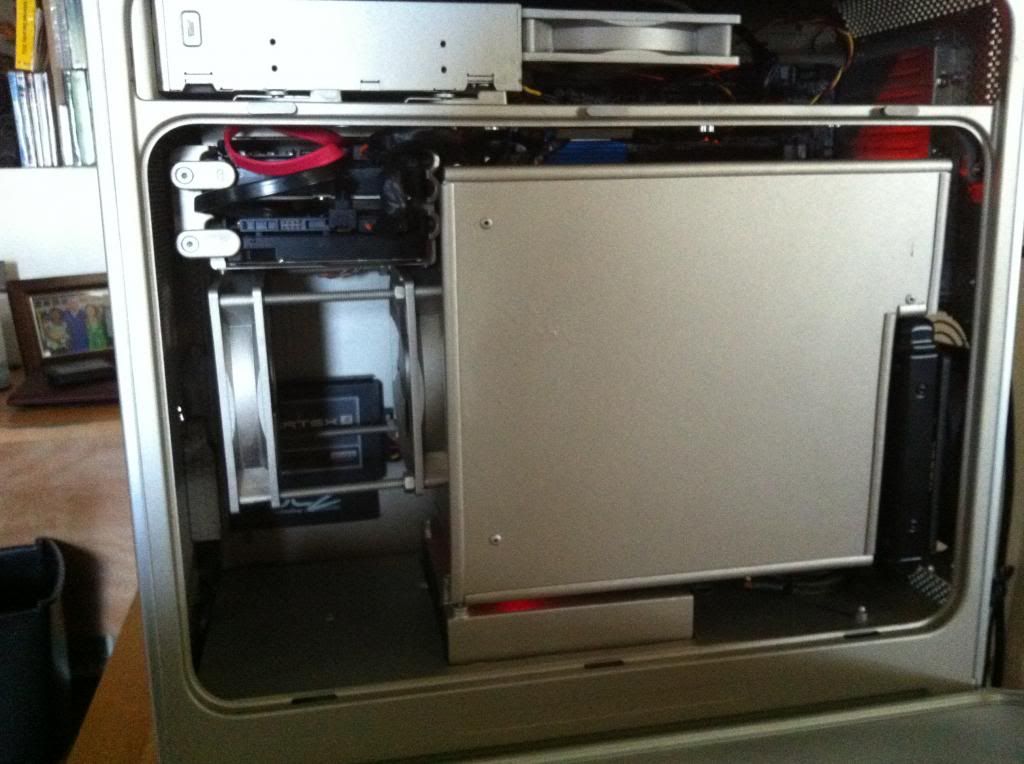
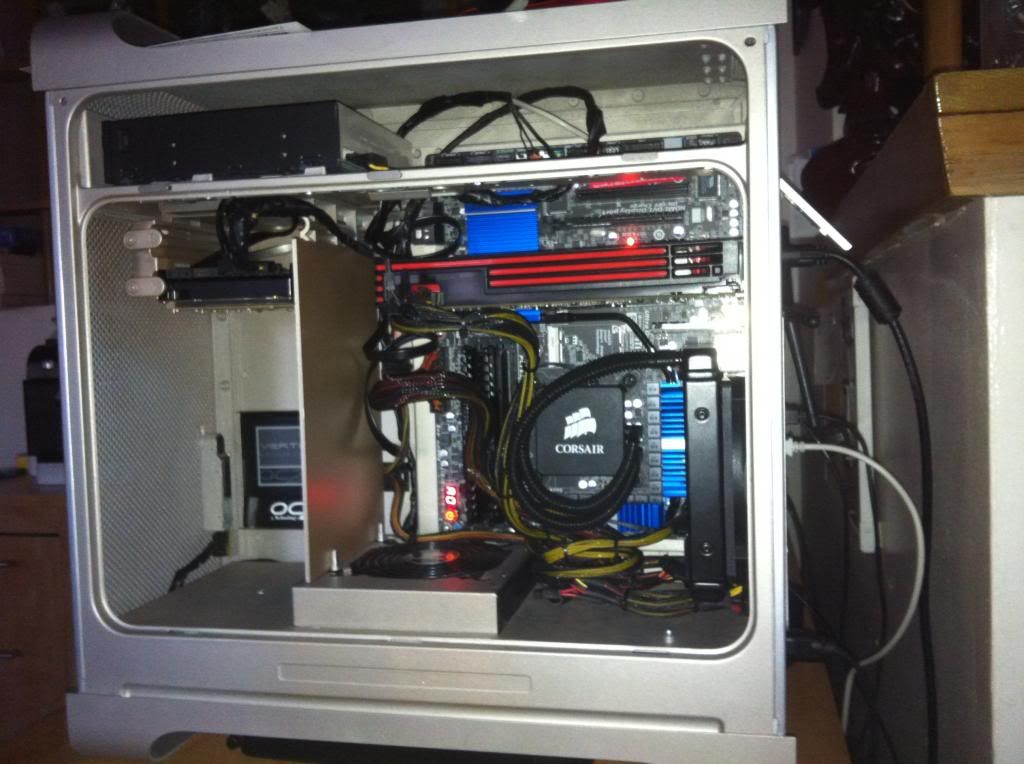
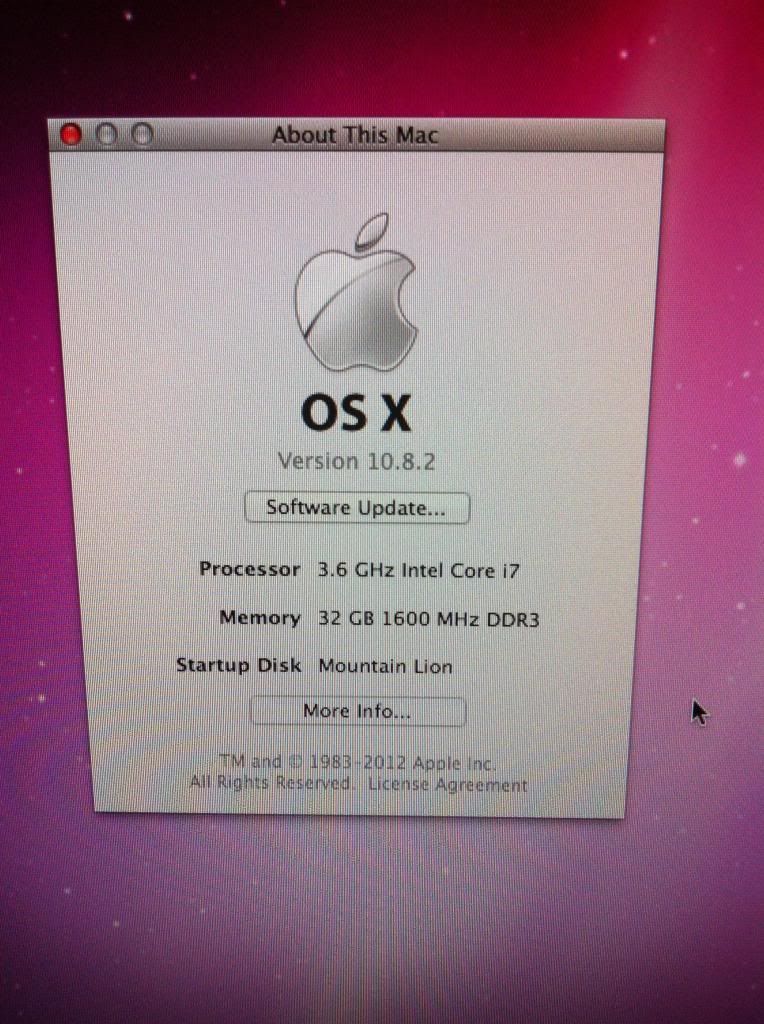
Final Results of the inside. ( bad shot from the iphone) On Windows 8 i was able to overclock this bad boy to 4.53ghz
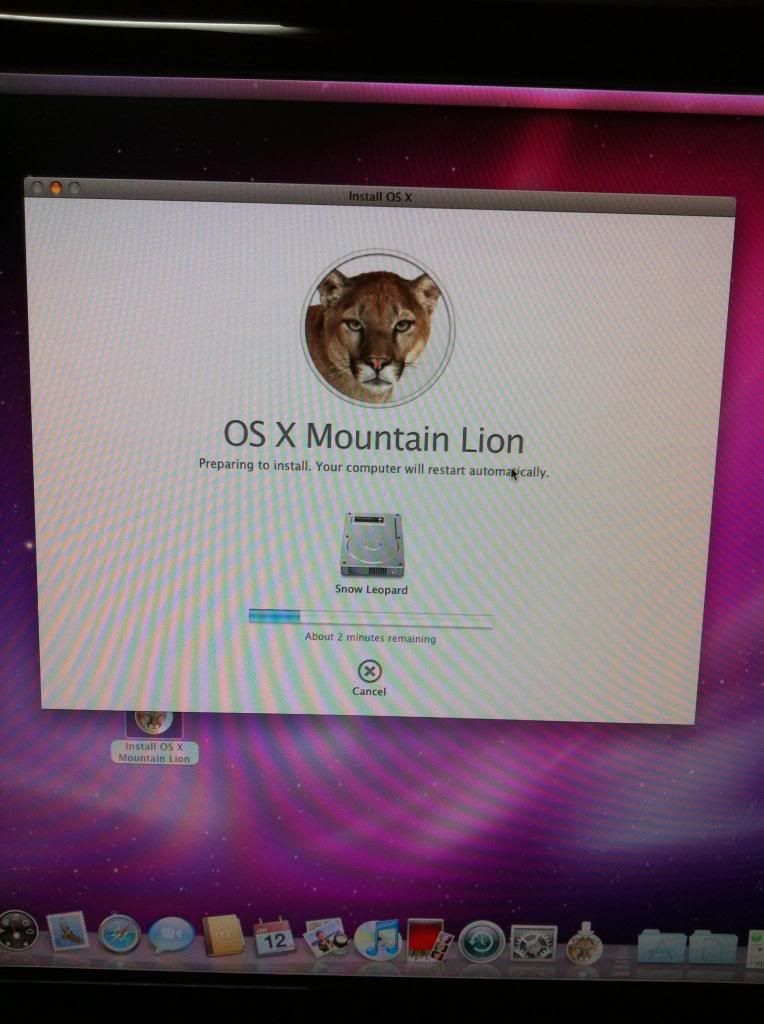
INSTALLATION OF Mountain Lion.
The installation of Snow leopard alone took me 4 days to figure out. TIP: If you're trying to install this on one hard drive with 2 or more partition...I highly recommend you not to do this. Just more hassle, I lost all my Windows files doing this and spent an entire day trying to recover those files. After i recovered my files I used my extra HDD laying around, Installation of Snow leopard went a lot smoother. TIP: During the point that you're still running Snow Leopard Always use the IVY boot. Regular boot without the boot disc will not let you get past the Apple logo white screen. Use the IVY Boot and boot -V. This let me boot into Snow leopard 100% of the time. Snow leopard was compatiable with all Hardware on the list above. I know a lot of folks on here uses Nvidia graphics card but AMD (fanboy) 6870 (apple OS only suppport up to 6870 on AMD) was working without any extra KEXTS (drivers) installed. After your done installing Leopard, Update to 10.6.8 to get the app store and download ML.
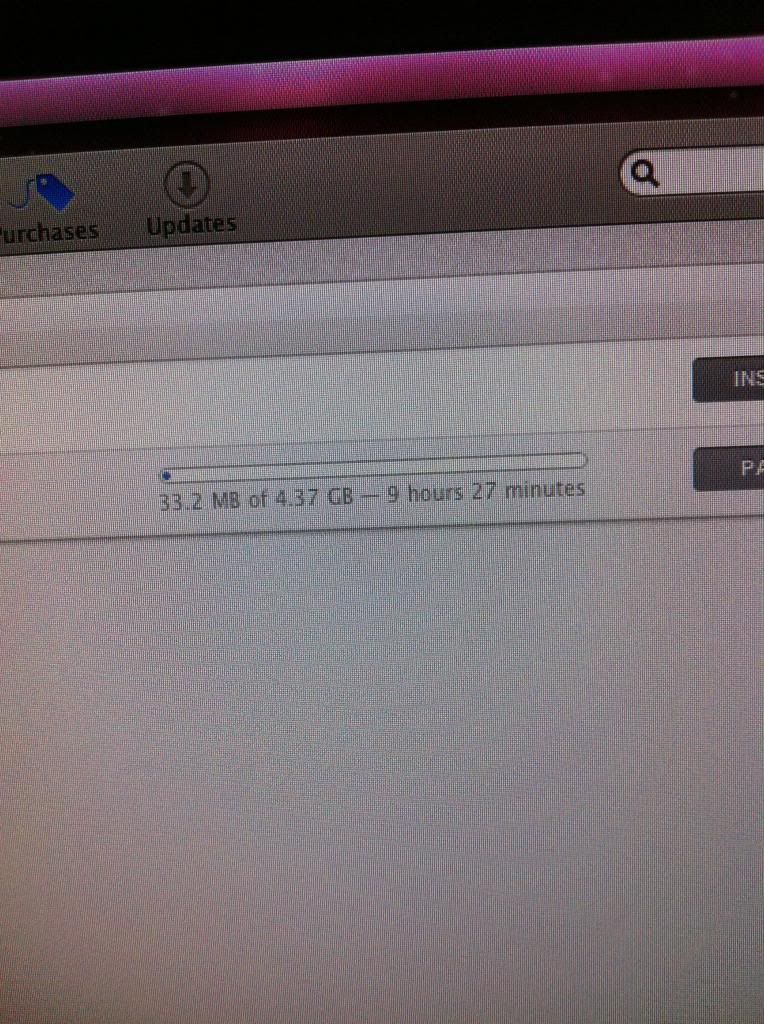
Don't attempt to Click on Mountain Lion and install it like I did. I waited...and waited...nothing happens lol (below) DOWNLOAD UNIBEAST!
With UniBeast an 8Gb or more USB flash drive is needed. Once the flash drive is complete. Restart and boot from the flash drive. Tip: If you get a white screen or a white screen with apple logo. Disconnect your AMD Graphics card from the PSU(or Nividia card if you have it and experience the White screen) and use your onboard Gigabyte video output. This will allow the computer to get past that white screen and straight to the installation. Once installation is complete Install MultiBeast (I used settings from <a href="http://www.tonymacx86.com/golden-builds/70530-slugnets-video-editor-ga-z77x-ud5h-i7-3770k-gigabyte-geforce-gtx-660-ti.html">Slugnet</a>
Total Costs: less than 1400$