Contribute
Register

G4 Quicksilver conversion to 2019 PowerMac i9 with LED Logo in Space Grey (Updated)

Status
Not open for further replies.
Joined
Nov 24, 2018
Messages
273
Motherboard
ASUS TUF Z390M-PRO GAMING (WI-FI)
CPU
i9-9900K
Graphics
Vega 64
Mac
  1. iMac
  2. MacBook Air
  3. MacBook Pro
  4. Mac mini
  5. Mac Pro
Classic Mac
  1. Power Mac
Mobile Phone
  1. iOS
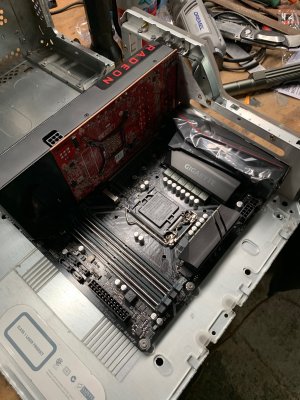
So I have been working on this for a bit I have the following Hardware going into a G4 Quicksilver case.

393066


Intel i9-9900K 3.6GHz 8 Core, 16 Threads
Gigabyte Z390 M Gaming Motherboard
32GB Corsair Vengeance RGB DDR 4 Ram
500GB Samsung EVO 970 NVMe M.2
Sapphire RX Vega 64 8GB HBM2
PCI-e BCM94360CD AC Dual Band WiFi Bluetooth

Here is the System Build info:


here is link to this "Airport" compatible BT/WiFi card it shows up as Apple Airport card. I can't say enough great things about this one!

PC Hacktonish Desktop PCI-e Wireless Card BCM94360CD AC Dual Band WiFi Bluetooth
https://ebay.us/i3VtSd


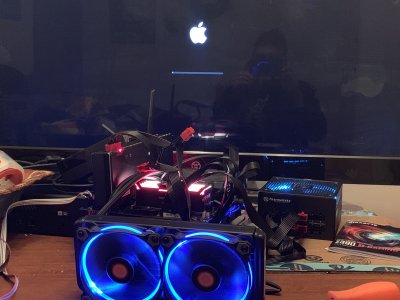
So far I have not found anything that doesn't work. I have FaceTime/iMessage working on 10.14.2. Handoff and iCloud messaging all are working.

I have made a lot of case mods I will try to get some pics up. I should have the case out to powder coating by the end of this week.

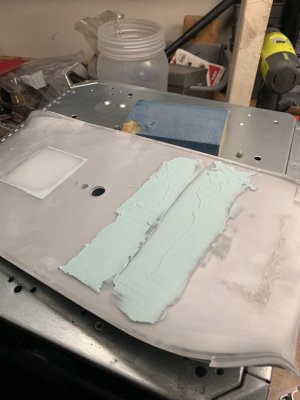
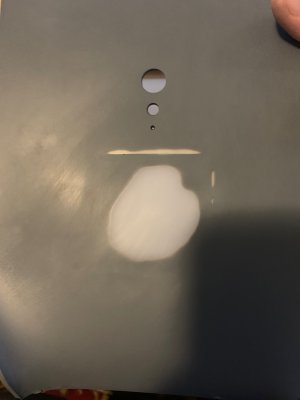
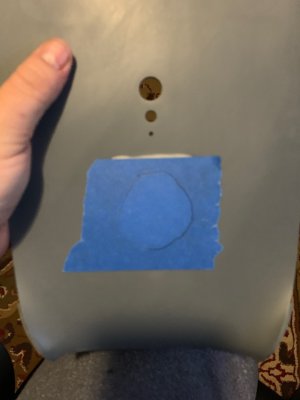
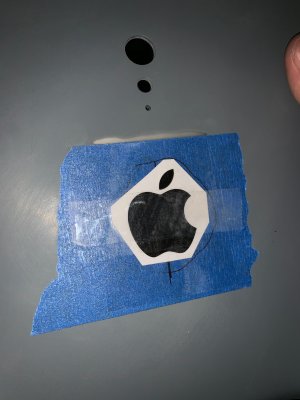
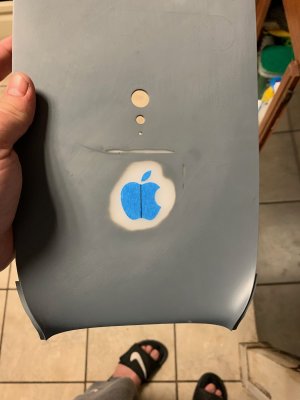
The front, back, top and bottom panels will all be a metallic dark grey like the space grey one the new MacBook Pros. I have cleaned of the paint front he doors and they are being polished. they will be sprayed black from the back. and I have a mirror film going in under the apple logos on the door so they will have a mirror like finish.

Current Scores are as follows
375925


375926
375927

375928
 
Last edited:
Hi i'd be keep to see your internal case layout also (no point posting in Mod's with out seeing the mod :) ). I'm still planning what exactly I am going to do myself. One consideration is is avoid having to avoid cutting the back plastic dividing brace by removing the audio jacks off of the motherboard (something like this ) therefor the ATX spacing will fit. Hence I' not keen on board with built in back plates / shrouds.

As for power I have a spare 600W SFF power supply and I' thinking of hollowing out the existing power supply and embedding this on inside.

I'm not sure if you have done either of these steps?
 
Last edited:
for the LED power switch stuff I am doing the standard LED board mod. Here is the link here. I however am soldering a standard PC case per switch led header onto the board that has 27" leads.
IMG_0464.jpeg


unser that on the face I have bonded in a pice of translucent white acrylic. It will have the apple logo stenciled out on it and will be back lit with a breathing LED array that I'm building
IMG_0354.jpeg
IMG_0463.jpeg


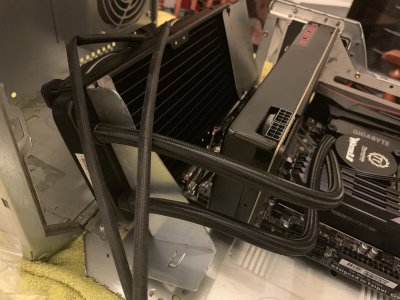
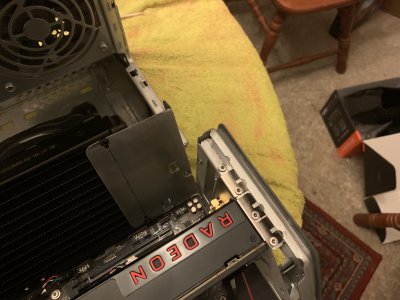
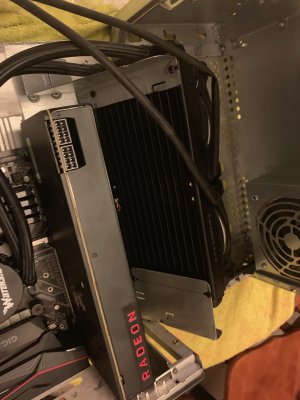
the hardest part so far is figuring out a way to have 240 radiator in the unit. I thinking I'm gonna have to make a bracket so that it rotates over with the motherboard but seals agains the bottom when closed. it is going to be very tight fit. Here is a pic of the motherboard and radiator

IMG_0428.jpeg

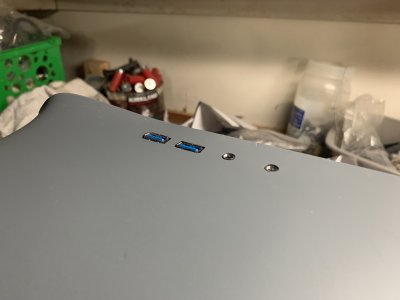
here is the fp Audio and USB that I will placing in the top of the unit on the far left hand side

IMG_0347.jpeg

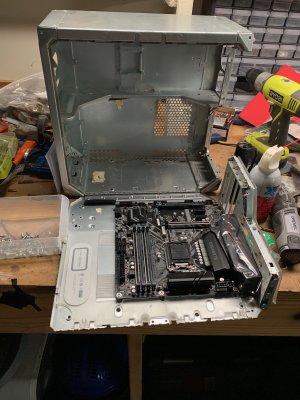
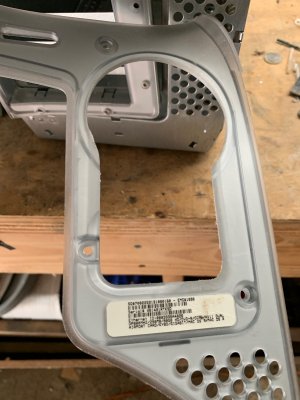
here are some images of case construction
IMG_0334.jpegIMG_0330.jpegIMG_0339.jpegIMG_0344.jpeg
II decided to save the back piece of the original case rather than use the piece of acrylic from the laser hive kit. it just didn't look like an original part.

IMG_0350.jpeg

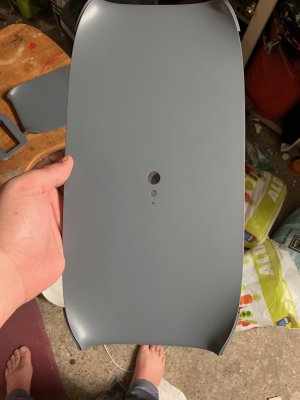
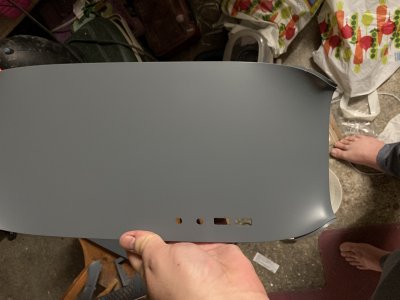
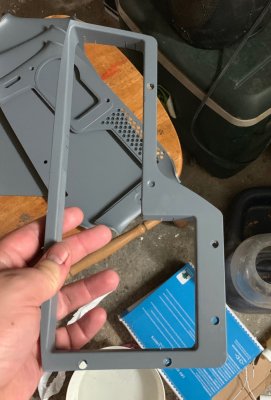
here are some of the panels after first coat of primer.

Here is the main front panel after sanded and primed.
IMG_0465.jpeg
heres the Top Panel with FP Audio/USB
IMG_0466.jpeg

Back Panels
IMG_0467.jpegIMG_0468.jpeg


I will get some new ones posted as soon as I get a chance!
 
Last edited:
Another pass at sanding today and got the logo masked out on the front. Gonna now shoot it with another coat or 2 of primer. then letdown a goat of flat black followed by however man coats of metallic that it takes. Sometimes the metallics can take a lot of cots to ge the color just right. some times 10 or more! But I'm thinking it is gonna be somewhere around 4-6 coats of metallic then, at least 3 coats of Clear Satin finish.

IMG_0469.jpegIMG_0470.jpeg
IMG_0471.jpegIMG_0472.jpeg

Also my Electronic came in so I can make the board that will drive my LED array.
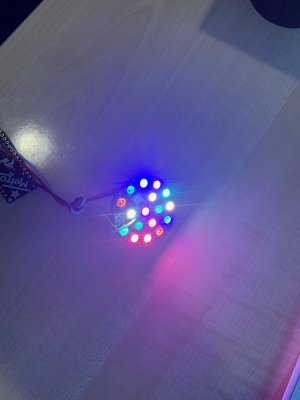
I'm using the Adafruit NEO jewel 7 in the center of a NEO Jewel 12 Ring. Then using a Metro Trinket for the controller. This will be powered from a 5V or 12V from a Molex or SATA Connector via the VIN pin.

Should have. abrogating shimmering effect like this:
turtlenecklace.gif


Here is the page on the Adafruit website where I got the code and parts list


Also on the Electronic from I got the mount and hold cleaned up for my top USB3/FP Audio
IMG_0473.jpeg
On a side note I really with I could have found one of these in black. I hate those stupid blue plastic ports. I still may just paint this one gloss black


Also I will get some picks of the case this evening. I have a couple more things to test fit before I send it off to Powder-coating! Stay Tuned!

I hope everyone had a great Holidays!
 
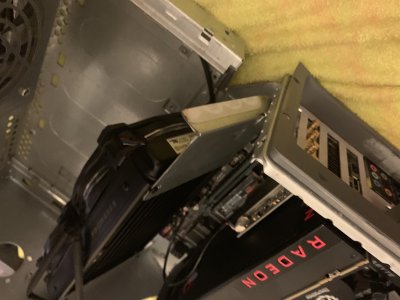
So I used the Metal from the DVD drive holder and repurposed it to make some radiator brackets. Originally I was just going to place the radiator on the bottom. There was just enough clearance. However it turns out that the hoses are just a little too short. So in order to keep the radiator in a position where the hoses and fittings would not be strained. I built a set of brackets that fasten to the 2 bolts at the bottom of the new backplane from The laser Hive. The other fastens to 2 bolt hold that if I remember correctly held on the Airport card assembly. Anyway I'm quite happy with it. The unit is very sturdy and now moves with the system tray as a single piece.


So for the internals. The only fabrication left is to mount the drive holders 6X 2.5" Sata drives

There will be 4X Samsung EVO 850 500GB SSD drives and 2X Samsung EVO 860 1TB SSD Drives

Once the fabrication is done I will tear it all back down and send the metal bits out to Powder Coating.

Hopefully I can get that done tomorrow. I have a lot of work todo this weekend so not sure how much I will be able to work on this project.

Also I still need to build the LED control system for the breathing apple logo. I have the cold and all of the parts and the code it is just a matter of putting it all together.


IMG_0490.jpegIMG_0487.jpegIMG_0489.jpegIMG_0488.jpegIMG_0486.jpeg
 
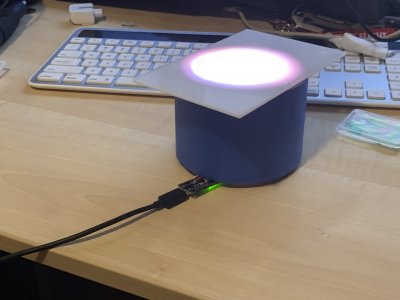
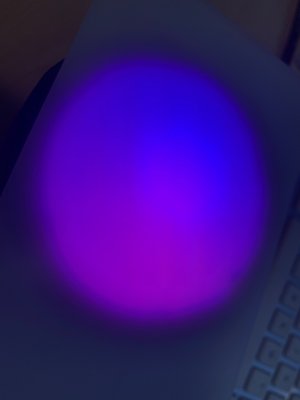
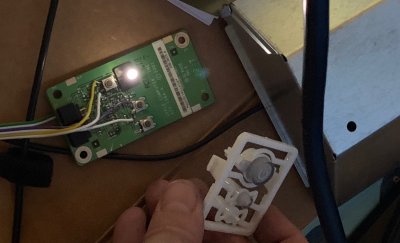
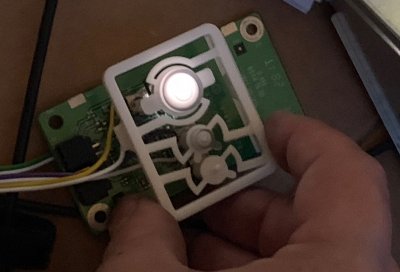
So I got the Electronics built for the light up apple logo on the front. it very much looks like the Siri colored lights off the top of the home pod.

Here are some pics and stuff but it doesn't do it justice

IMG_0505.jpegIMG_0498.jpegIMG_0497.jpeg

here is a video


Here is the LED/Button Board

IMG_0515.jpegIMG_0514.jpeg


I'm considering tying the program switch to a function on the Arduino so that pushing the program will toggle the color pallet for the Logo LED array. there are about 5 pallets that I can make it cycle thru I think.
 
Last edited:
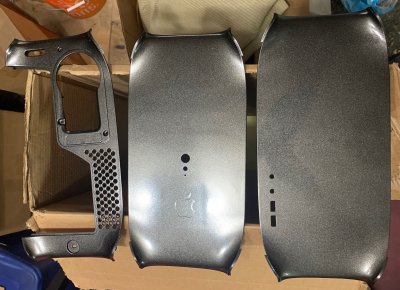
So I got 2-3 layers of flat black down and the first 2 layers of the metallic "Space Gray"Honestly I think that I may shop around for another Metallic paint tomorrow the metal flake in this one is really big. Looks more like a sports care than Space Gray Aluminum.


IMG_0546.jpeg
IMG_0544.jpeg
IMG_0547.jpeg
 
Last edited:
yeah I have to say it is much closer to the metallic grey that Ferrari's come in than the iPhone. As it turns out the "Space Grey" is a color that they license from BMW. there is Space Grey Though up Paint. It is quite pricy.


I plan to leave the handles clear. But I have a second set I'm gonna try one set that are back painted like this. and see what that looks like. I can't do a test fit right now as my case is all taken apart in preparation to go to the powder coating place.

Right now I'm trying to figure out what to do about the Logos on the side panels. They are slightly tinted grey. I though that they were clear. thinking about making a mold from these and pouring some new logos in clear urethane. I want them to be mirrored like the back of the iPhone.
 
Last edited:
Status
Not open for further replies.
Back
Top