
- Joined
- Dec 15, 2011
- Messages
- 905
- Mac
- Classic Mac
- Mobile Phone
Well, THIS is tight! 


Sorry for not responding earlier, ye it was very tricky but worked out in the end. I have only one cube (unmodified) so had to purchase my power sensor. Haven't actually wired it up yet, that is still to come.Drilling and tapping those posts on center must've been tricky Kiwi. The touch sensor is a great idea. I've got two of them unused here from my 2 cube projects. Will keep them now in case I decide to take on a custom build like yours.
Watching this thread...
Ersterhernd
The cube power sensor wasn't my first choice, originally I was going to use a macbook (black) power button also, it wasn't until I actually got my first G4 cube and saw how they did WIFI that I decided to include acrylic panels on the case. That let to the idea of transparent panels, and using the cube switch. The design goal for this project has alway been "g4 inspired", this allow me to take it to the next level.For my curren project, I wanted a special power button as well, simply because it looks better. I went for a MacBook replacement part. The connector was of course something special, so I simply cut it off and with some improvising I attached it to a regular 2pin cable. Easy job, and I like the button")
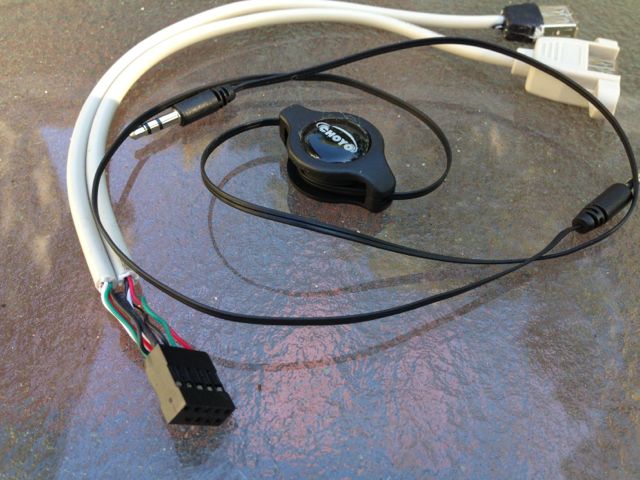
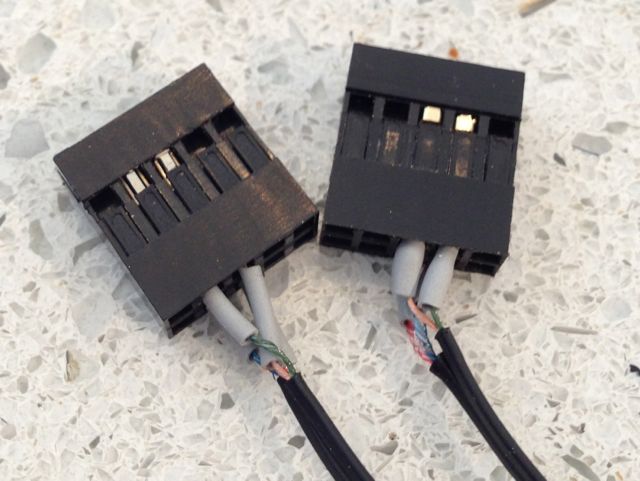
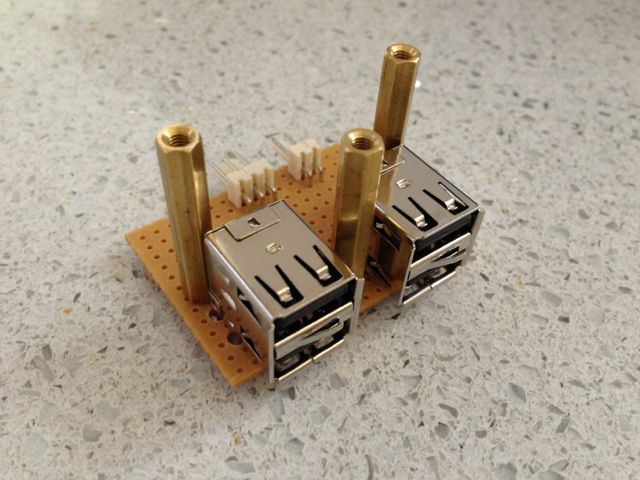
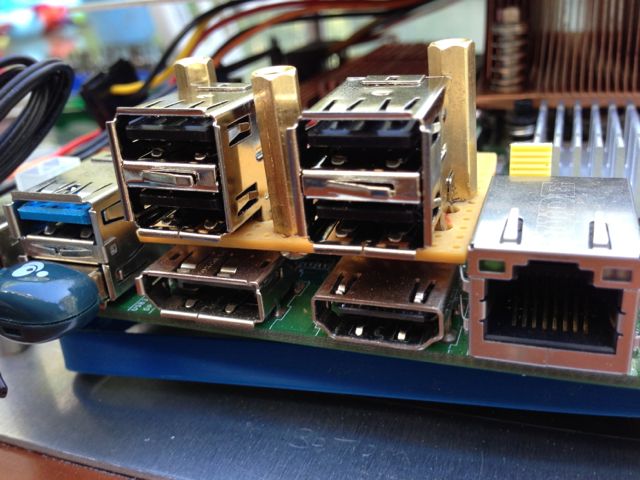
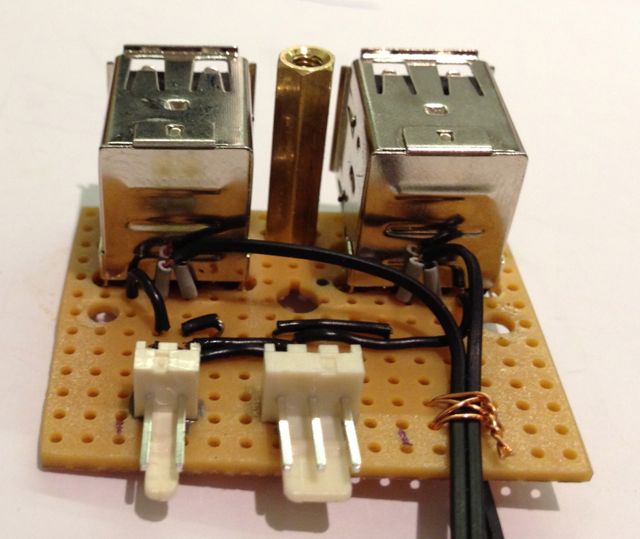
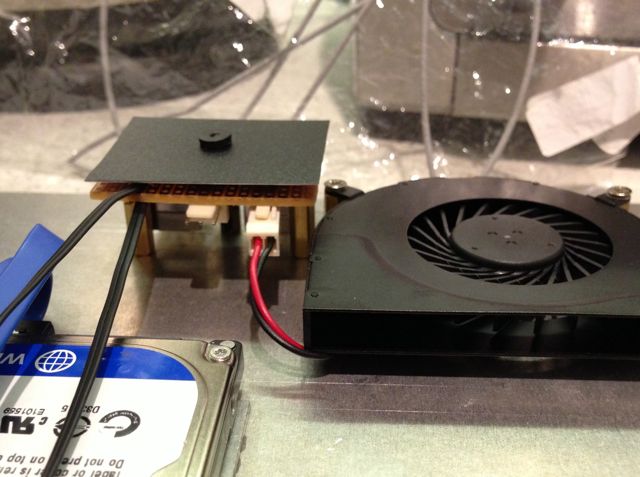
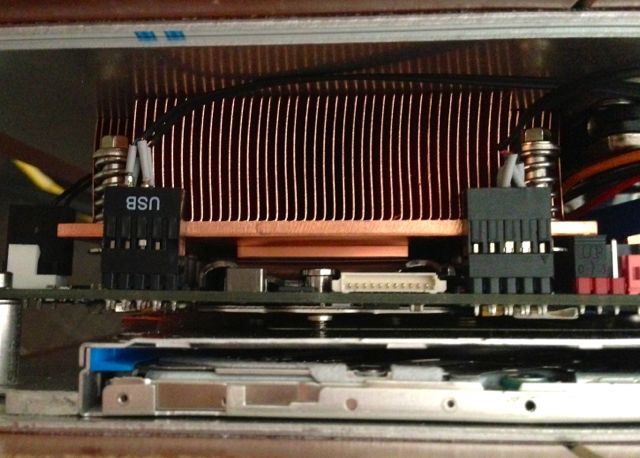
You can see from my latest USB post that the 5V (that powers the USB) was always nice and close at hand, it was the plan. Since I have an electronics background I have a tendency to include these custom boards. My G5 build also featured a custom fan power distribution board.If you buy a normal fan, you usually get an adapter to slow it down to 5V.
Have thought of connecting this 5V fan to one of those adapters and then you could even get the +5V line form the fan header?
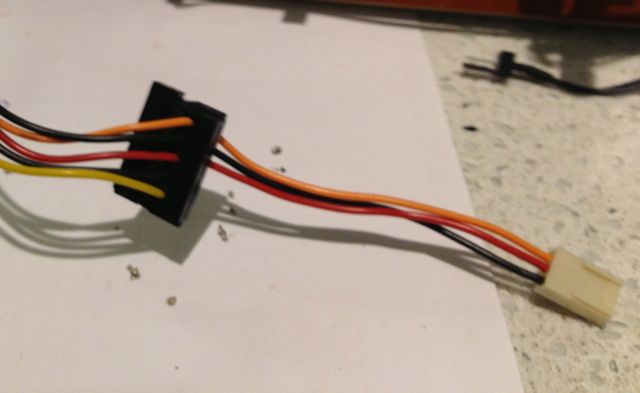
The Intel NUC has a very similar fan. If you get in troubel with the MBP fan, you could check out how Intel did that.
Well, THIS is tight!
Thanks for the comments, Tight, How tight?Wow indeed nice and tight!
Can't wait for the outer design,
Rick,
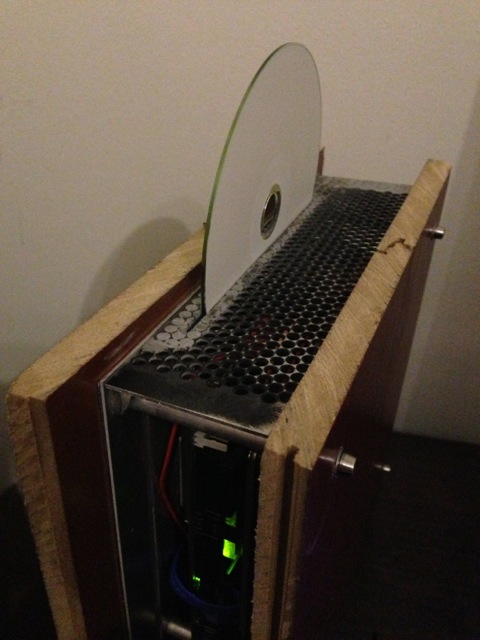
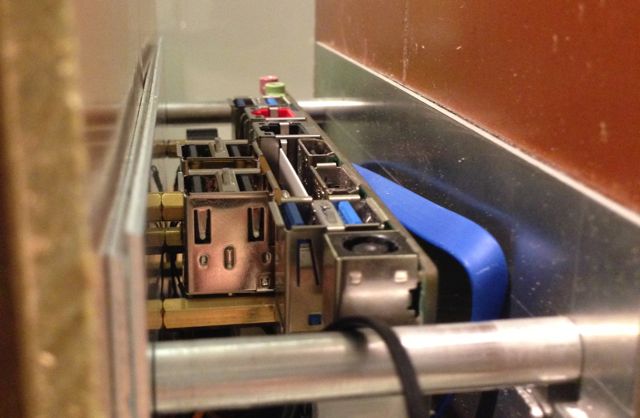
Been several weeks without Dremel, but they finally sent me a new one under warranty. That meant I could complete the slit for DVD in top panel. Just needs some paint to complete
Next job is the panel for the IO ports on the bottom (same metal as above). If anyone can suggest best tool/technique for cutting squarish holes? my only idea at moment is to drill round holes, then file them square.
Kiwi
Thanks I thought as much, I have a set four of these files, but will be a lot of work. The big issue is the metal is 1.5mm thick, and quite tough to cut. It sparks in a similar way to when cutting internal G5 panels, with a dremel. I will use drill press to cut main holes, experiment with a dremel grinding tool, and finish with the files.Well I have a very old set of Swiss Pattern Files that I use for many things such as slots and elongating holes. Also you can look at a "nibbler" tool which does what its' name implies on thin sheet metal. Or you could generate a CAD file and have a panel laser cut $$$.
And I am following this project and appreciate your updates.
Good hacking,
neil