- Joined
- Jan 13, 2017
- Messages
- 17
- Motherboard
- Z370 Extreme 4
- CPU
- i7-8700K
- Graphics
- GTX 1080
- Mac
- Classic Mac
- Mobile Phone
The mailman brought the rest of my building materials this week. specifically the Laser hive front panel and fan mount. I will get to the front panel later.
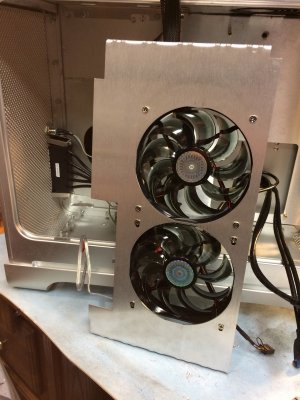
The fan mount is super simple and clean. I love all the stuff laser hive is putting out. Quality materials.
Ideally you would take the tray out to mark the holes to install the top bracket but I mounted the mother board tray directly over the screws to take the tray out. So it is never coming back out. Luckily it was easy enough to make a template for the top holes and drill them out. They even included an allen wrench that fit the screws so I was able to slip my hand in the top and tighten everything down.
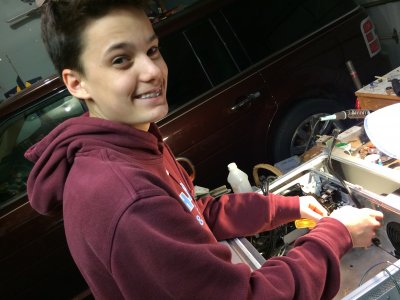
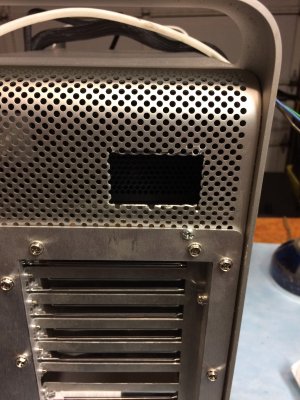
I cut out a hole for the rear power plug and mounted that all up. I ordered this plug from eBay. It is fused and has a switch to power it up or down. It took a little soldering but we got it done, and it works!
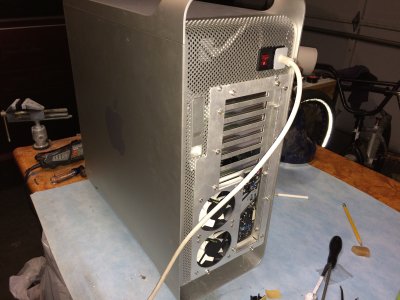
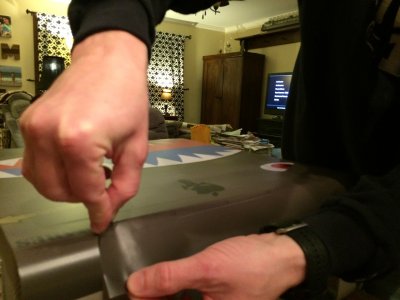
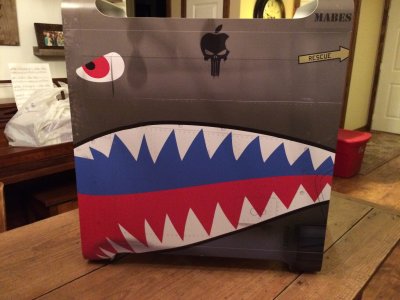
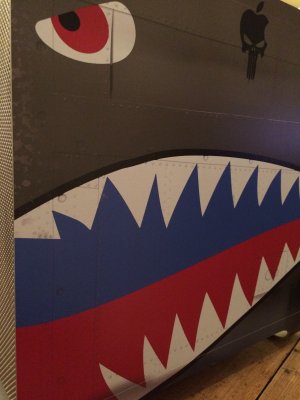
Next came the front panel. Cut out the front via the template and installed the panel, no problem. Now I am stuck on the power button wires. Apparently this is a stupid question because it has not been asked once on the inter web. Not once! But I am denser than the average rock and I have no idea what each wire is It has a 2 prong connector with a blue and white wire. Plus one more white wire and one green. I think the 2 wire connector is the LED for the power switch and the other white is the actual button and the green is ground. but I am too scared to try it with out knowing for sure. Anyone wire these up before. Any pictures? And I don’t know which is + or -.

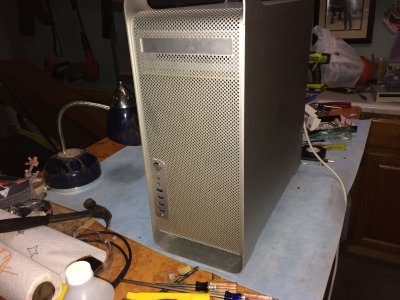
Any ideas?

I started with wire management. I have a ways to go but its looking good I think.
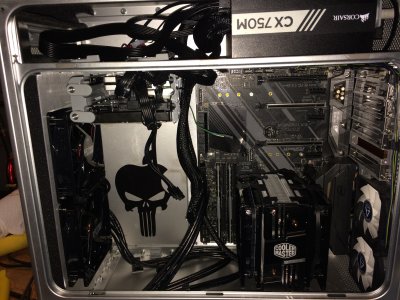
And I powered it up for the first time. No drives hooked up or monitor or anything. I just wanted to see we got power to the board with out any smoke, fire, large explosions. All tested great Motherboard pulsed a soothing blue glow, that was kind of cool.
Oh, and we got sidelined today. A little too much fun in the sun. And Track starts on Tuesday?!?!!?!

OH and I scored a NIB Gigabyte GeForce GTX 1080 on ebay! I spent more than I had planned but it was way less than they are going for retail.
I'll be updating the first post in the next few days with all the current pieces parts.
Matt
The fan mount is super simple and clean. I love all the stuff laser hive is putting out. Quality materials.
Ideally you would take the tray out to mark the holes to install the top bracket but I mounted the mother board tray directly over the screws to take the tray out. So it is never coming back out. Luckily it was easy enough to make a template for the top holes and drill them out. They even included an allen wrench that fit the screws so I was able to slip my hand in the top and tighten everything down.


I cut out a hole for the rear power plug and mounted that all up. I ordered this plug from eBay. It is fused and has a switch to power it up or down. It took a little soldering but we got it done, and it works!


Next came the front panel. Cut out the front via the template and installed the panel, no problem. Now I am stuck on the power button wires. Apparently this is a stupid question because it has not been asked once on the inter web. Not once! But I am denser than the average rock and I have no idea what each wire is


Any ideas?

I started with wire management. I have a ways to go but its looking good I think.

And I powered it up for the first time. No drives hooked up or monitor or anything. I just wanted to see we got power to the board with out any smoke, fire, large explosions. All tested great
 Motherboard pulsed a soothing blue glow, that was kind of cool.
Oh, and we got sidelined today. A little too much fun in the sun. And Track starts on Tuesday?!?!!?!


OH and I scored a NIB Gigabyte GeForce GTX 1080 on ebay! I spent more than I had planned but it was way less than they are going for retail.
I'll be updating the first post in the next few days with all the current pieces parts.
Matt
Last edited:

