
- Joined
- Feb 12, 2011
- Messages
- 32
- Motherboard
- Asus P8H67-I Deluxe
- CPU
- i5-2500k
- Graphics
- HD3000
- Mac
- Classic Mac
- Mobile Phone
I finished my first G4 Cube Hackintosh build this past weekend – or more accurately, finished it enough to actually configure it and put it to use. I was inspired by many of the threads and posts in this forum, in particular those of Ersterhernd, MacTester, and others. I have borrowed/copied/stolen most of my build decisions and implementations from these truly creative masters – I am grateful for all of the information and incredible detail all of you have shared.
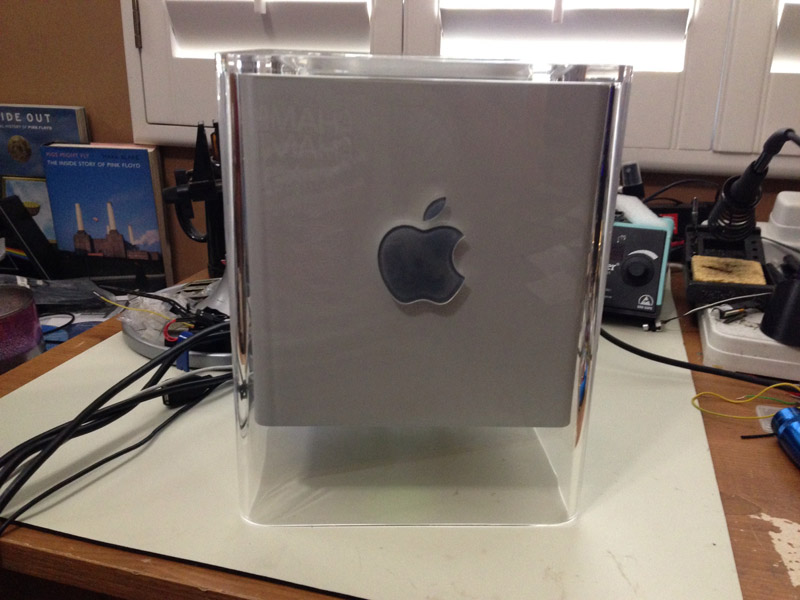
• Here is the final assembled cube in action:
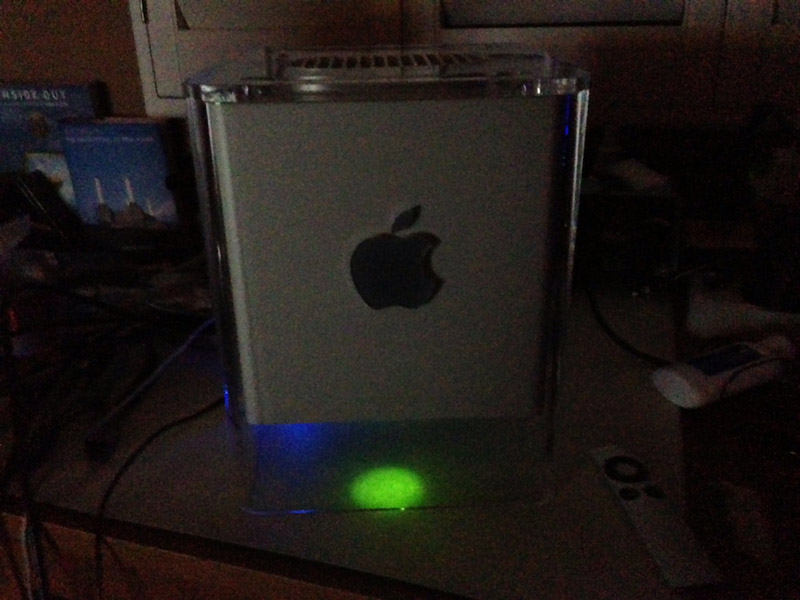
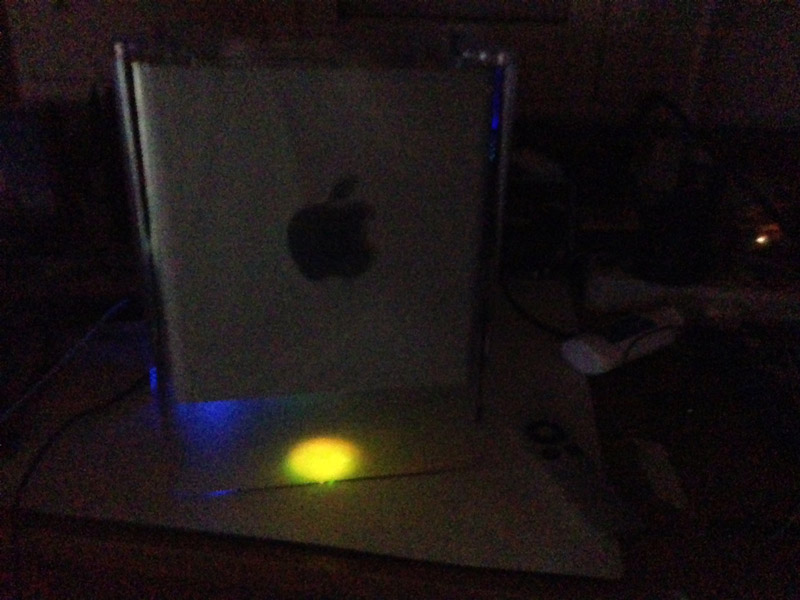
• Here you can see the power and drive LEDs lighting up the surface underneath the cube:
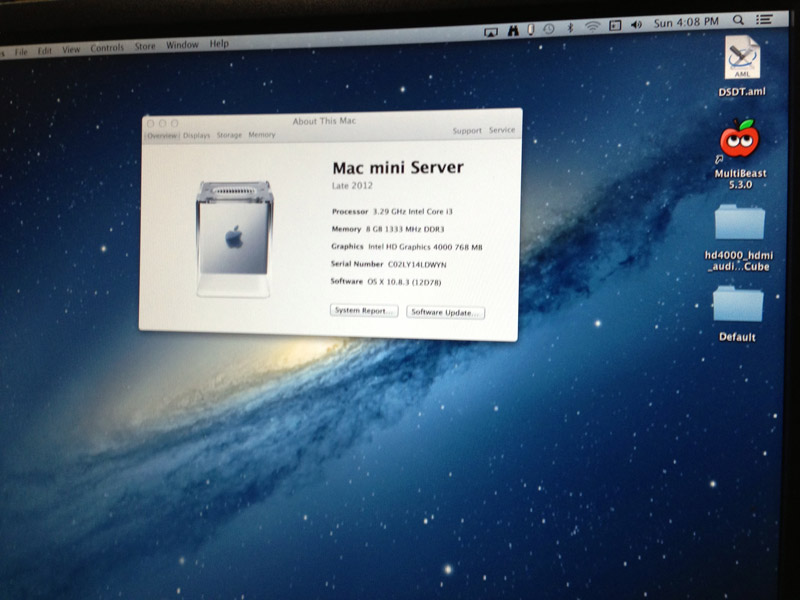
• Finally, a screenshot of the “About This Mac” screen:
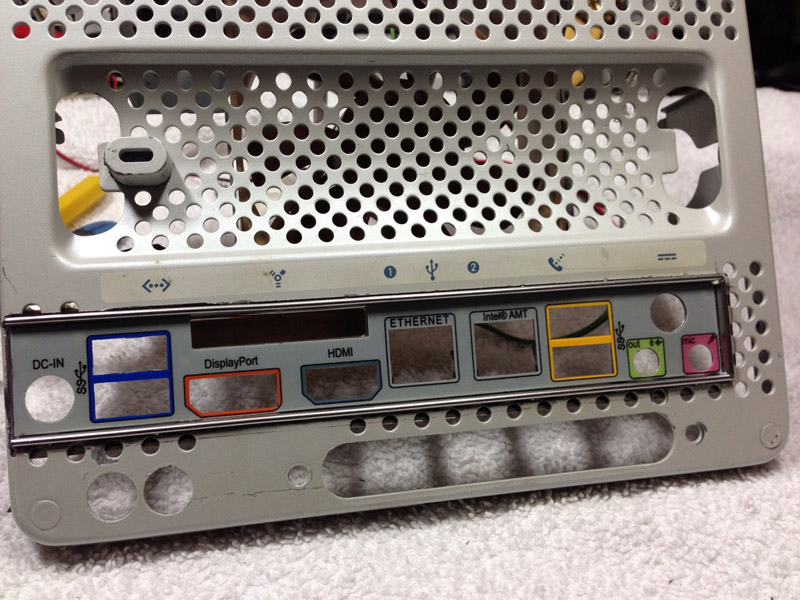
The final system consisted of the following hardware:
The G4 Cube was purchased off of Craigslist here in Arizona – I drove up to Sedona to pick it up. $100 for the cube, 17” monitor, power brick, and speakers. The speakers were not the original HK versions that shipped with the Cube, but the HK versions which shipped with other Macs that have the proprietary phono-plug adapter on them. I have not modded them yet, as I am waiting on the audio parts to build my own USB amp.
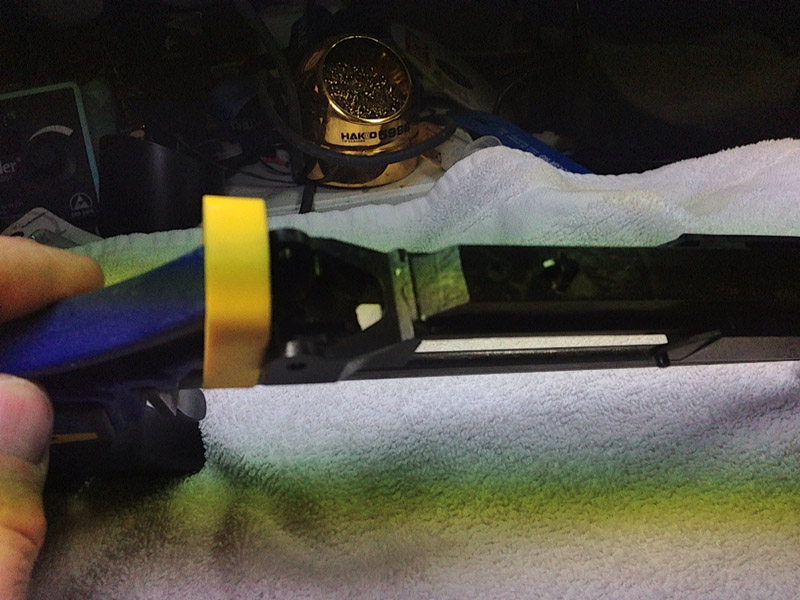
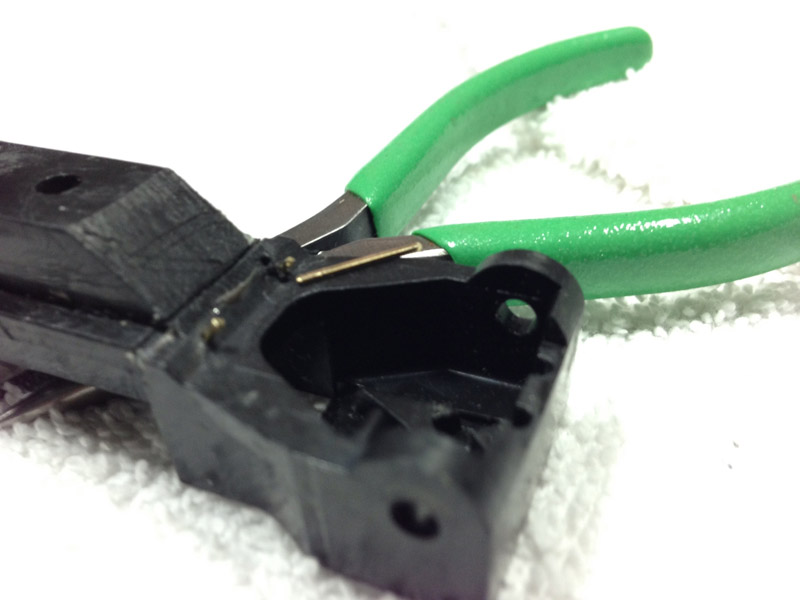
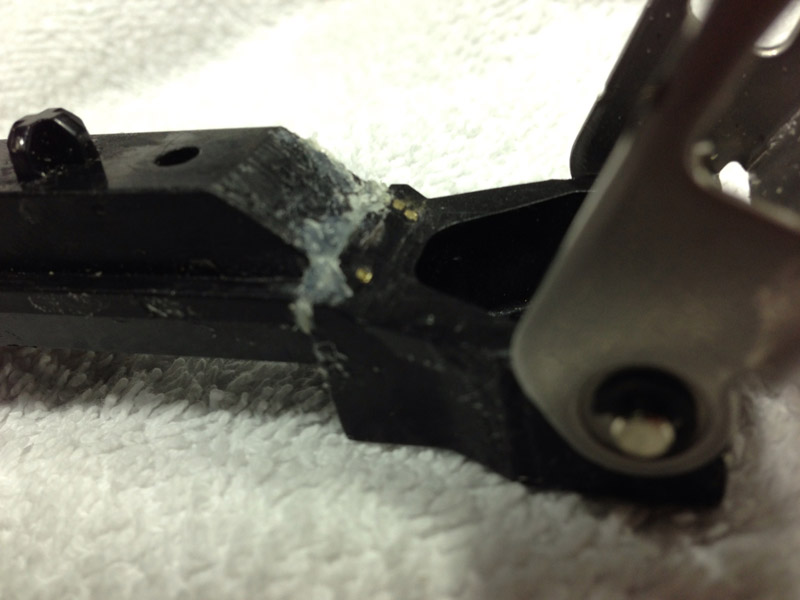
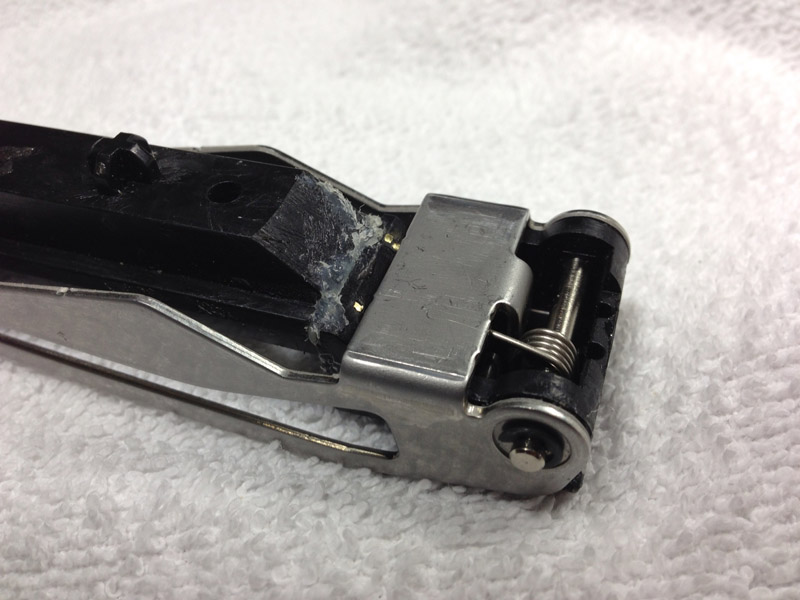
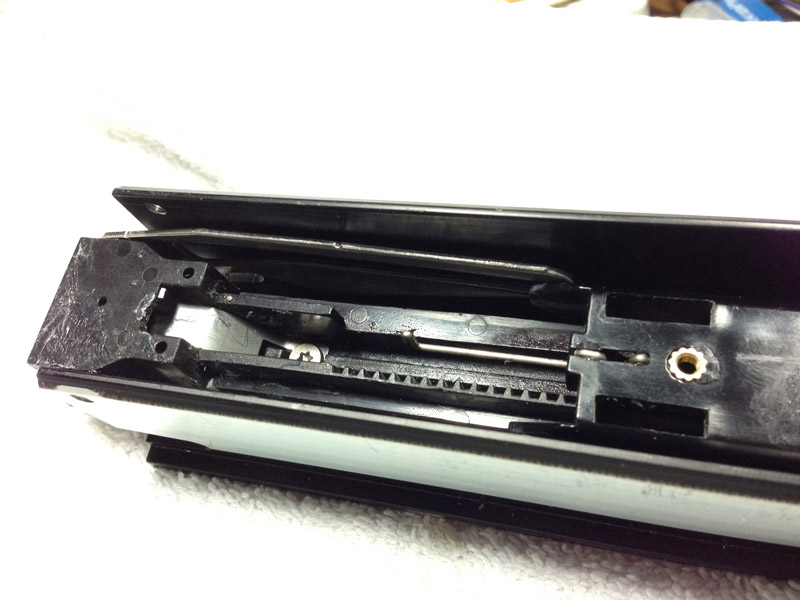
The Cube was not in the best of shape, as there were several hairline cracks along the top edge of the Cube. However, for my first (read: I’m getting ready for build #2!) G4 Cube mod, it was more than adequate, and in some cases better – every step of this was a learning experience, and I unknowingly damaged parts along the way. I know how to be careful and what parts are fragile, as well as how to get the Cube apart without damaging the parts that need to be preserved. Well worth the money, IMHO.
(Updates to follow - I have more pics to post, but need to get them resized and upload so I can link them)
• Here is the final assembled cube in action:
• Here you can see the power and drive LEDs lighting up the surface underneath the cube:
• Finally, a screenshot of the “About This Mac” screen:
The final system consisted of the following hardware:
- Motherboard – Intel DQ77KB
- CPU – Intel i3-3225
- *RAM – 8GB 1333 MHz DDR3 Corsair
- *HDD – 2 TB Western Digital WD20EZRX
- CPU cooling – GELID Slim Silence i-Plus
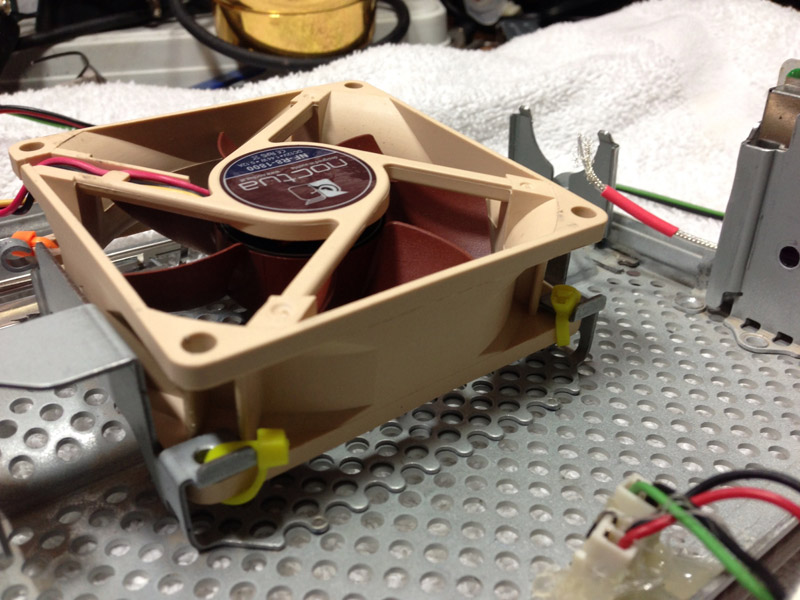
- Chassis cooling – Noctua NF-R8 80mm
- *Bluetooth – Apple A1114 module
- *Wireless – Apple AirPort Extreme mini-PCI-e
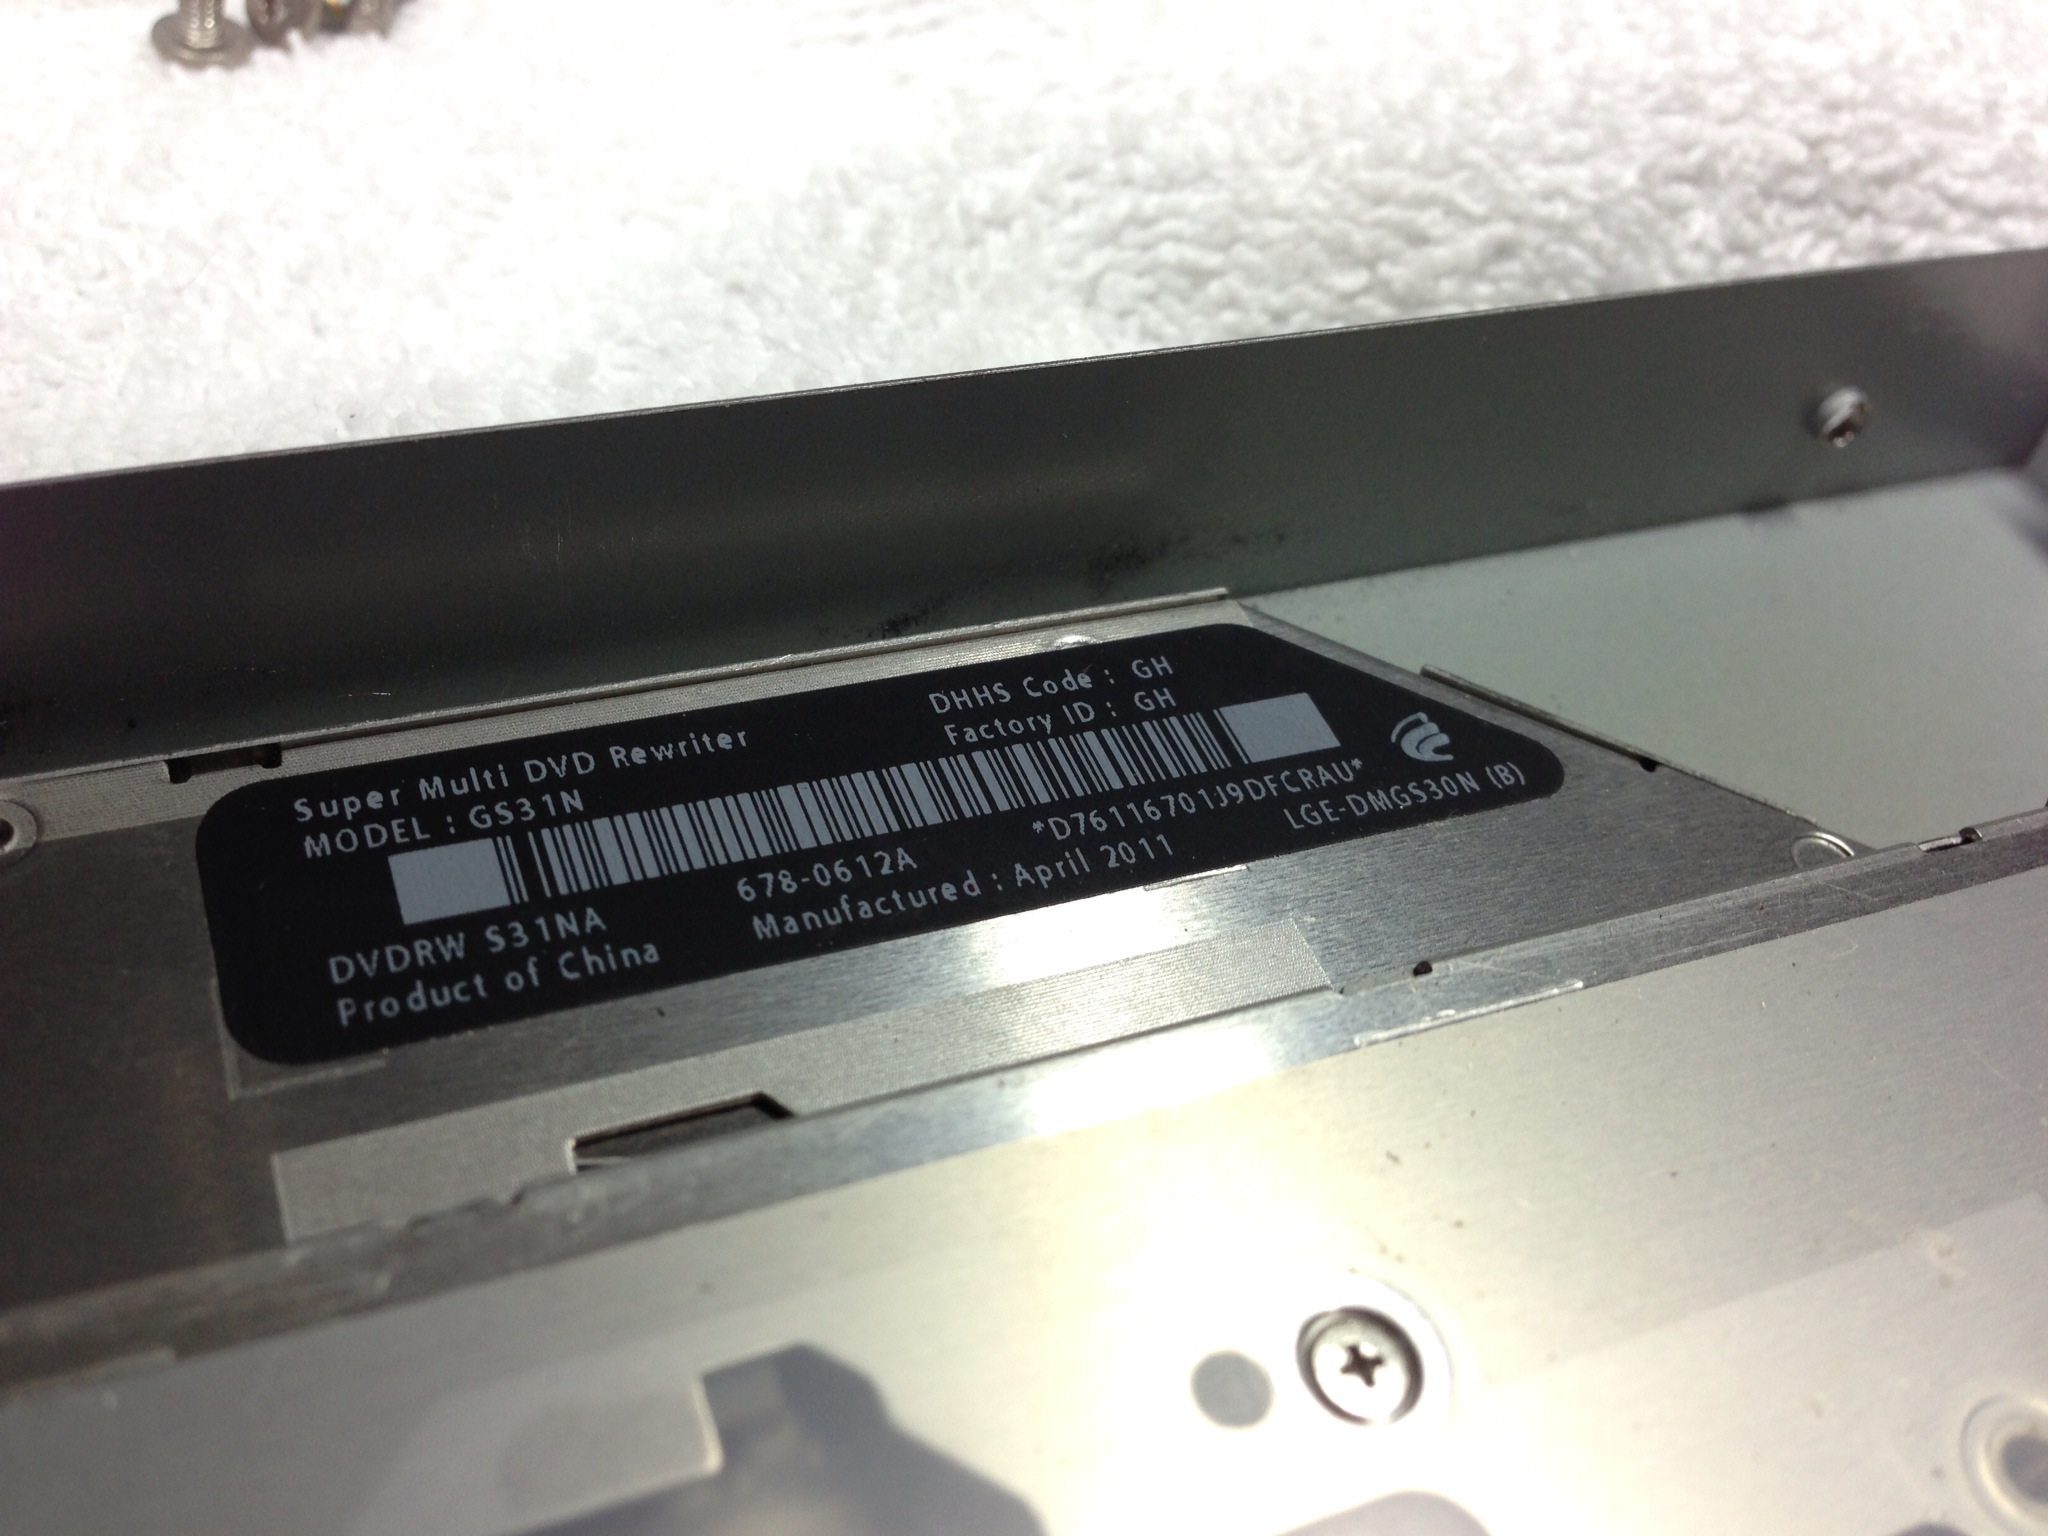
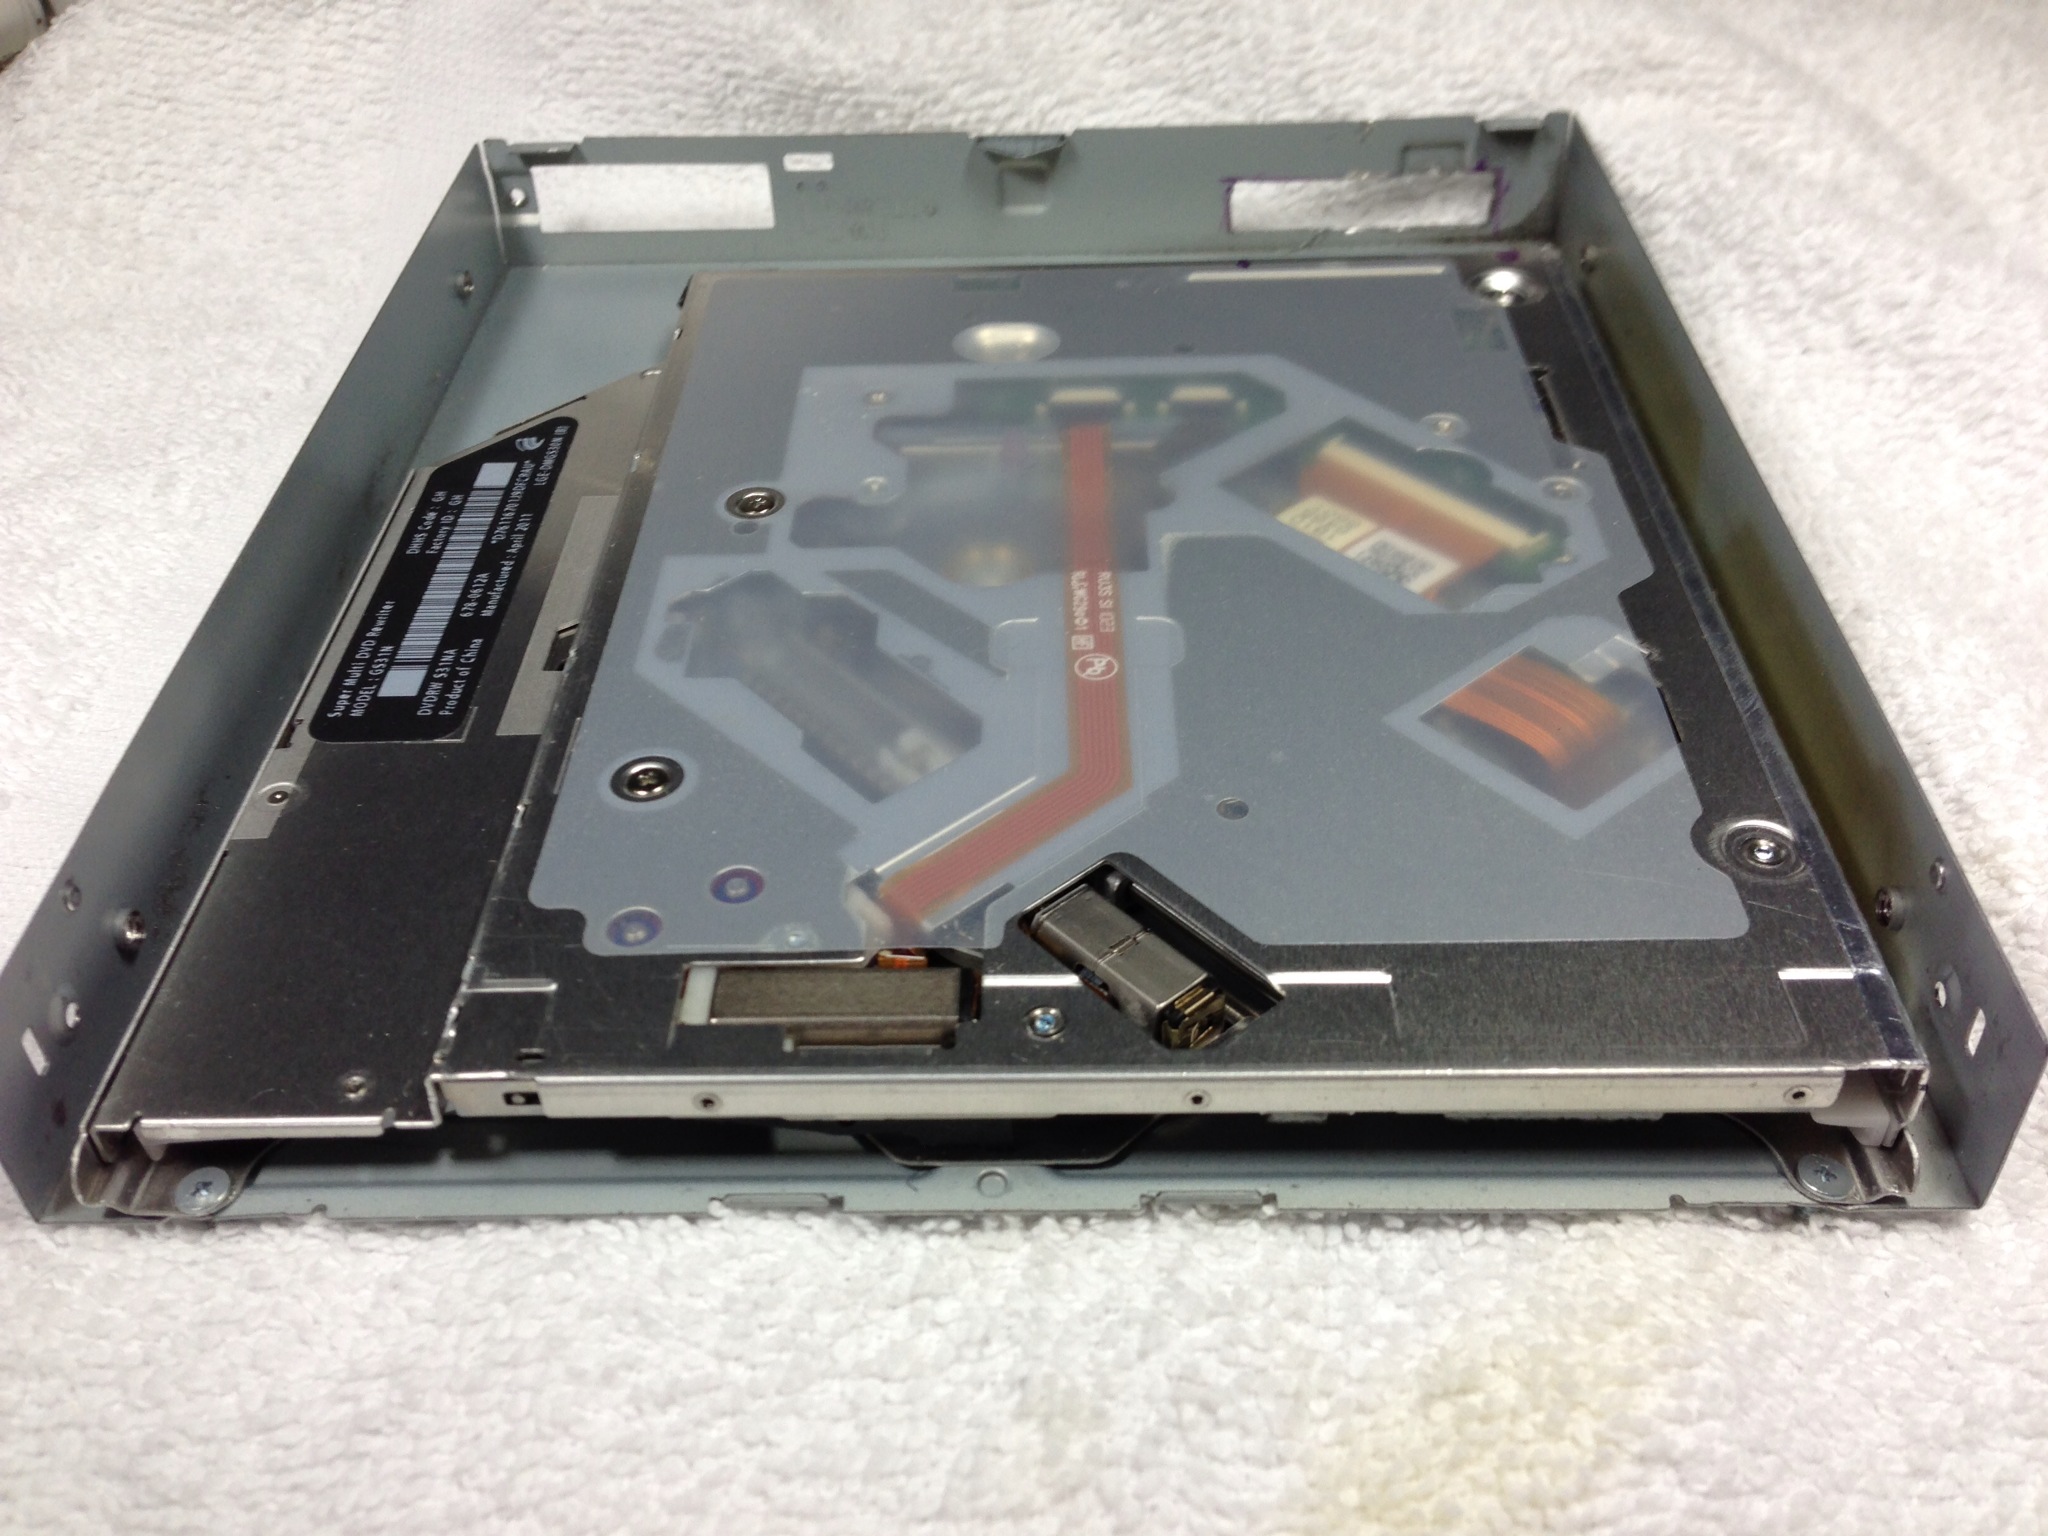
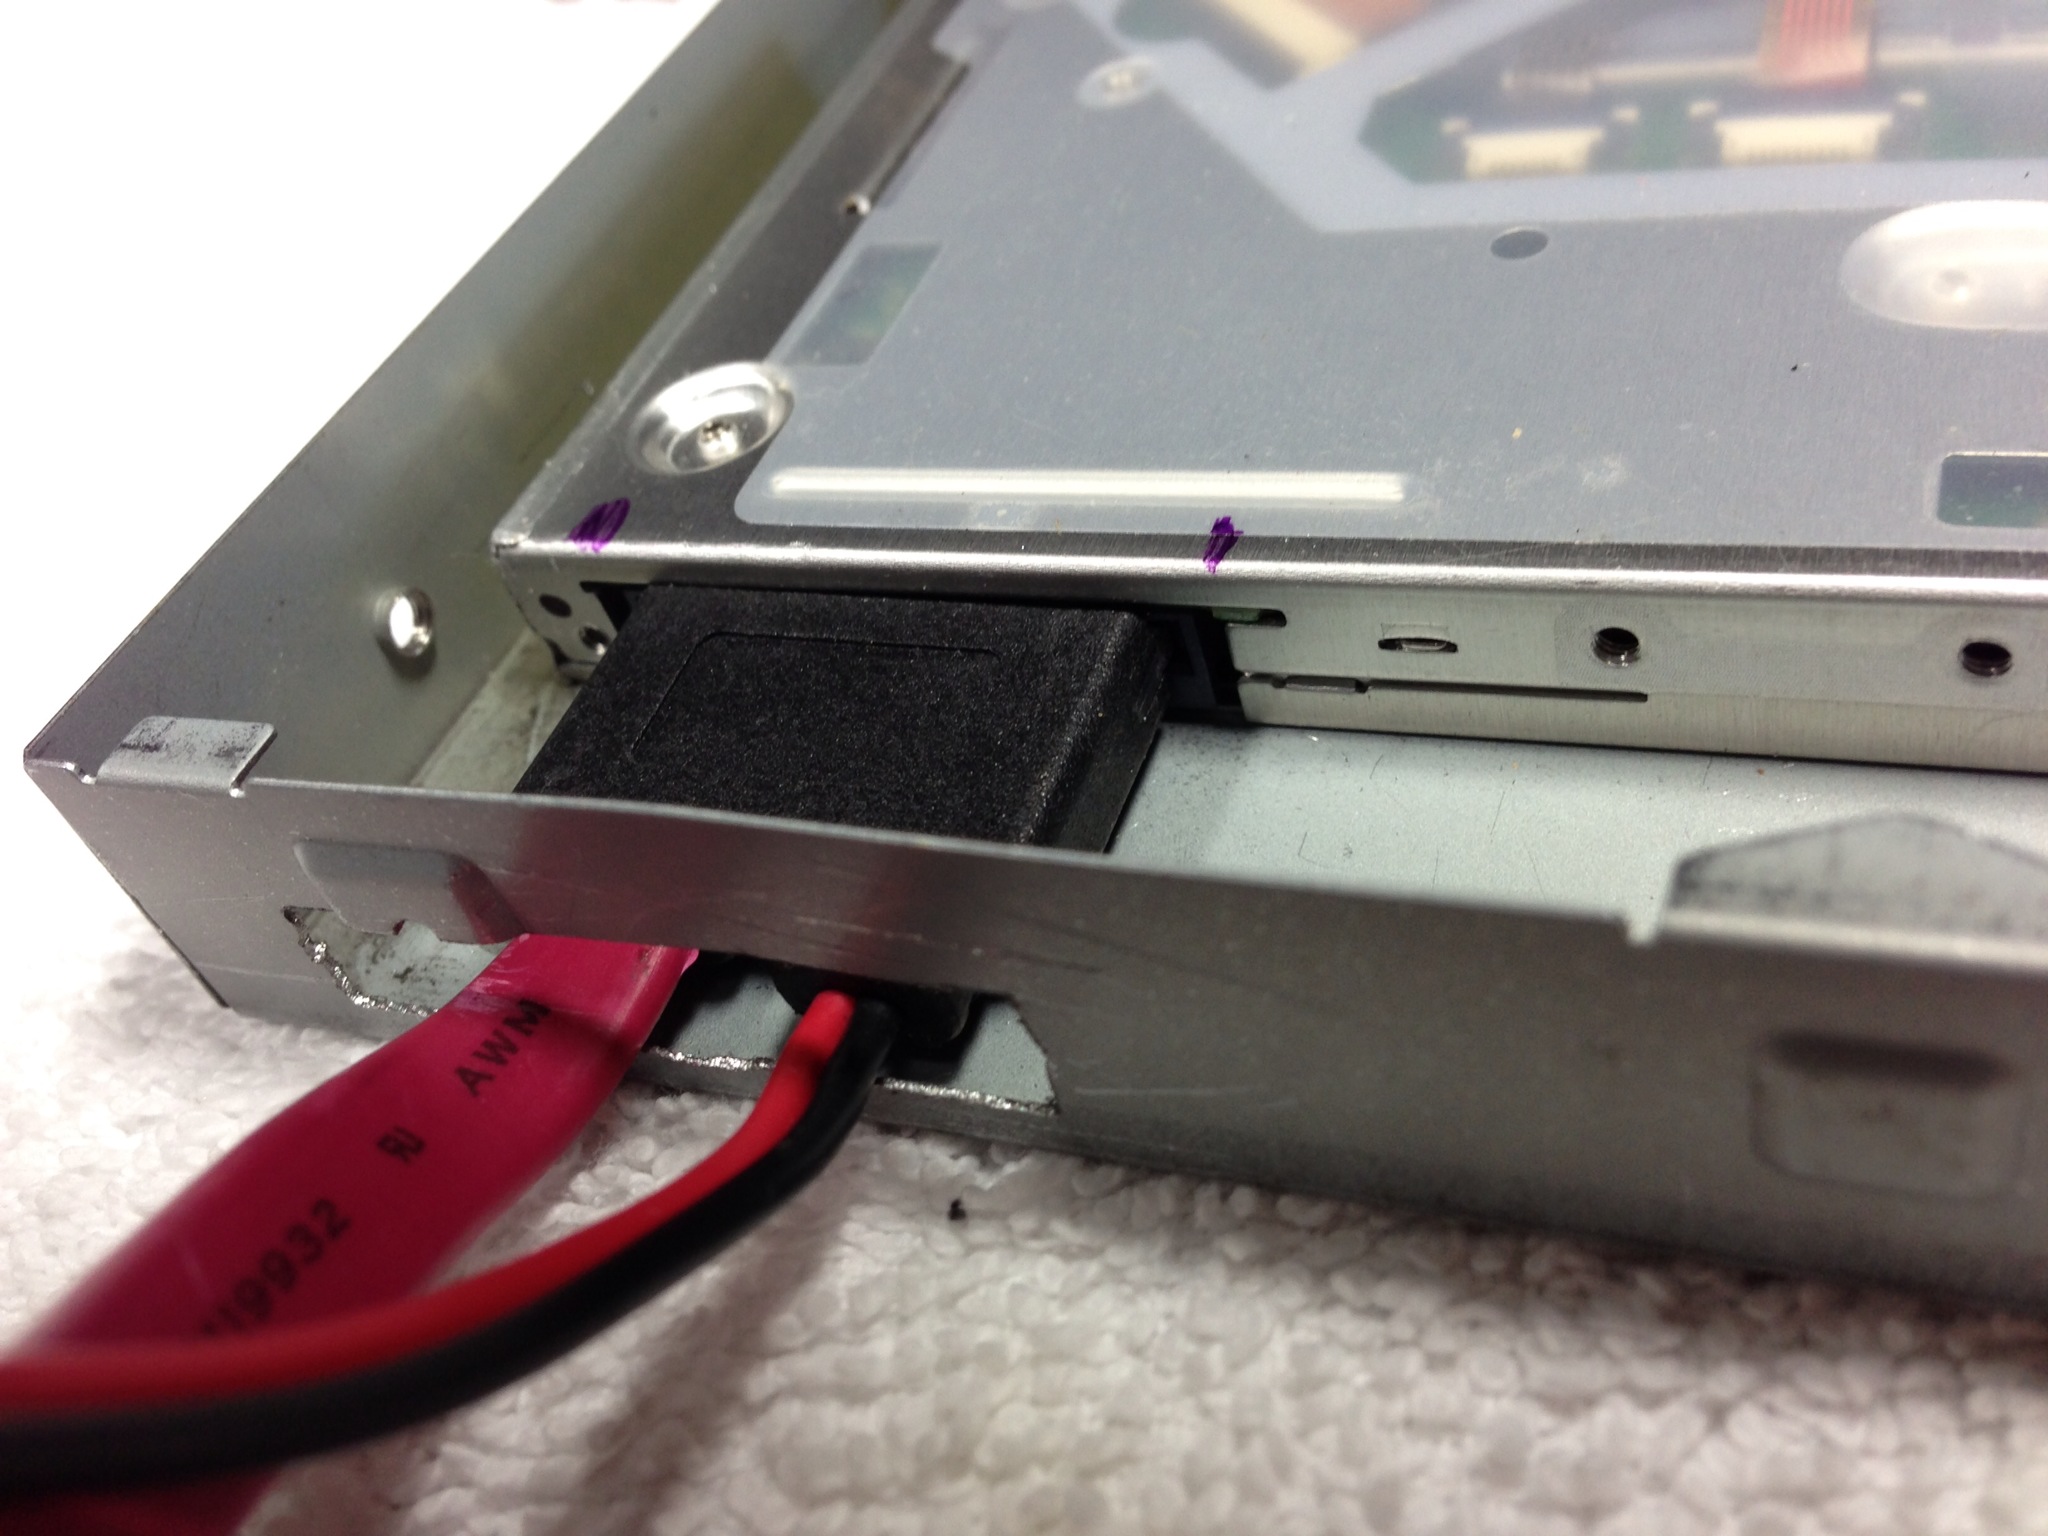
- *DVD – Apple Super Drive (from my SSD-updated MacBook Pro 15)
- *Power supply – Dell GA240PE1-00 19.5V @ 12.3A
The G4 Cube was purchased off of Craigslist here in Arizona – I drove up to Sedona to pick it up. $100 for the cube, 17” monitor, power brick, and speakers. The speakers were not the original HK versions that shipped with the Cube, but the HK versions which shipped with other Macs that have the proprietary phono-plug adapter on them. I have not modded them yet, as I am waiting on the audio parts to build my own USB amp.
The Cube was not in the best of shape, as there were several hairline cracks along the top edge of the Cube. However, for my first (read: I’m getting ready for build #2!) G4 Cube mod, it was more than adequate, and in some cases better – every step of this was a learning experience, and I unknowingly damaged parts along the way. I know how to be careful and what parts are fragile, as well as how to get the Cube apart without damaging the parts that need to be preserved. Well worth the money, IMHO.
(Updates to follow - I have more pics to post, but need to get them resized and upload so I can link them)
Last edited by a moderator:


")