Contribute
Register

First Billyjackintosh Build w/G3 case mod

Status
Not open for further replies.
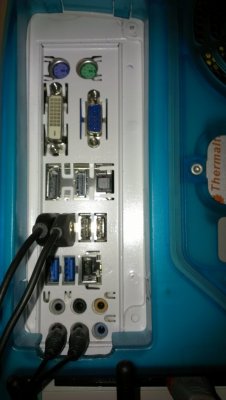
Photo of my rear panel with some things plugged in :thumbup:

IMAG0139.jpg
 
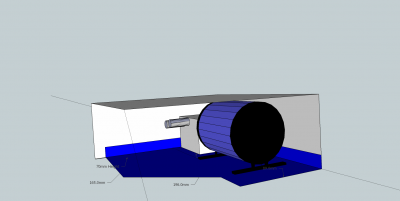
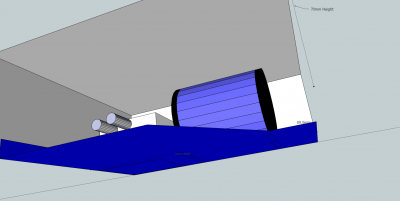
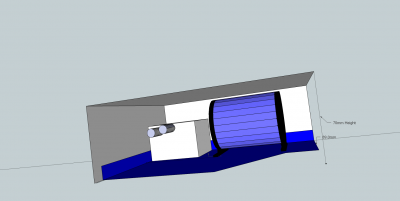
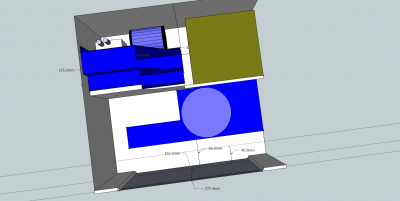
Planning Water cooling set up, using Google sketch up to get a scale model of the items being used.
IMG_0945.jpg

This will be mounted above the CD rom tray on its own custom built platform.

Billyjackintosh H2O Cooling1.pngBillyjackintosh H2O Cooling2.pngBillyjackintosh H2O Cooling4.pngBillyjackintosh H2O Cooling.png

Almost done with the drawing
Billyjackintosh H2O Cooling Tower.pngBillyjackintosh H2O Cooling t1.png
 
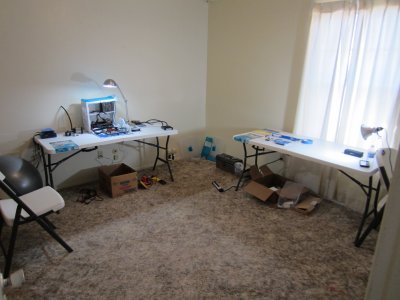
Well im back in New Mexico, so i had to set up a workshop to finish my Hackintosh G3 case mod. I was in luck because there is a Sam's Club In Roswell so i picked up some folding tables and chairs for my project room, im just missing most of my specialty tools but hopefully i wont need them.
IMG_1083.jpgIMG_1075.jpgIMG_1085.jpg

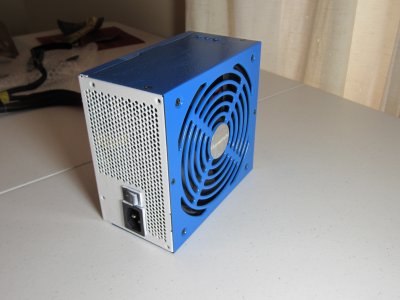
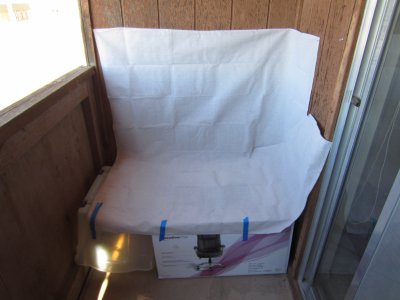
I started prep on my new power supply to paint it blue :).

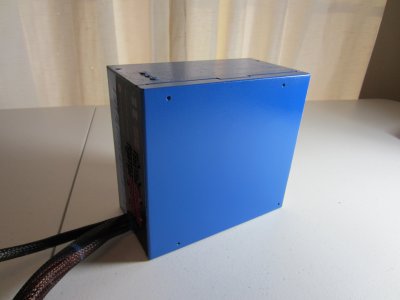
I have finished most of the touchups on the blue paining and the PSU just need to finish up the water system.

ill post more photos during the week hopefully i will have this wrapped up by Friday!!

Stay Tuned 4 More!
 
Good job, congratulations.
I am about to start my project G3, but will be a little easier.

(I do not speak English, I hope you understand, I'm using Google translator :)
 
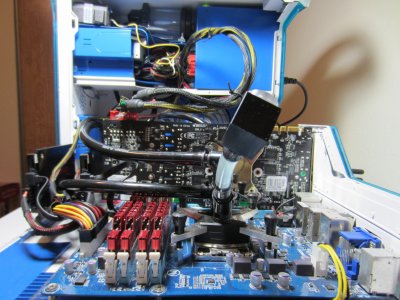
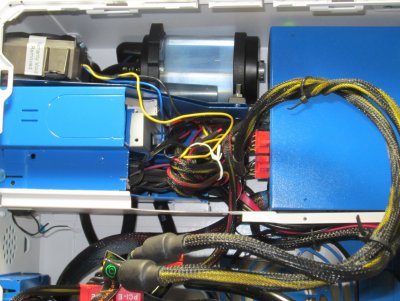
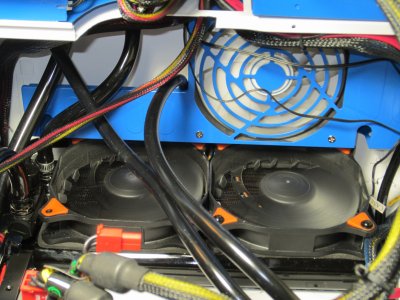
Progress update, here is some more photos :headbang:

IMG_1094.jpgIMG_1092.jpg
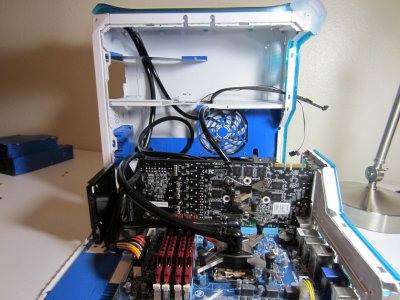
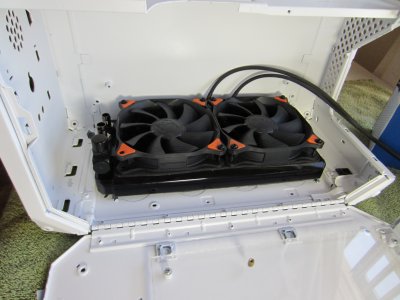
As you can see most of the tubing is installed and fit tested.
By fit tested i had to open and close the door about 20 times :banghead: to find the right combination of length , loops, hoops, what ever so the tubing would not kink when the case is fully closed.
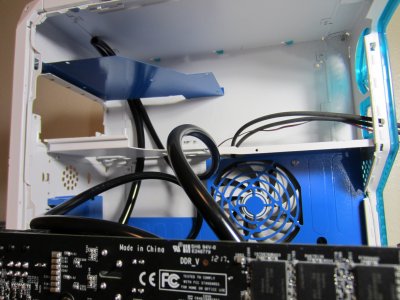
IMG_1093.jpg
Also the awesome holes that were native for this case are very handy for routing tubing, so i cut the same amount of space that the CD drive bay gives to run the tubing behind the custom built platform for the water system. :thumbup:

IMG_1090.jpgIMG_1089.jpg
Since my last PSU died about two months after i installed it i had to get a replacement, its a 675watt Thermaltake which was a ugly puke green will now go nicely into my case and match, i will have to replace the decals i made with my logo later.

to paint this i had to void the warranty (the paint by it self prolly voids the warranty) by opining up the case and taping up the inside of the small holes above the power switch so no paint entered the electronics inside.

:beachball:
More to come!! stay tuned and thanks for all your comments !
 
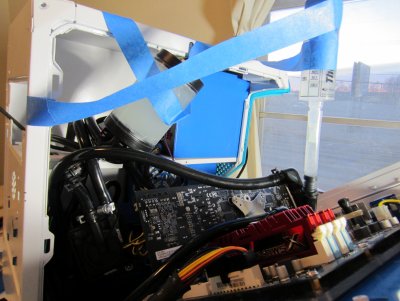
I ended up taking the computer apart and touching up all the painted items and fixed some minor issues with the mounting of my SSD's.

IMG_1098.jpgIMG_1095.jpg
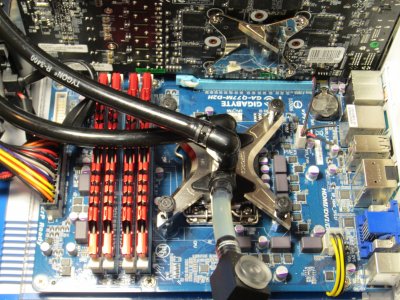
Some shots of what it looks like after i started puting things back in.

IMG_1100.jpg
I have been purging the air out of the system for the past two days, ill post a shot of the water which is clear but dosent look like it due to all the little air bubbles.IMG_1101.jpgIMG_1103.jpg

What it looks like now after two days of purging the air
IMG_1104.jpg
 
Status
Not open for further replies.
Back
Top