
- Joined
- Sep 3, 2012
- Messages
- 127
- Motherboard
- Mac Mini3
- CPU
- Intel Core i3 3225
- Graphics
- Intel HD4000
- Mac
- Classic Mac
- Mobile Phone
UPDATE 29/5-2014
As of today the system is changed into this until I find a more permanent solution:
NoFan CS-70 chassis
MSI Z77MA-G45 (sleep not working)
Intel Pentium G2030 @3.0GHz
4x2GB Kingston HyperX DDR1866 RAM (original 2400MHz but is unstable on this CPU)
Asus GTX 660TOP
Plextor M3 64GB SSD
Western Digital My Passport Studio Pro 1TB TimeMachine
LyCom FW800/400 PCIe card (works OOB)
SeaSonic X400 fanless PSU
3x120mm NoiseBlocker Multiframe fans
2x80mm NoiseBlocker Multiframe fans
Silverstone BluRay burner slot-in drive
Noctua CPU tower with 2 of the NB fans mounted
-------------------------------------------------------
-------------------------------------------------------
The why?
I am starting a new build since I recently got a problem with my current one. After upgrading to 10.8.5 I can only boot to a blank white login screen and have now tried for a few weeks to solve it without success. A reinstall is needed, so it might be a good time to change things up a little anyway...
Also I have started to play games like Battlefield4 on the Windows part of my system, but as that seperate SSD is only 64GB (an old boot drive I had laying around) the space is getting pretty cramped and I need to solve that too.
If I need a third reason it will be that the current rig is kinda big and unmovable, loved to carry my Mac Mini (genuine one, before I sold it) from place to place (family, friends and work) so I would love the new one to be small enough to make that happen.
The how?
So to solve both problems I have thought up the following recipe.
I will change the Node 2.1, my primary machine, into the Node 2.1b - a fulltime Windows PC.
Windows: I will temporarily downgrade the CPU to a Intel Pentium G2030 to free up my i3 3225 for the other new hack. I will then Install Windows on the full force of my two RAIDed Intel 520 240GB SSDs.
GTX660, PSU, case and whatever that system has will be unchanged for now.
Enough of the Windows part, here comes the main even, the hack:
I need a tiny case with enough PSU power to run everything acceptable, with space for two 2.5" drives and some low noise coolers to keep it cool.
No need for seperate graphics as the 3225 is perfectly enough for everyday tasks and I will play games only on the Windows machine in the future.
The what?
The fun part.
Parts list:
Chassis: Chieftech IX-01b ITX chassis in super tiny ITX dimensions and mostly in black metal (I hate plastics)
PSU: Chiectech IX 90 Watt power brick (yes I triple checked, it should be enough with only 90 Watt)
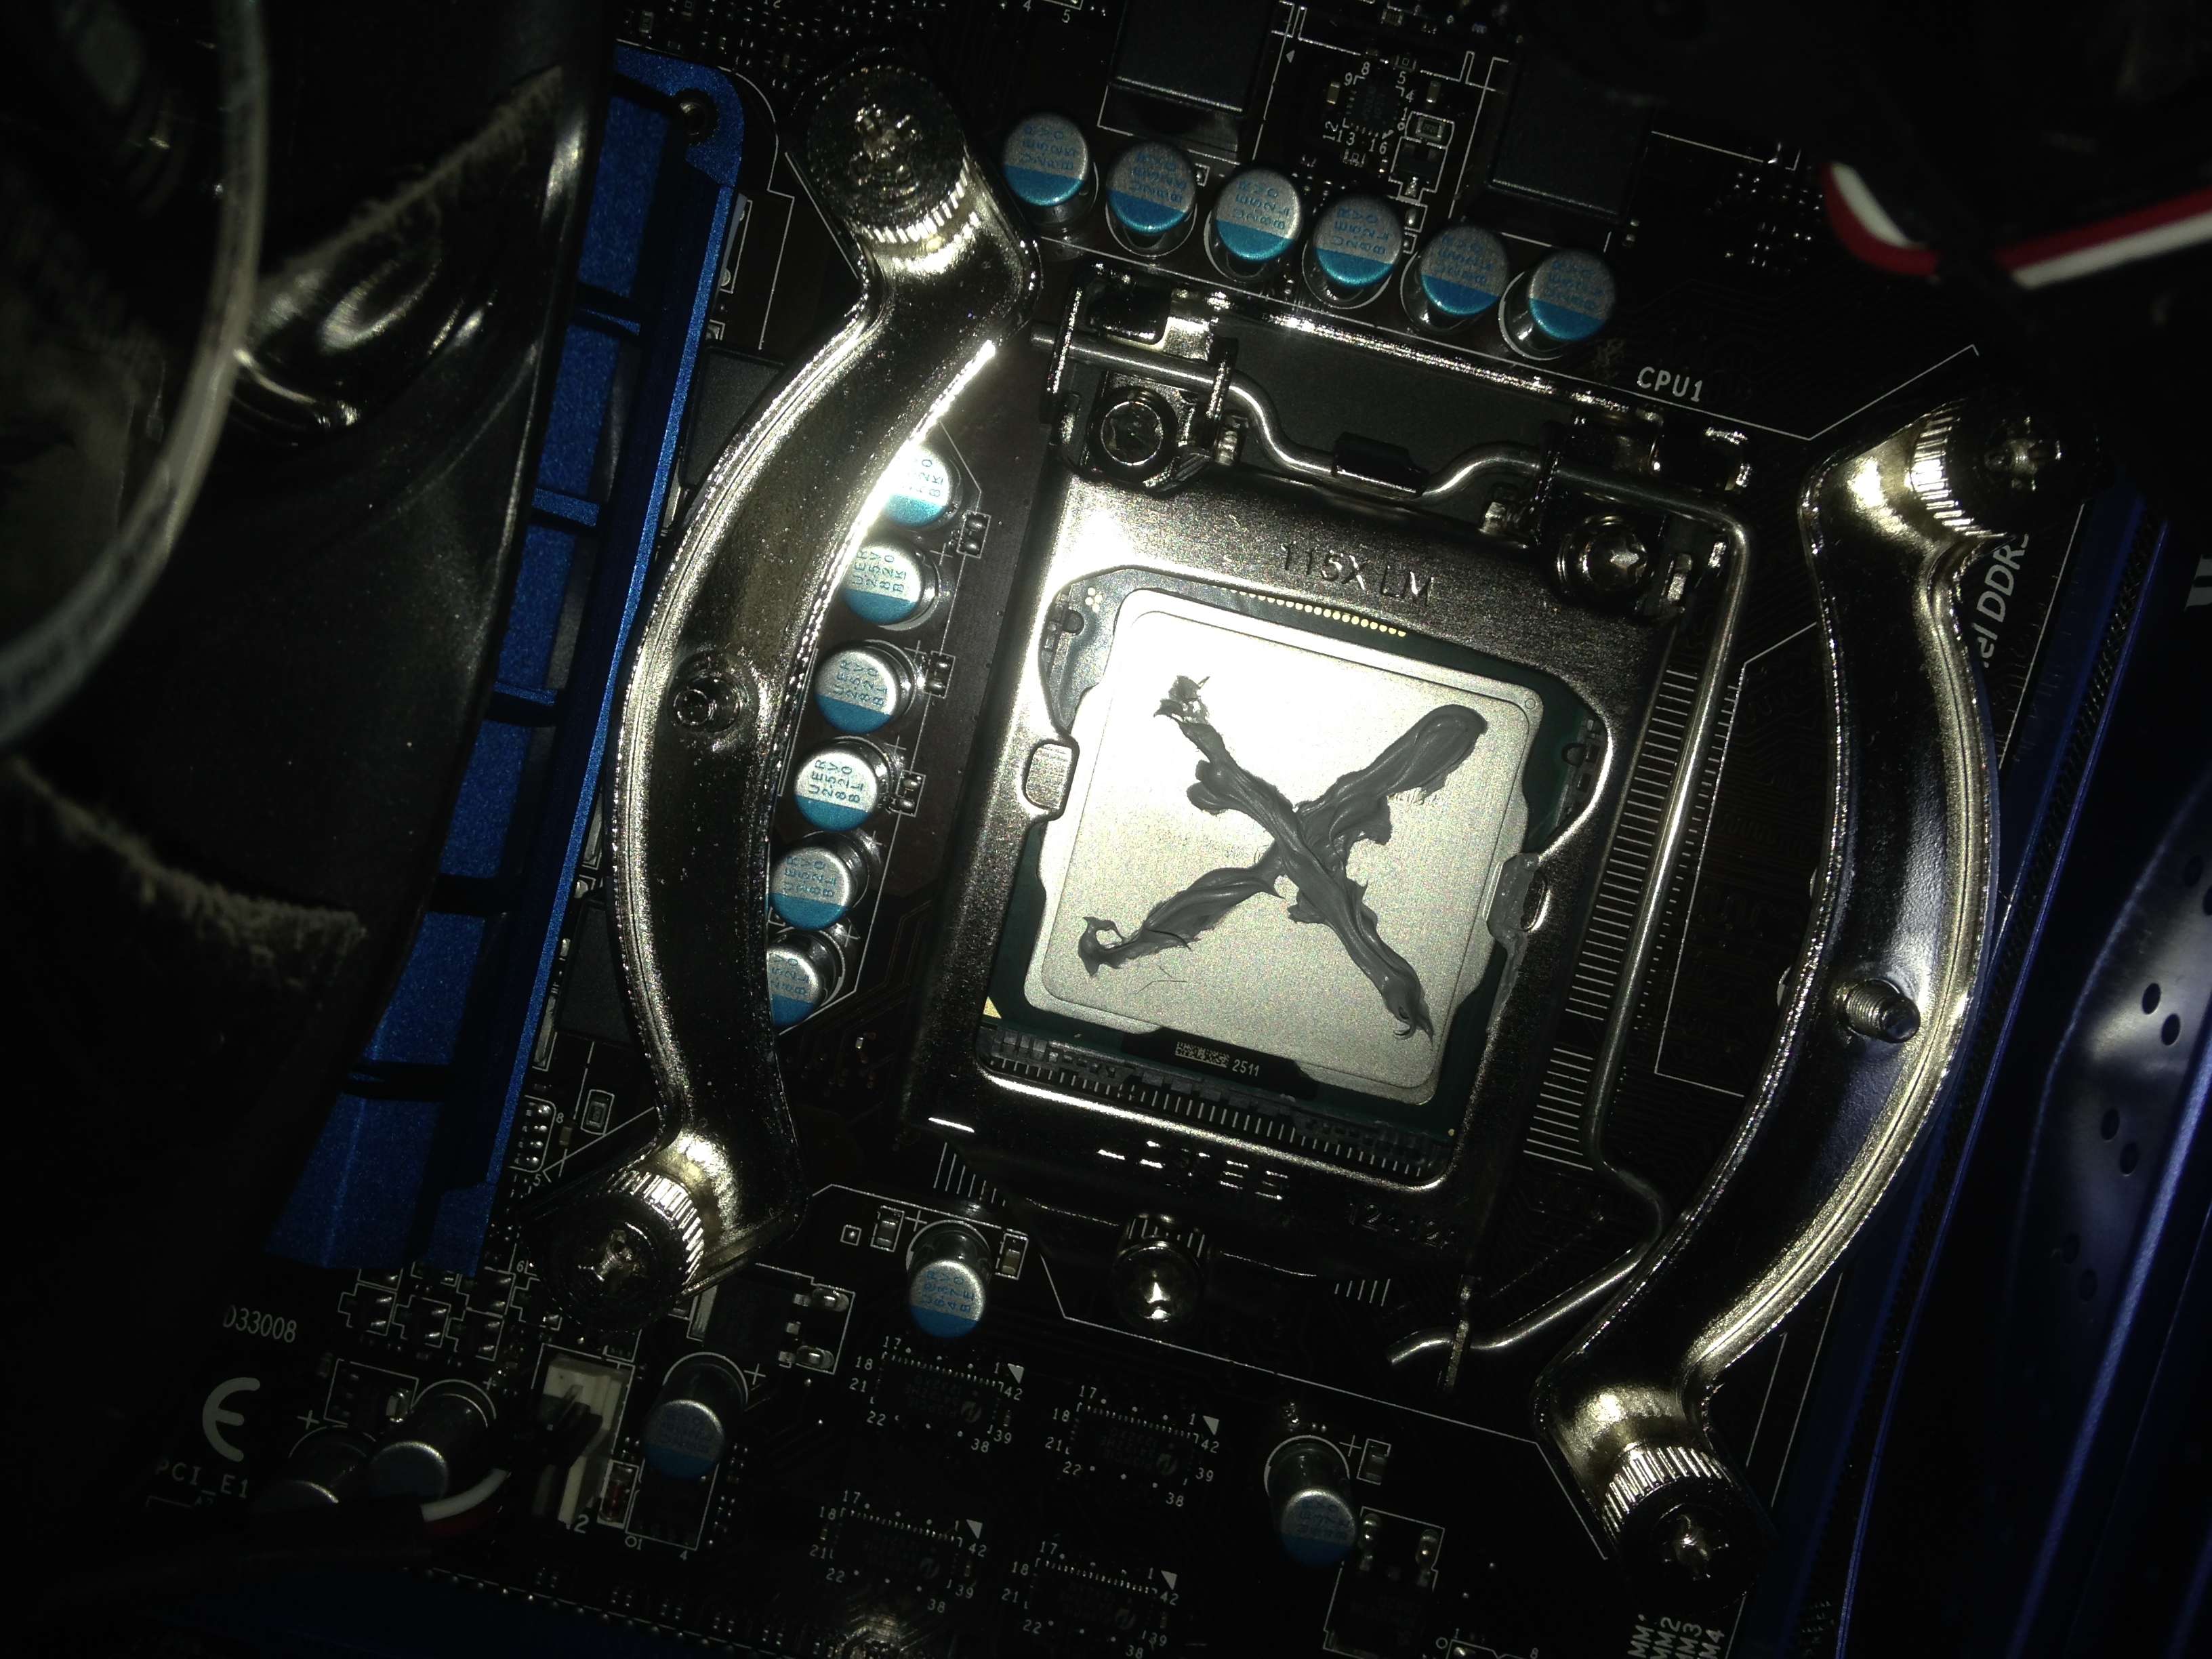
CPU: Intel i3-3225 with Intel HD Graphics 4000
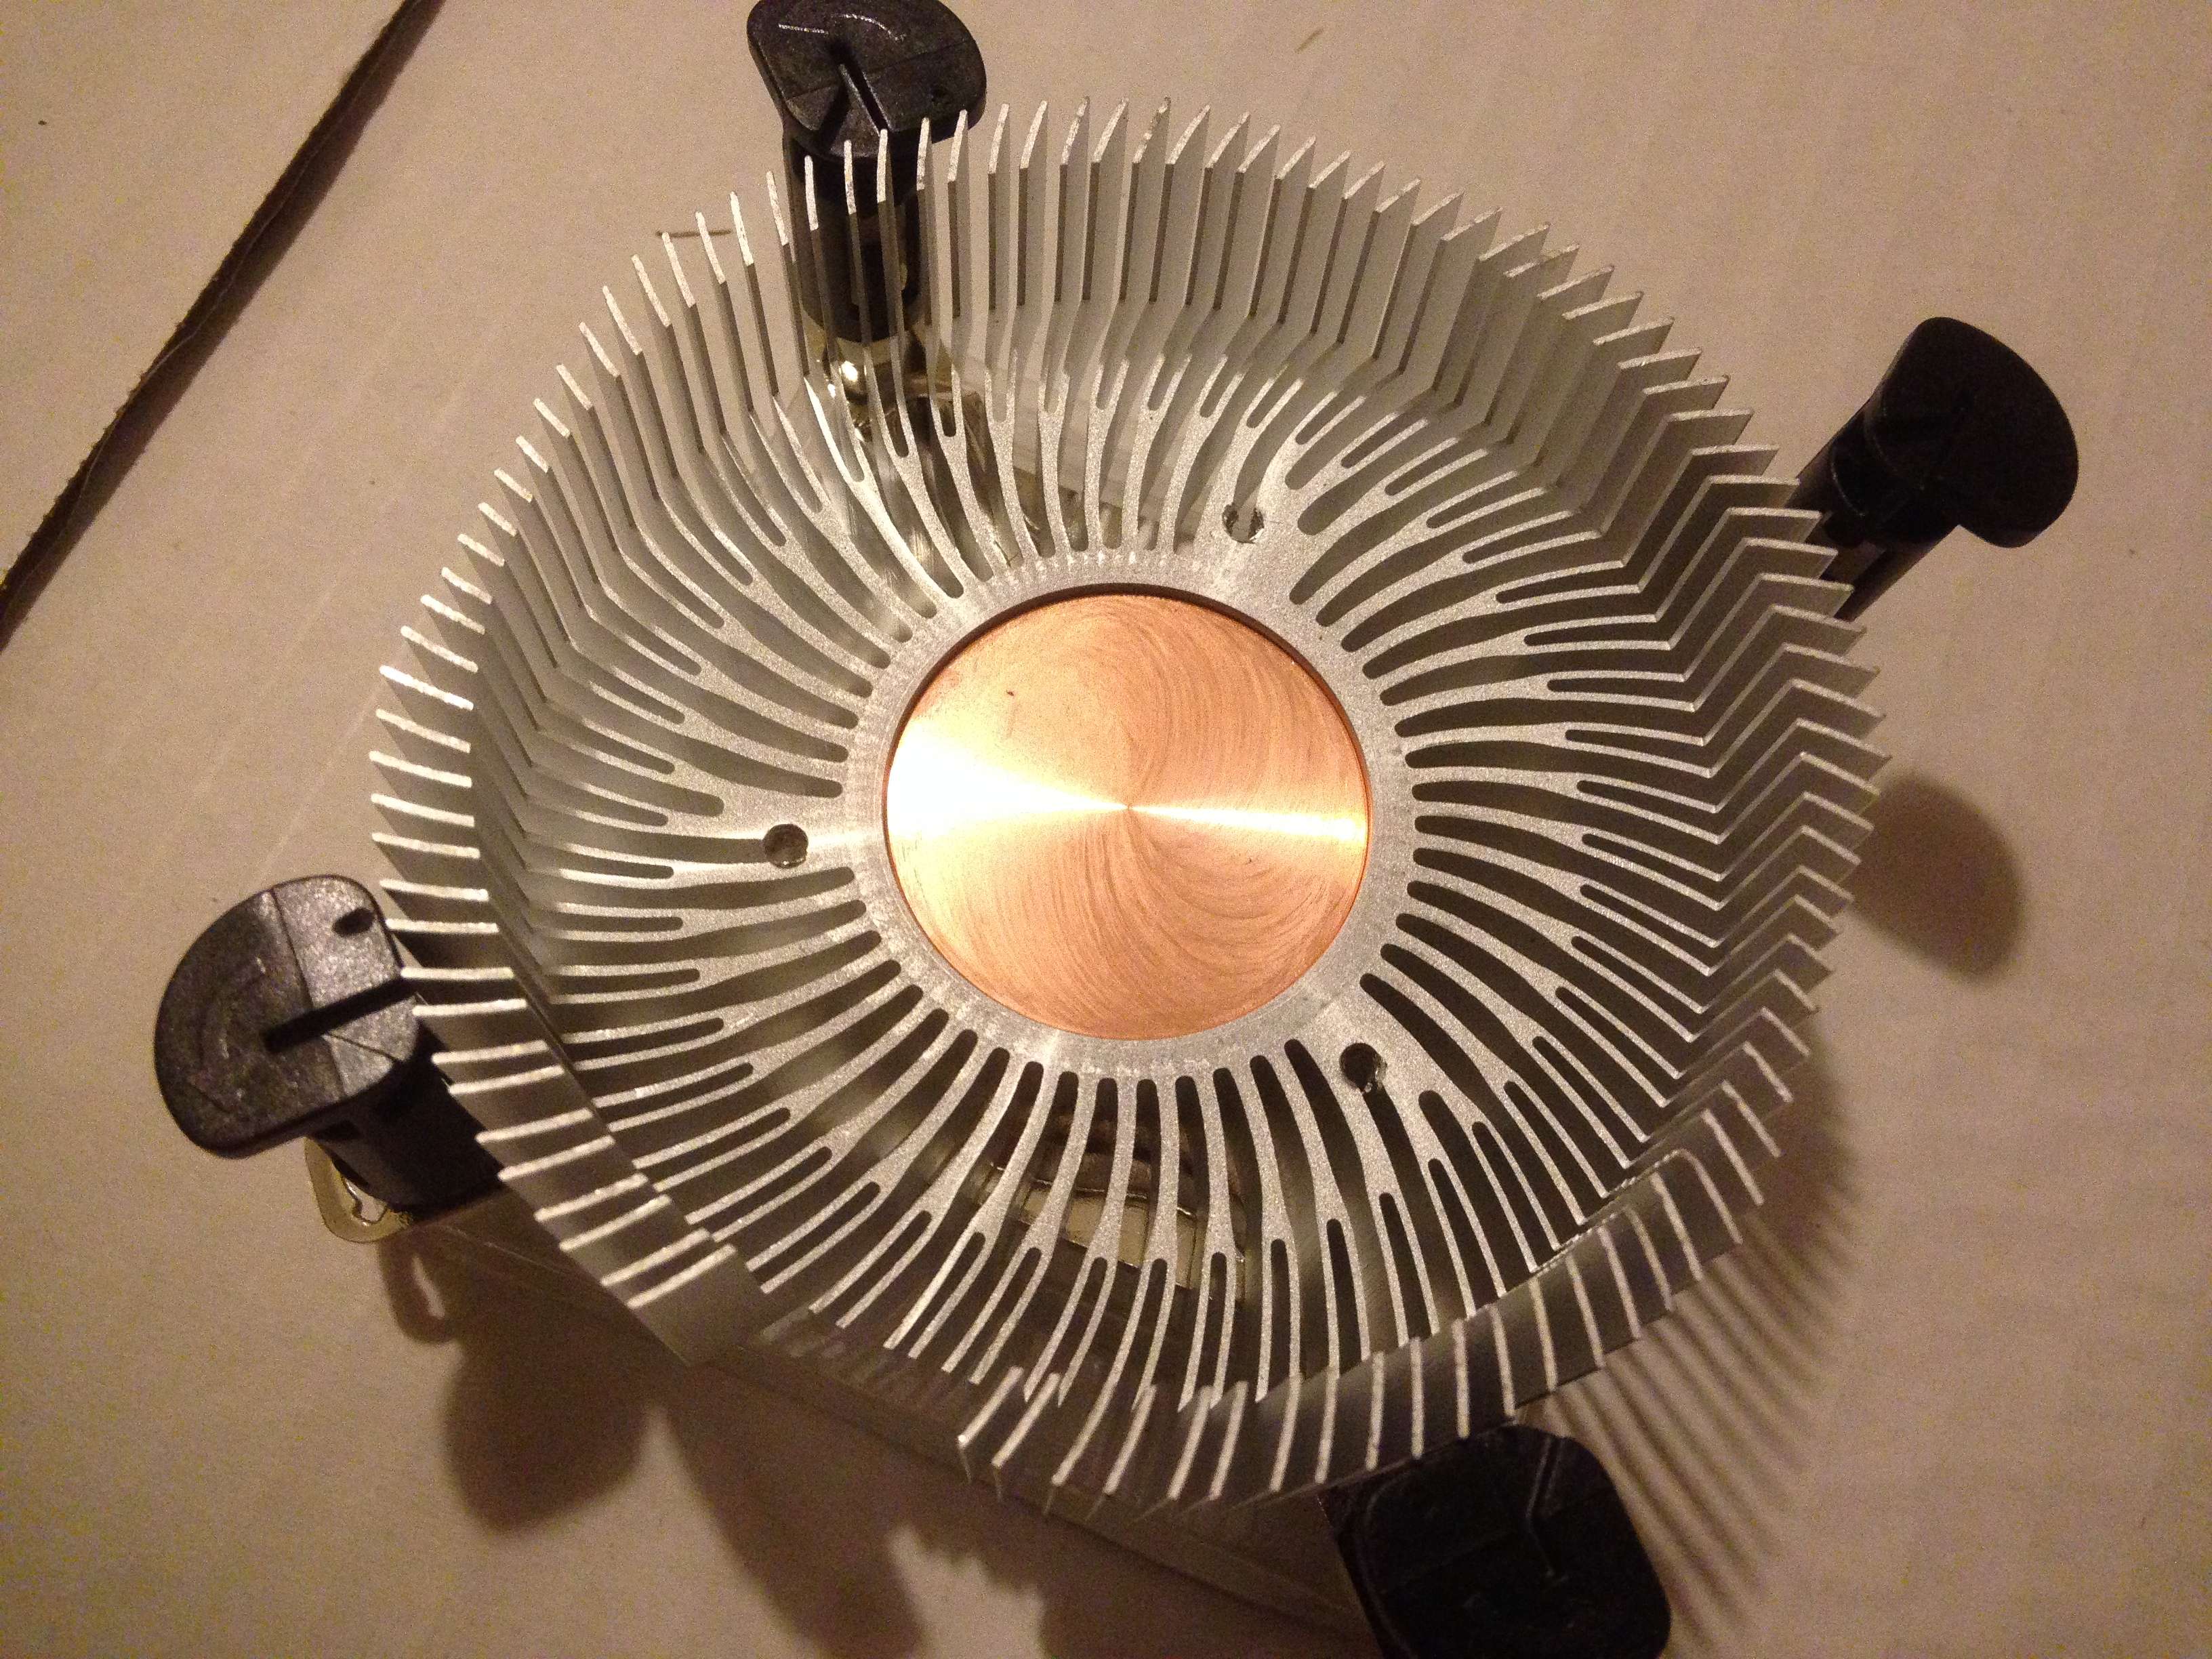
CPU cooler: Akasa AK-CCE-7106HP low profile PWM controlled fan cooler
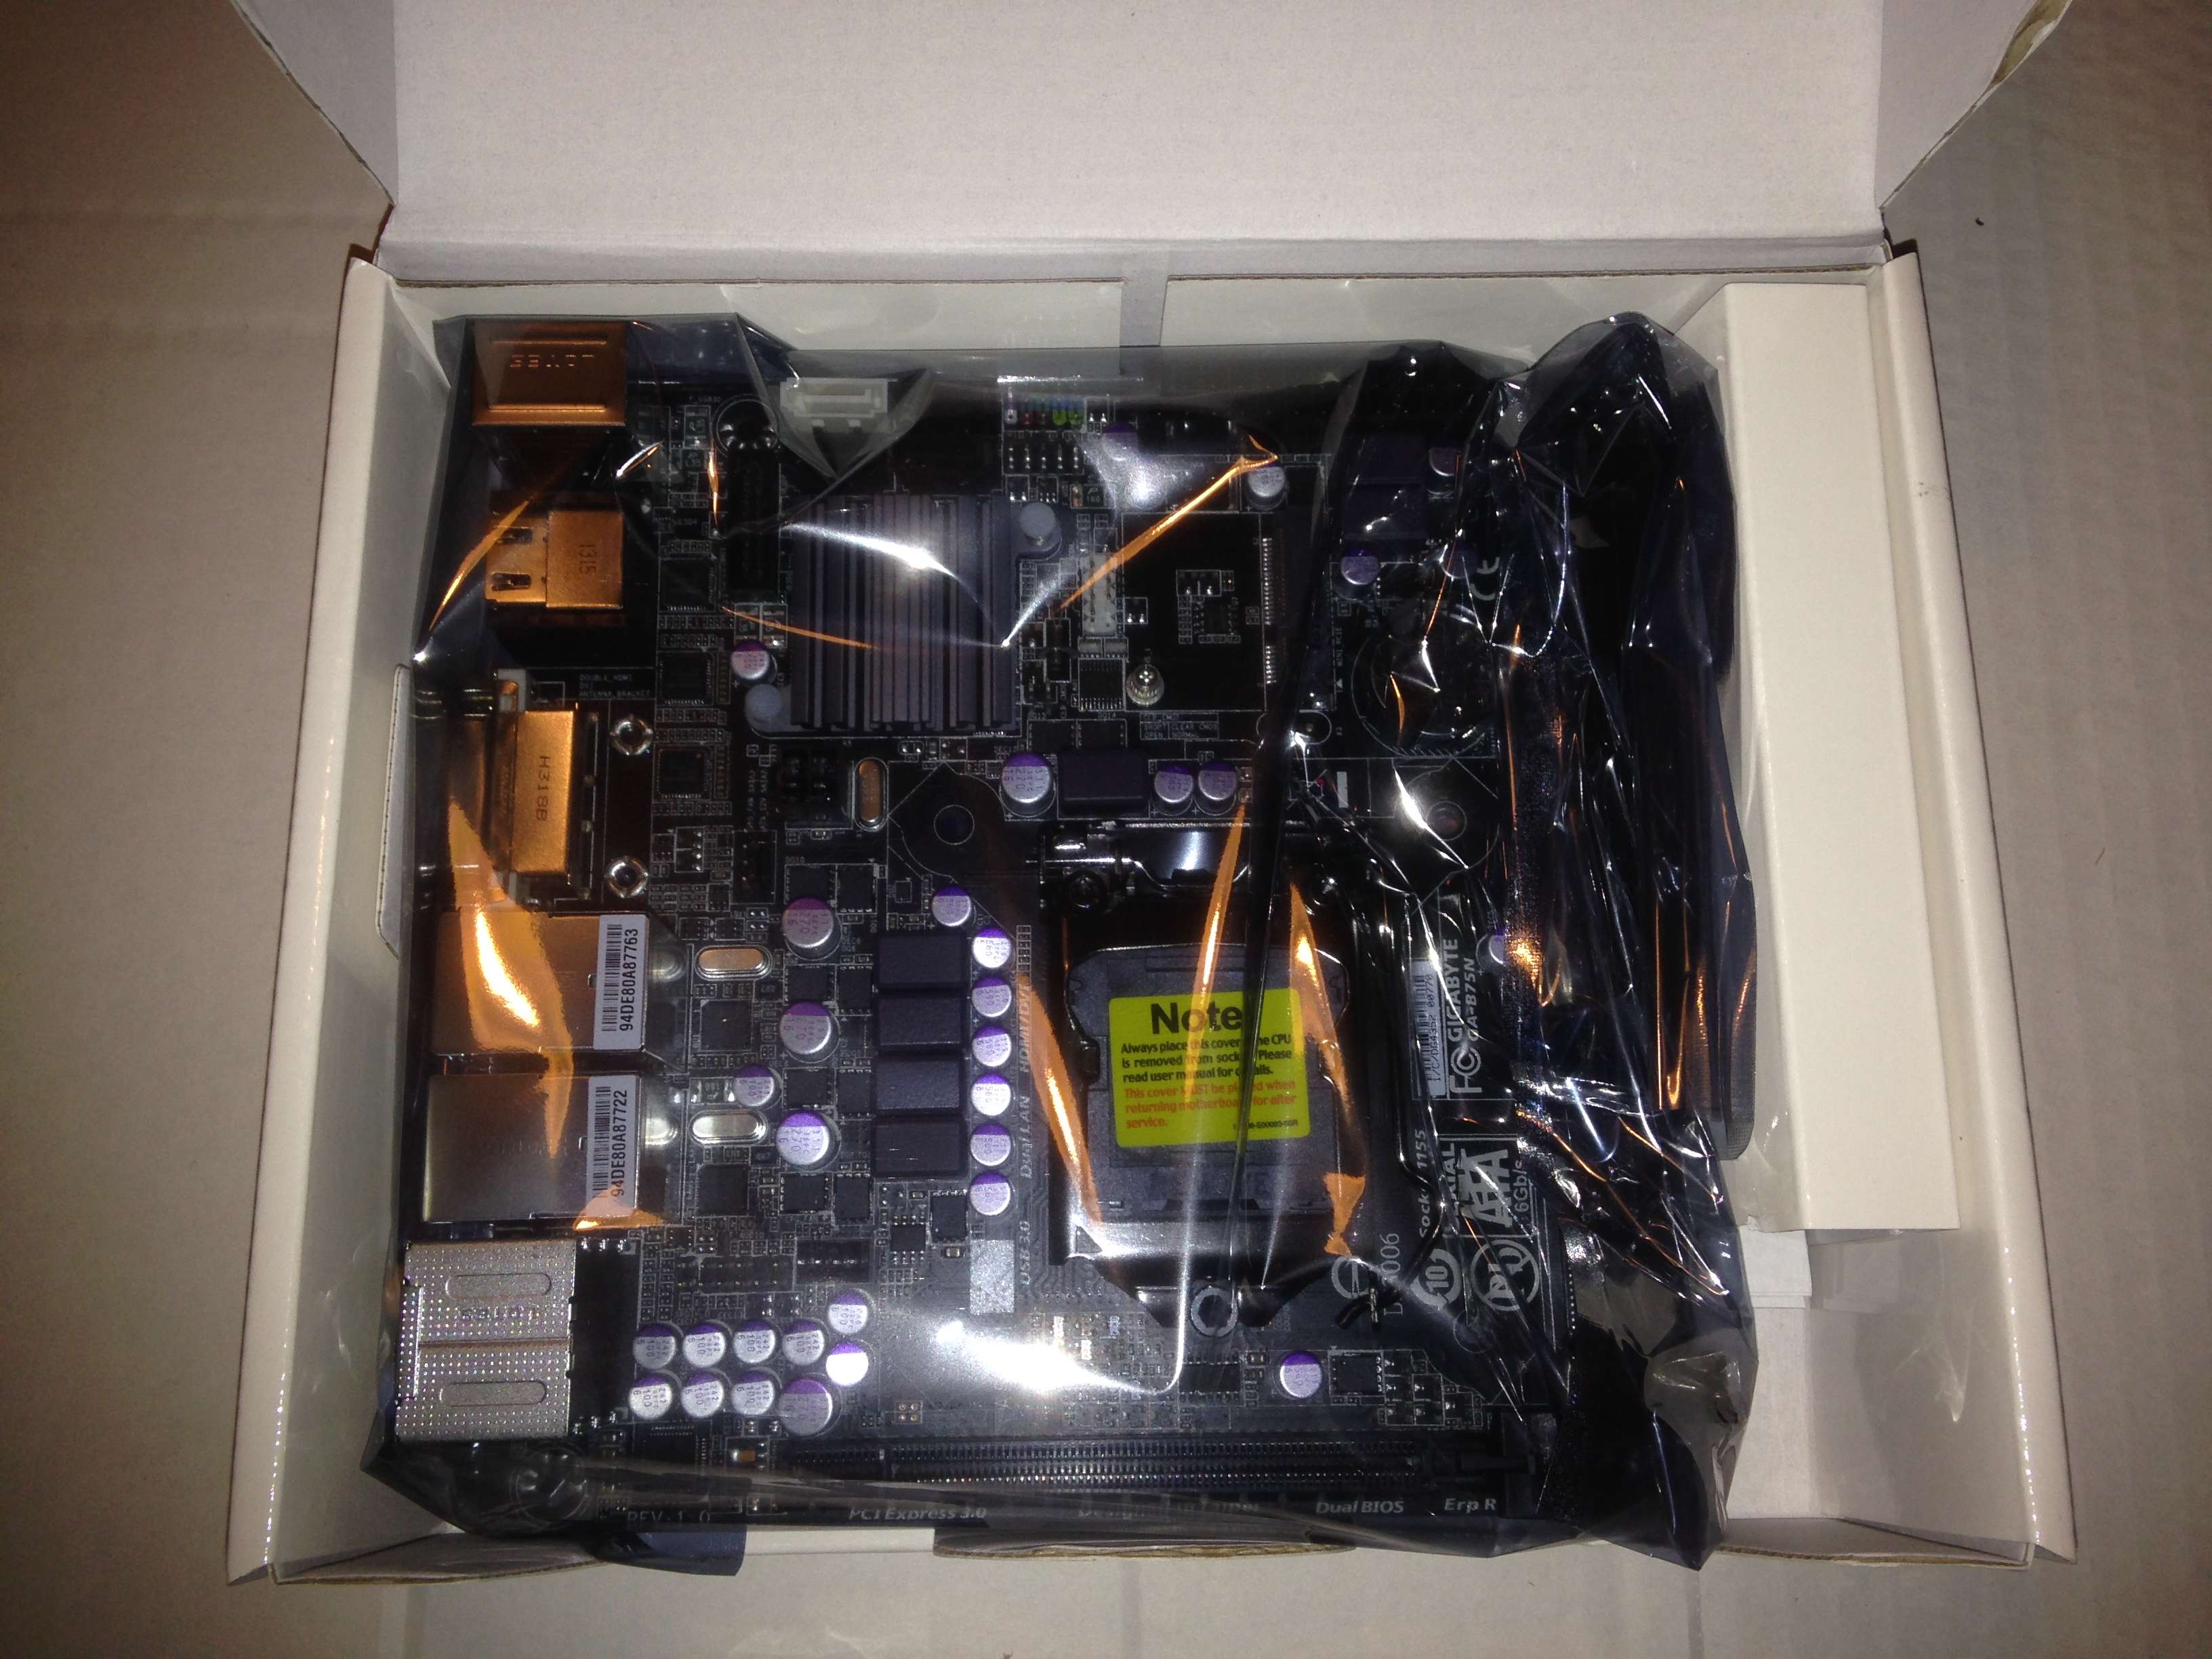
Motherboard: Gigabyte GA-B75N, because it is perfect! Its ITX, it only has digital video outs (no point in having VGA when OSX does not support it), mini-PCIe port for a WiFi card and fully supported by various boot loaders for OSX.
RAM: Corsair low profile 8GB kit (2x4GB) DDR3 1600MHz CL9 black
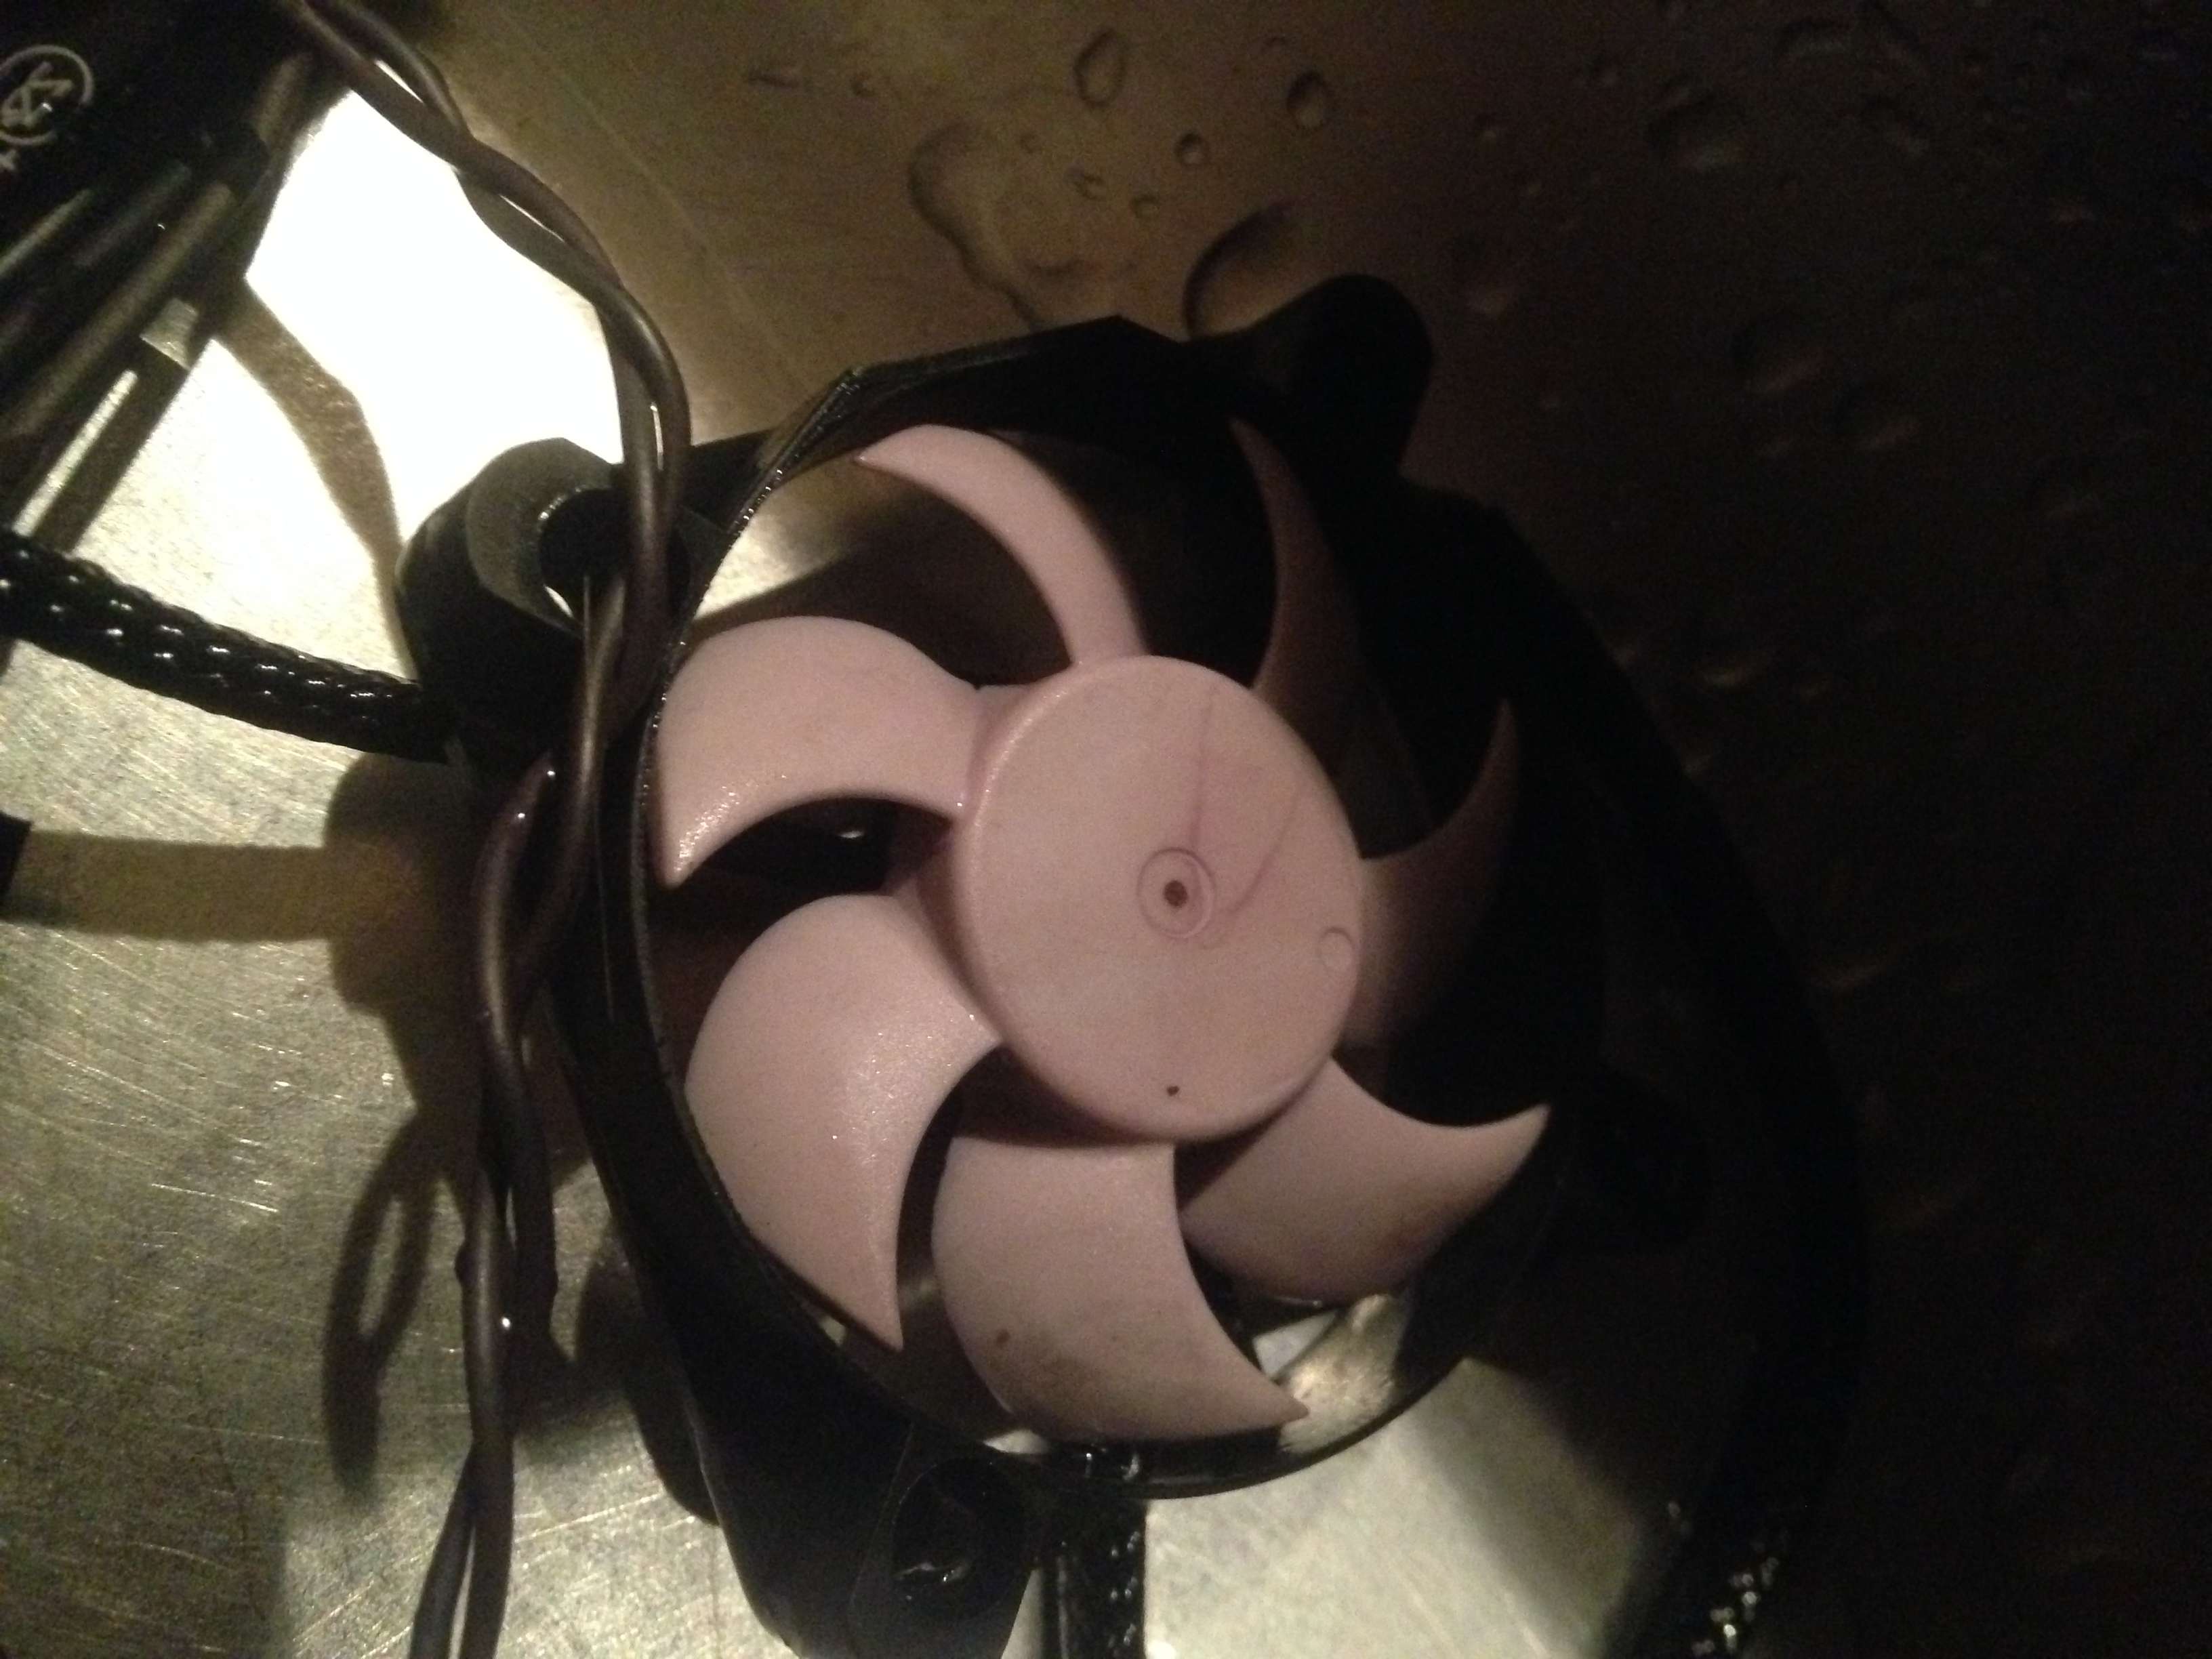
Case cooler: Low noise Fractal Design 50mm R2 cooler
SSD+HDDs:Plextor M3 64GB SATA3 + Hitachi 5K750 500GB SATA2 setup in FusionDrive.
Cables: Some short black SATA600 cables and all the PSU cables sleeved black, because the case has a lot of holes and I want a uniform look.
* WiFi card: Not sure yet, last piece to be added after the system is up and running. Something OSX supported OOB. *
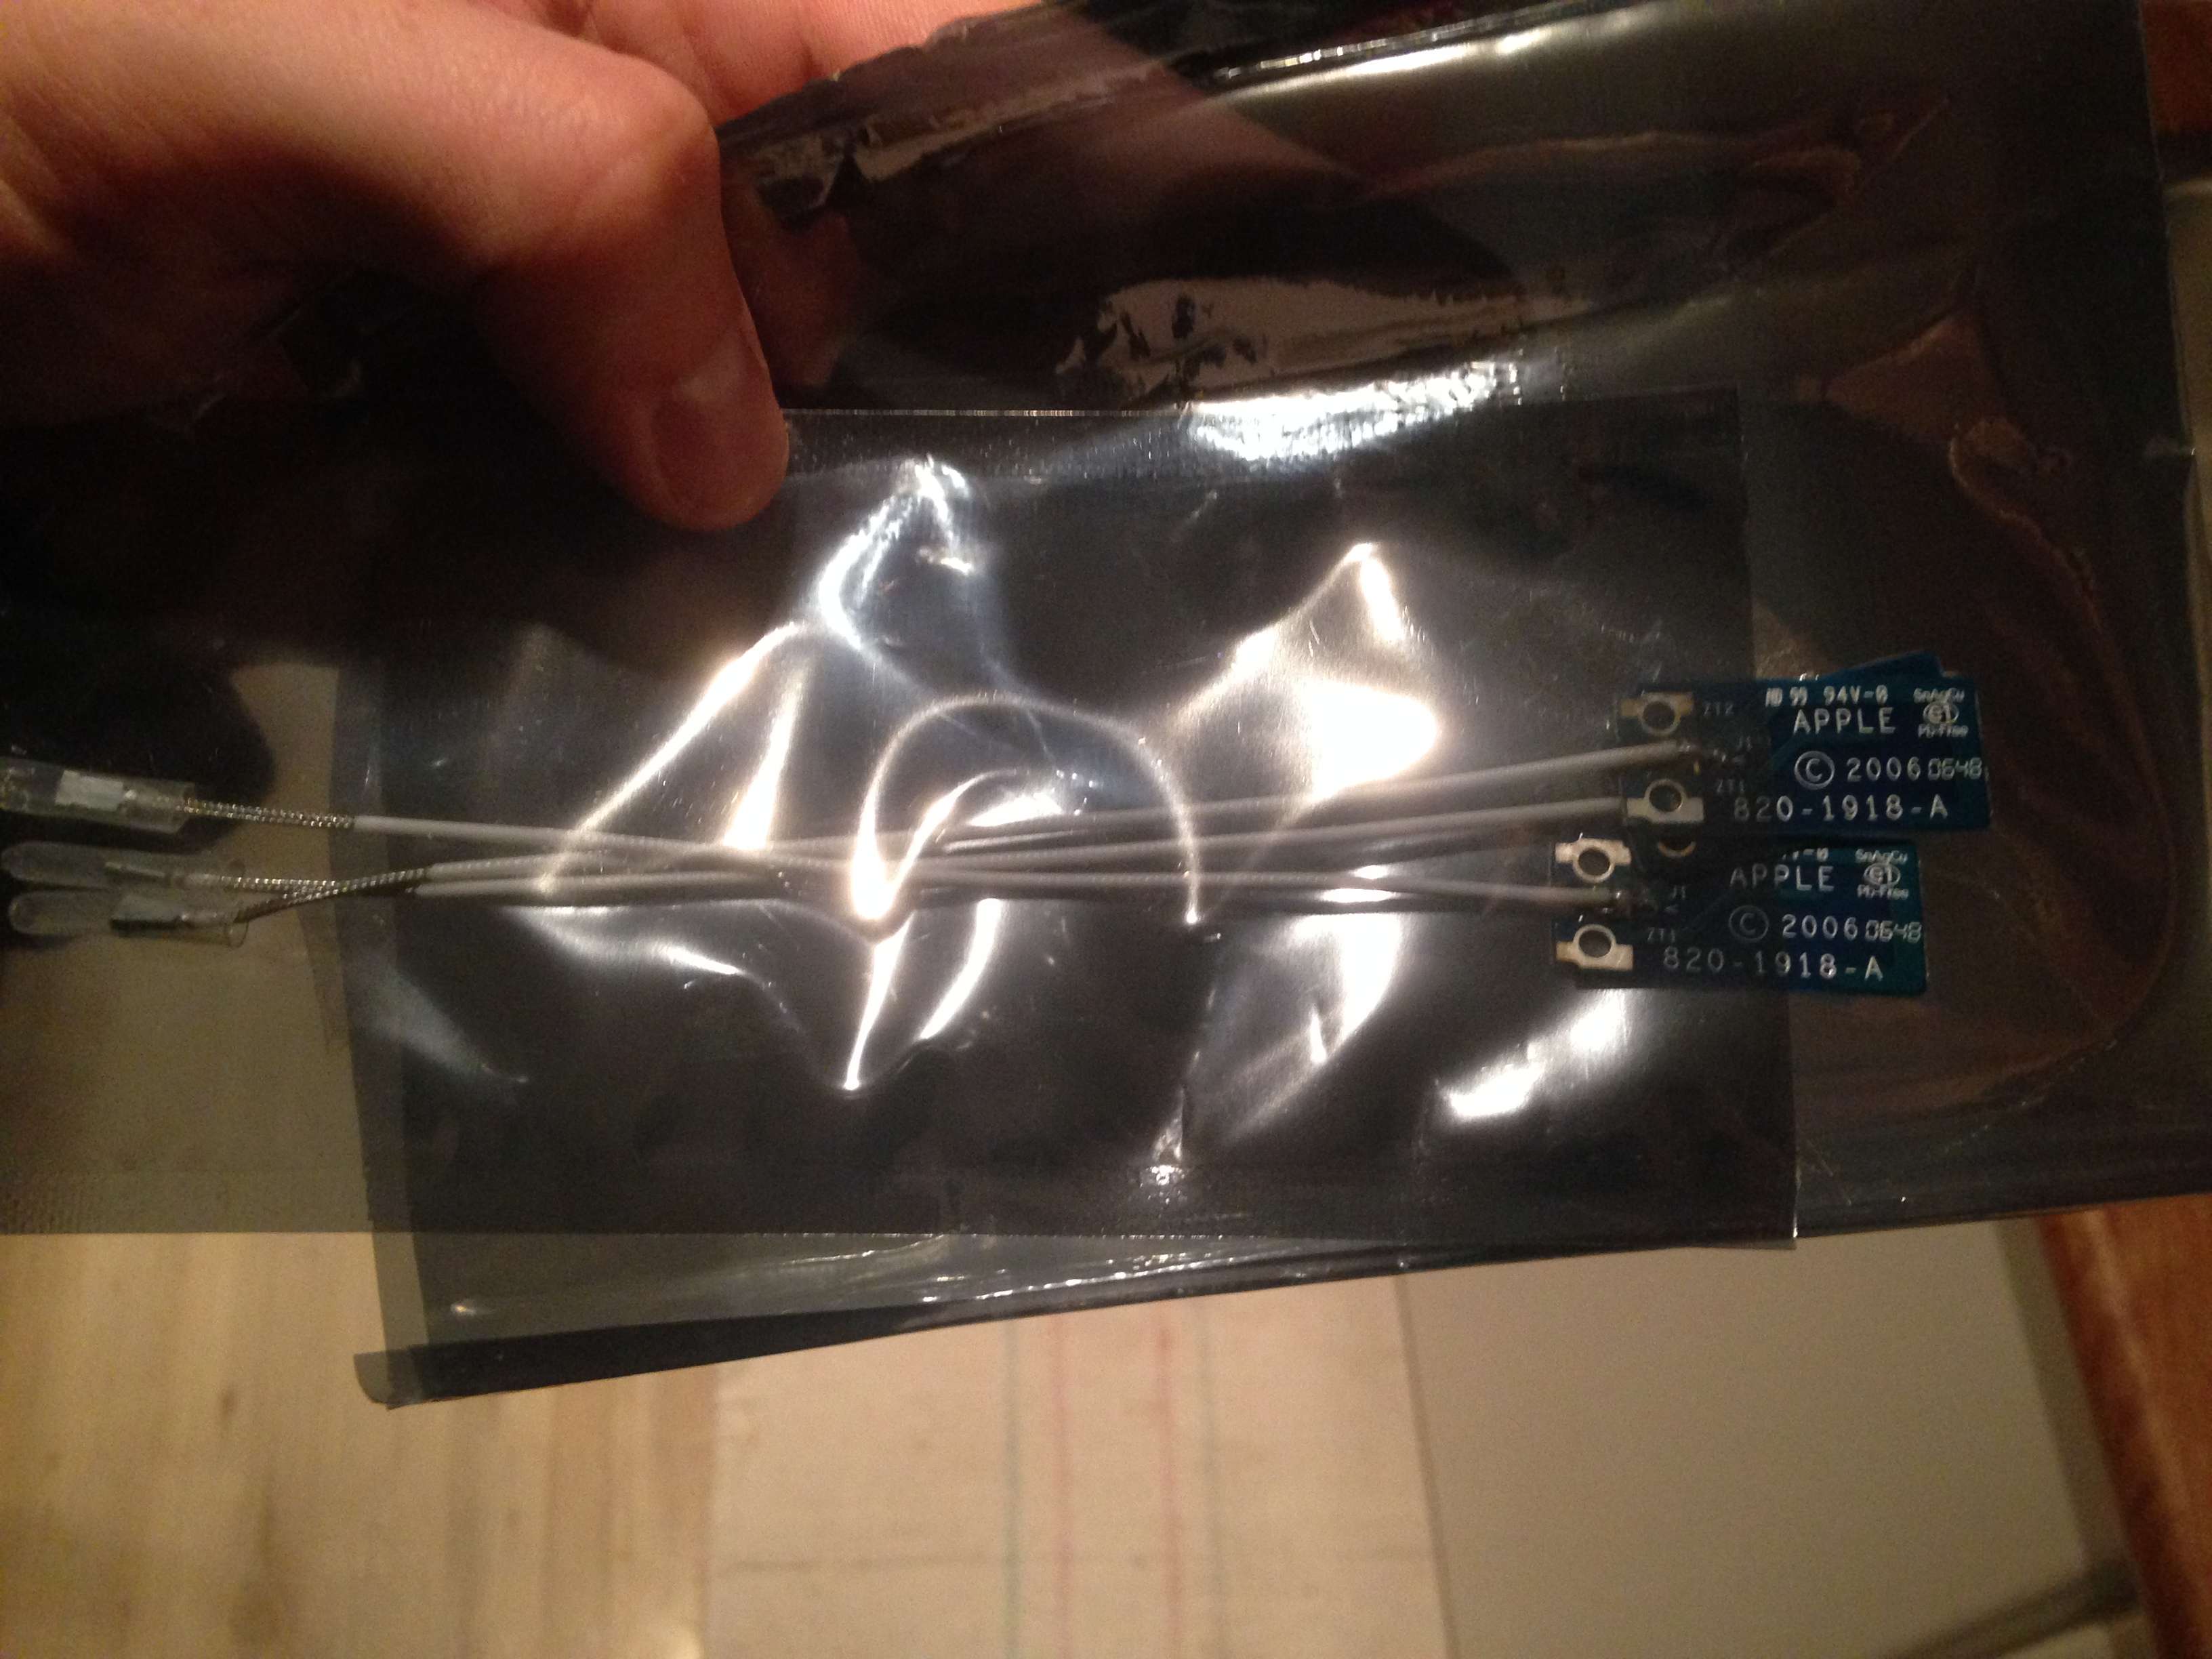
WiFi antennas: Already ordered 3 of the original blue Apple antennas as I have great experiences with them from an earlier build.
Cheap, small and pretty awesome imo...
The when?
Parts will start coming in monday and by then there will be pics.
- - - Updated - - -
Considering what to do with the wifi part...
Option 1) I will get a 300MBps half lenght card that fits right in.
Option 2) Get a 450MBps full lenght card and squeeze it in to fit.
Option 3) Do the right thing but also most expensive, get a half lenght mini PCIe extender and the full lenght card, place it somewhere else in the case with slightly better space.
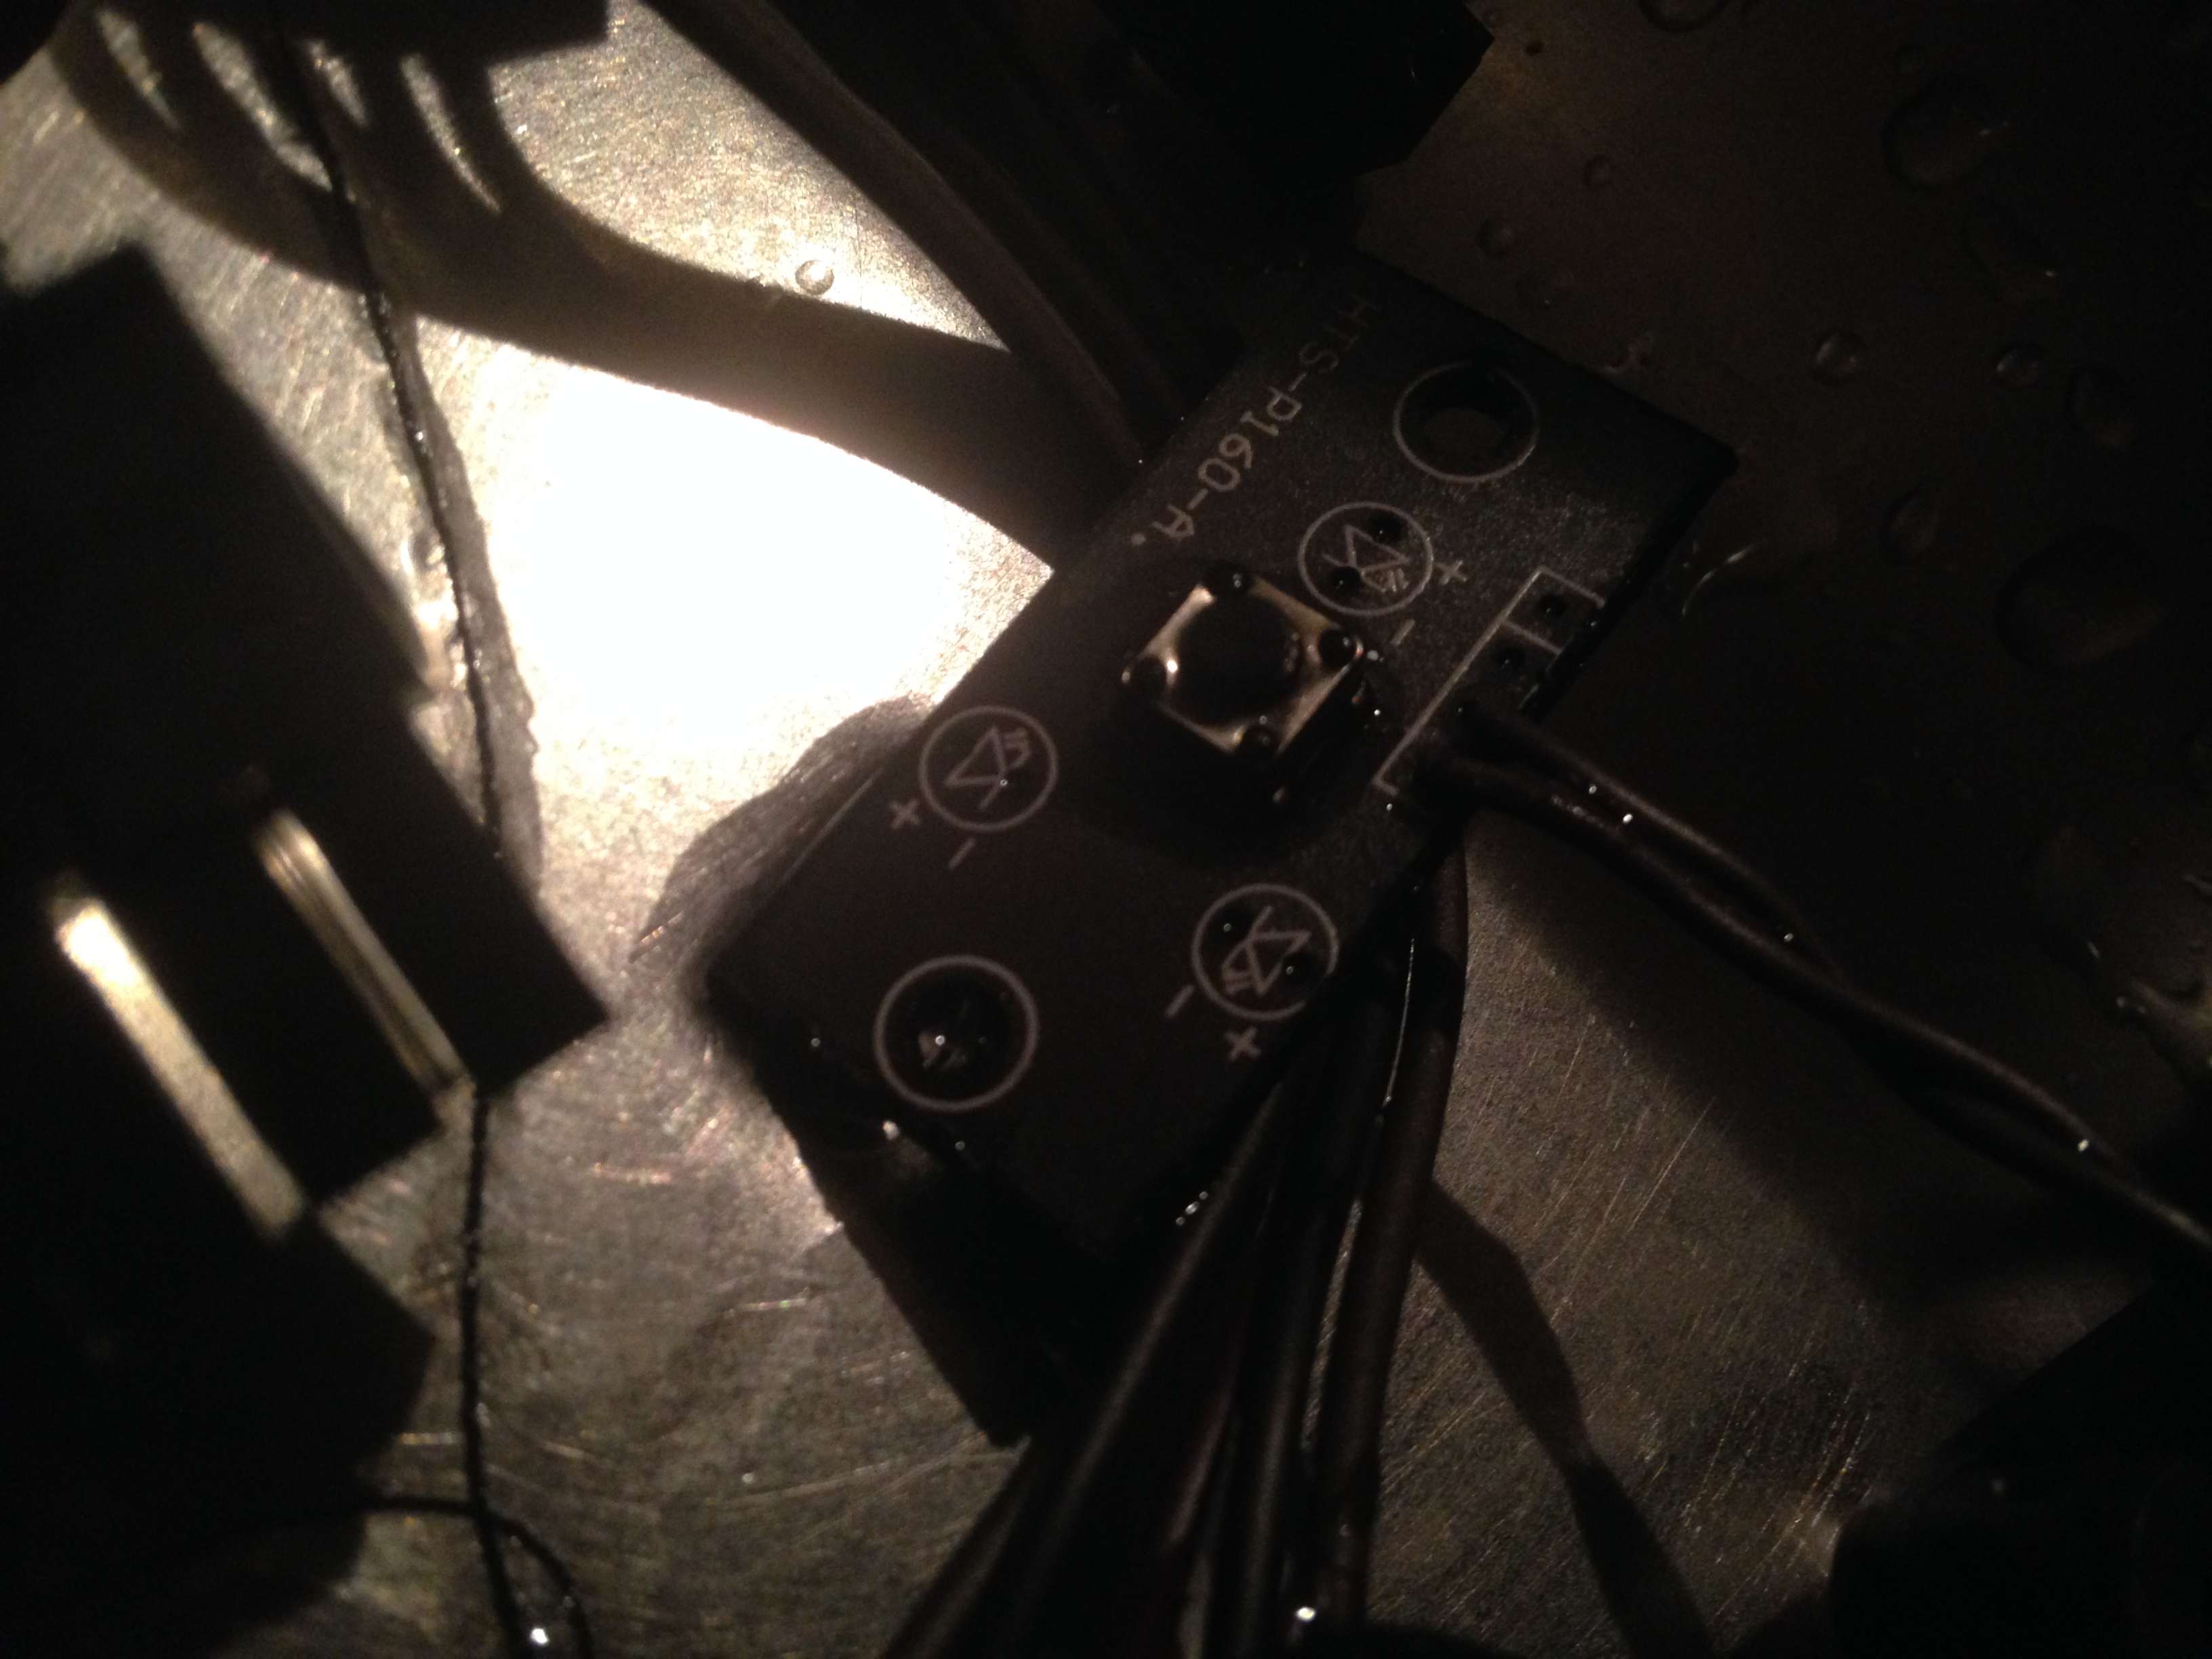
Beside that, I just ordered a recording/playback module to make the little box chime like a Mac!")
This build will not be very fast, but it will be cute and a pretty impressive DIY solution I hope, very close to the current i5 Mac Mini.
- - - Updated - - -
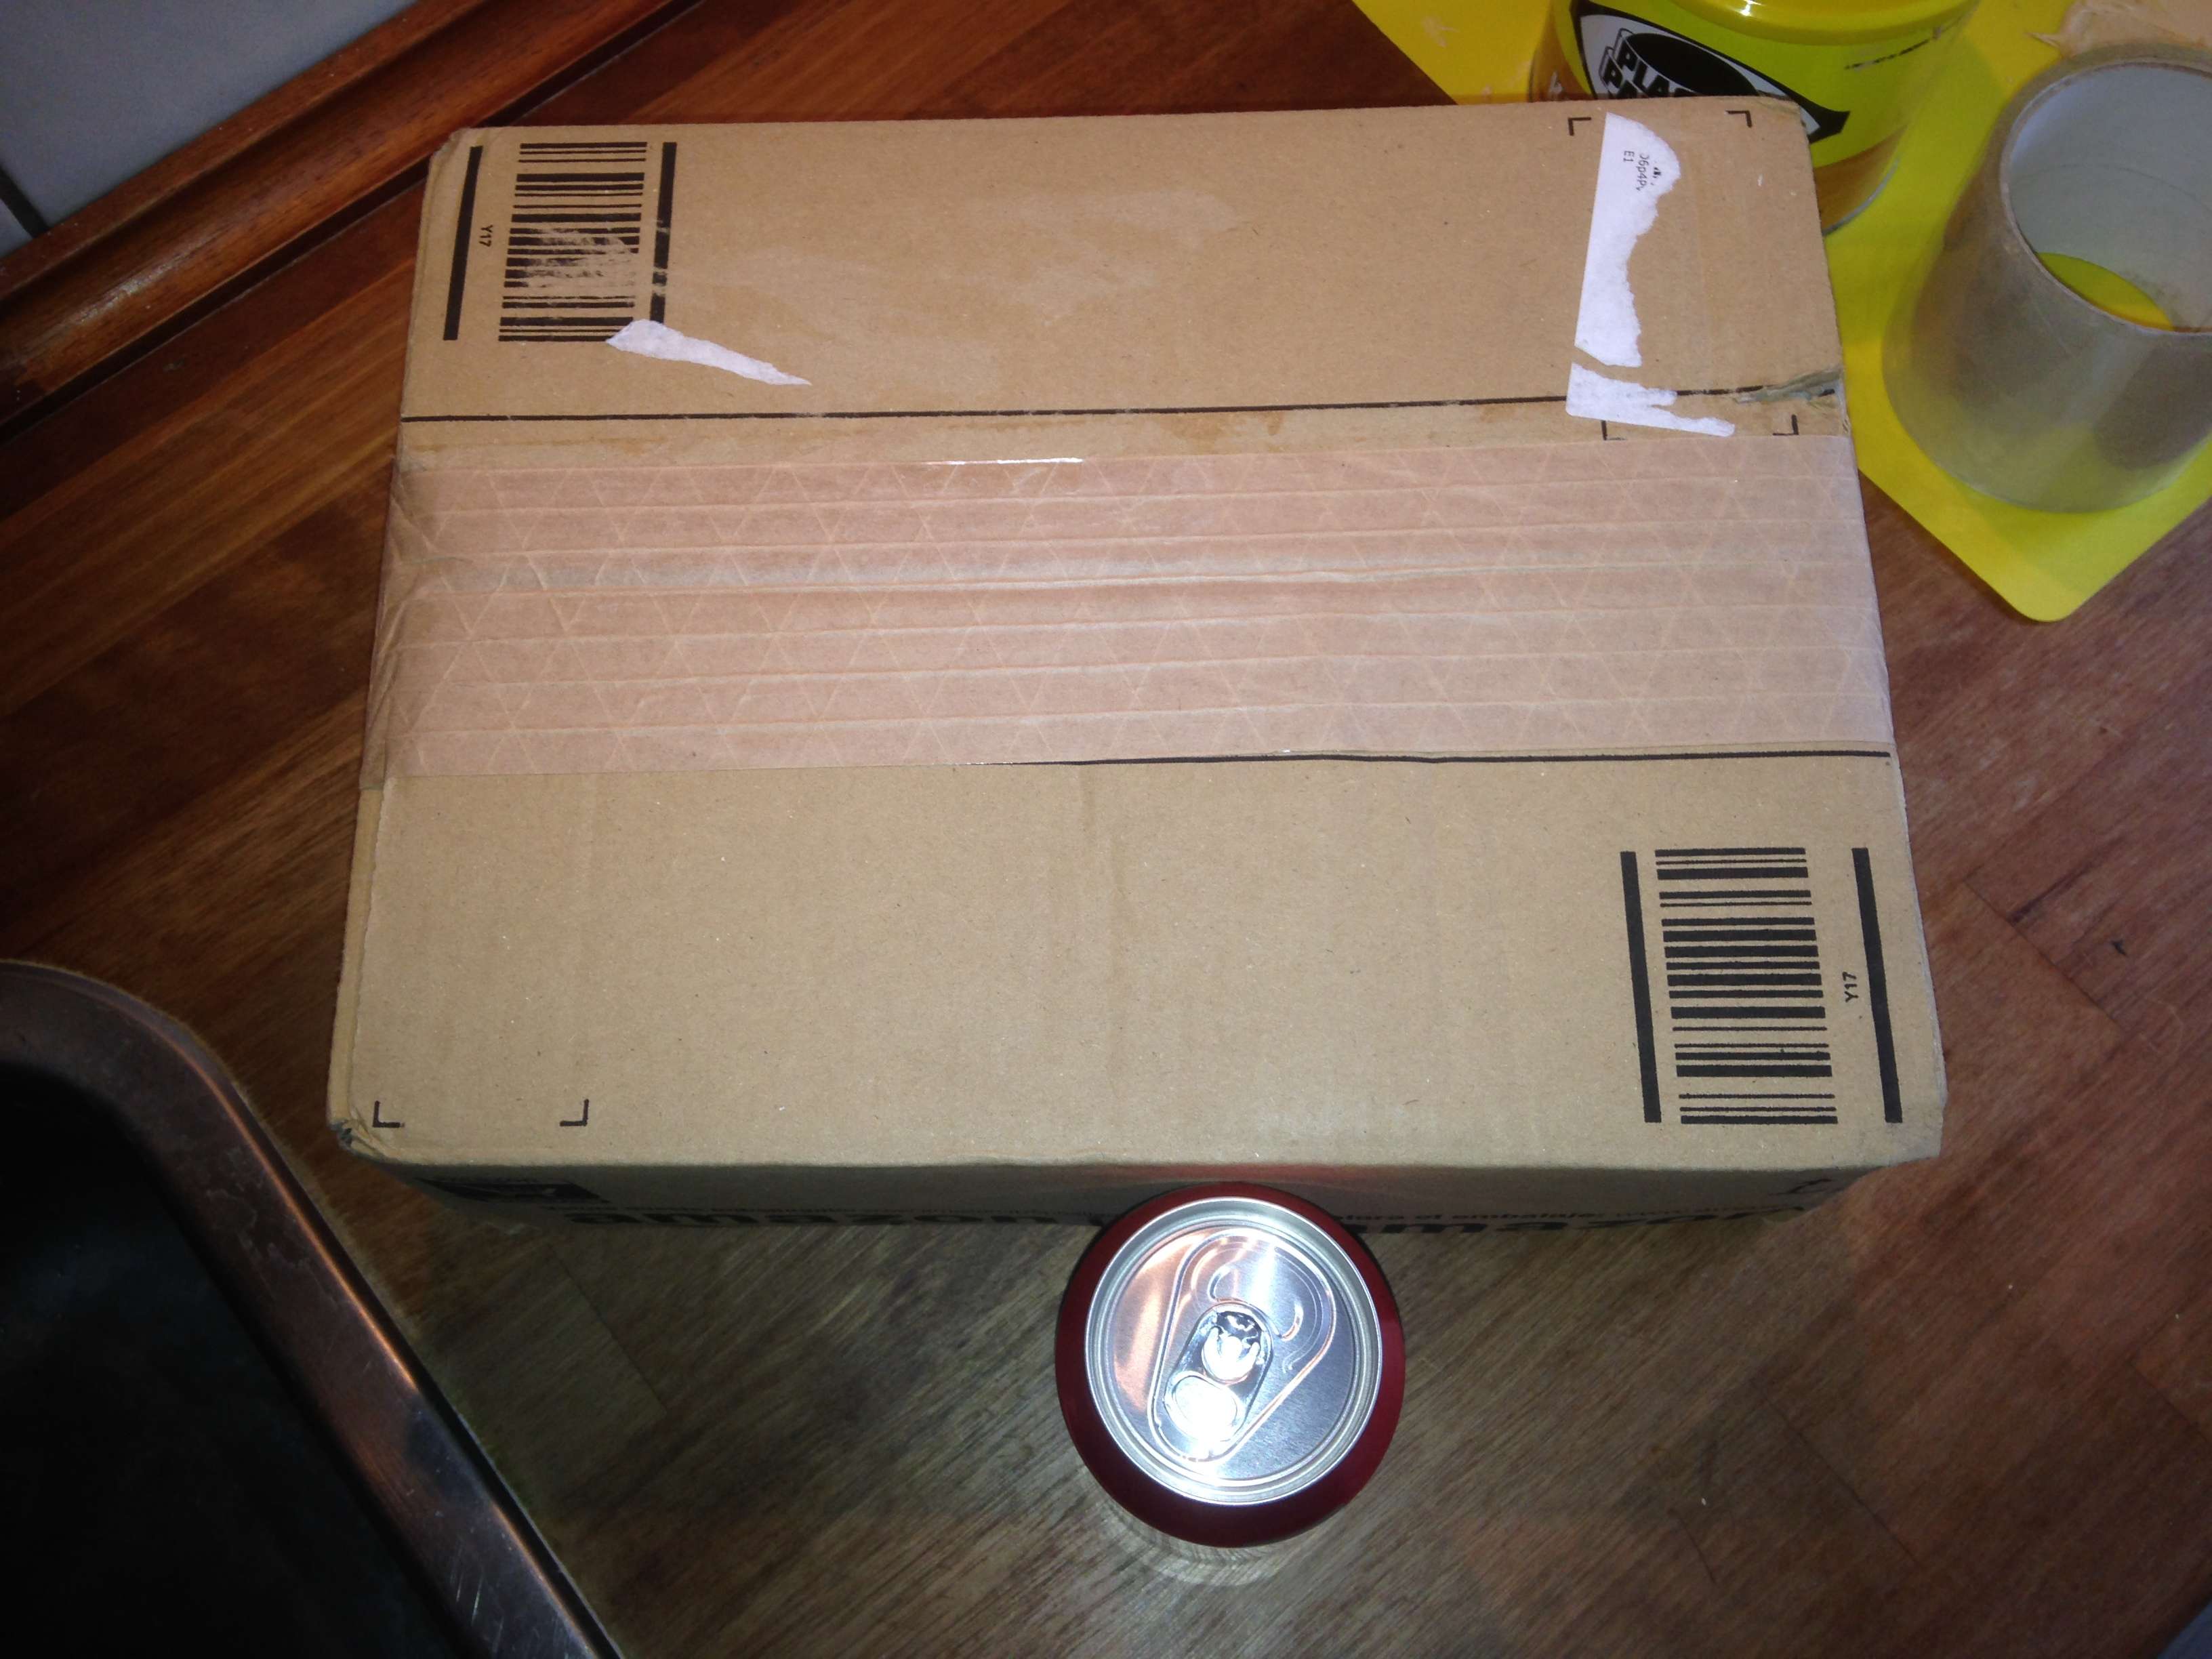
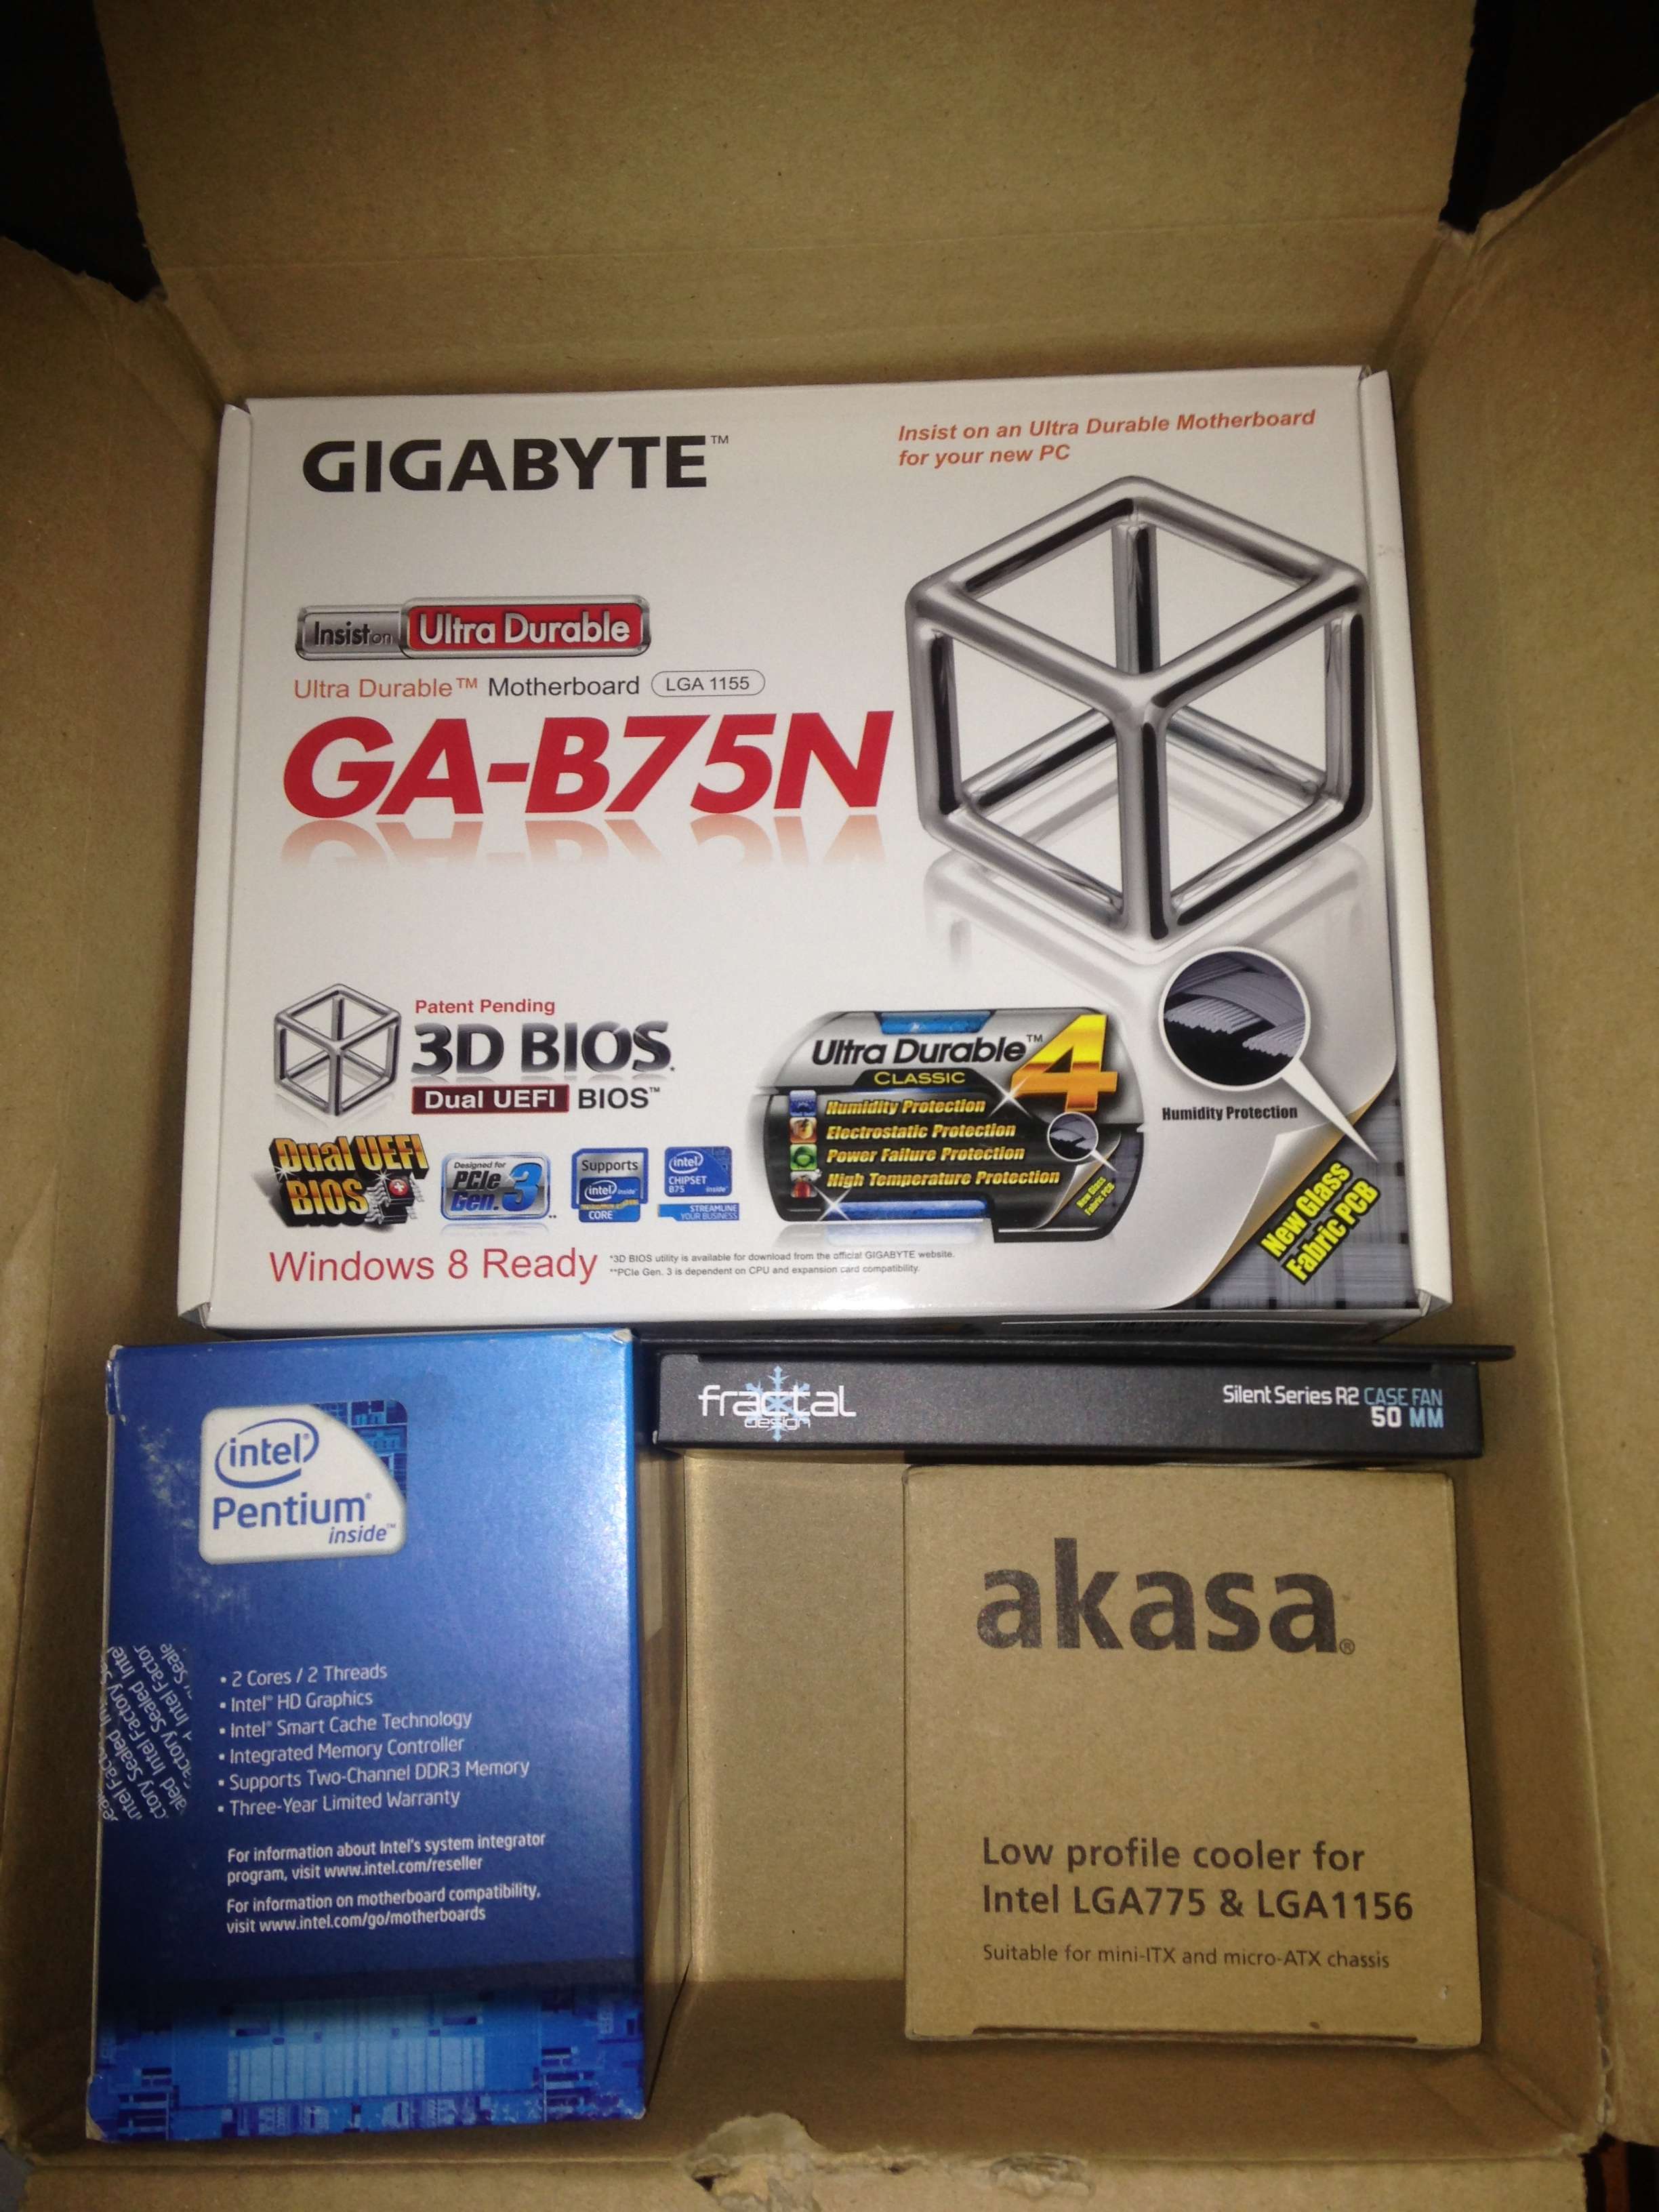
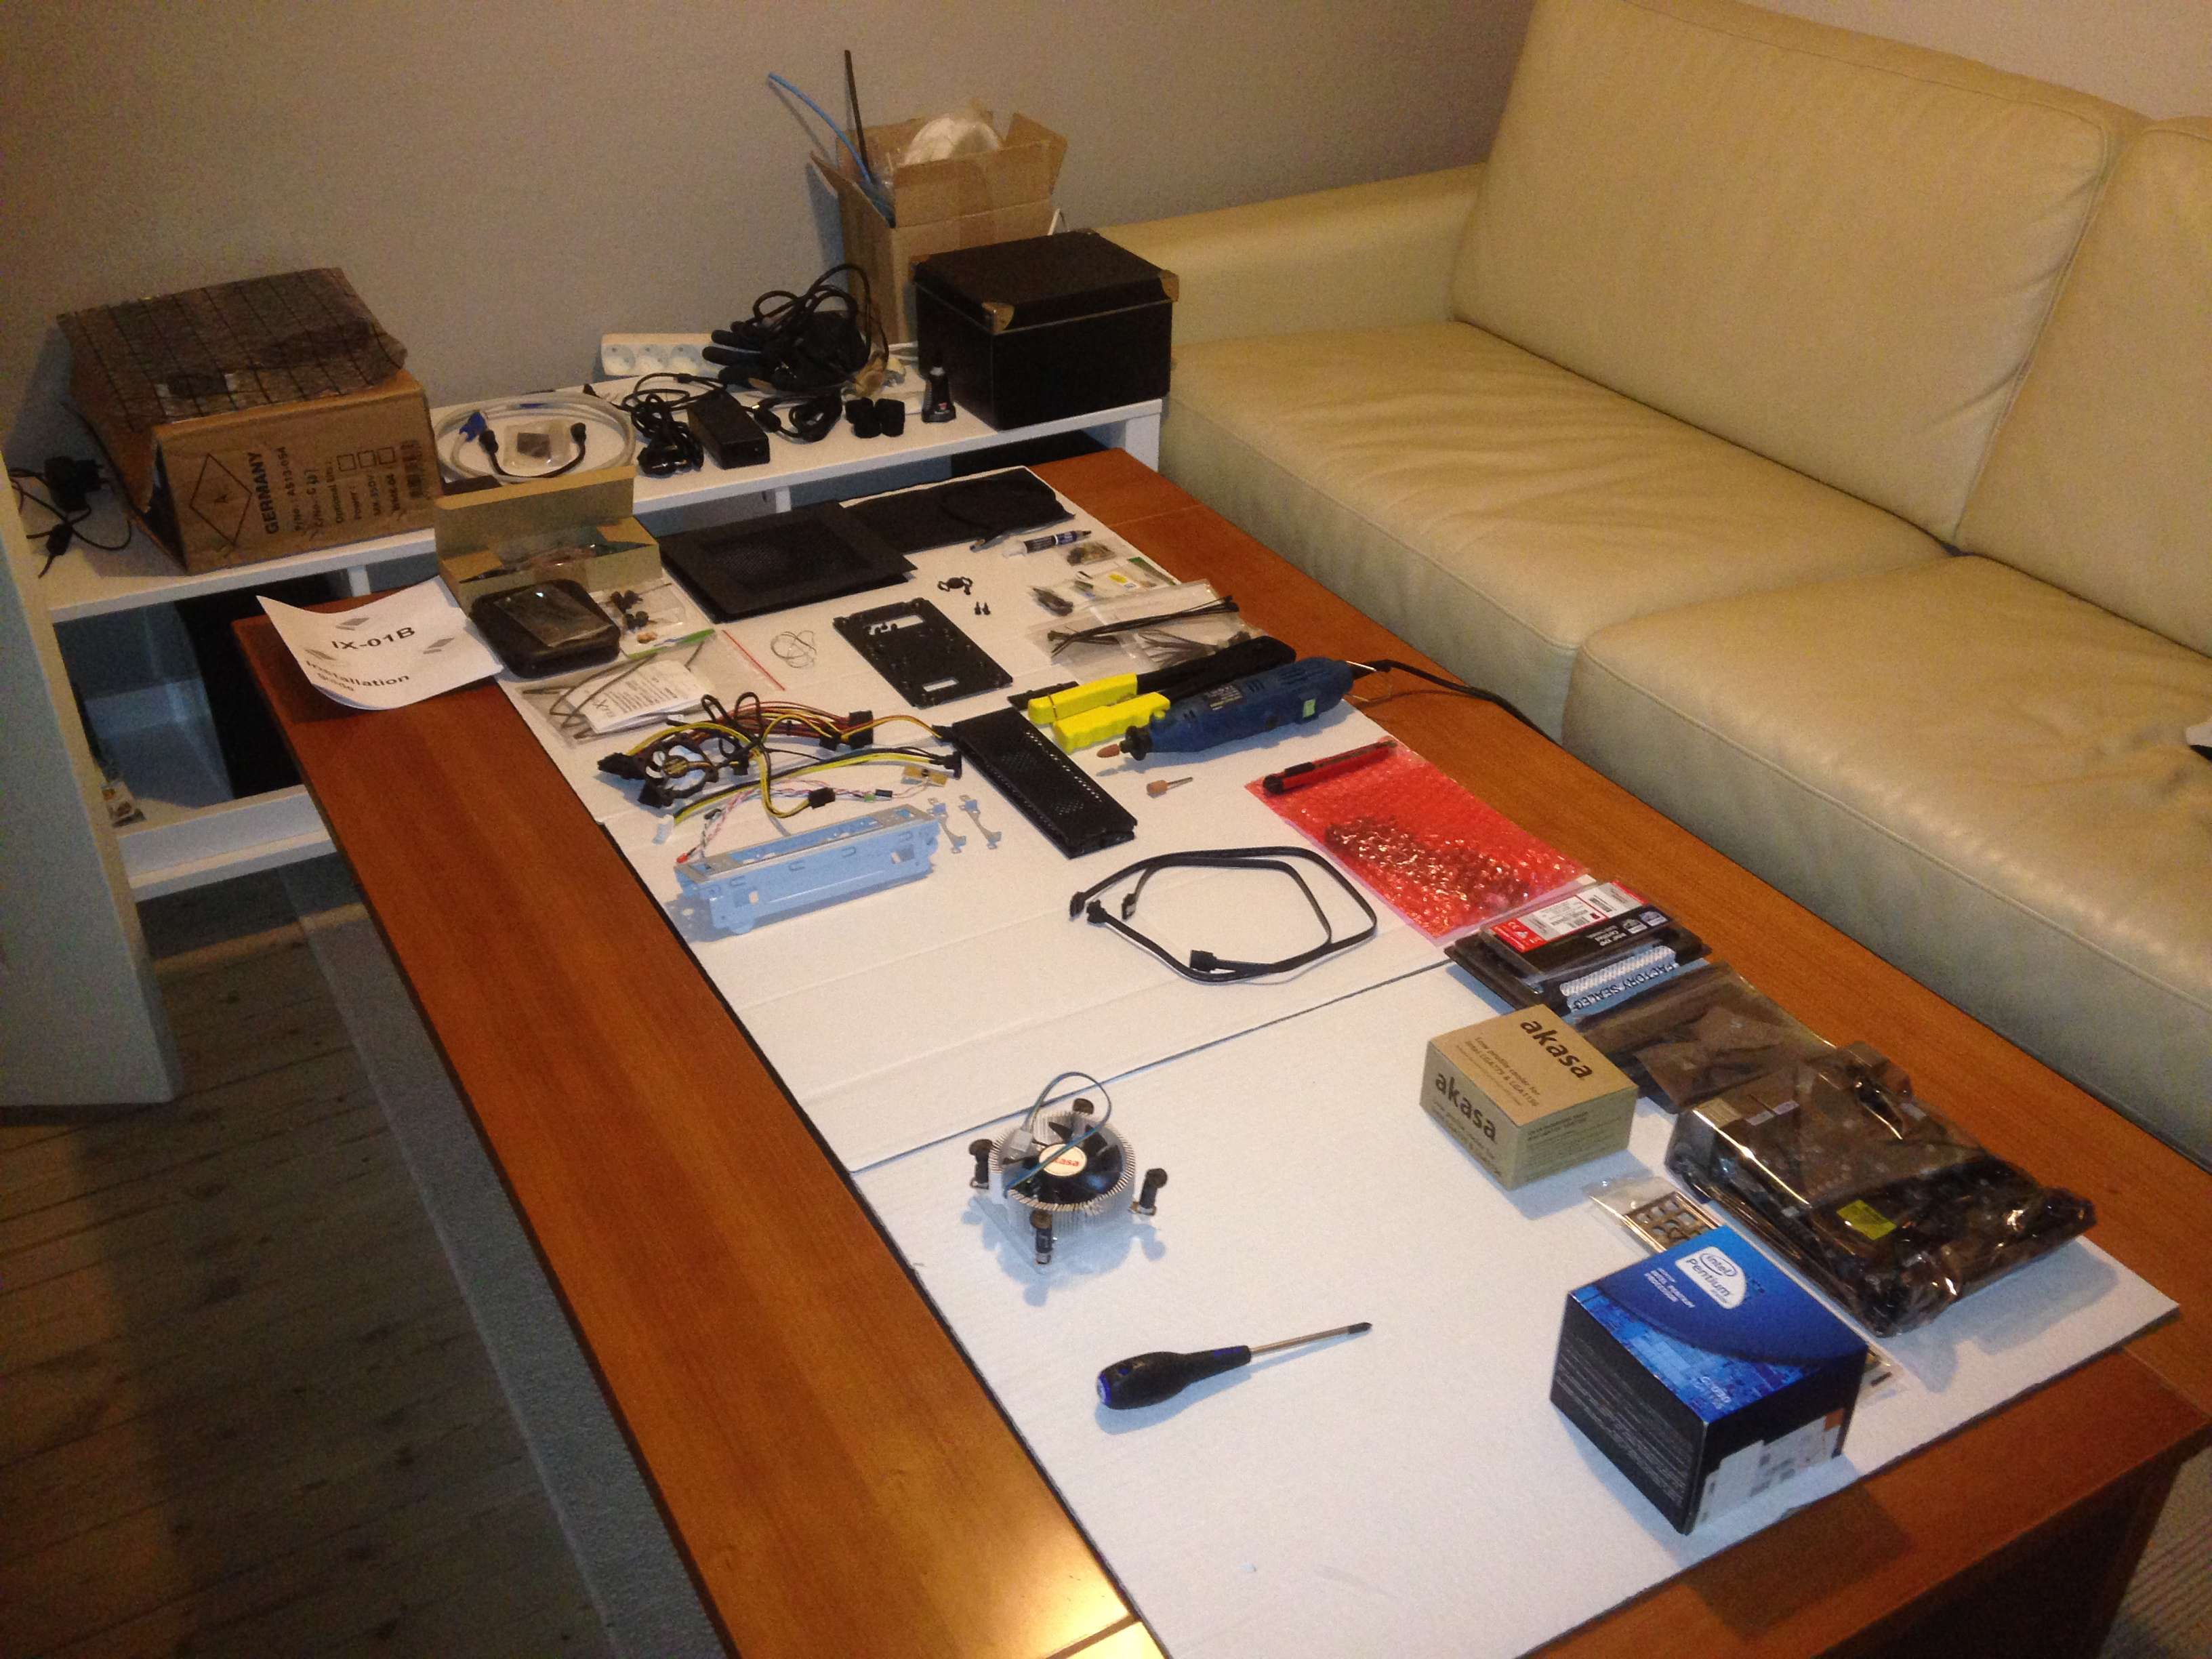
As promised, the first packages arrived today so here are pictures:
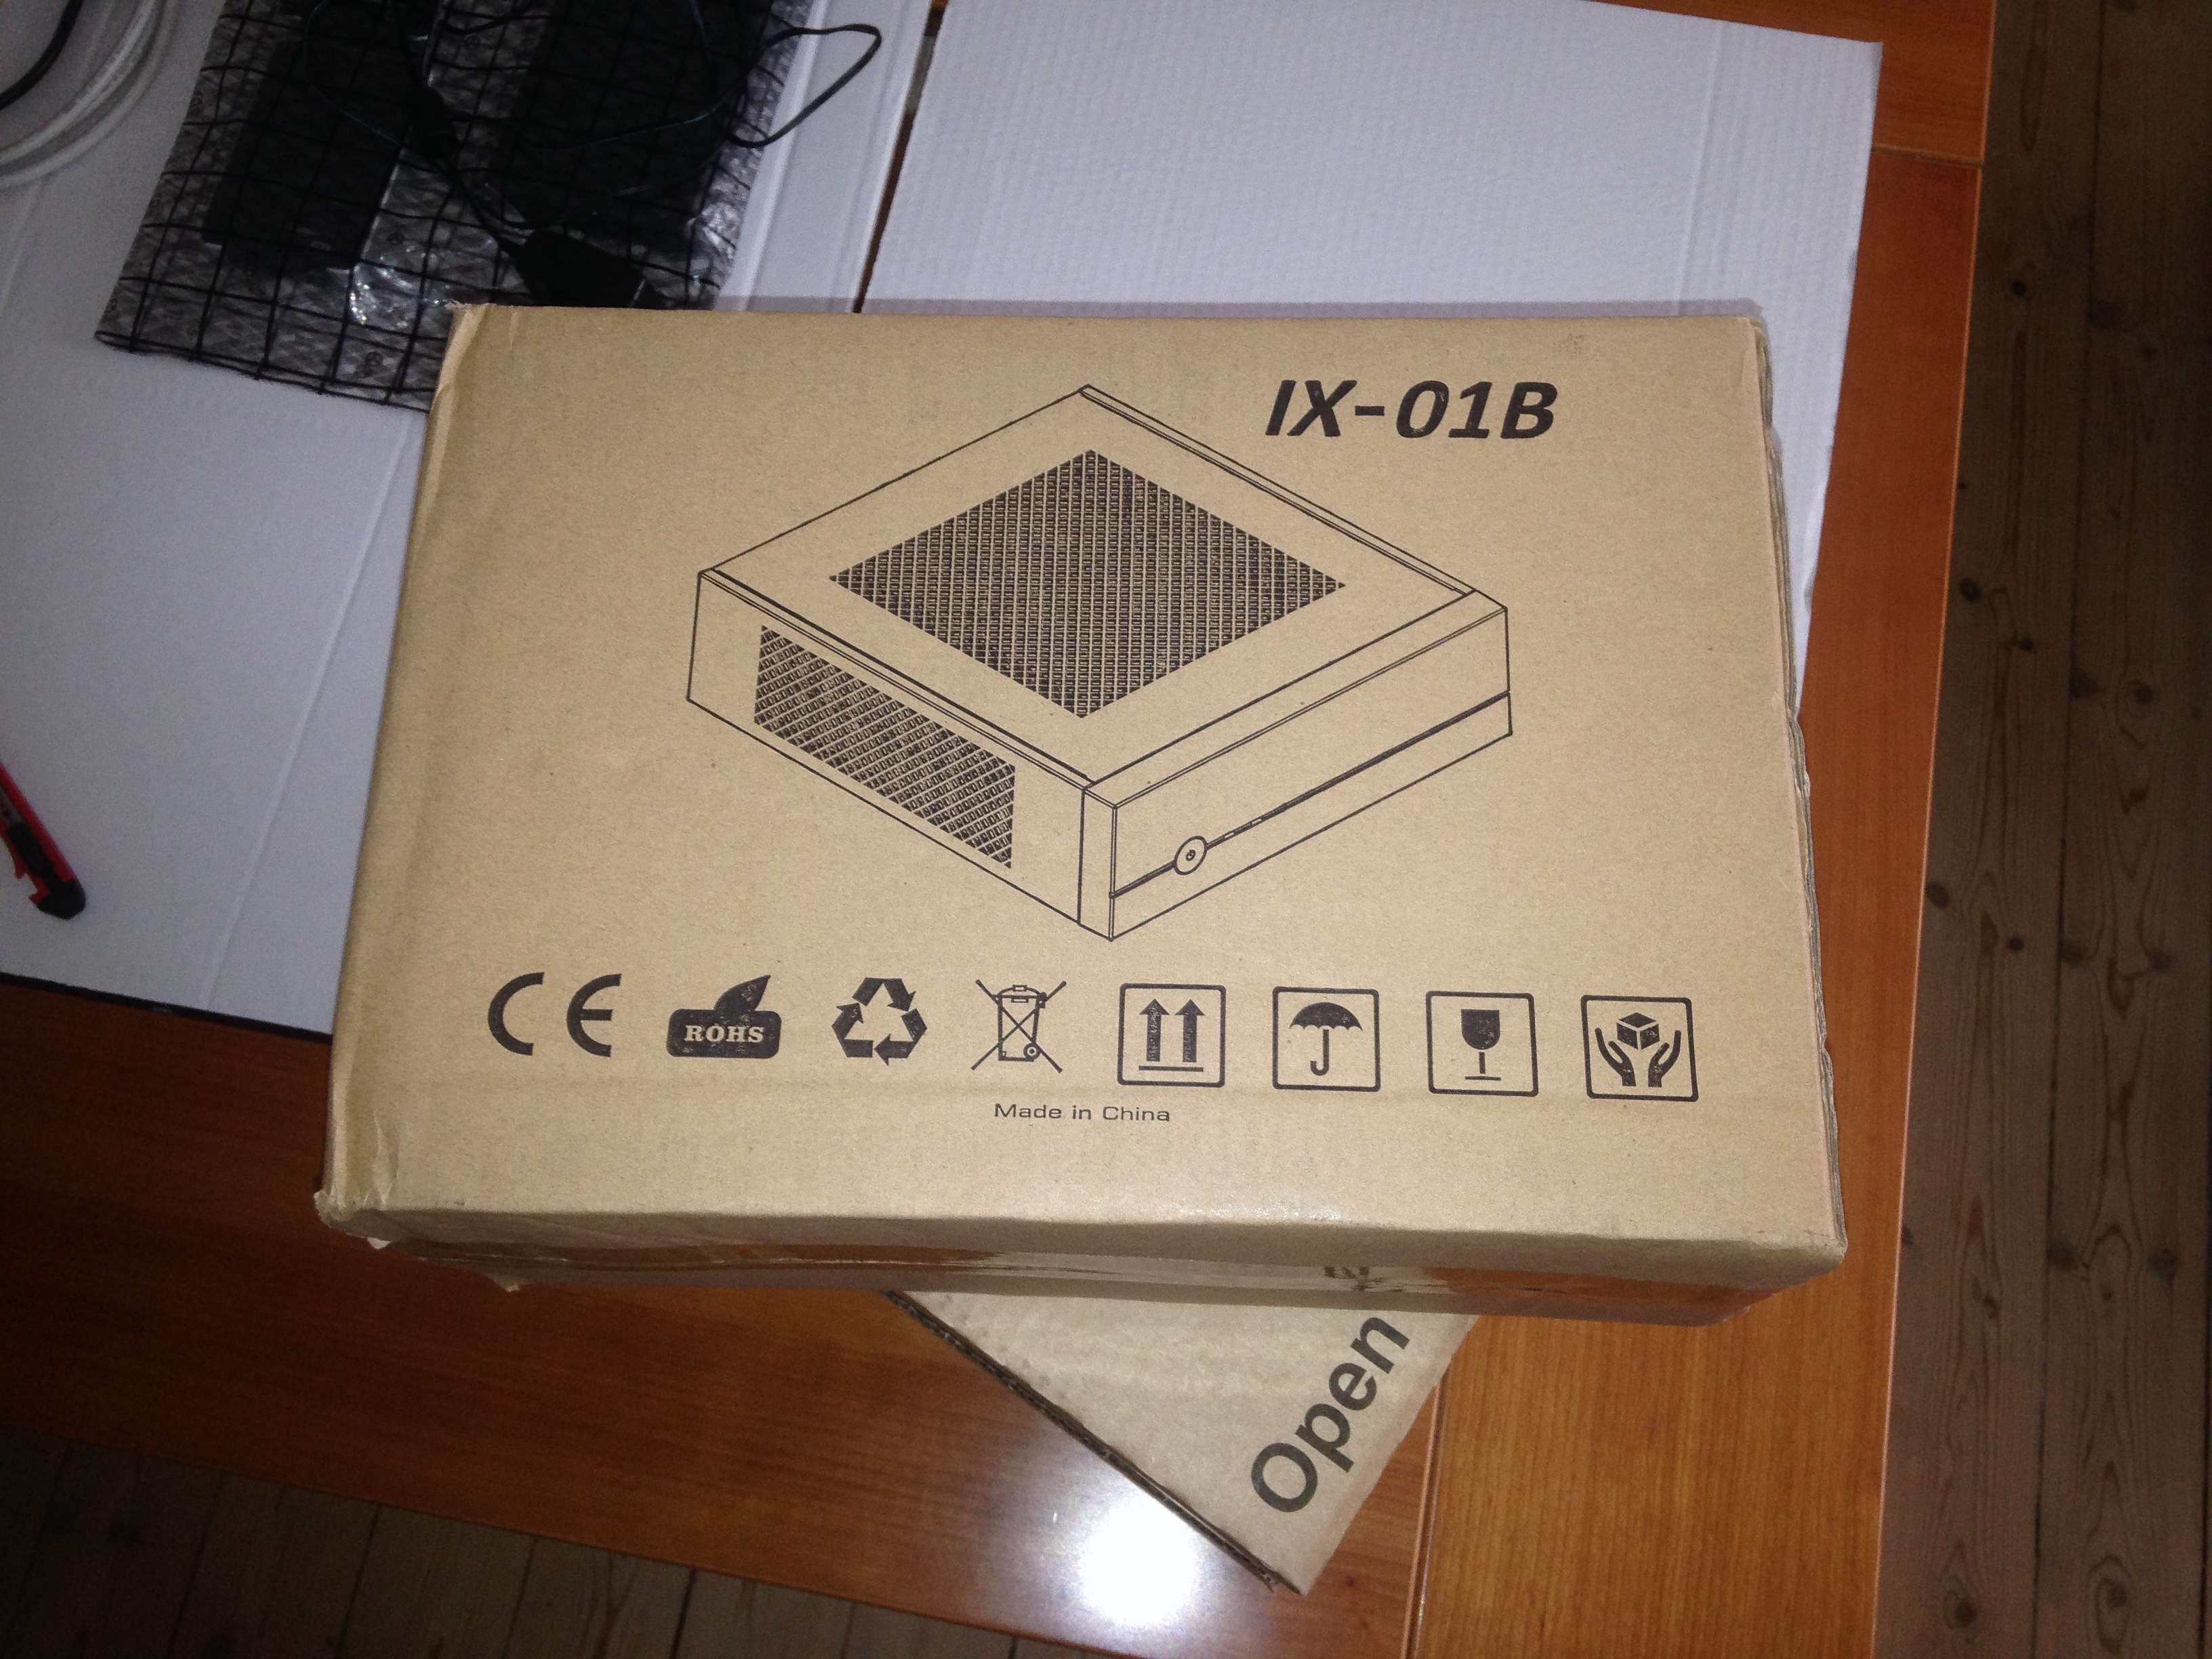
Got the case and the PSU so far.

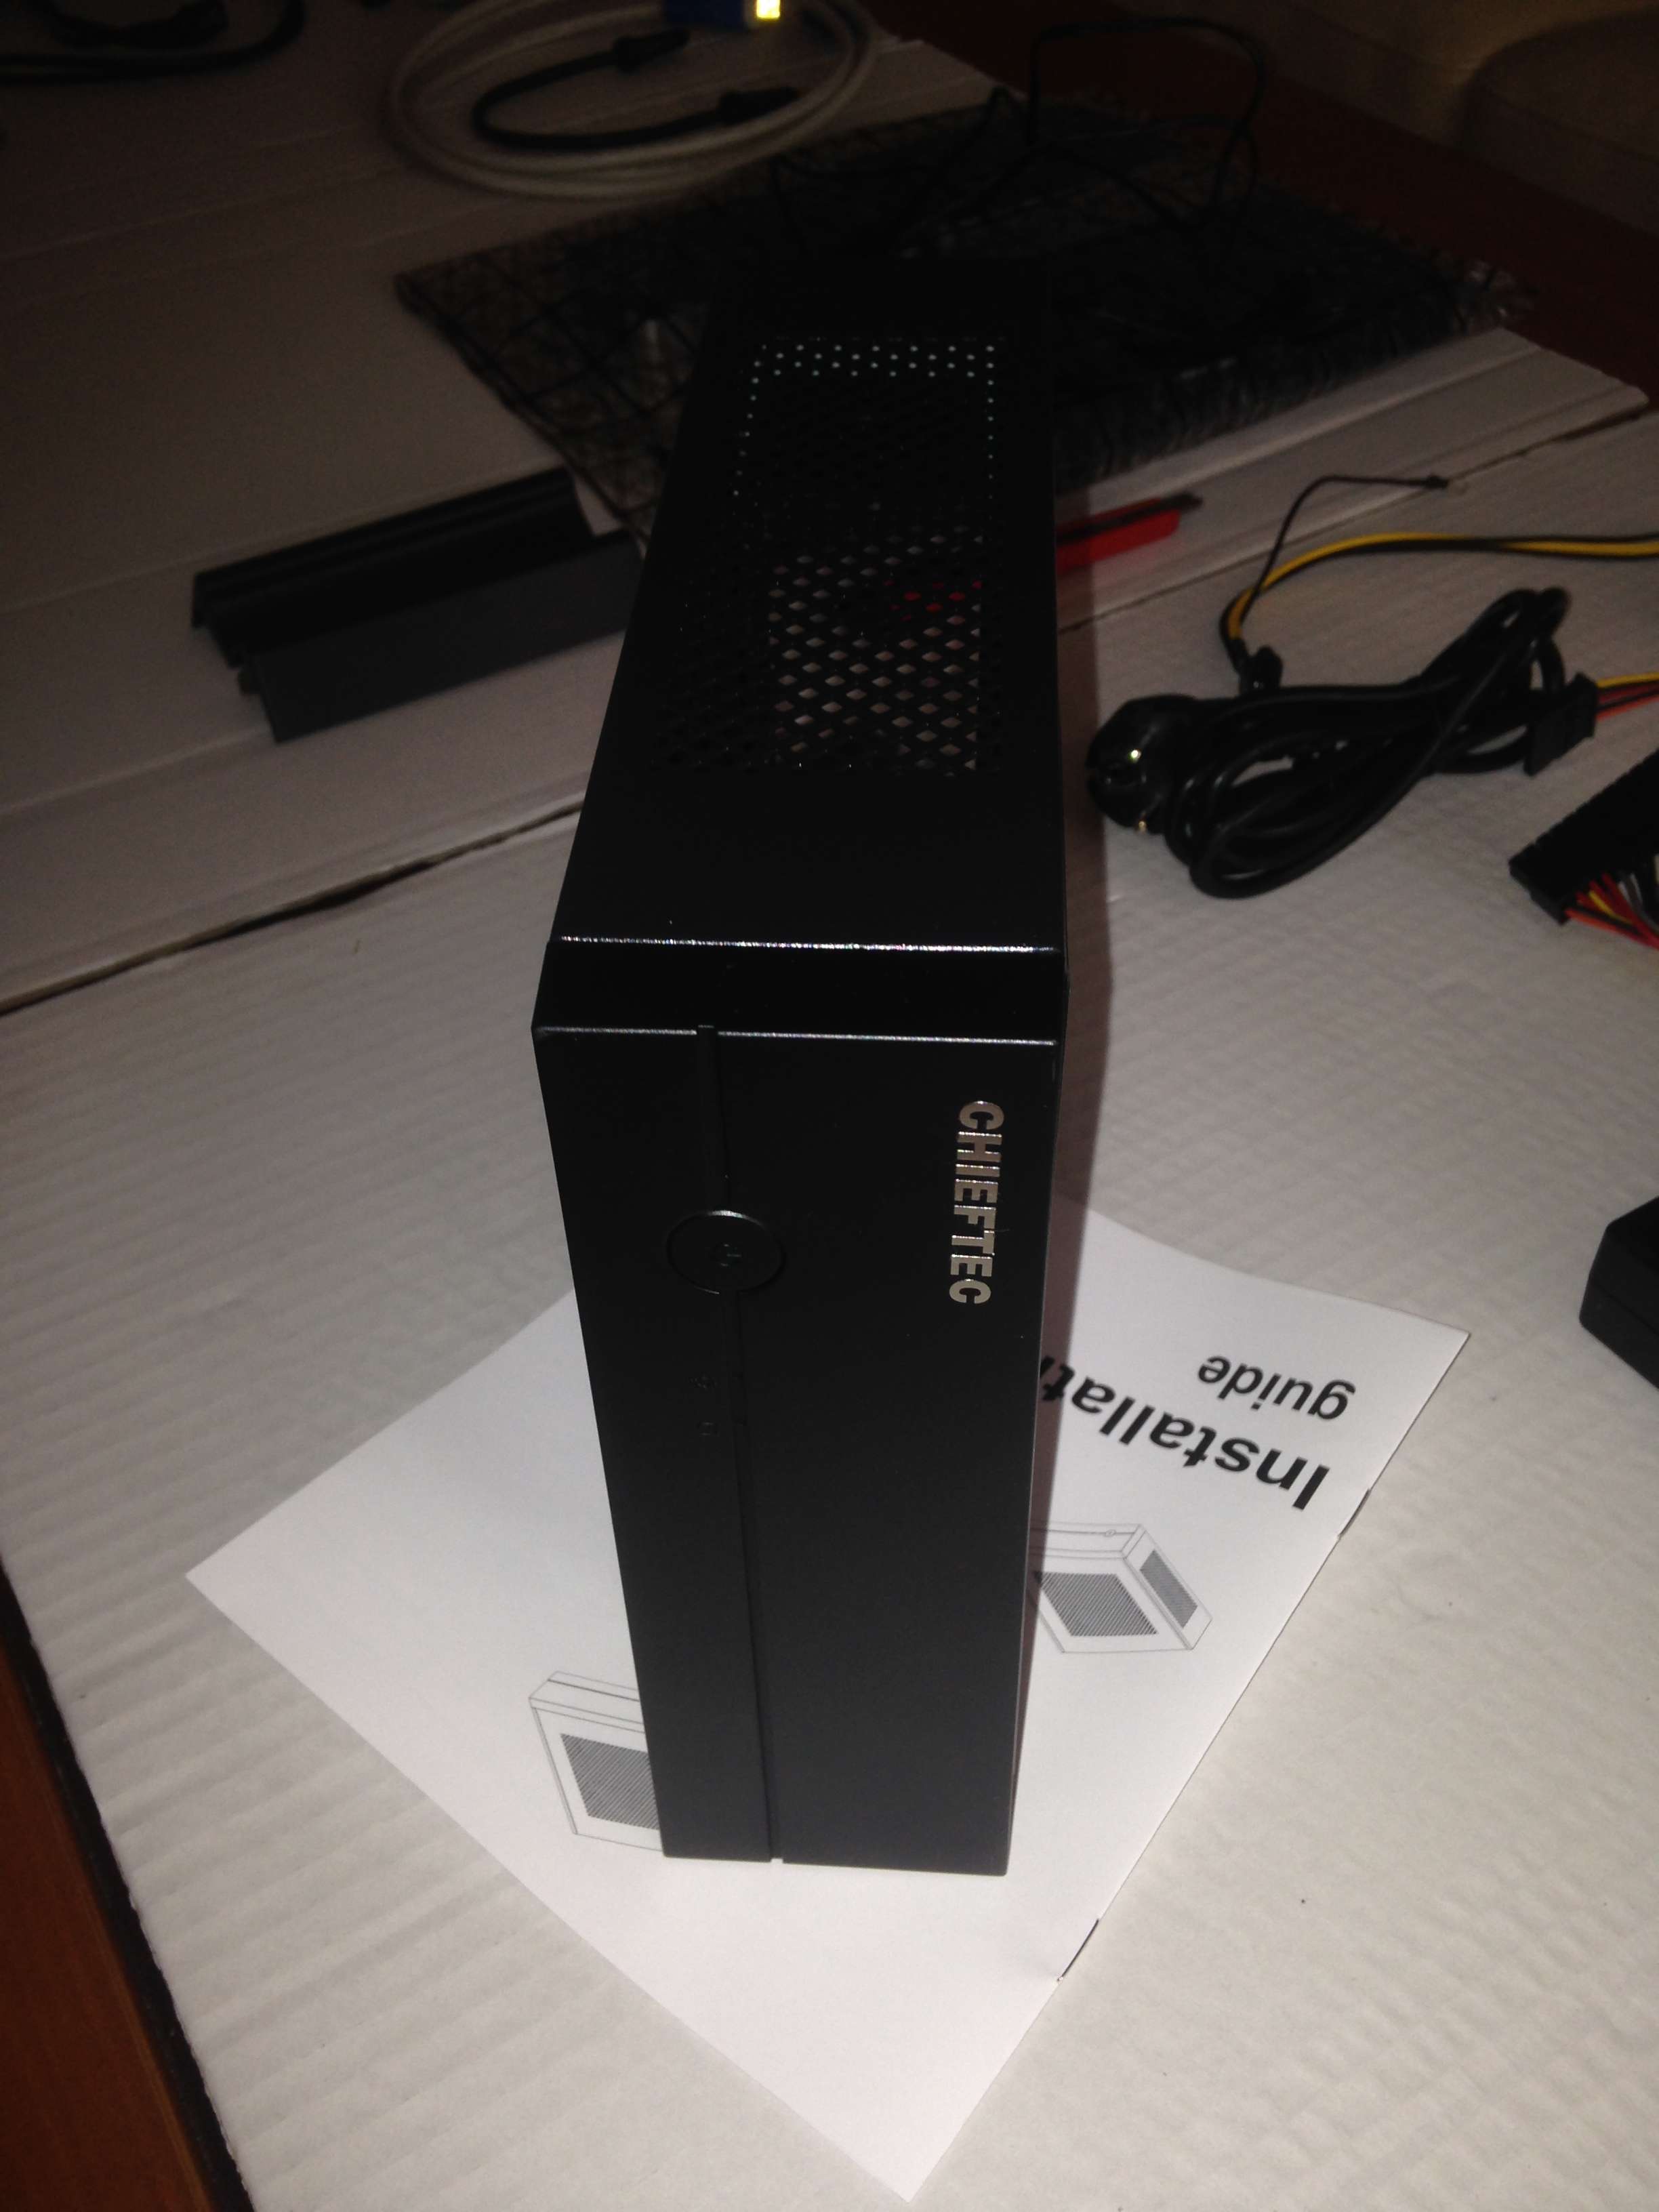
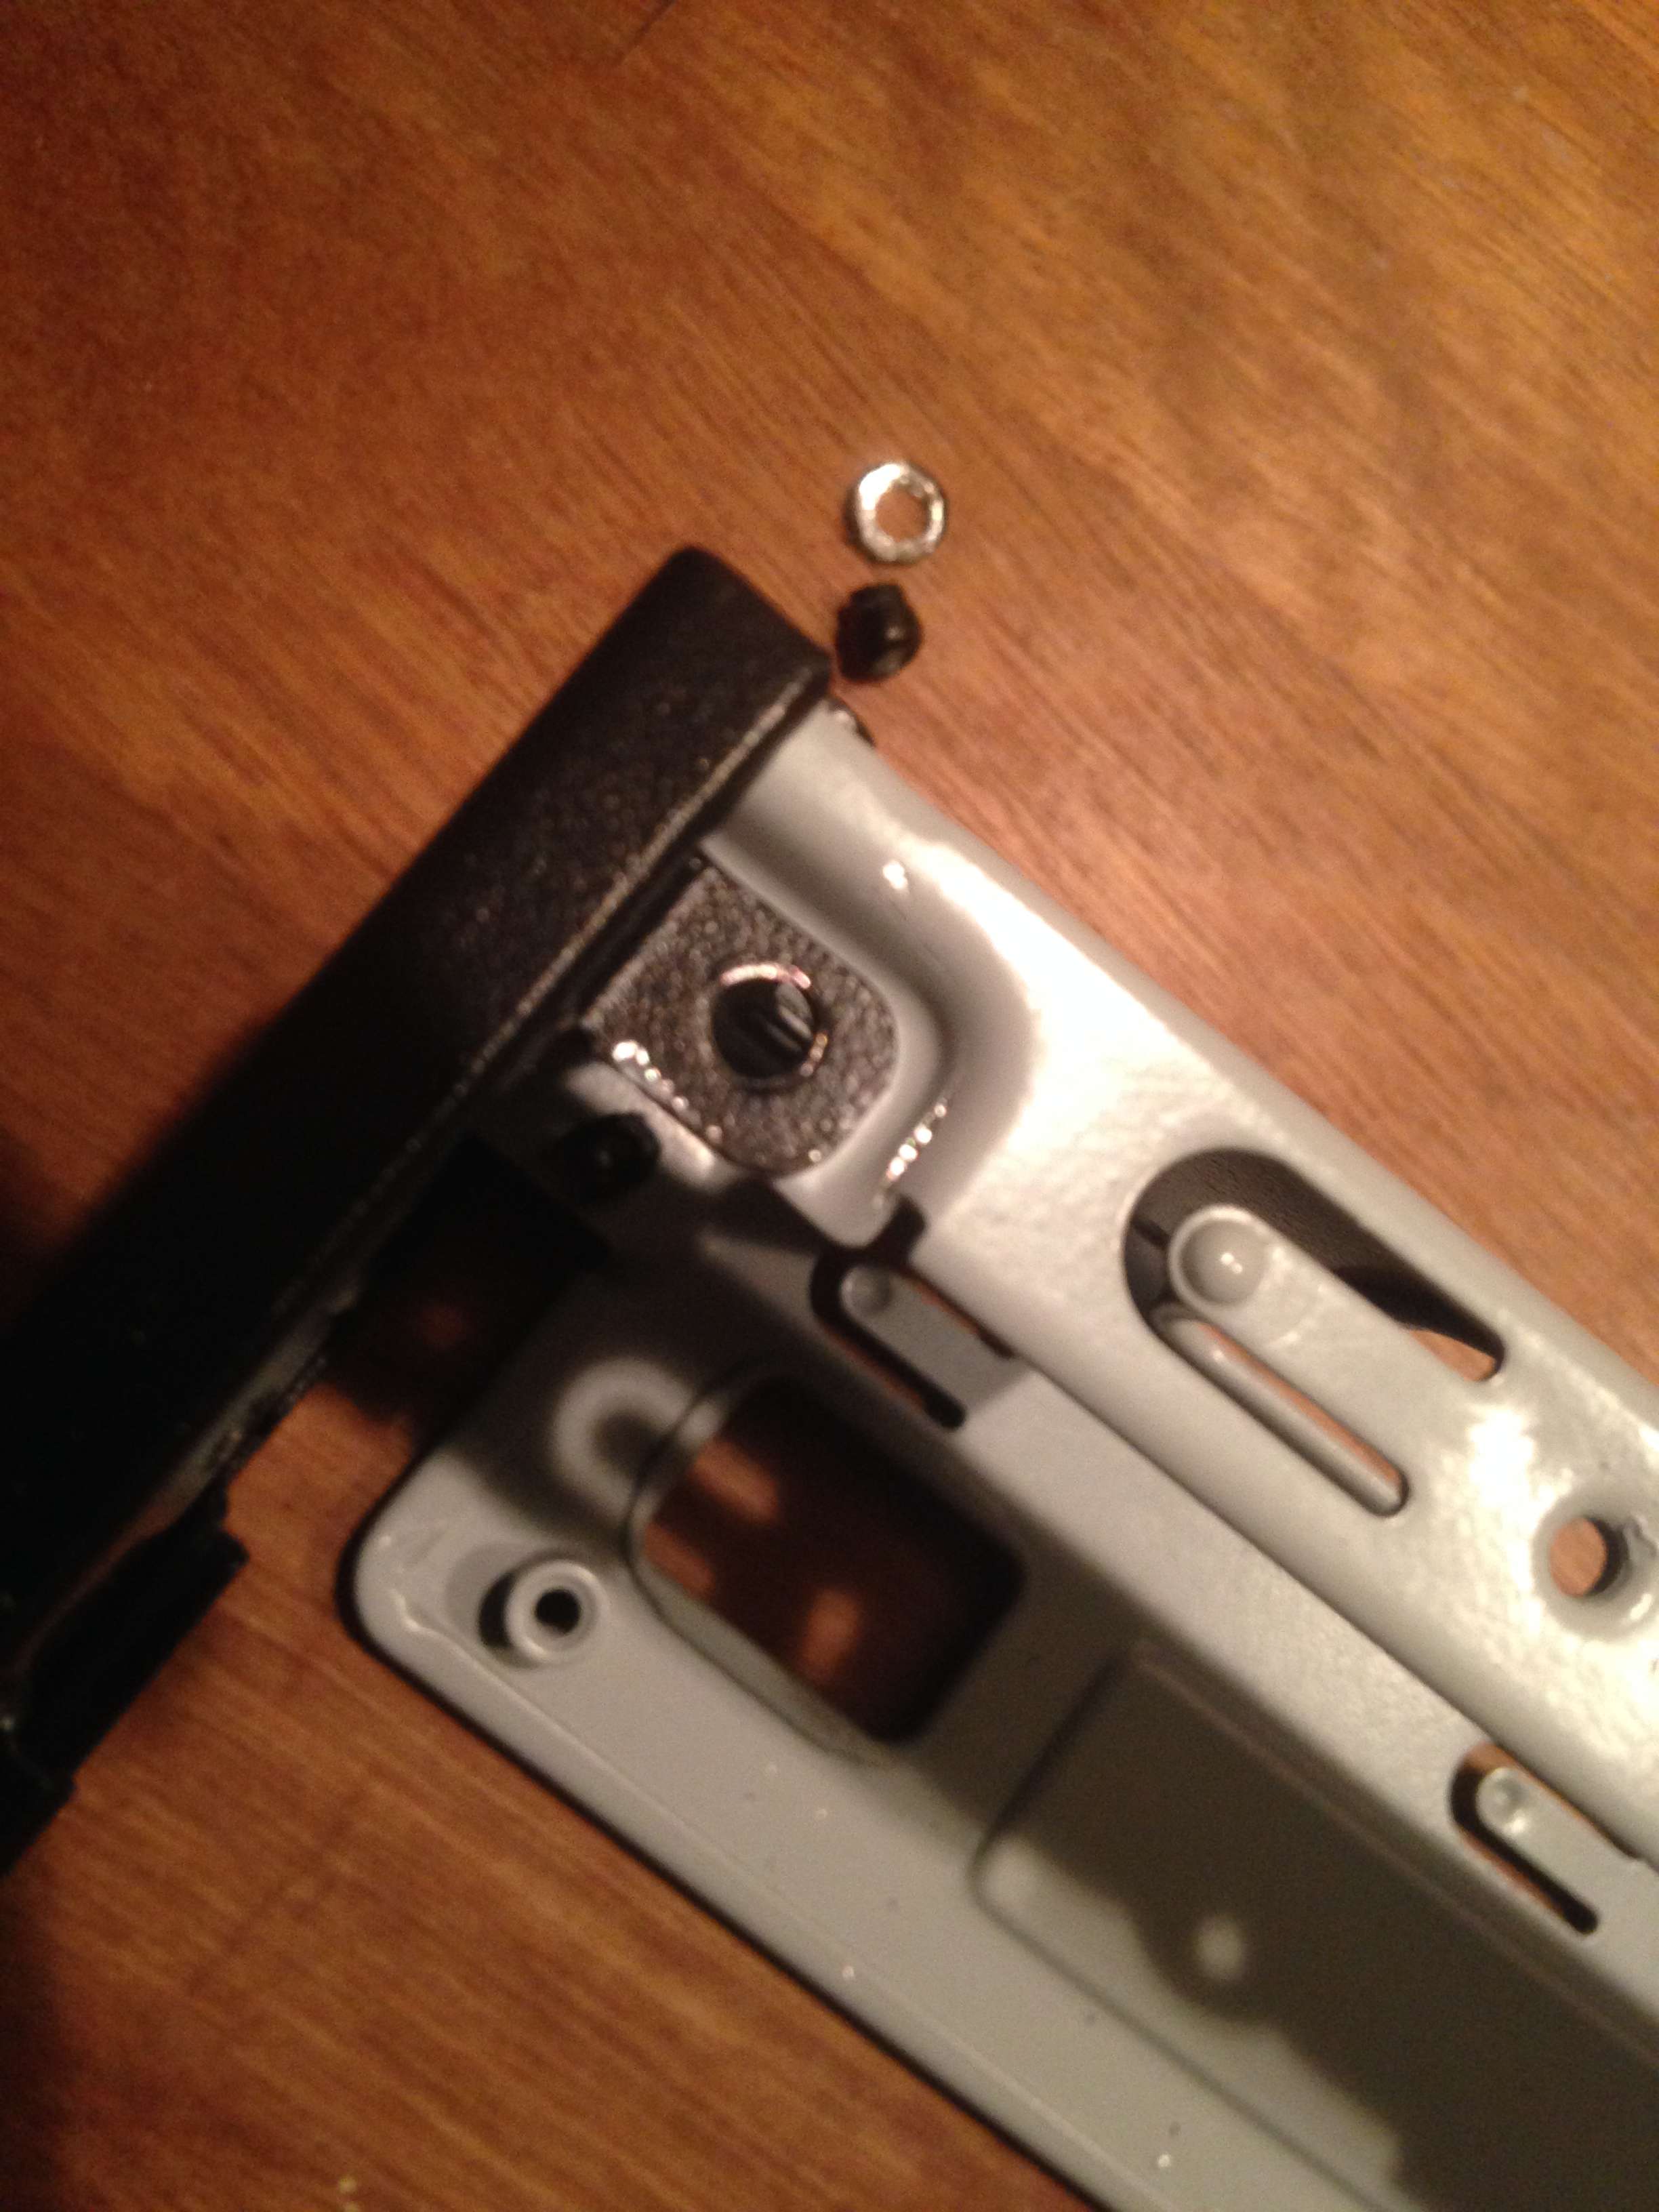
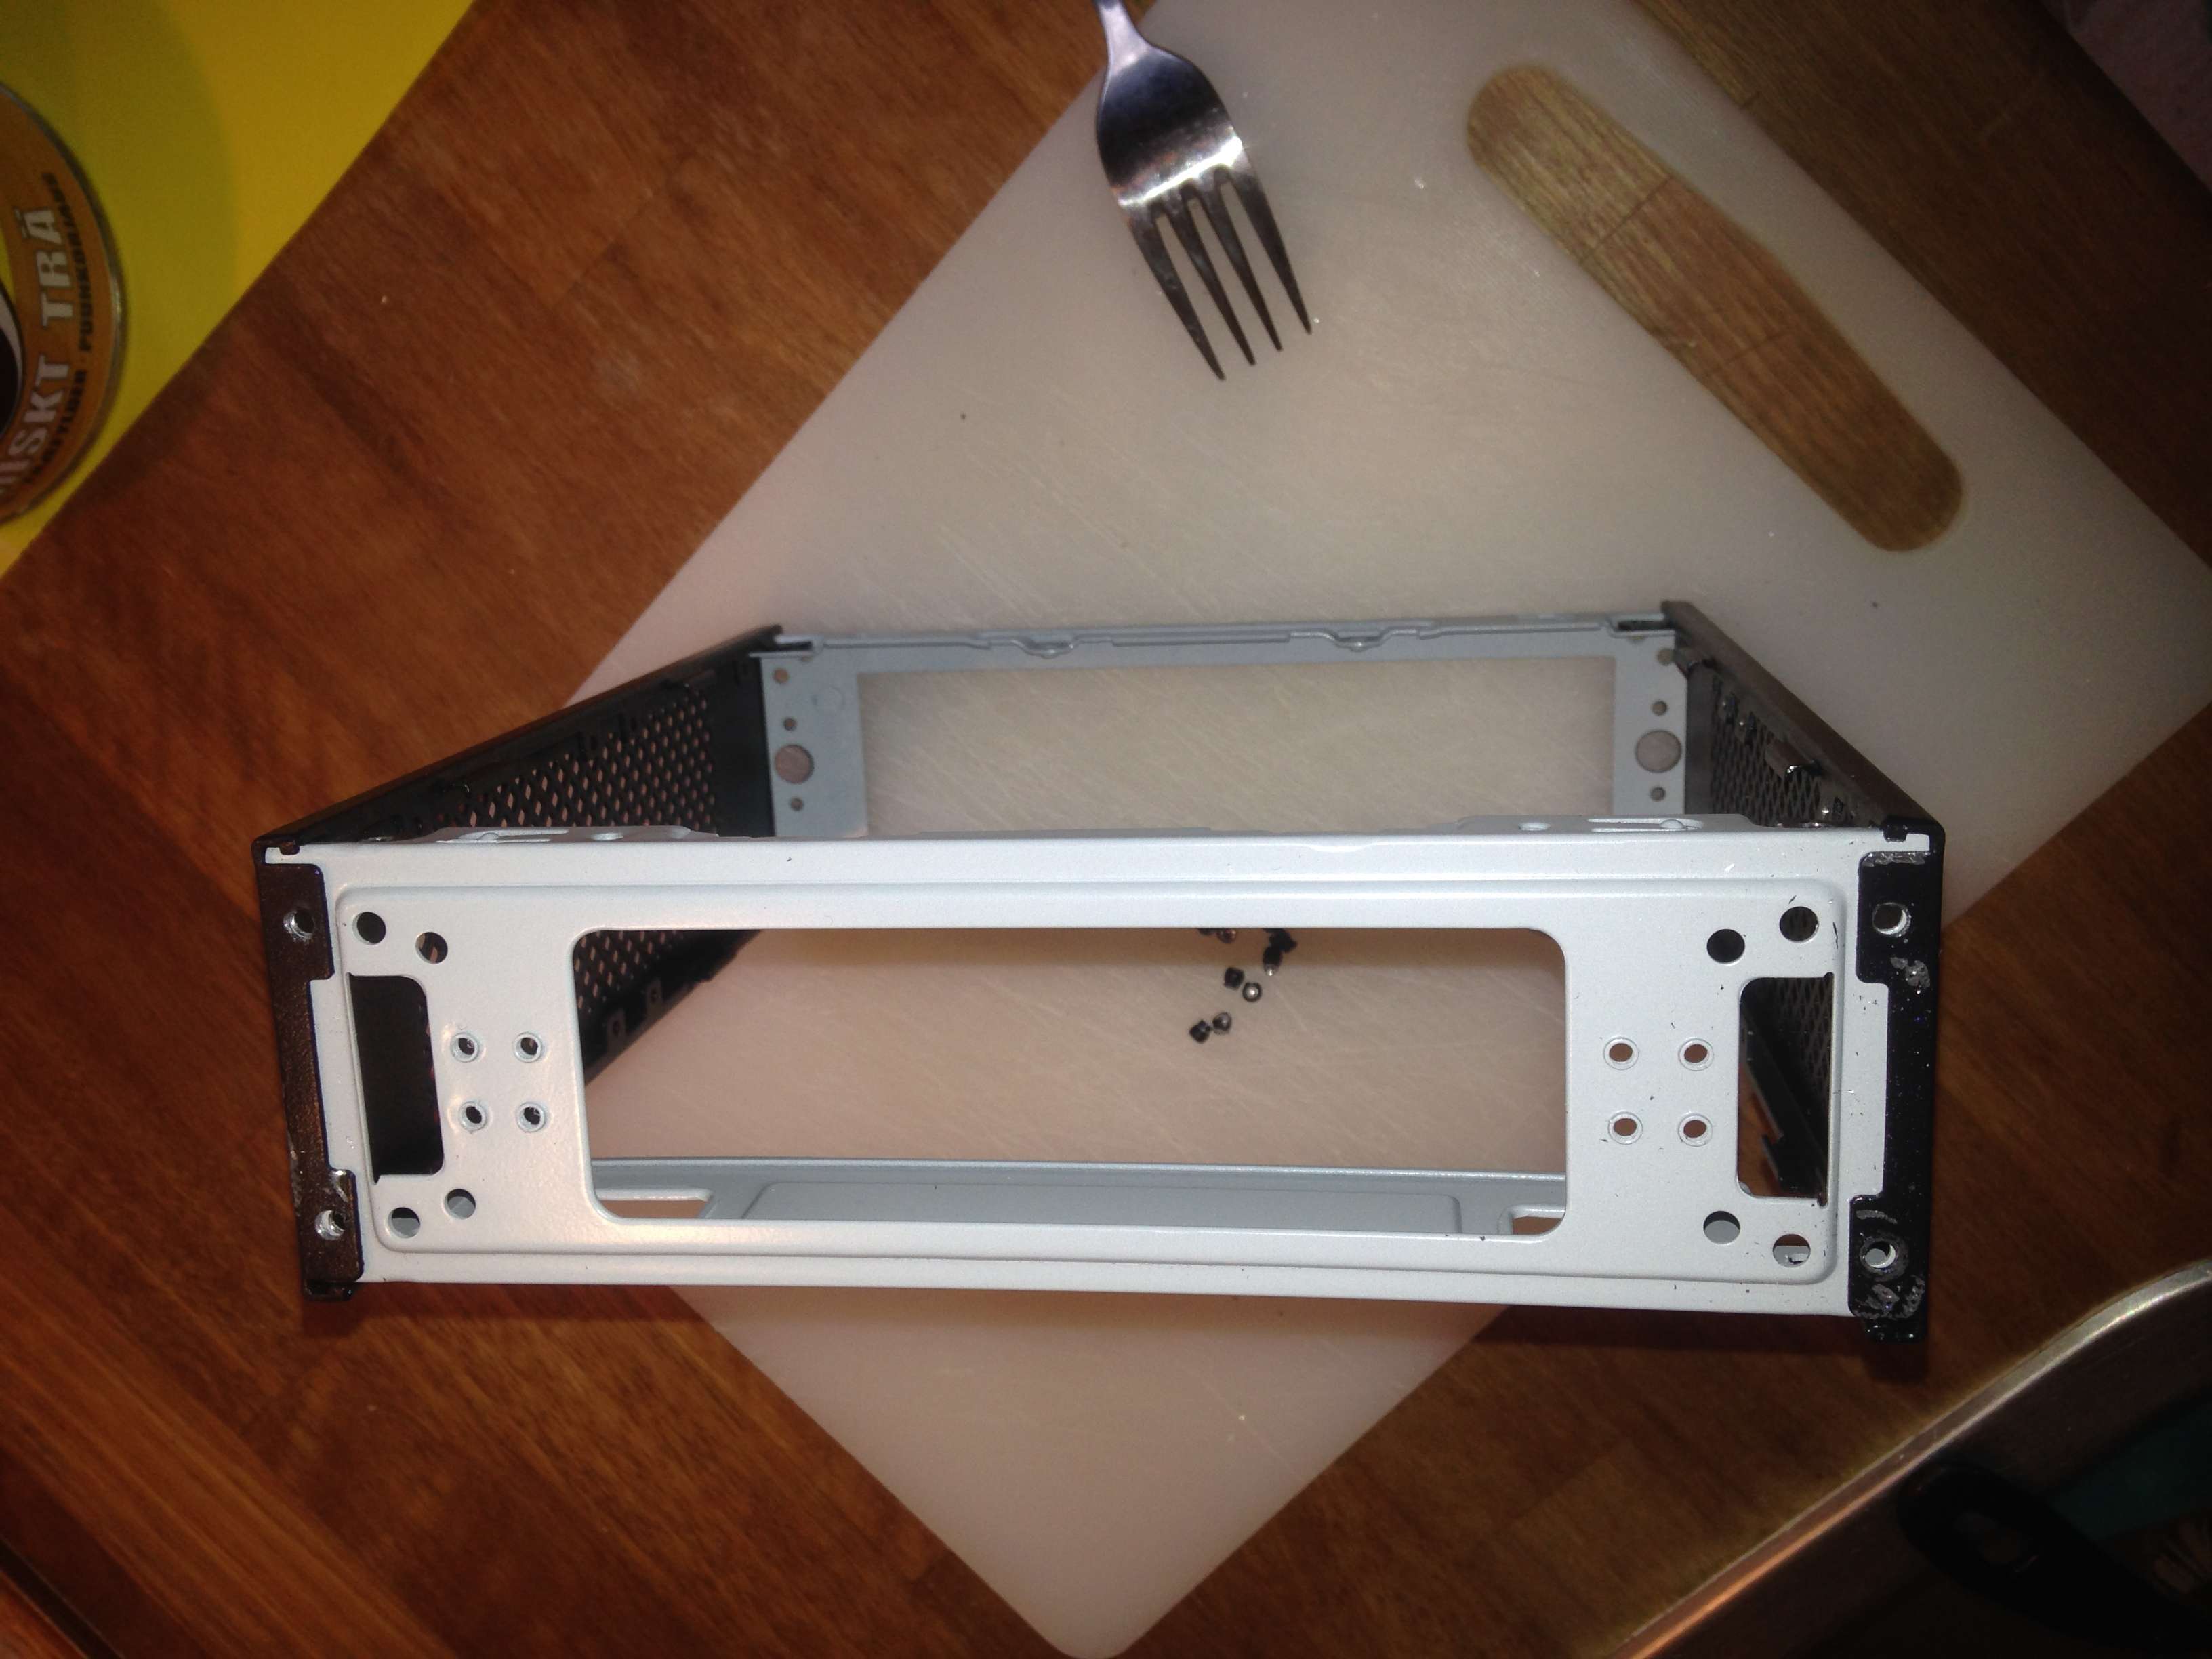
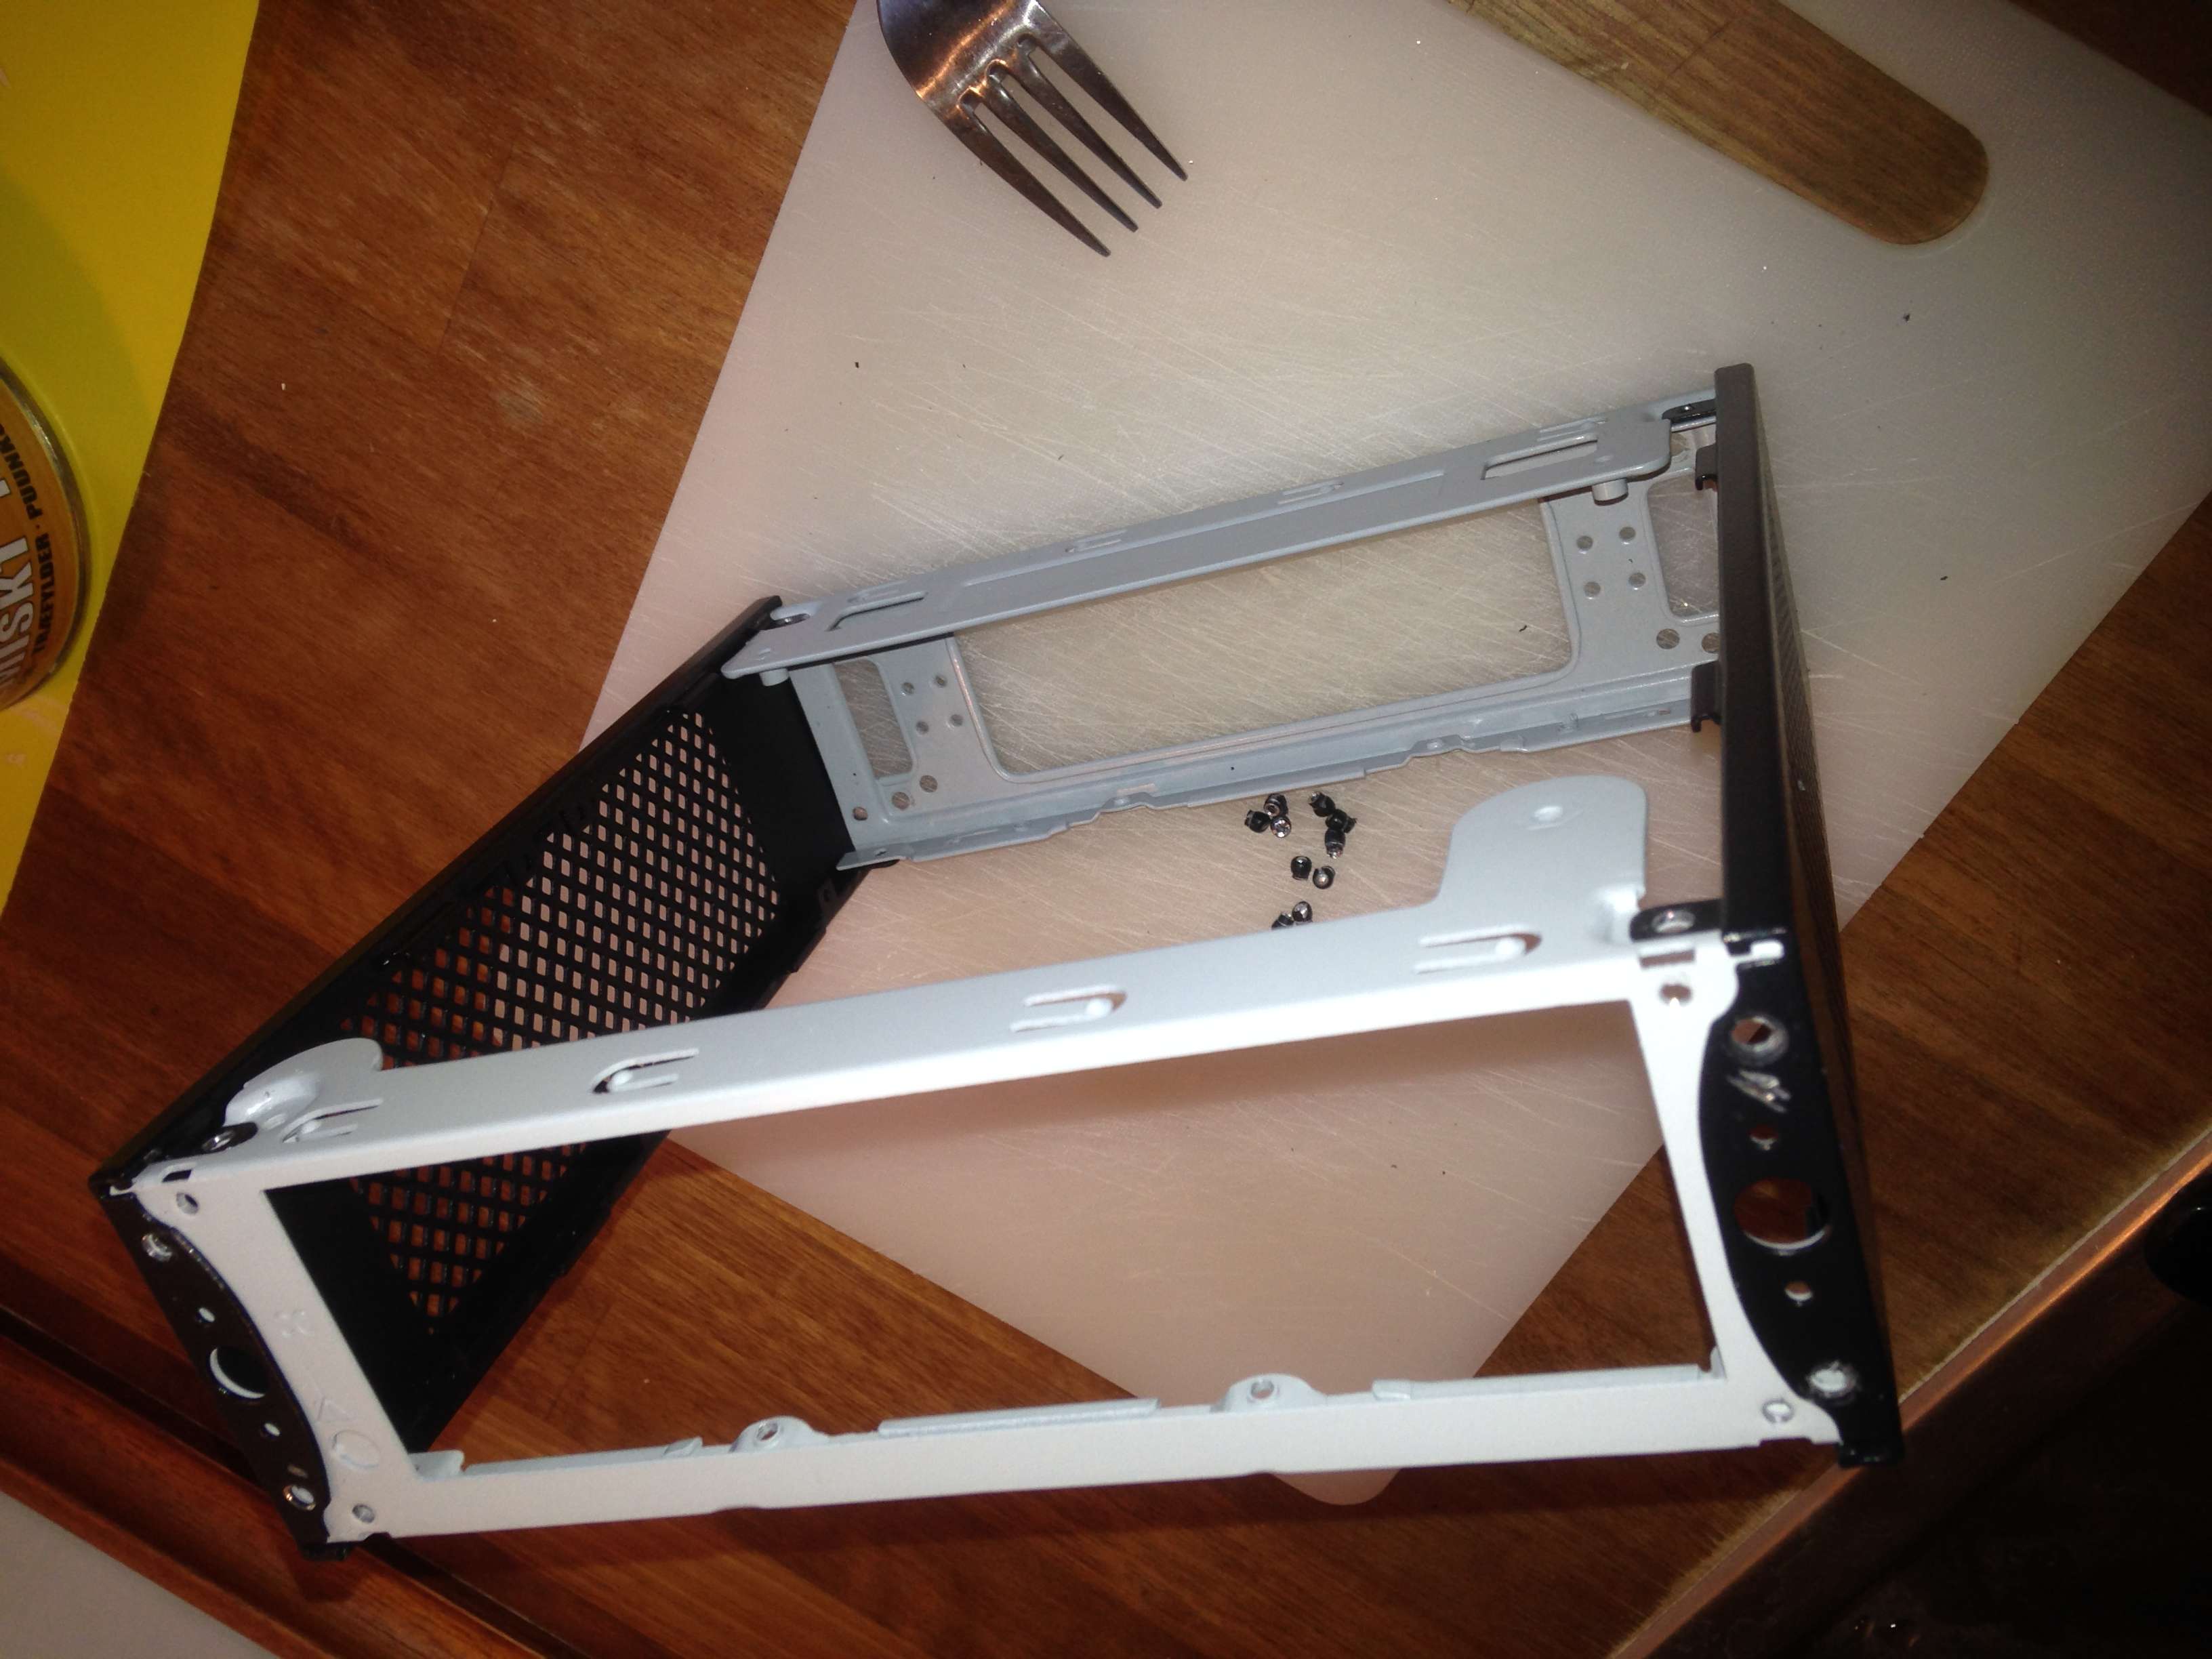
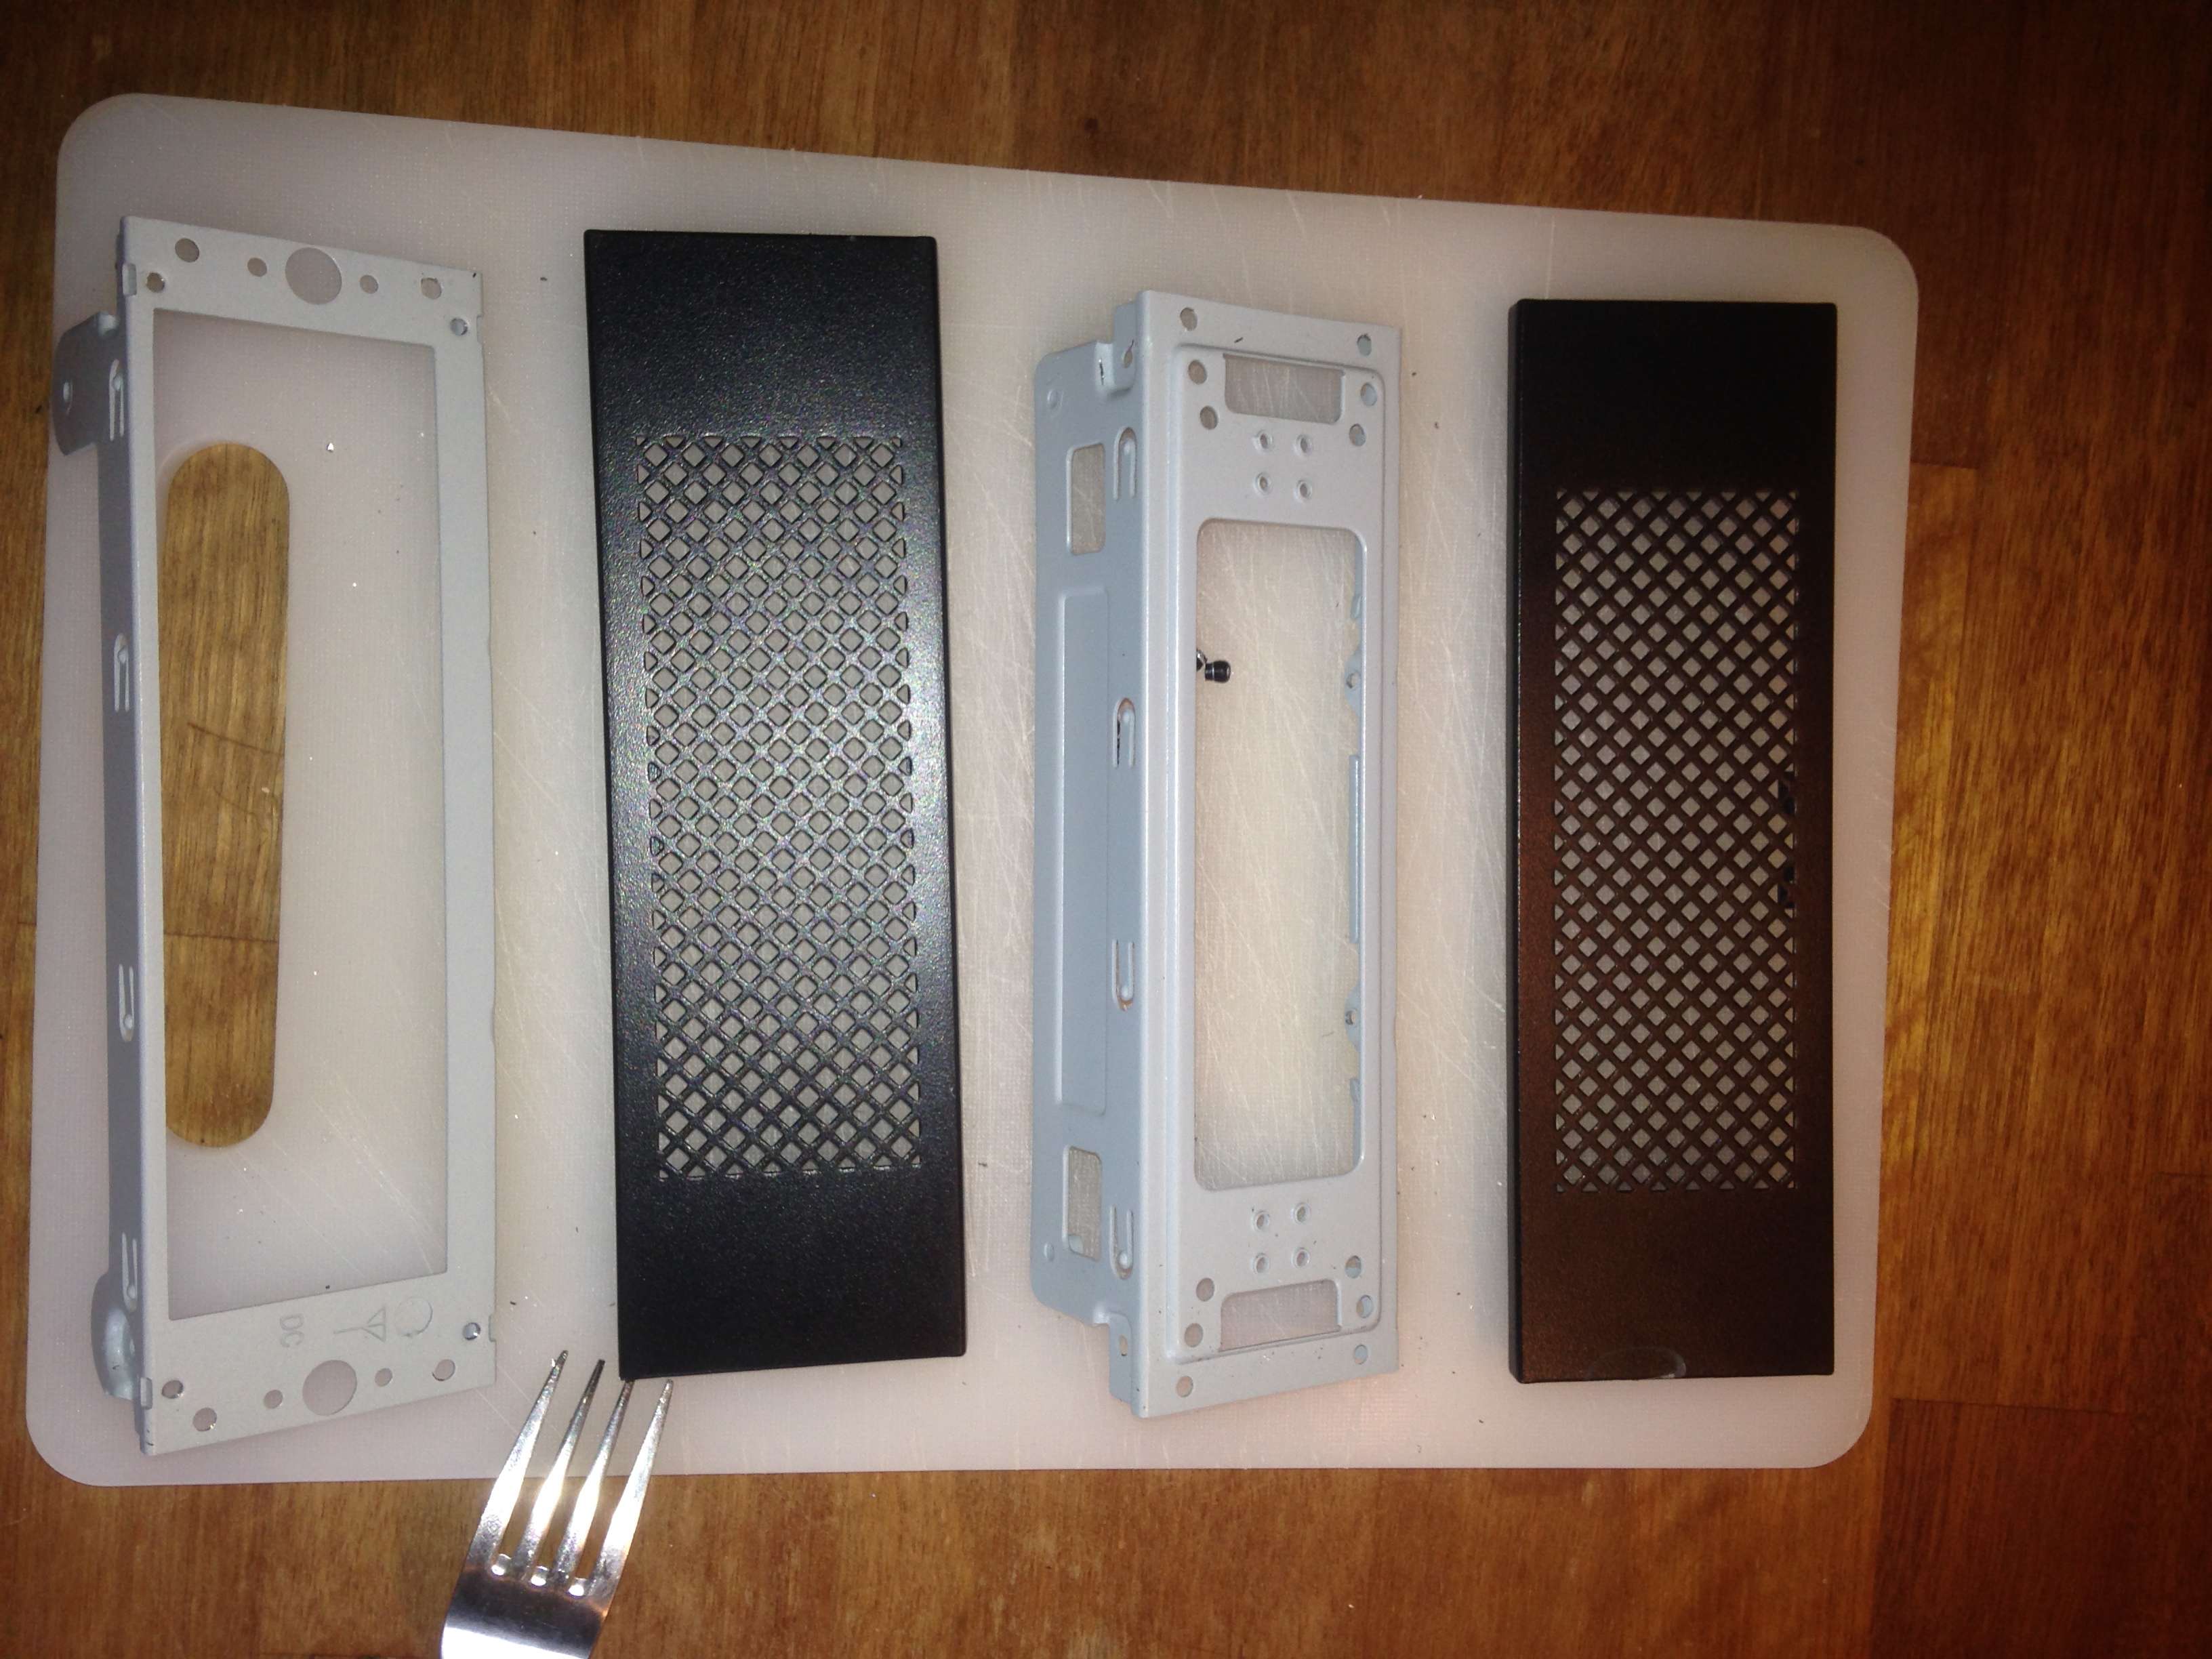
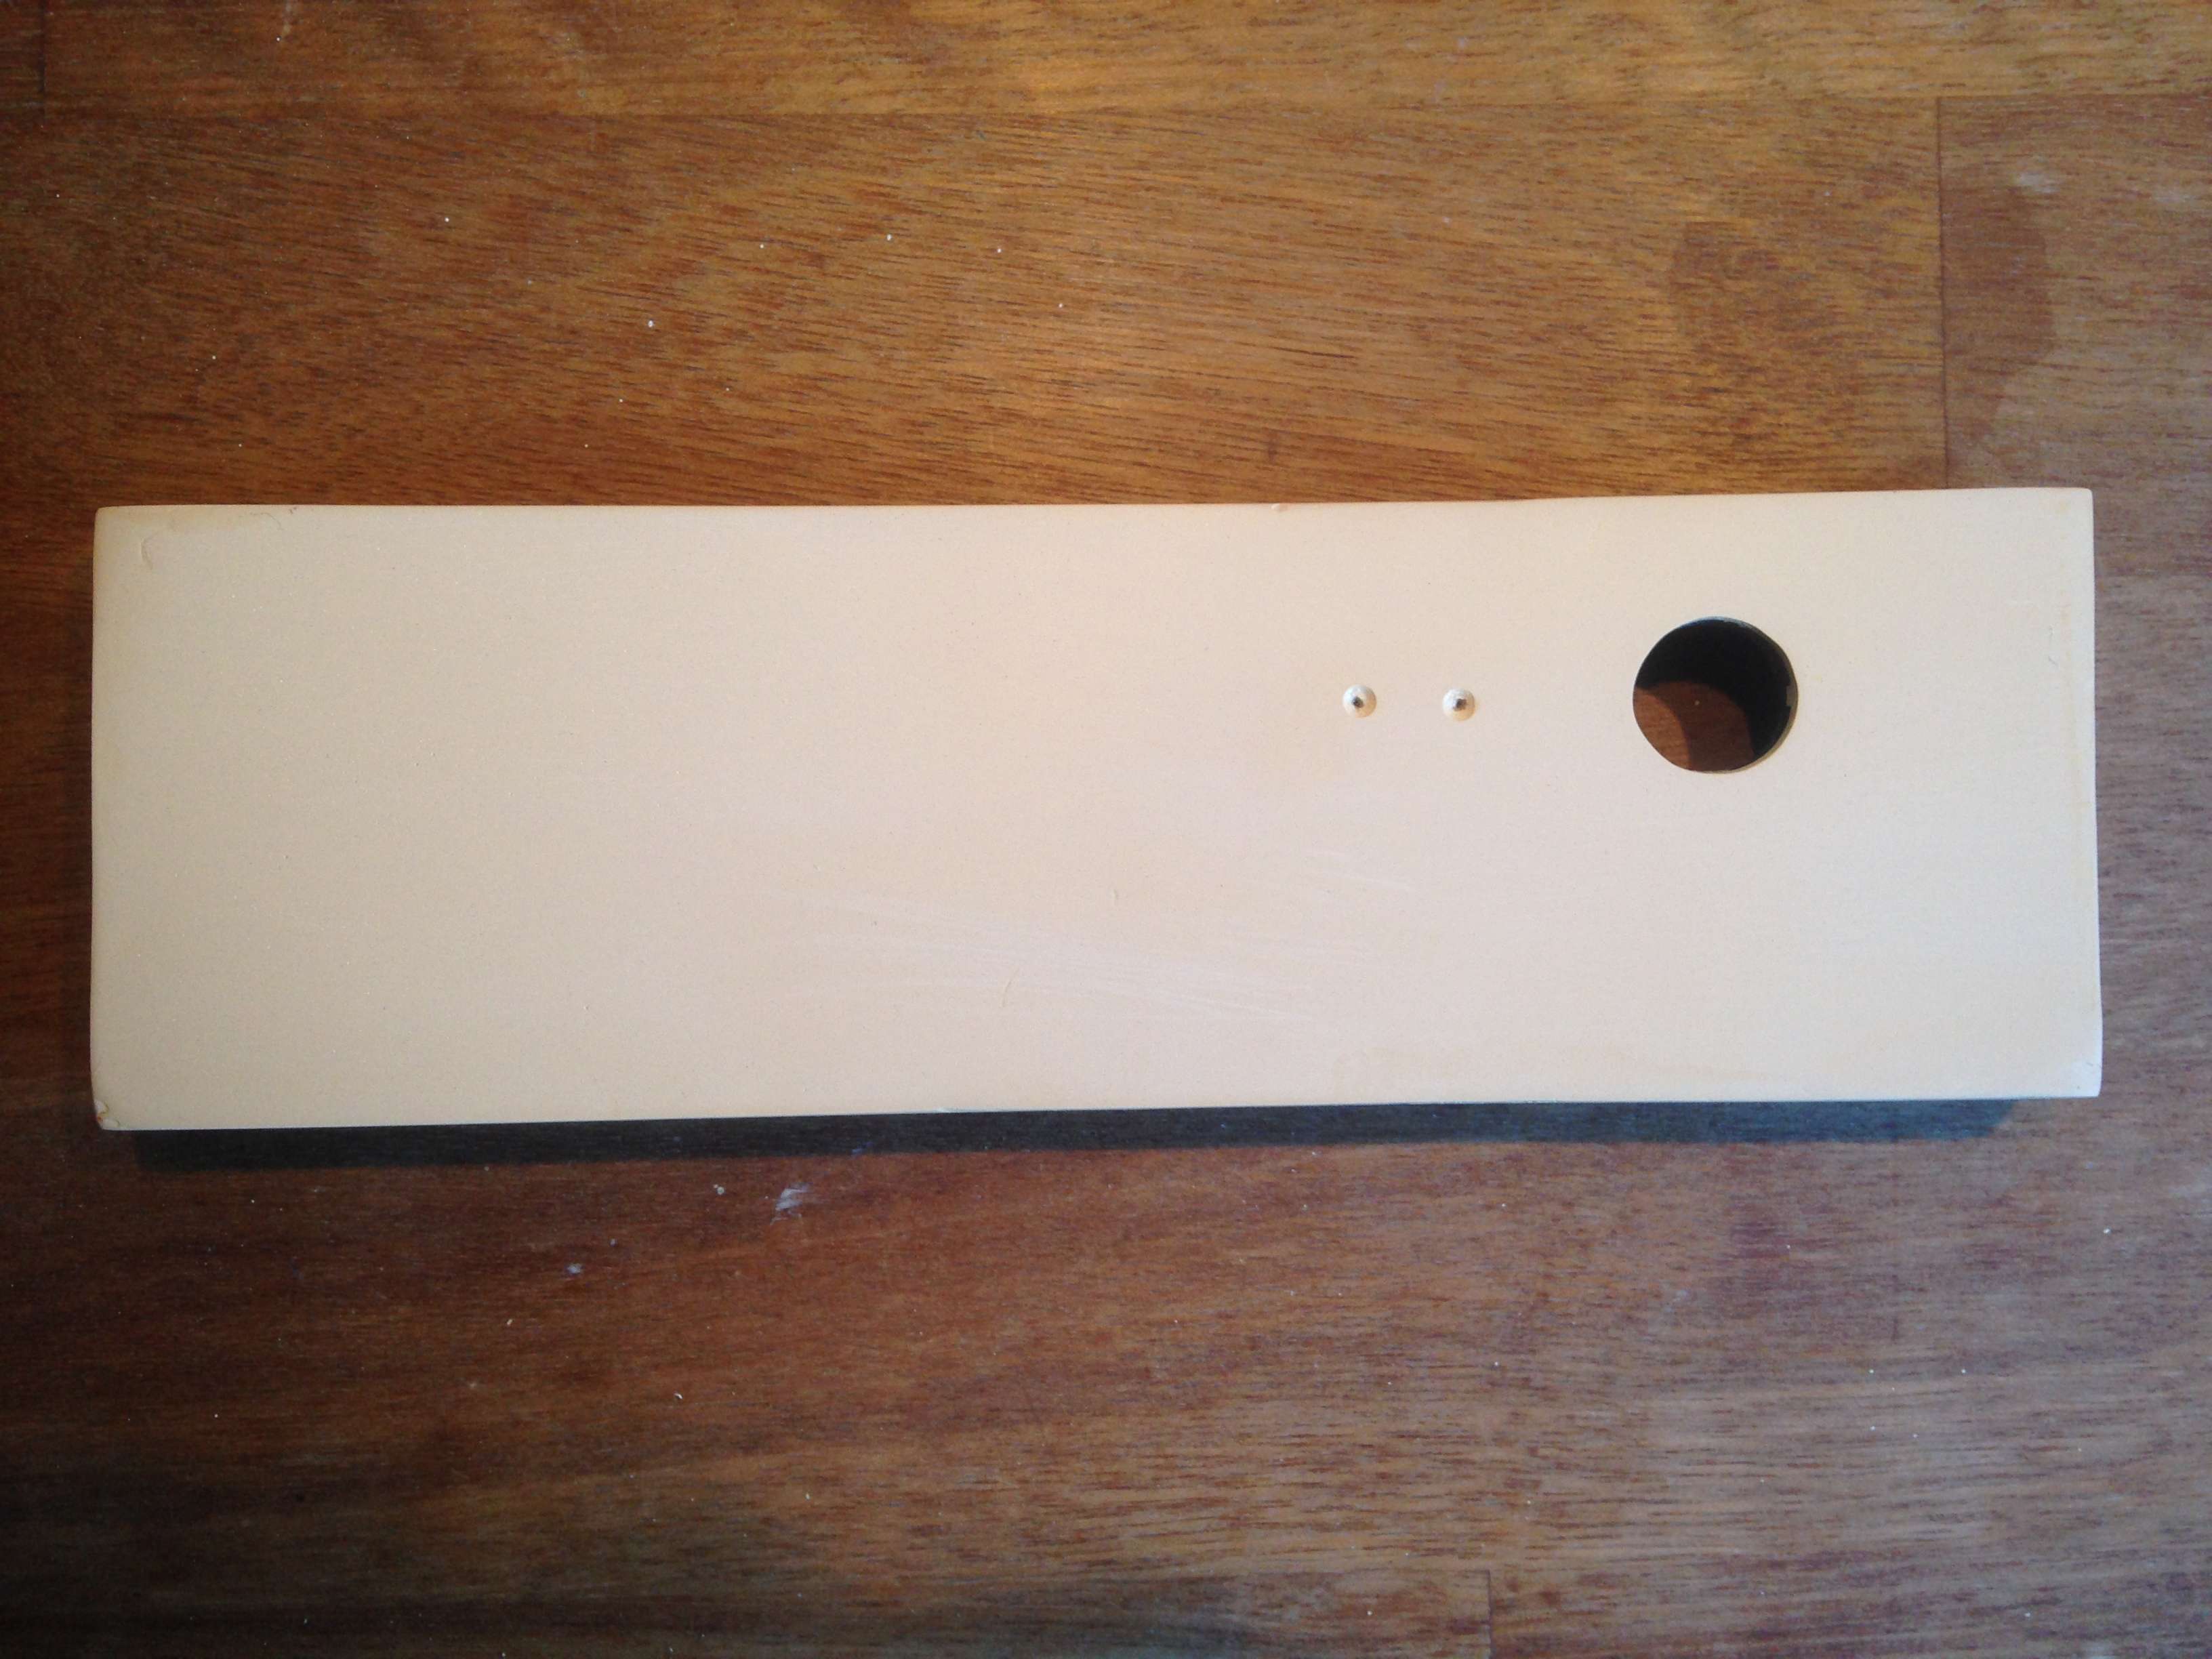
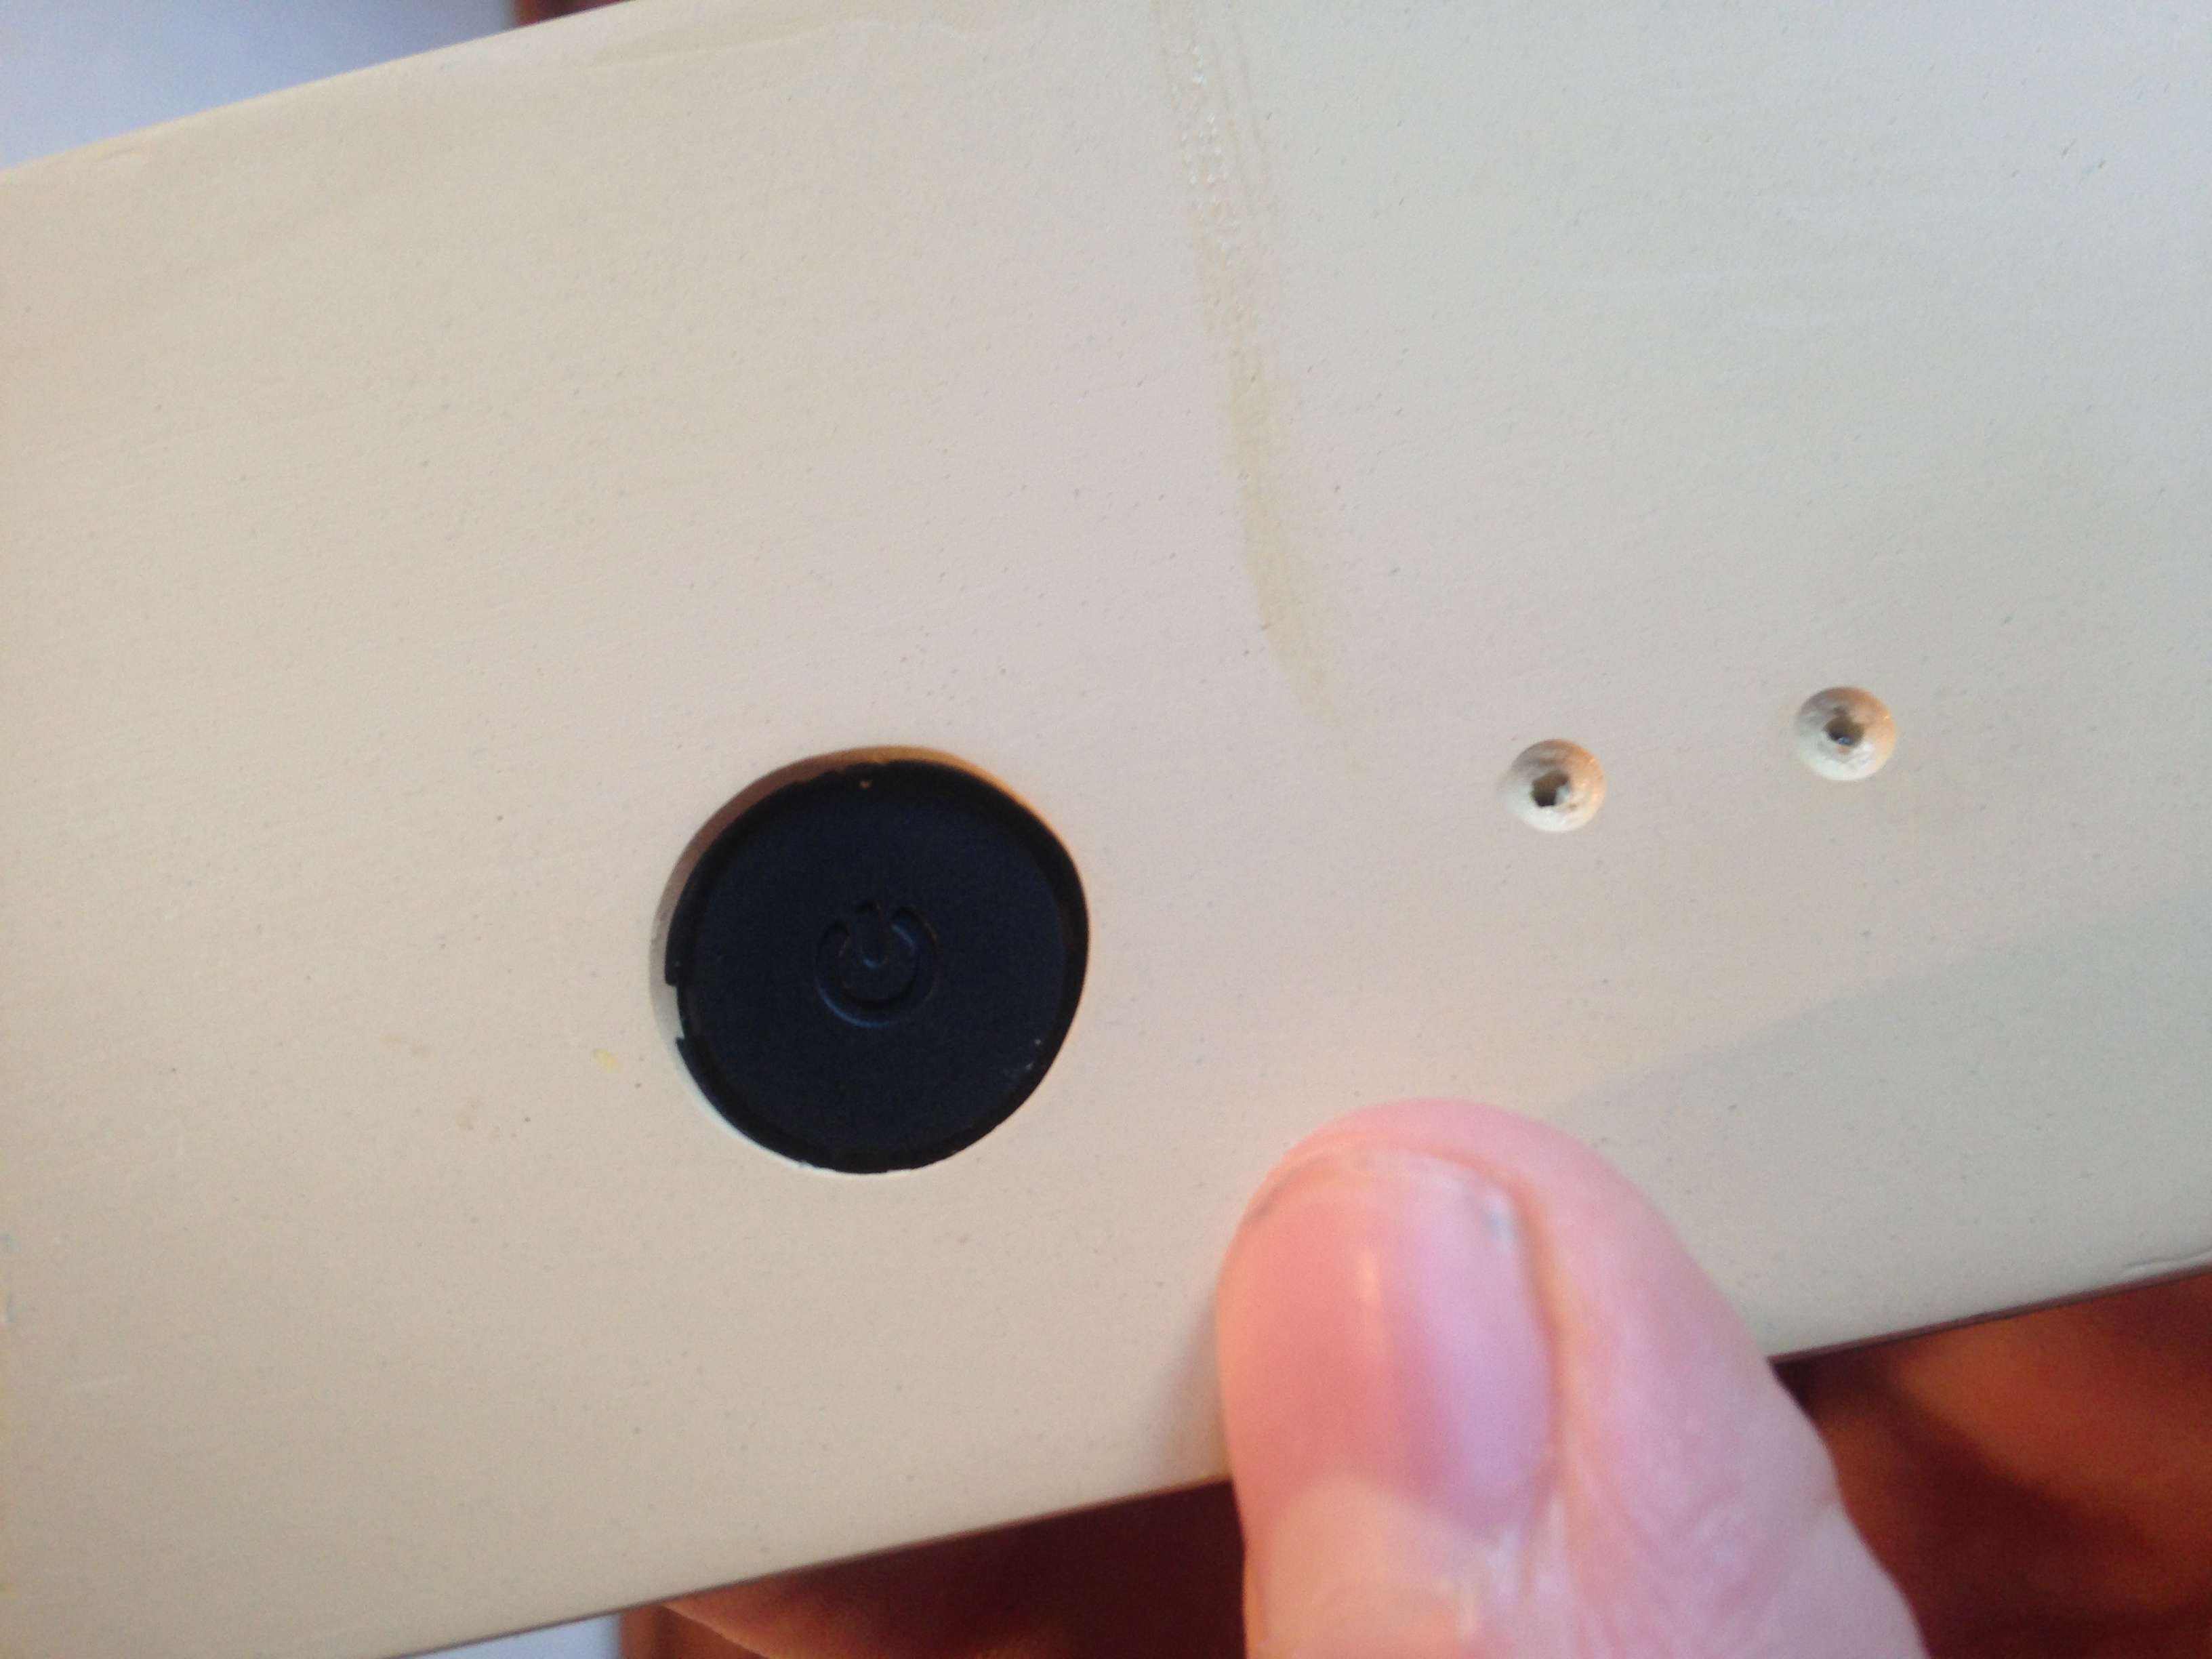
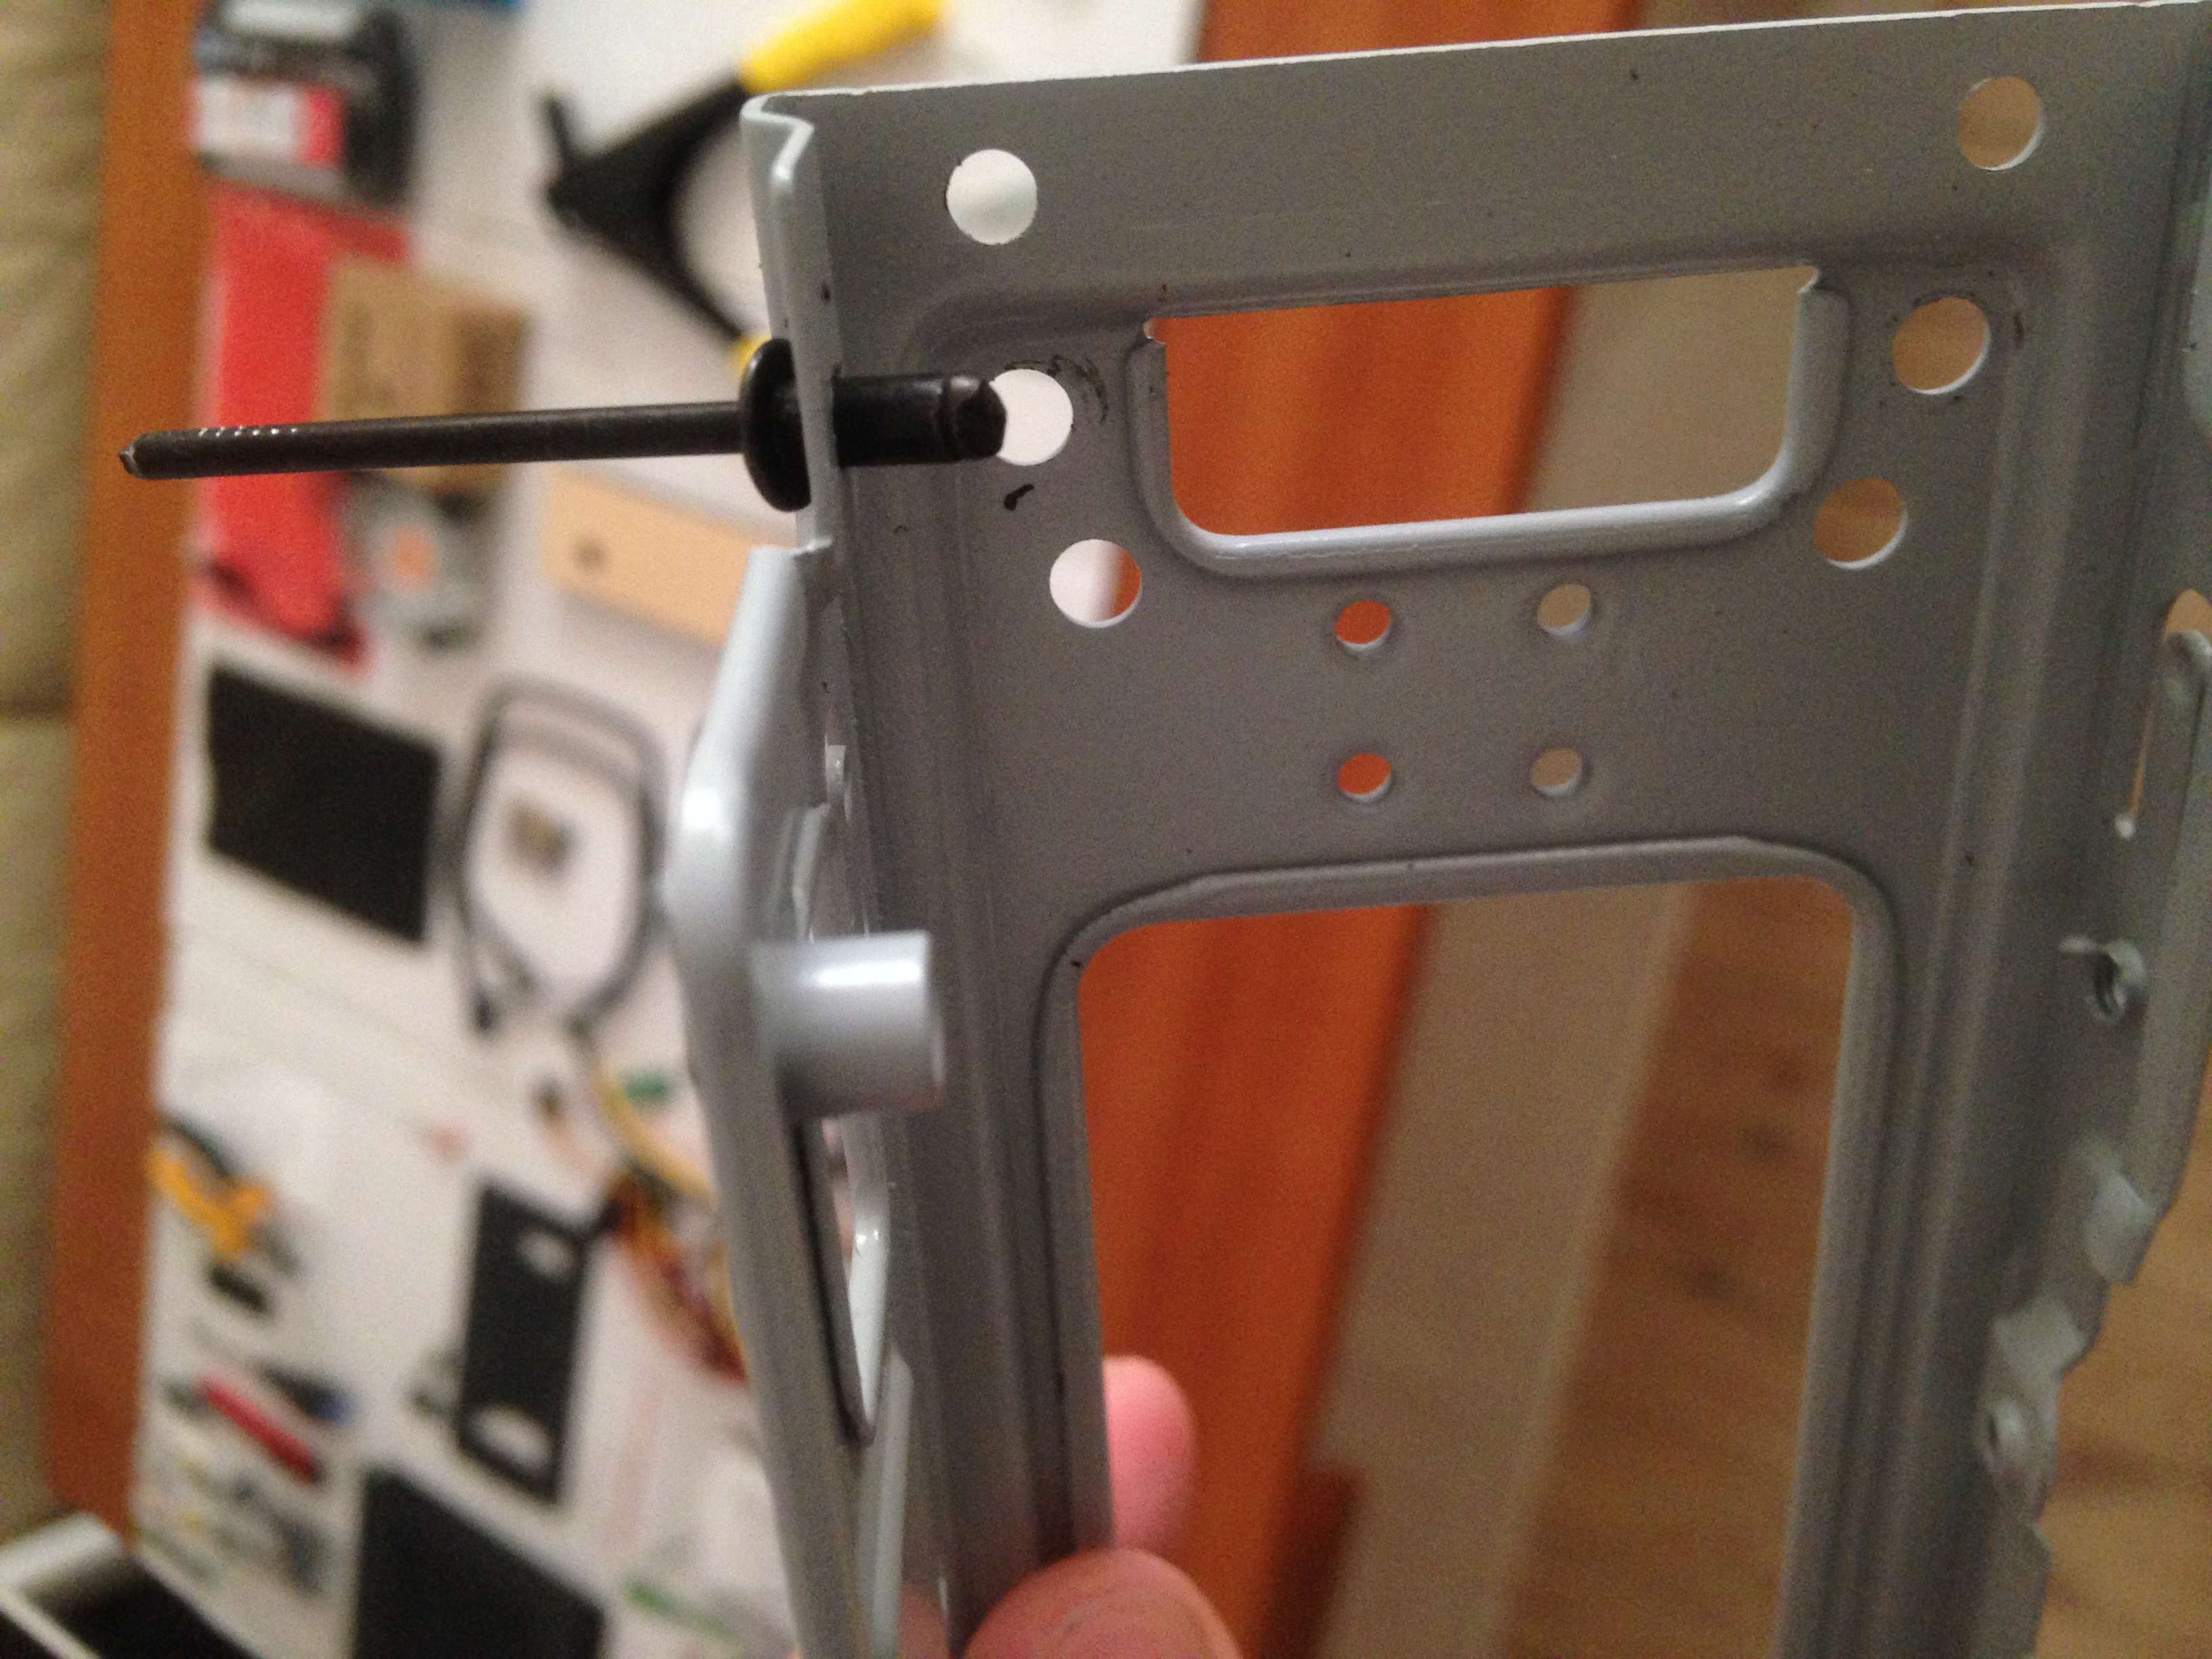
Disassembled the thing as much as possible without having to break out power tools (yet).

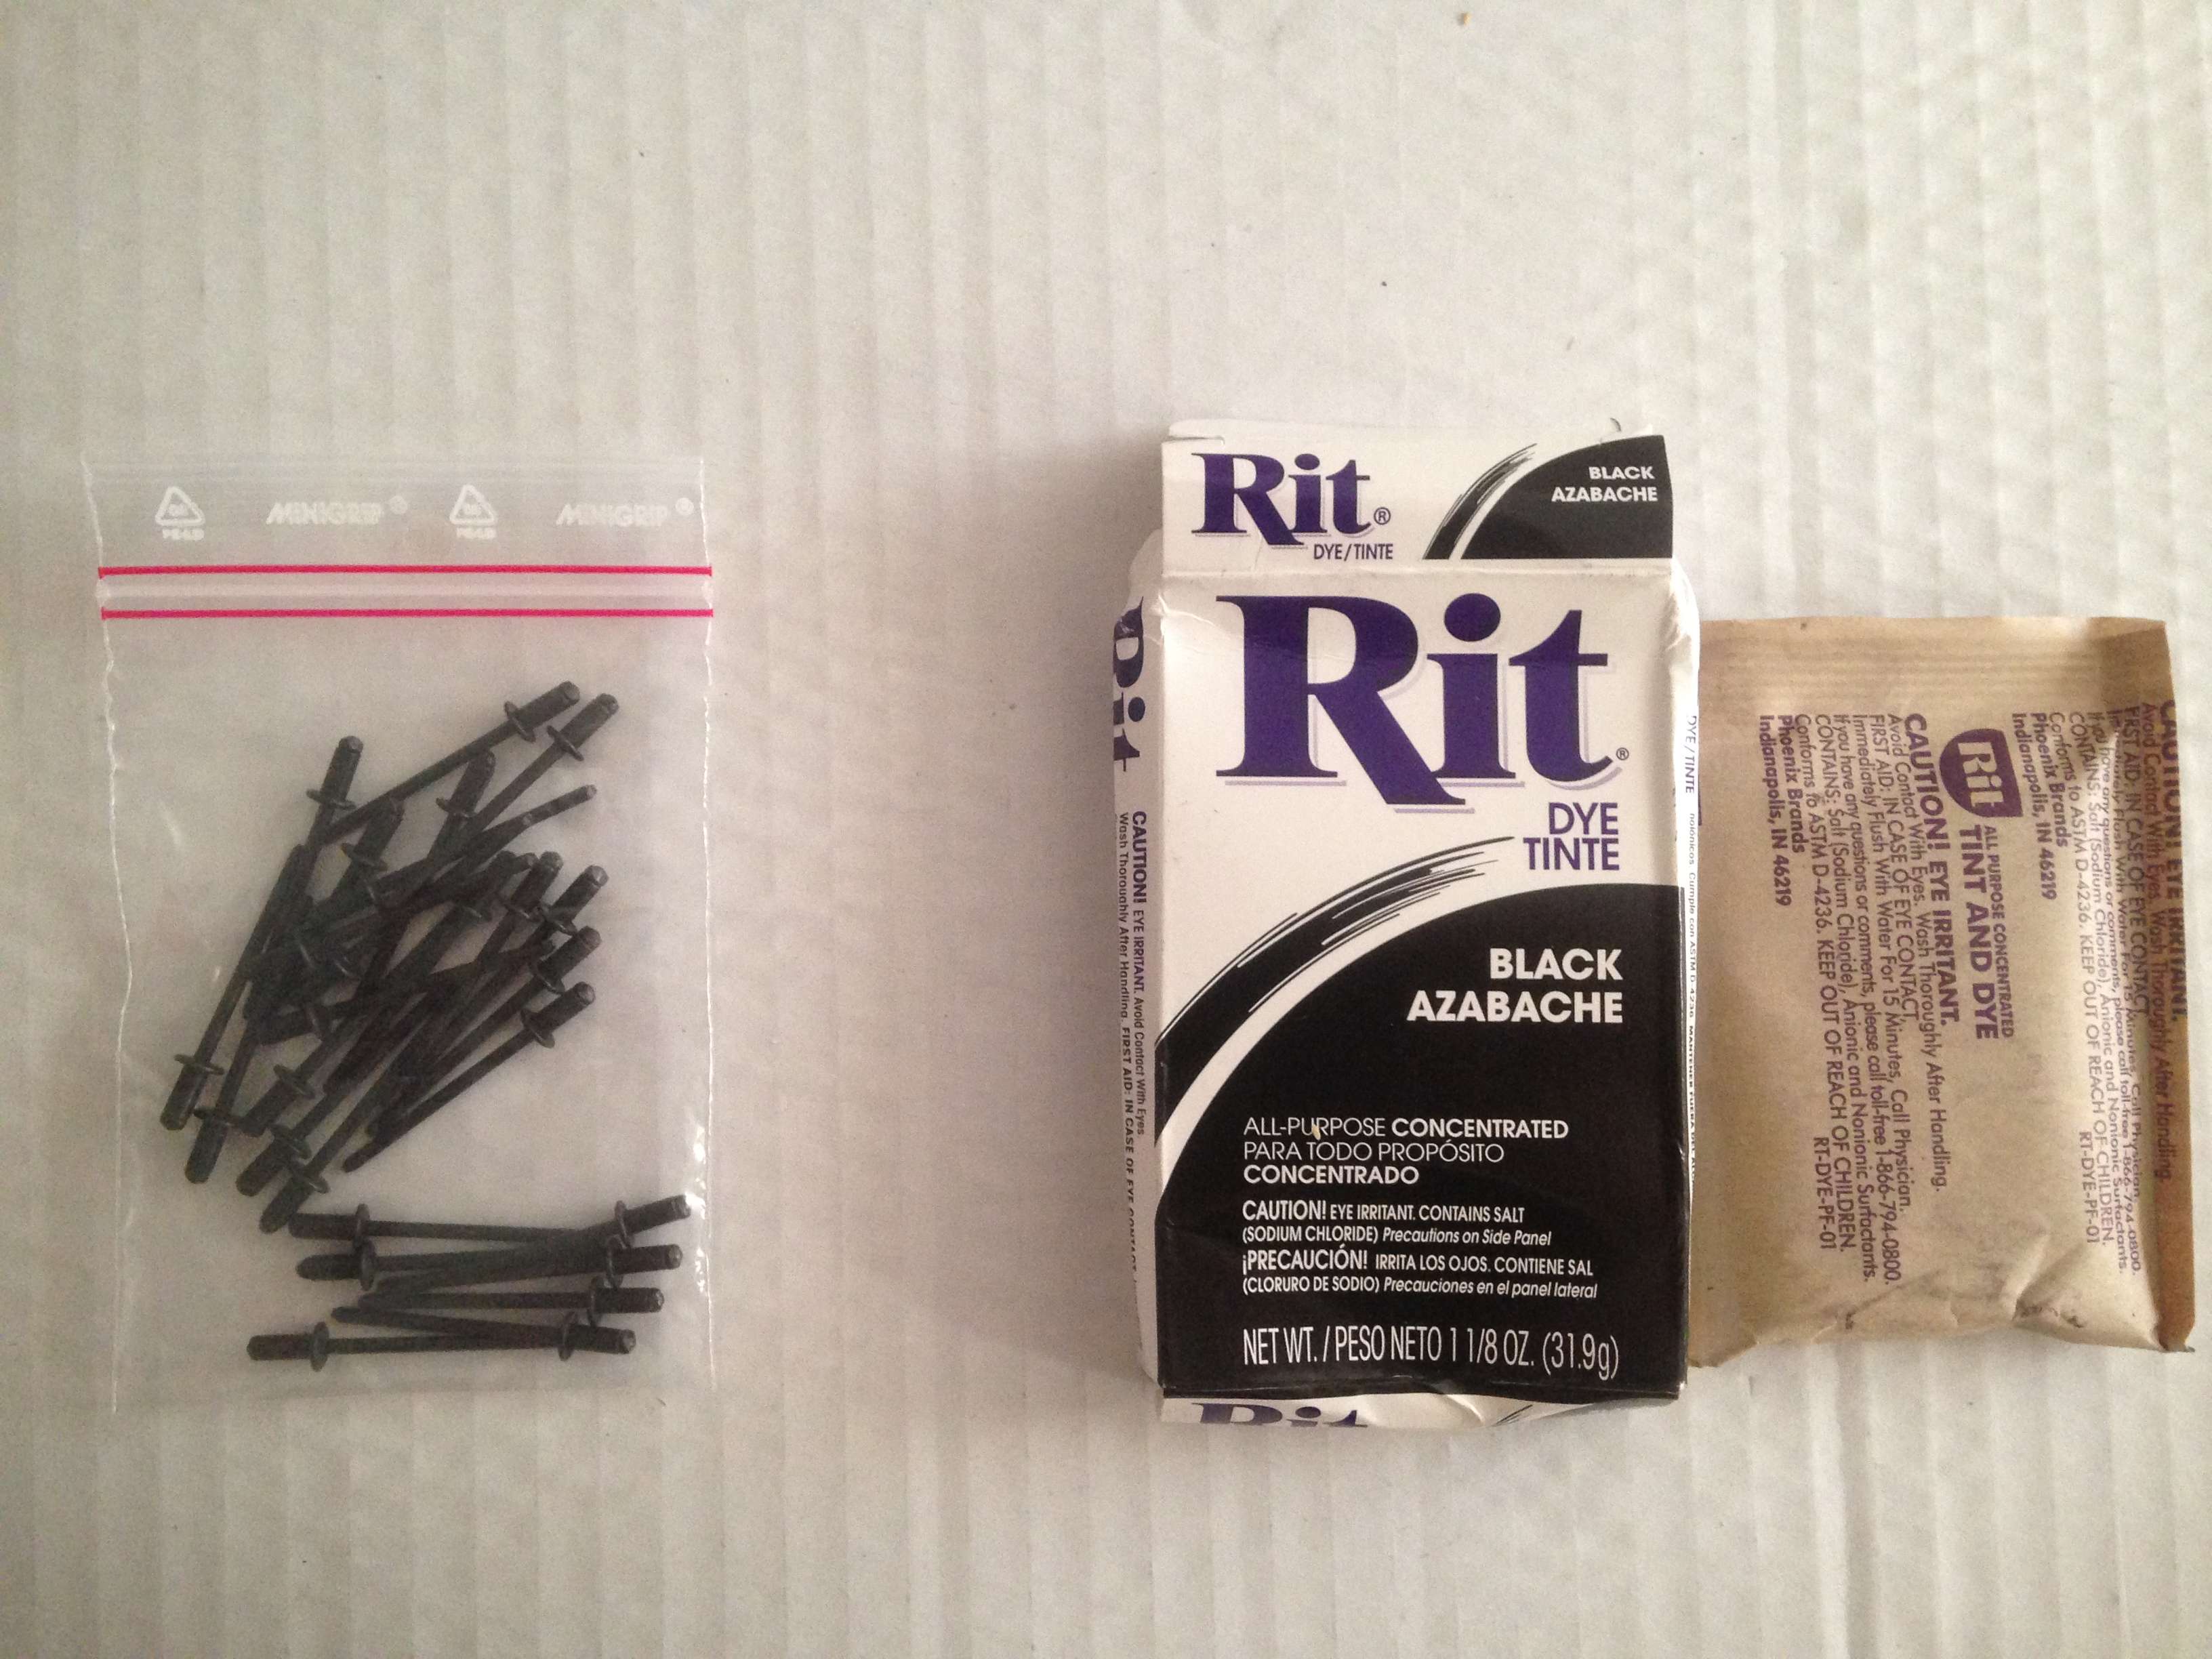
I need to remove the rivets in the rest of the case (16 rivets in total) so I can paint the grey metal in a mat black instead. After that I will re-rivet with black rivets.
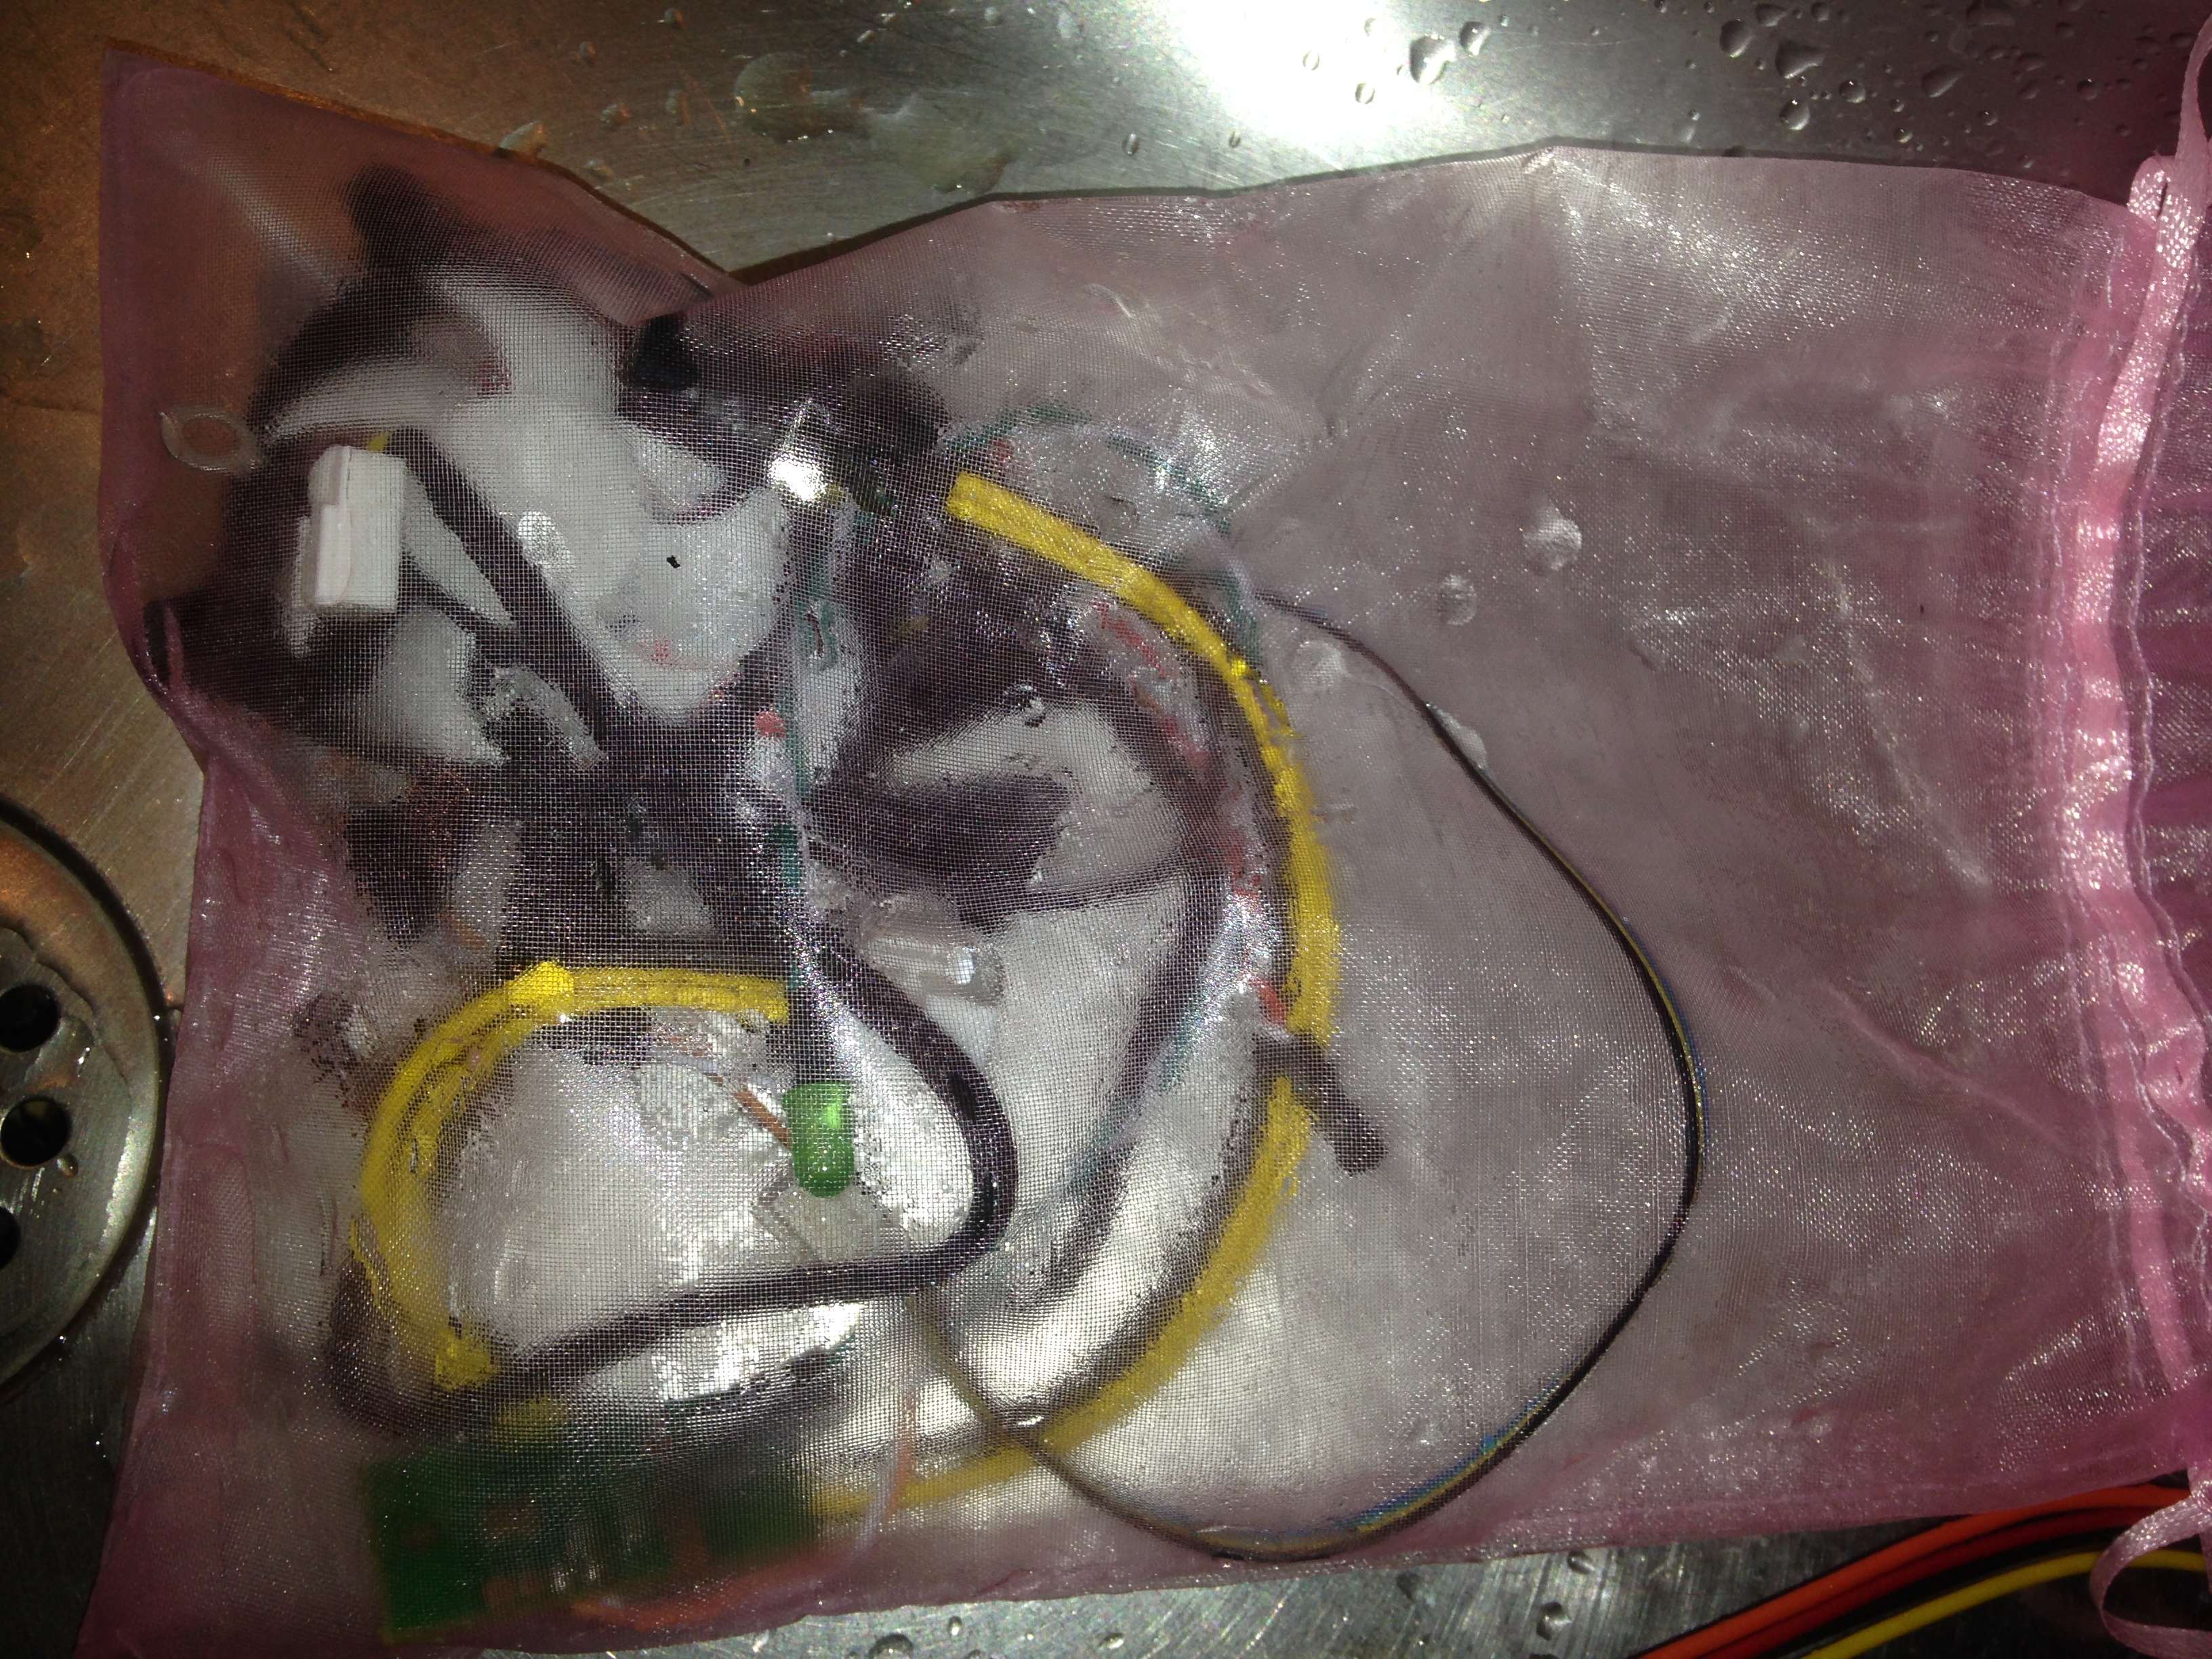
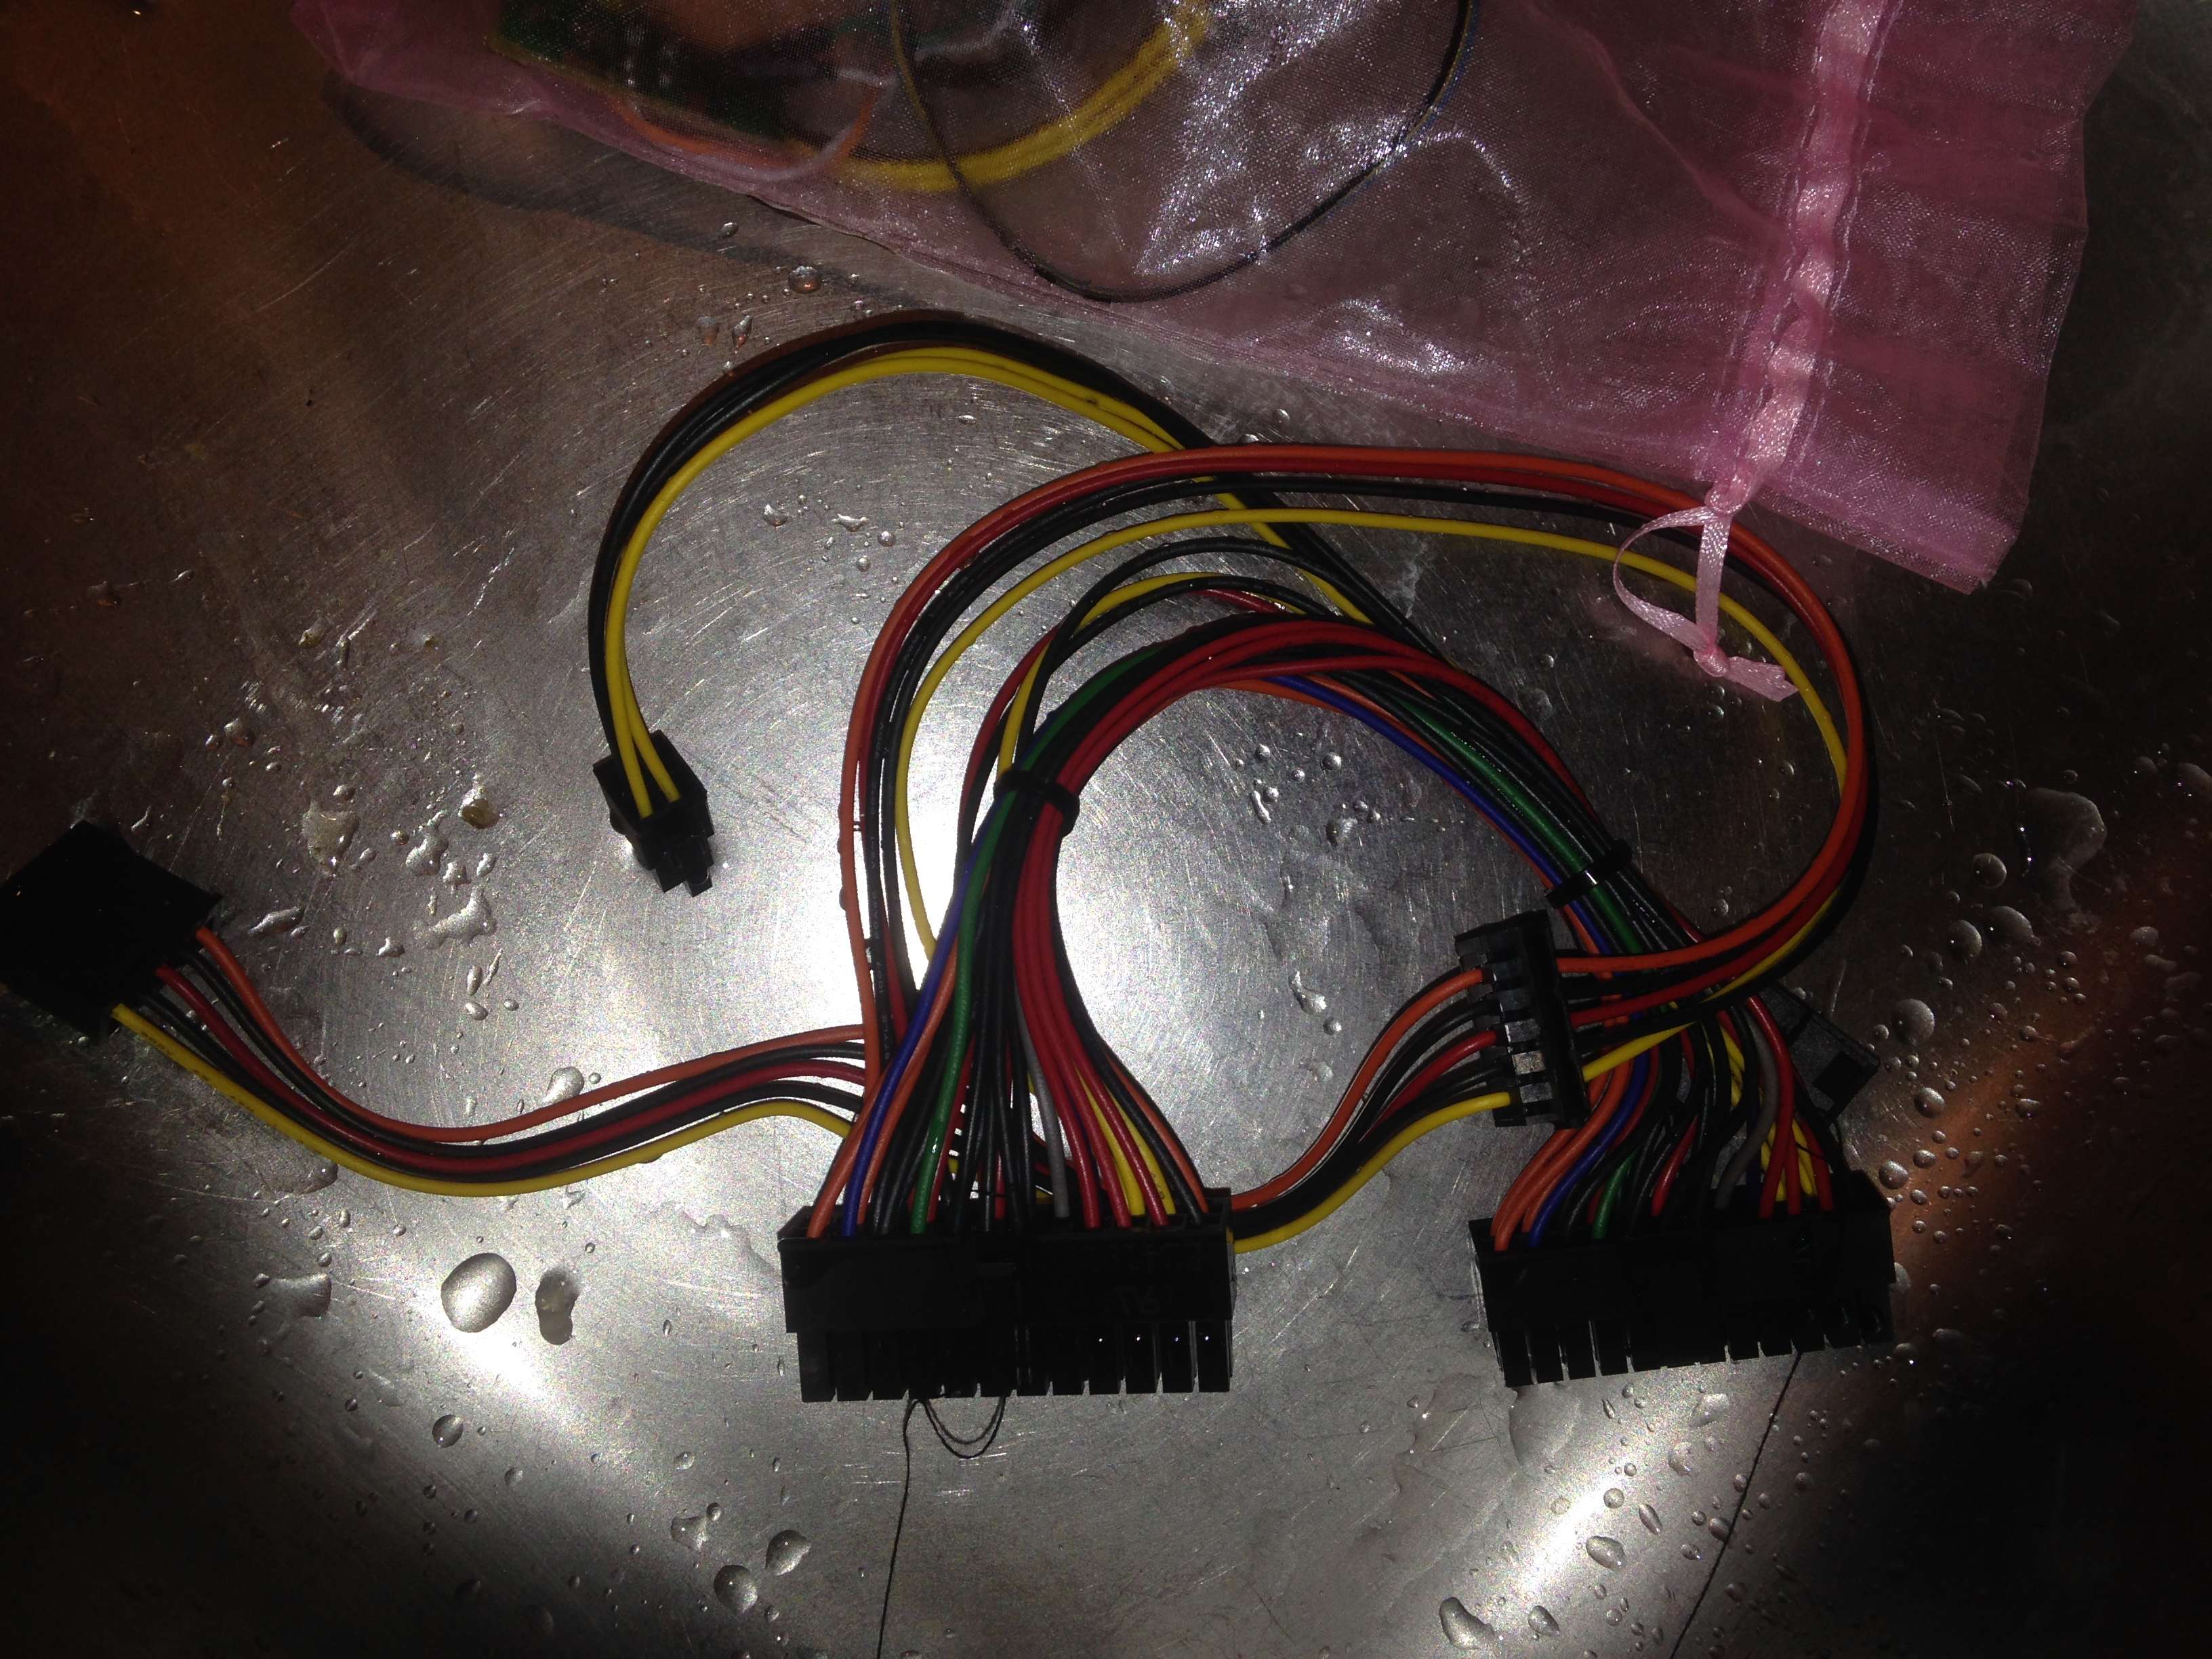
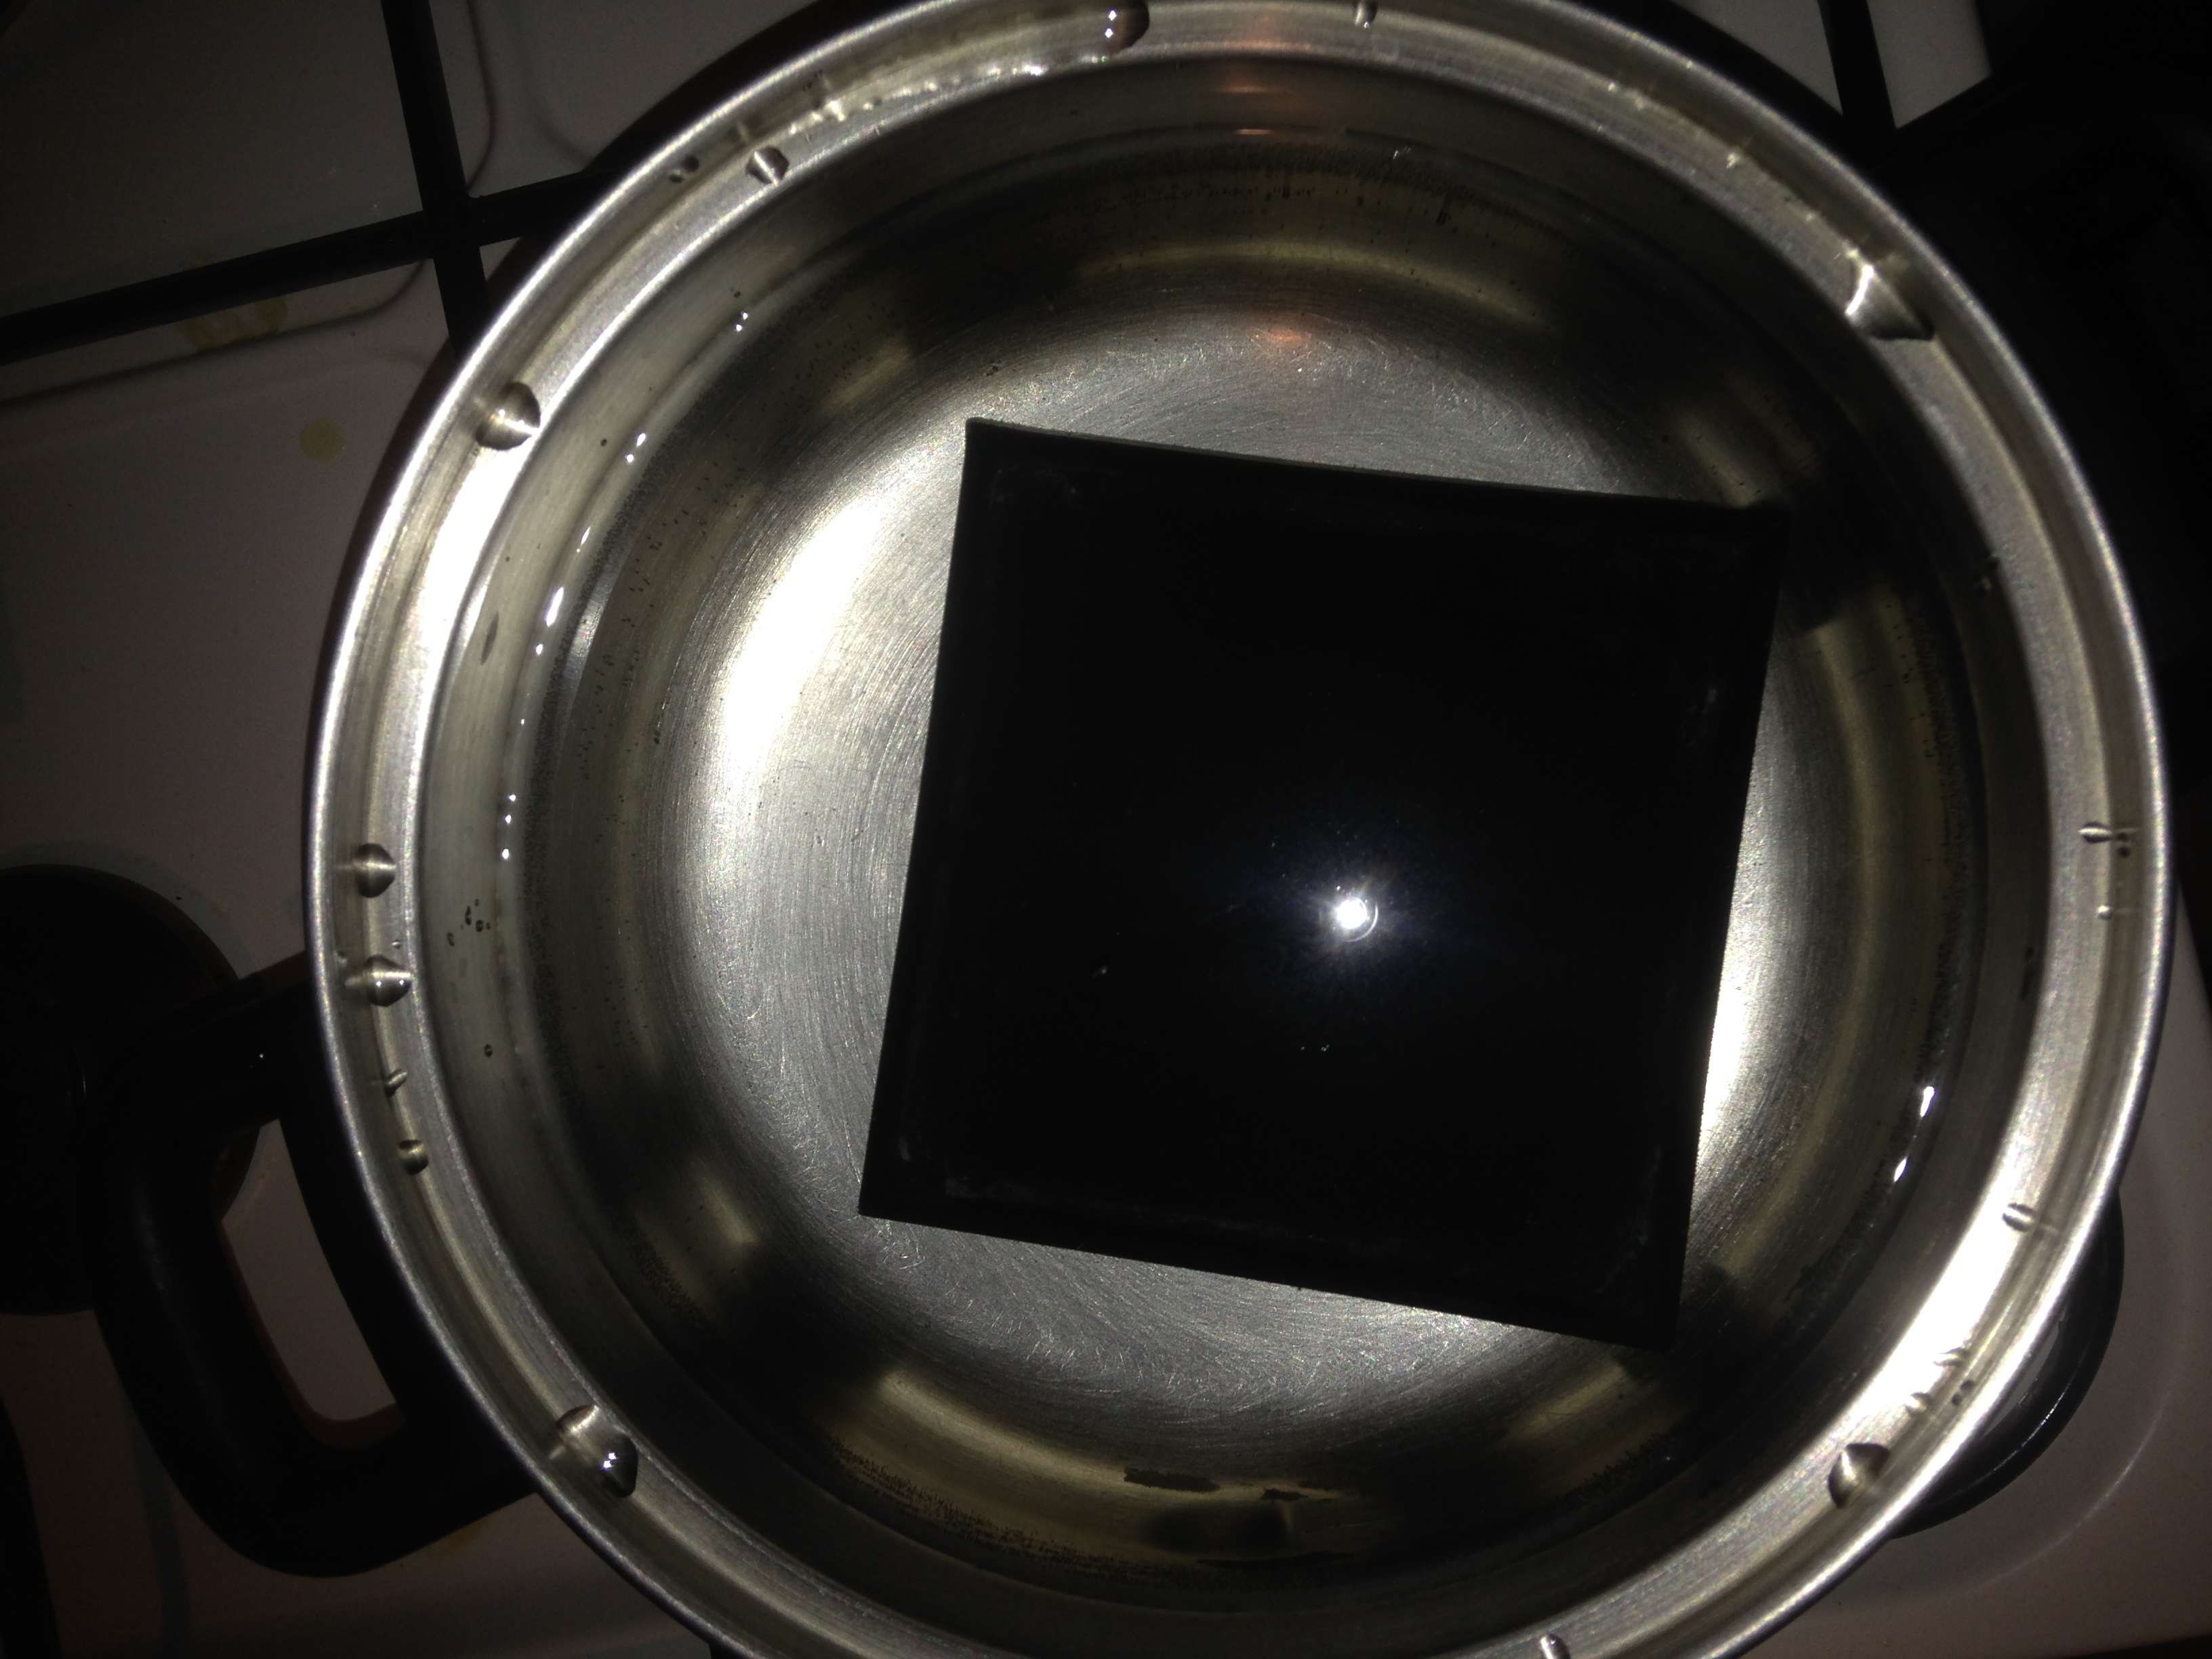
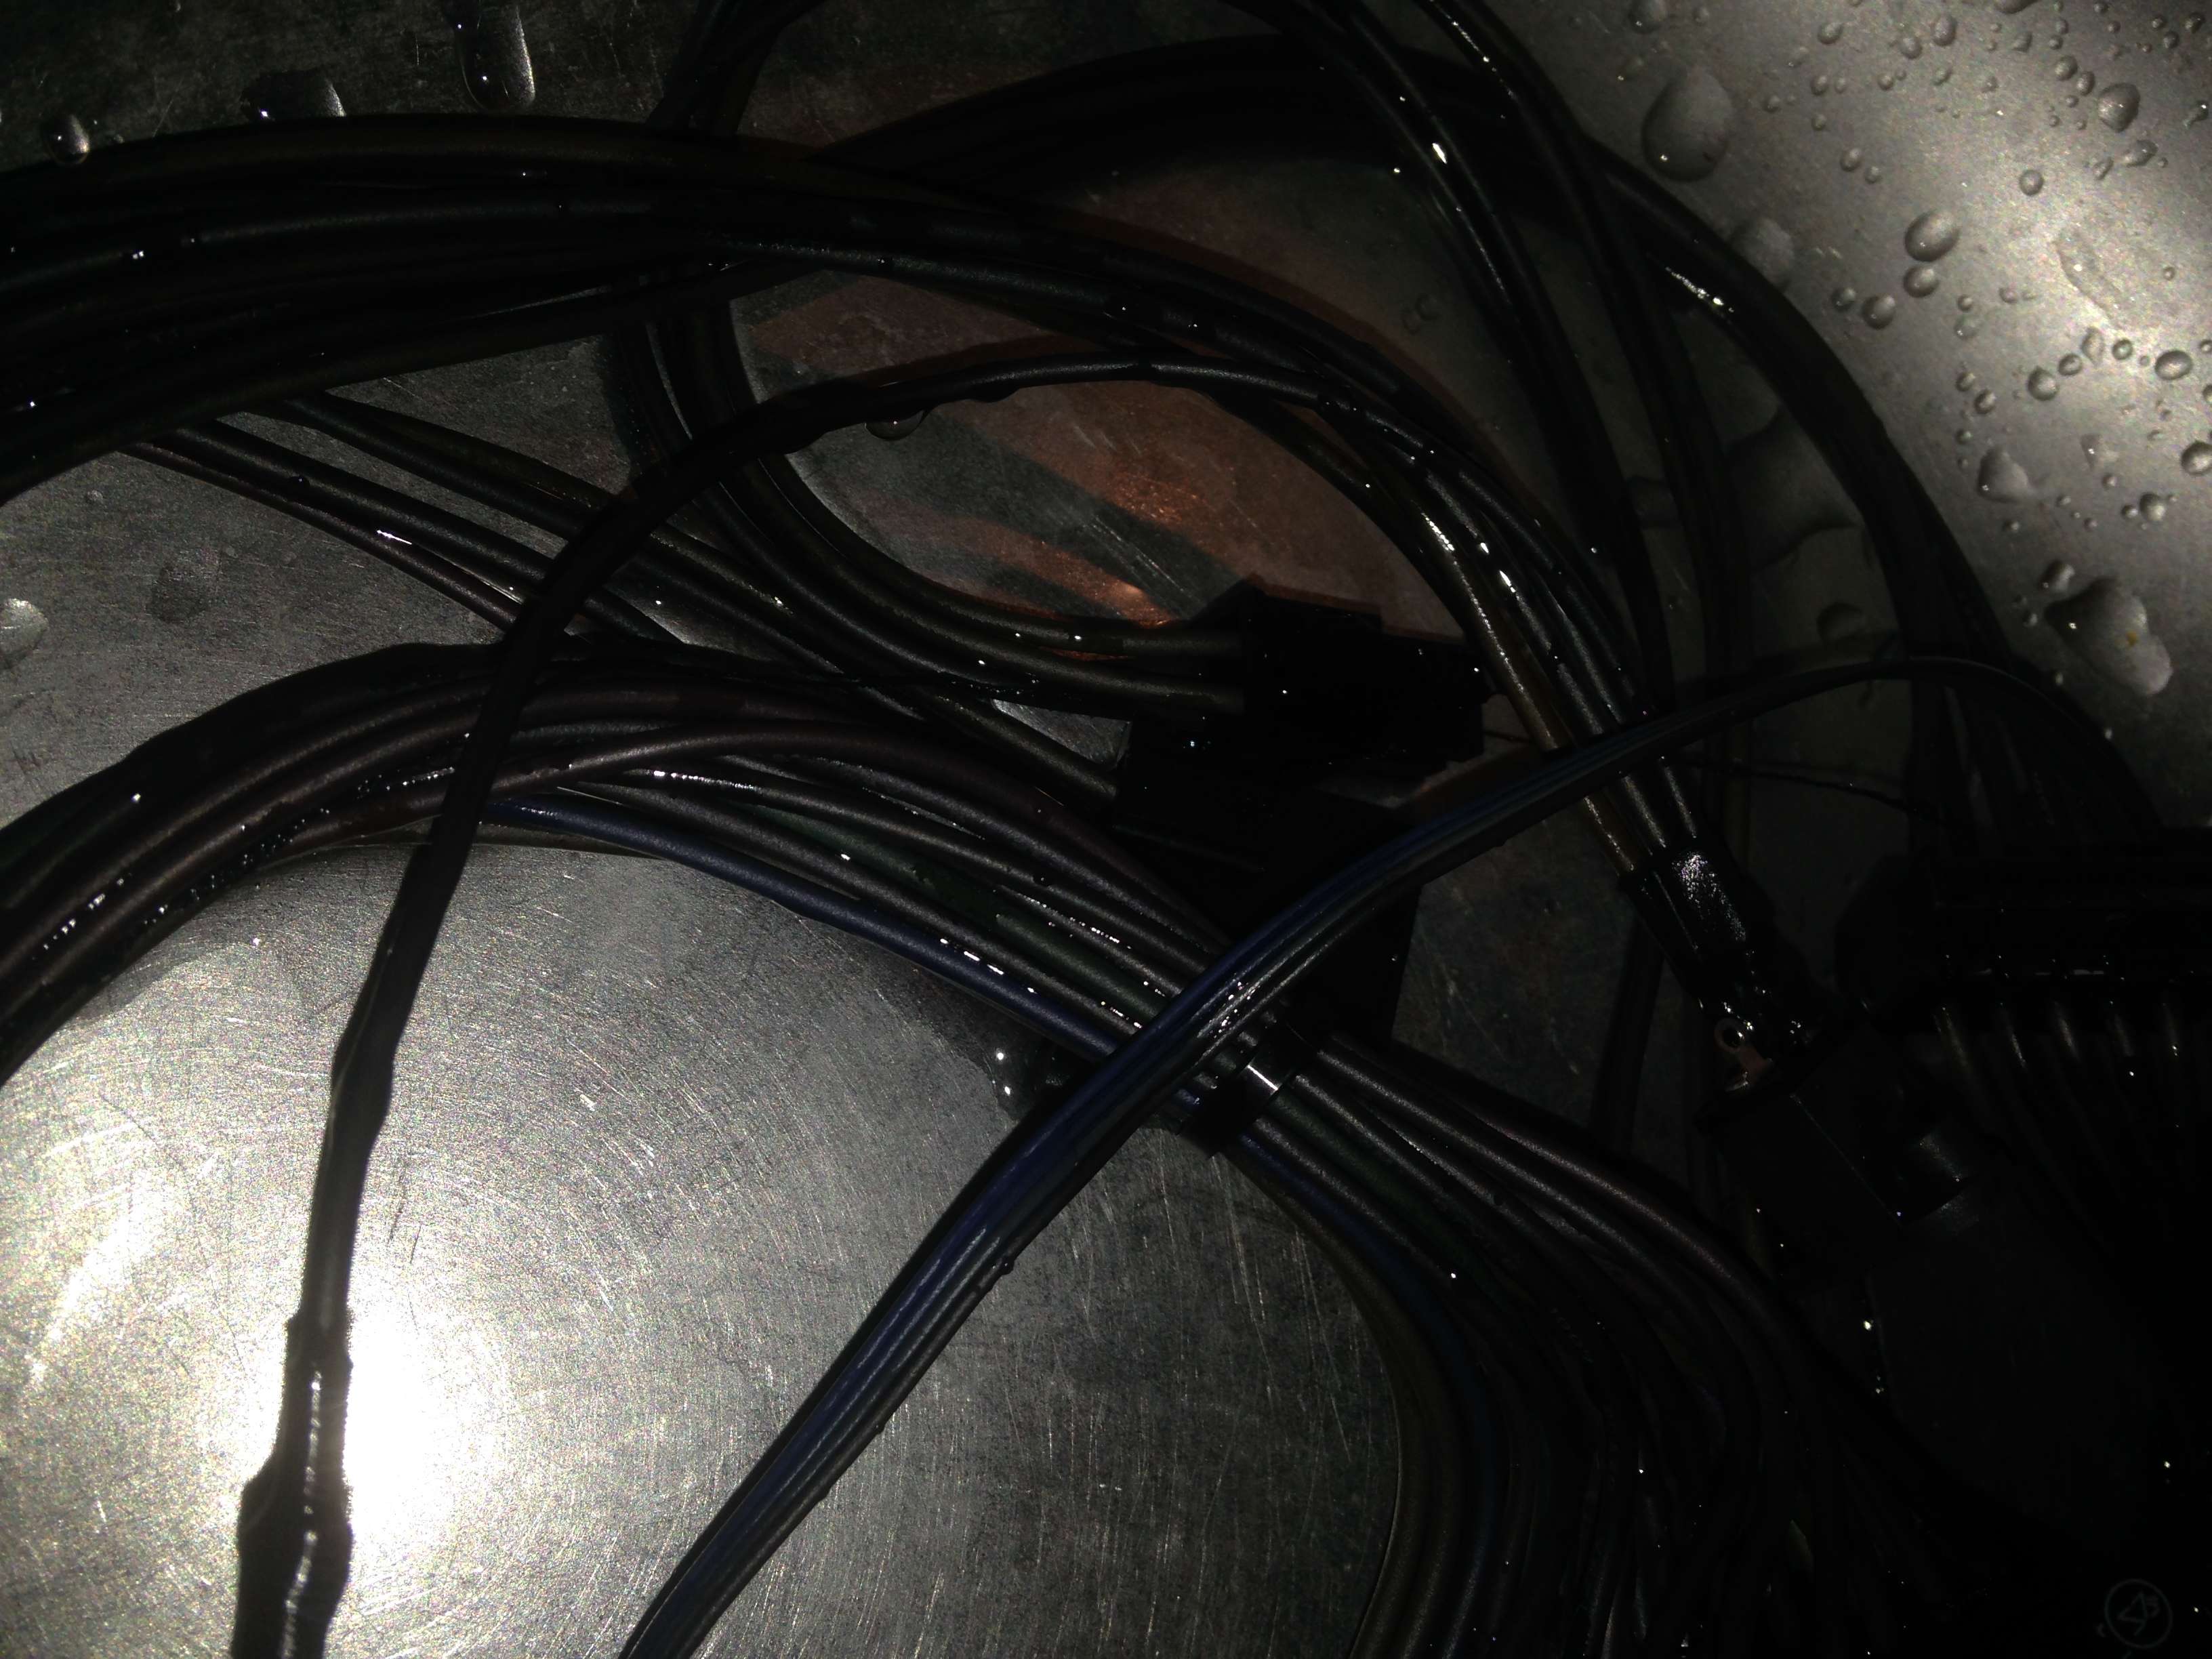
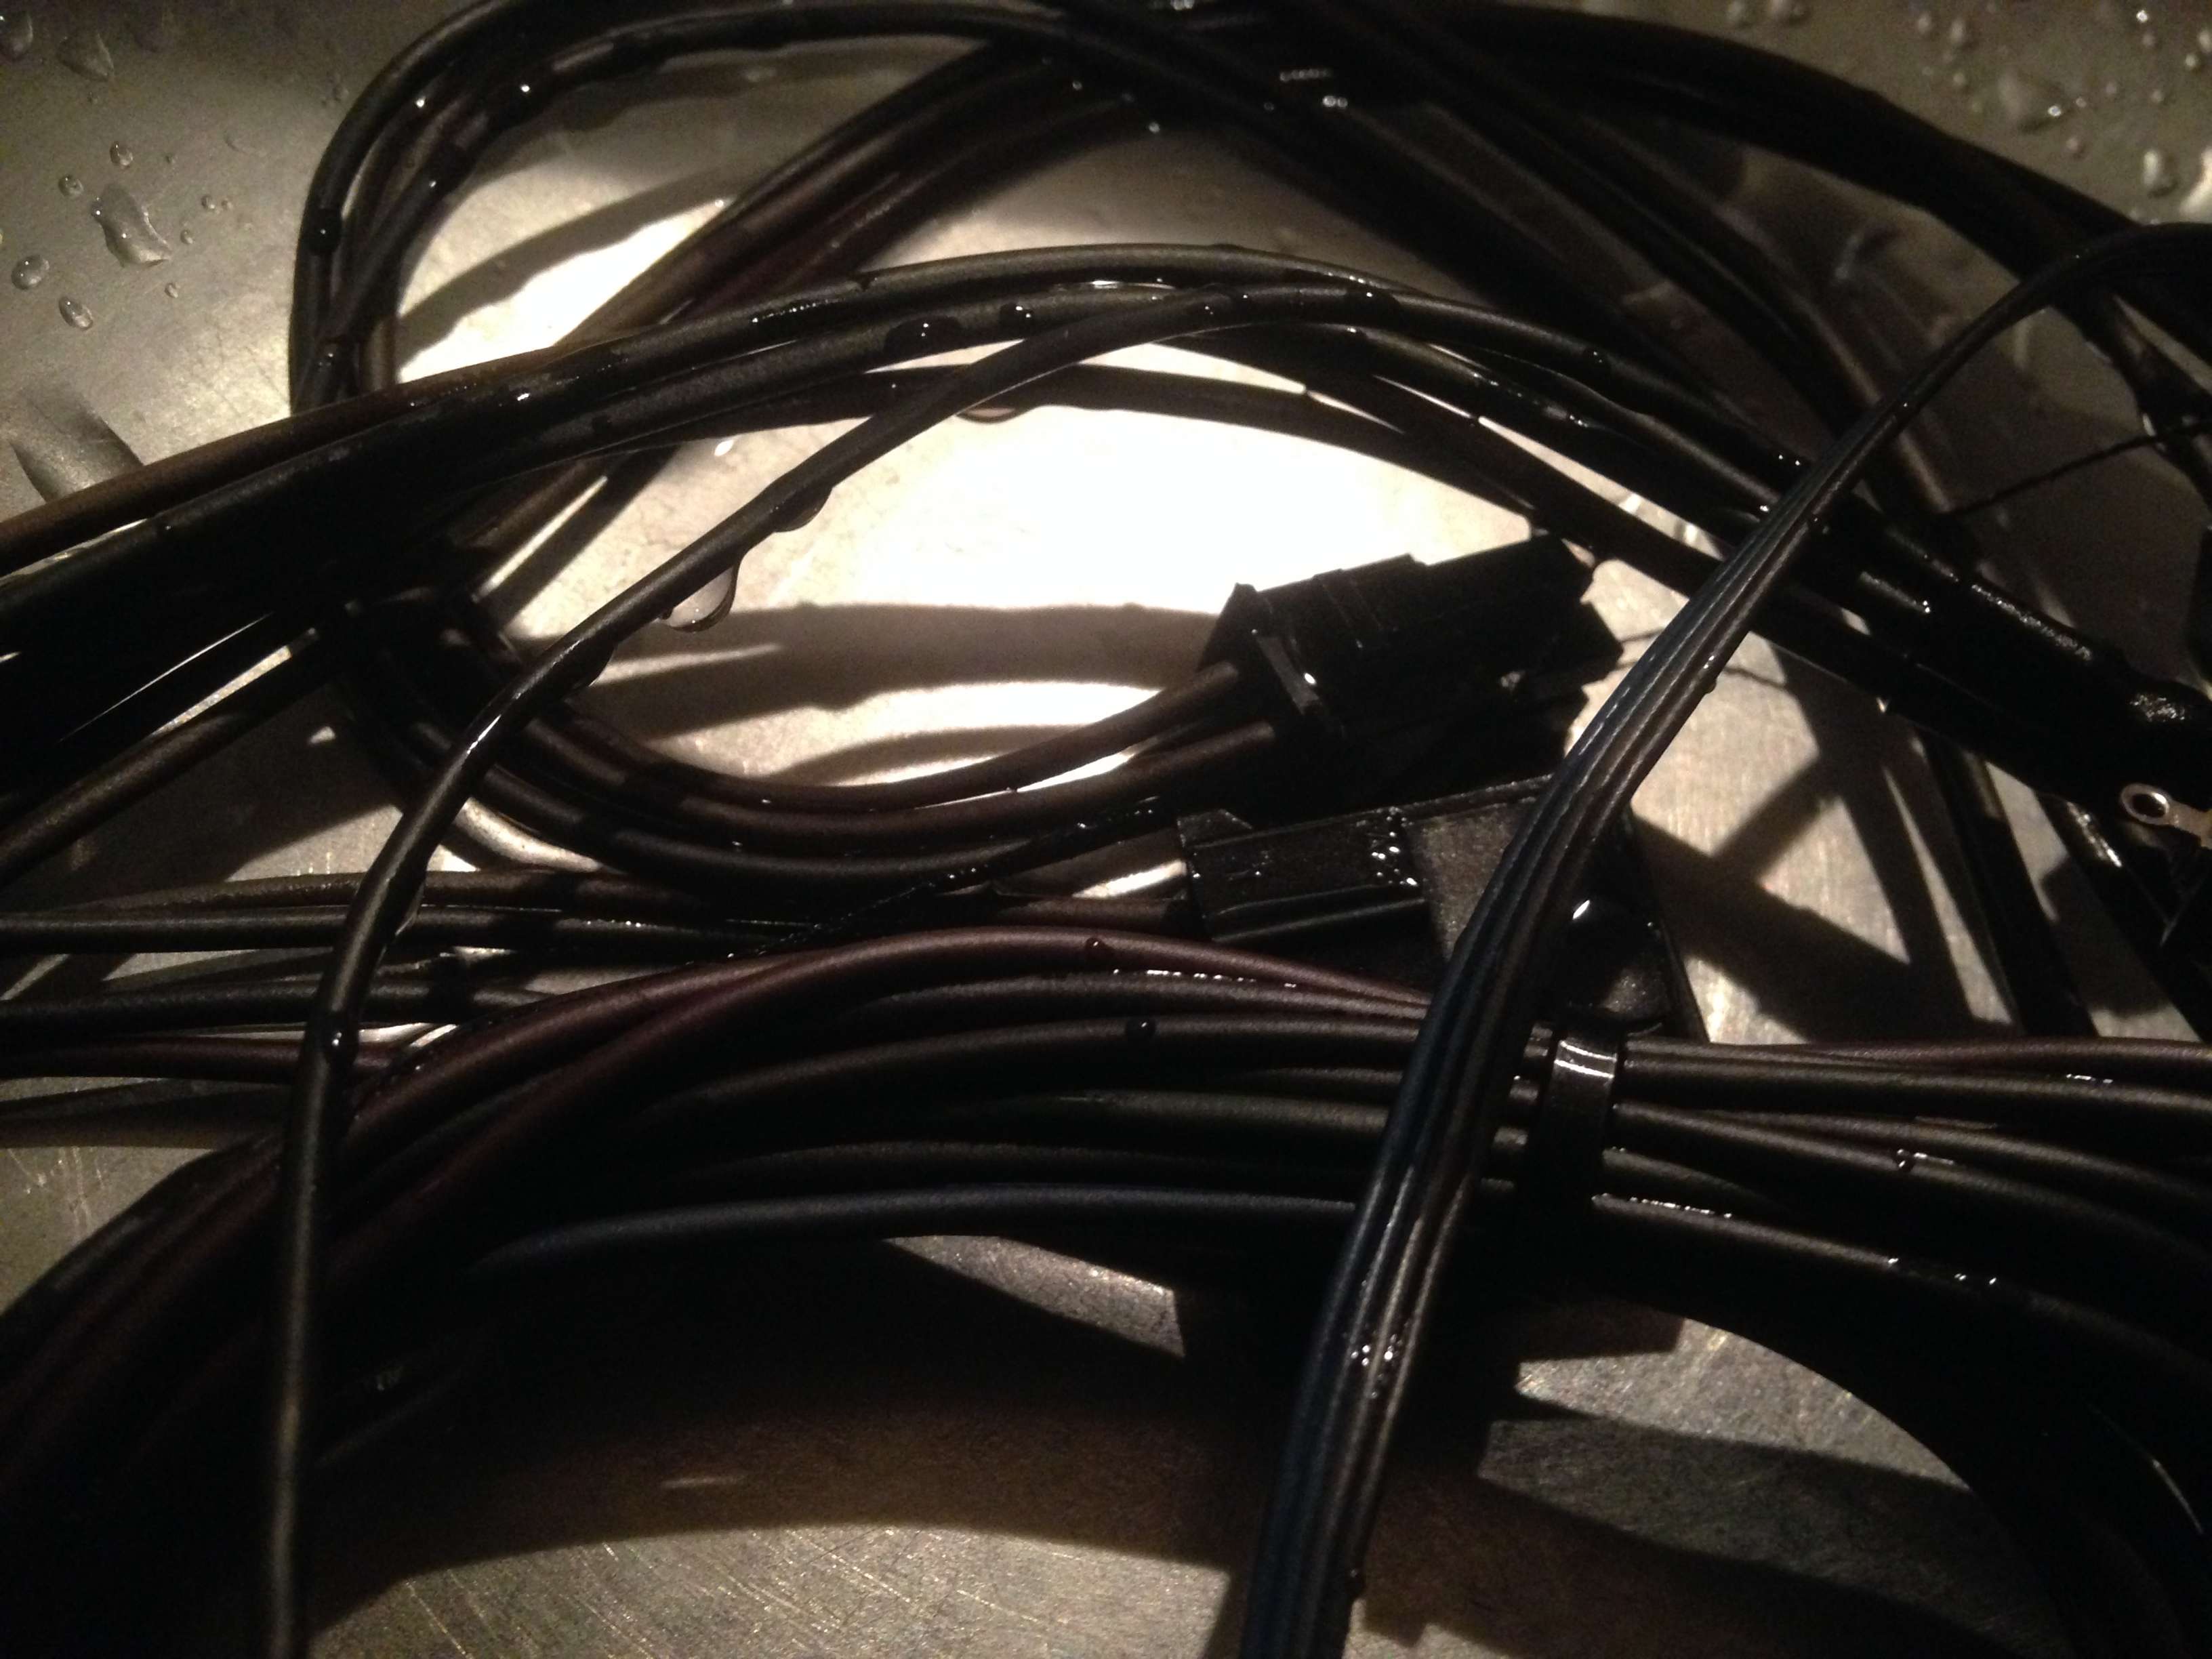
Also just ordered a case of Rit fabric dye, as someone told me it works on wires - so I can get all the PSU wires to be black instead of mixed colors.
If that was not enough, I even picked up two frosted white 5mm LEDs I will solder onto the front LED wires, so they are a classy white instead of red and green (too old school).
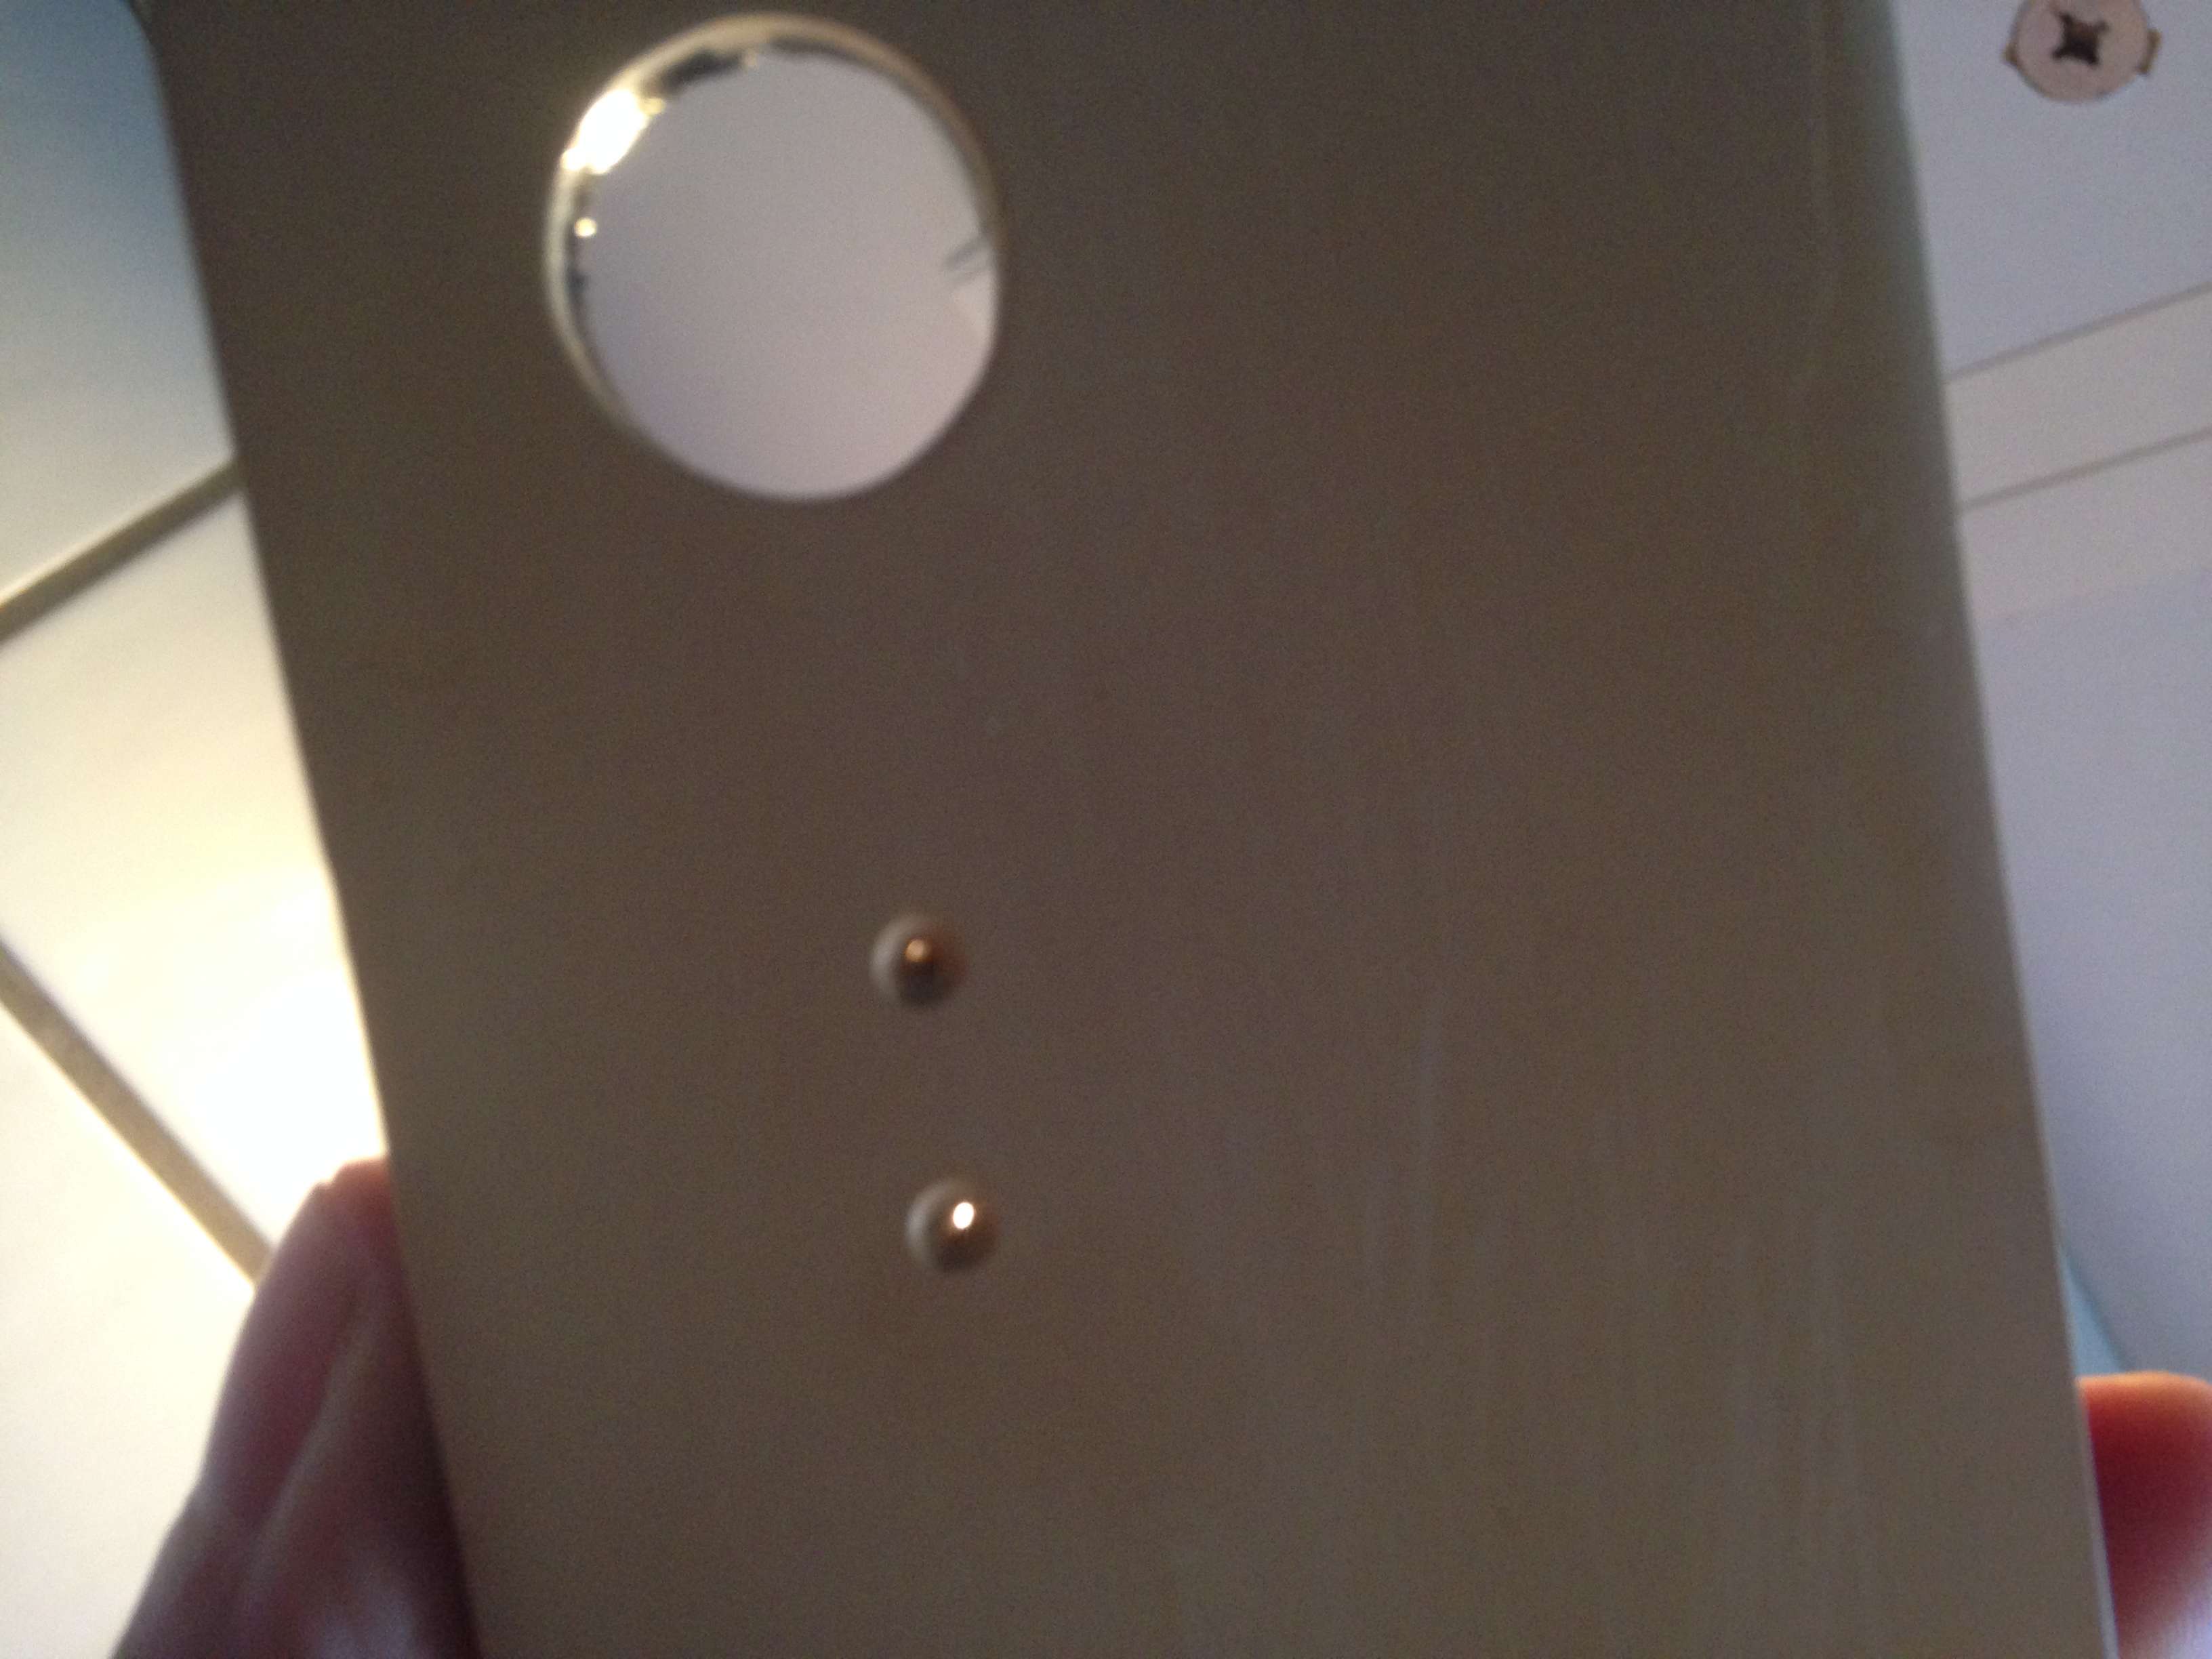
Now I just need to figure out how to remove the ugly chieftec logo on the front... As its embossed in the plastic when the front was molded, I guess I can use some kind of plastic padding and level the whole front and then paint it over.
I knew I could not help my self... I have to mod when I build...
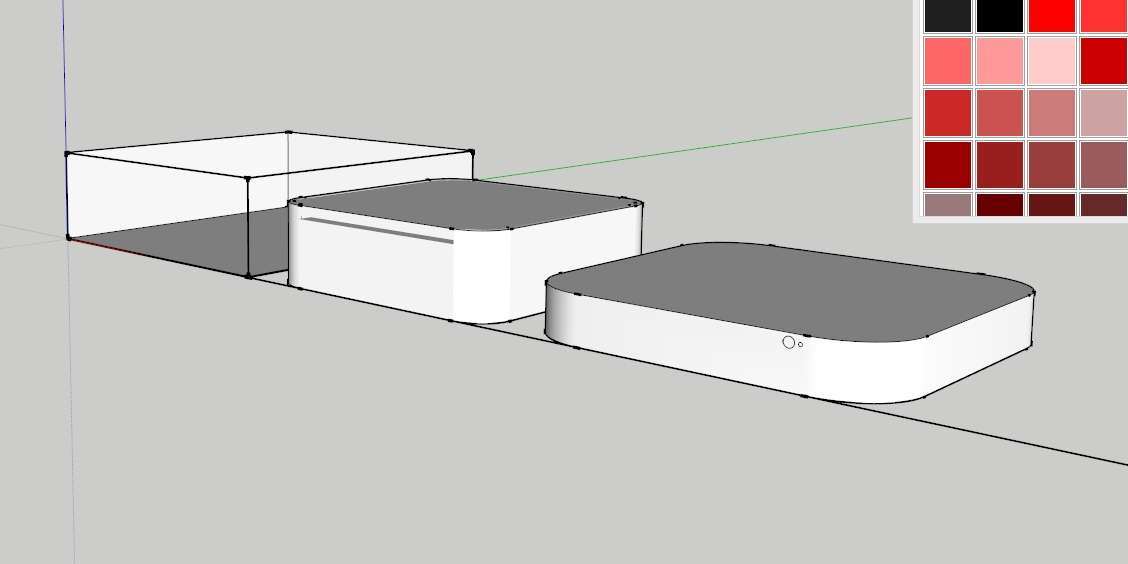
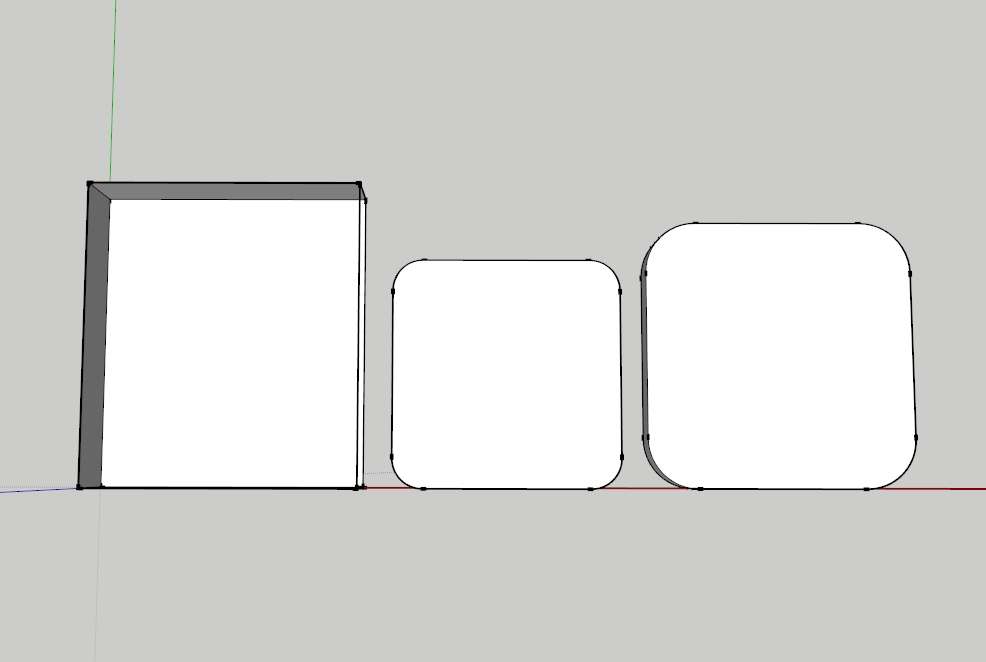
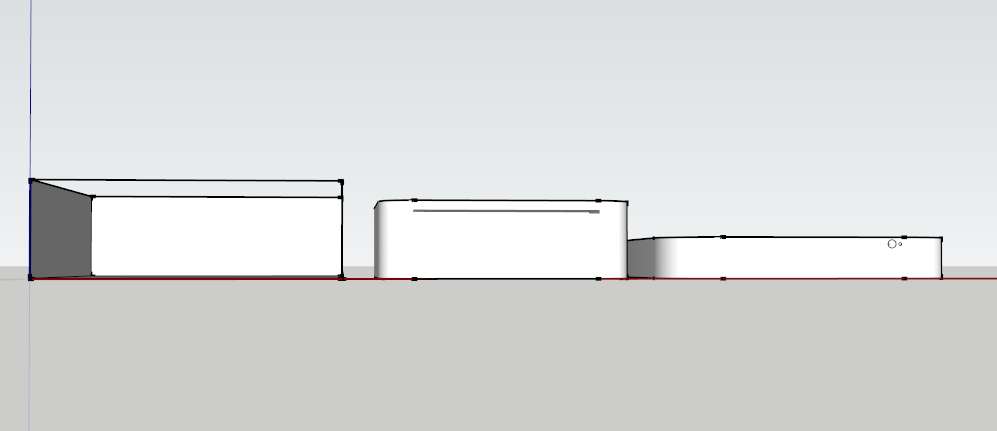
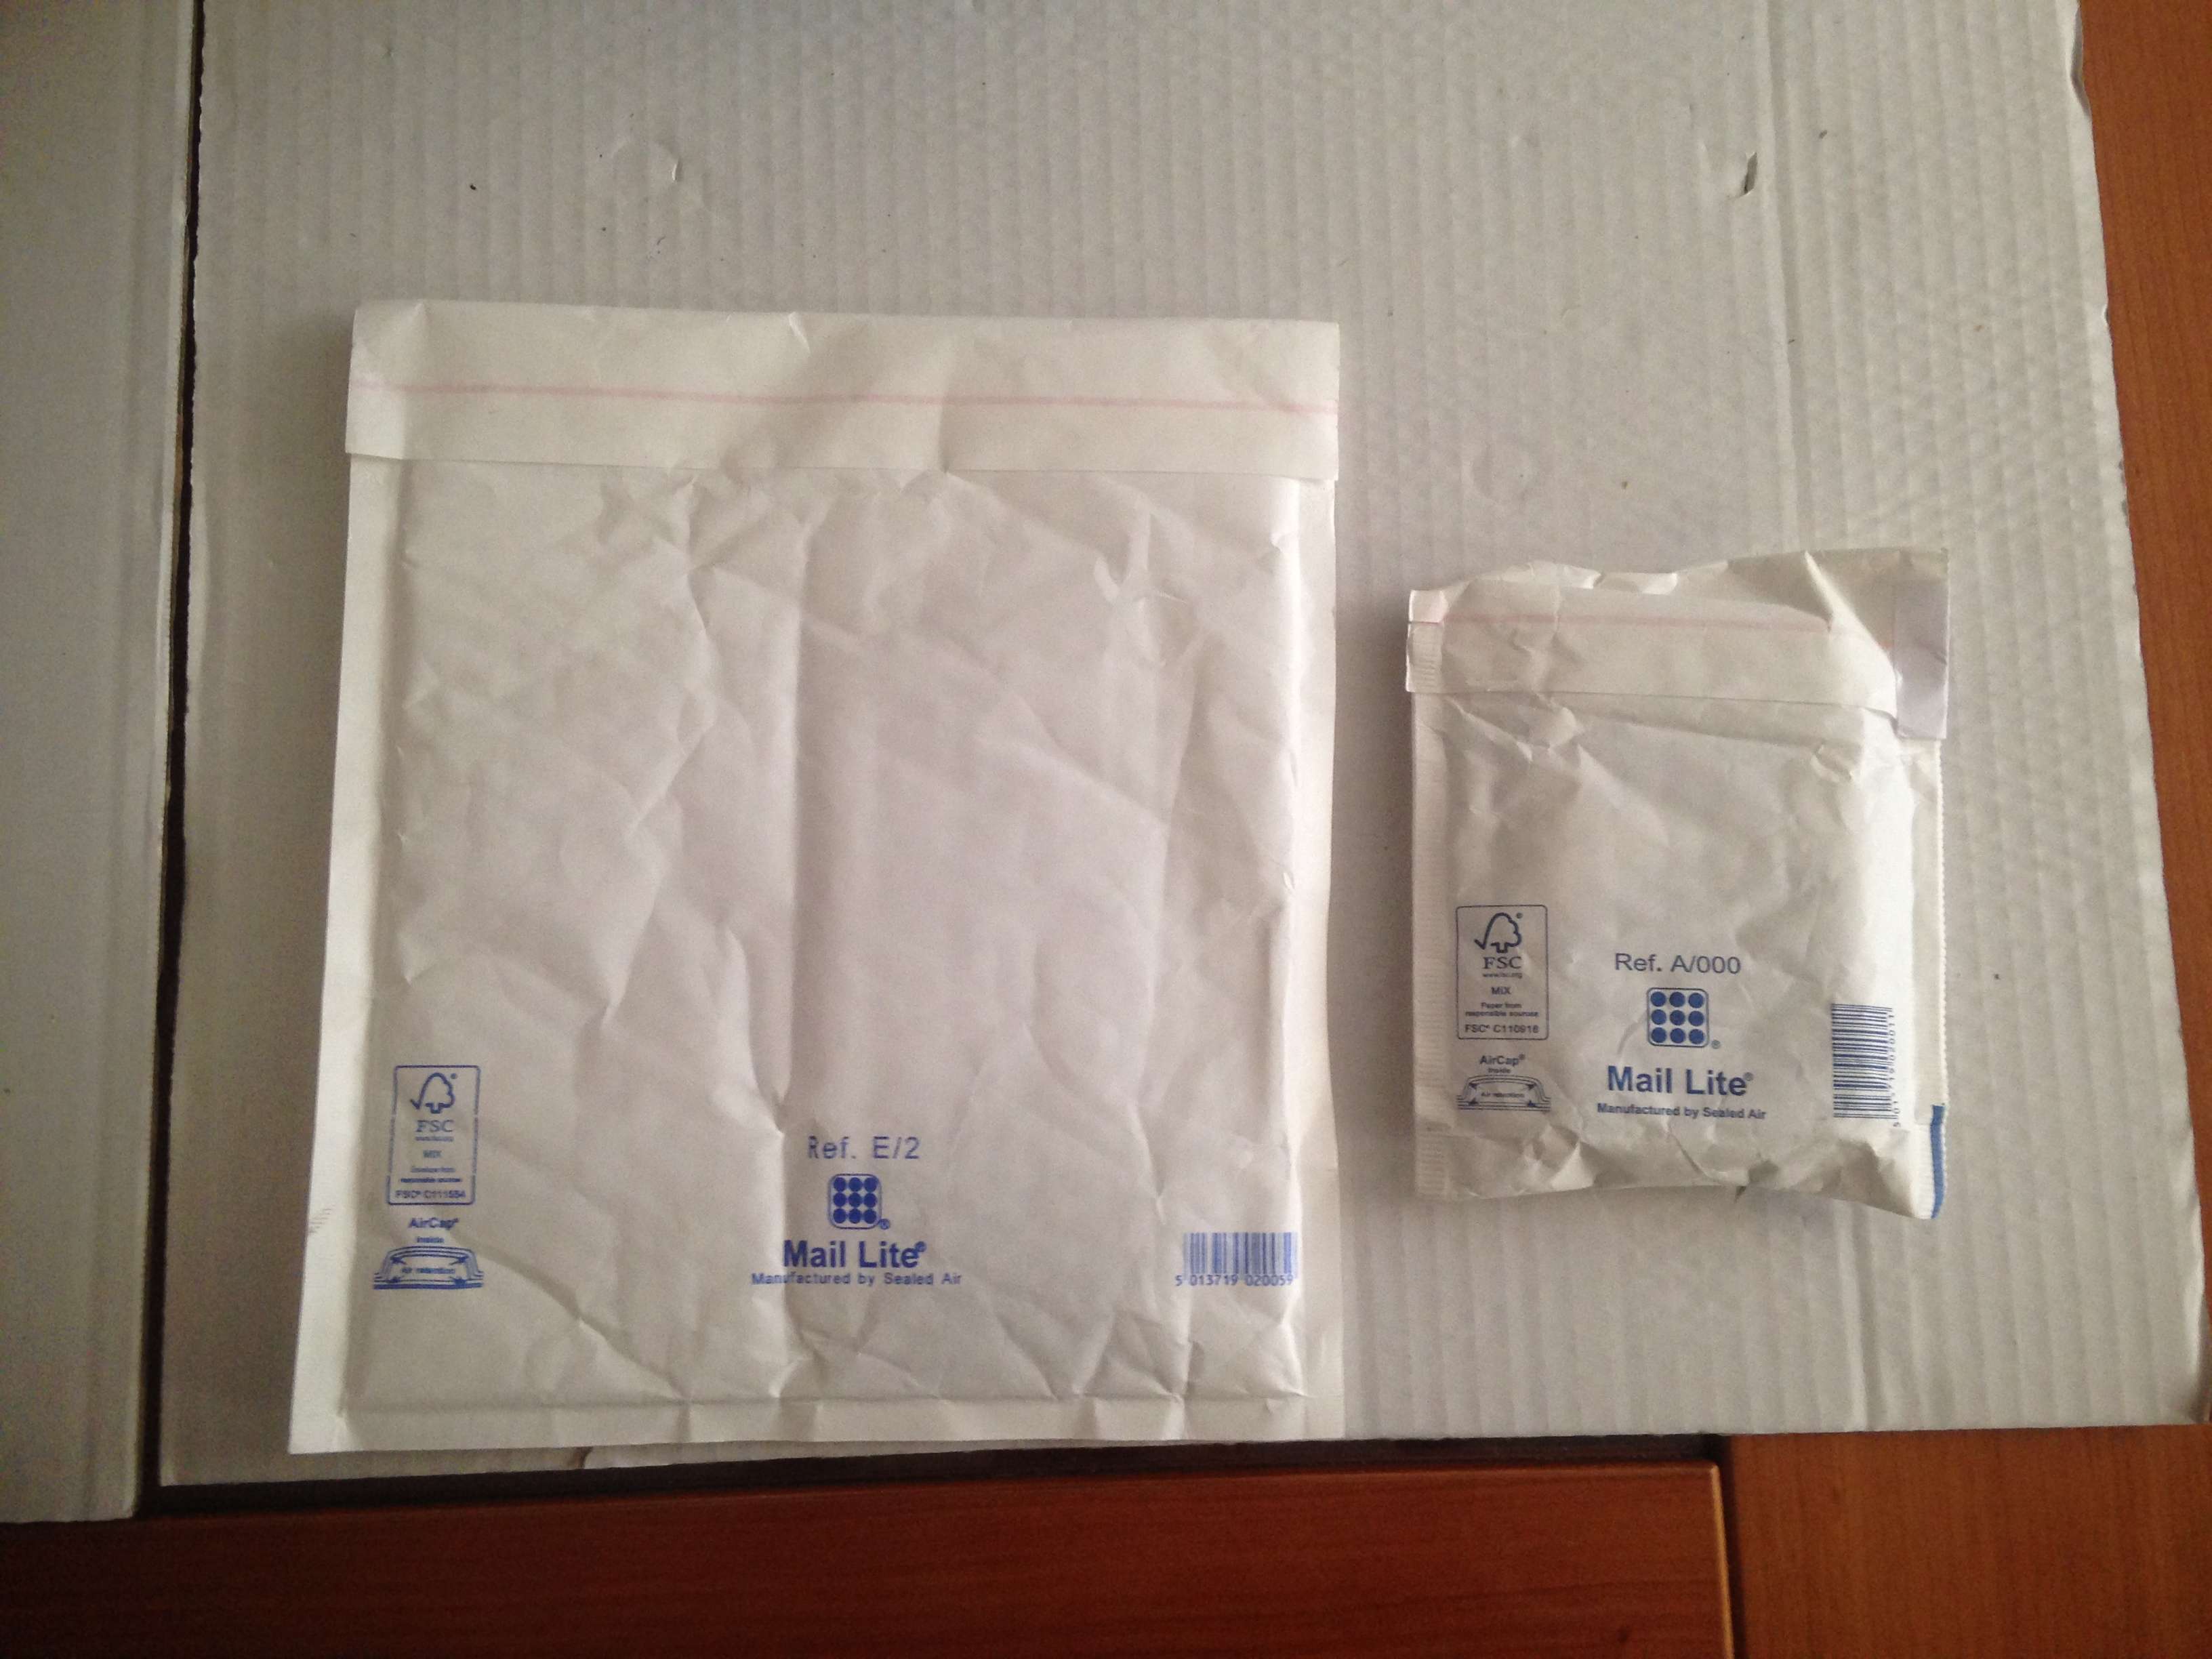
By the way, here is a size comparison with the cousins, the two Mac Mini models:
Well, I just went to the basement to find my dremel (to be fittet with a drill to remove rivets), soldering iron and a few other things I will need and what did I unexpectedly find? Plastic Padding Chemical Wood!
I also found out I don't have any mat black spray paint, only a buck load of jet black and chrome silver, not any of them ideal for this build..
Anyway, I figured that the chemical wood will be kind of just as good as the epoxy version of the same padding, even maybe easier to work with afterwards, so why not.
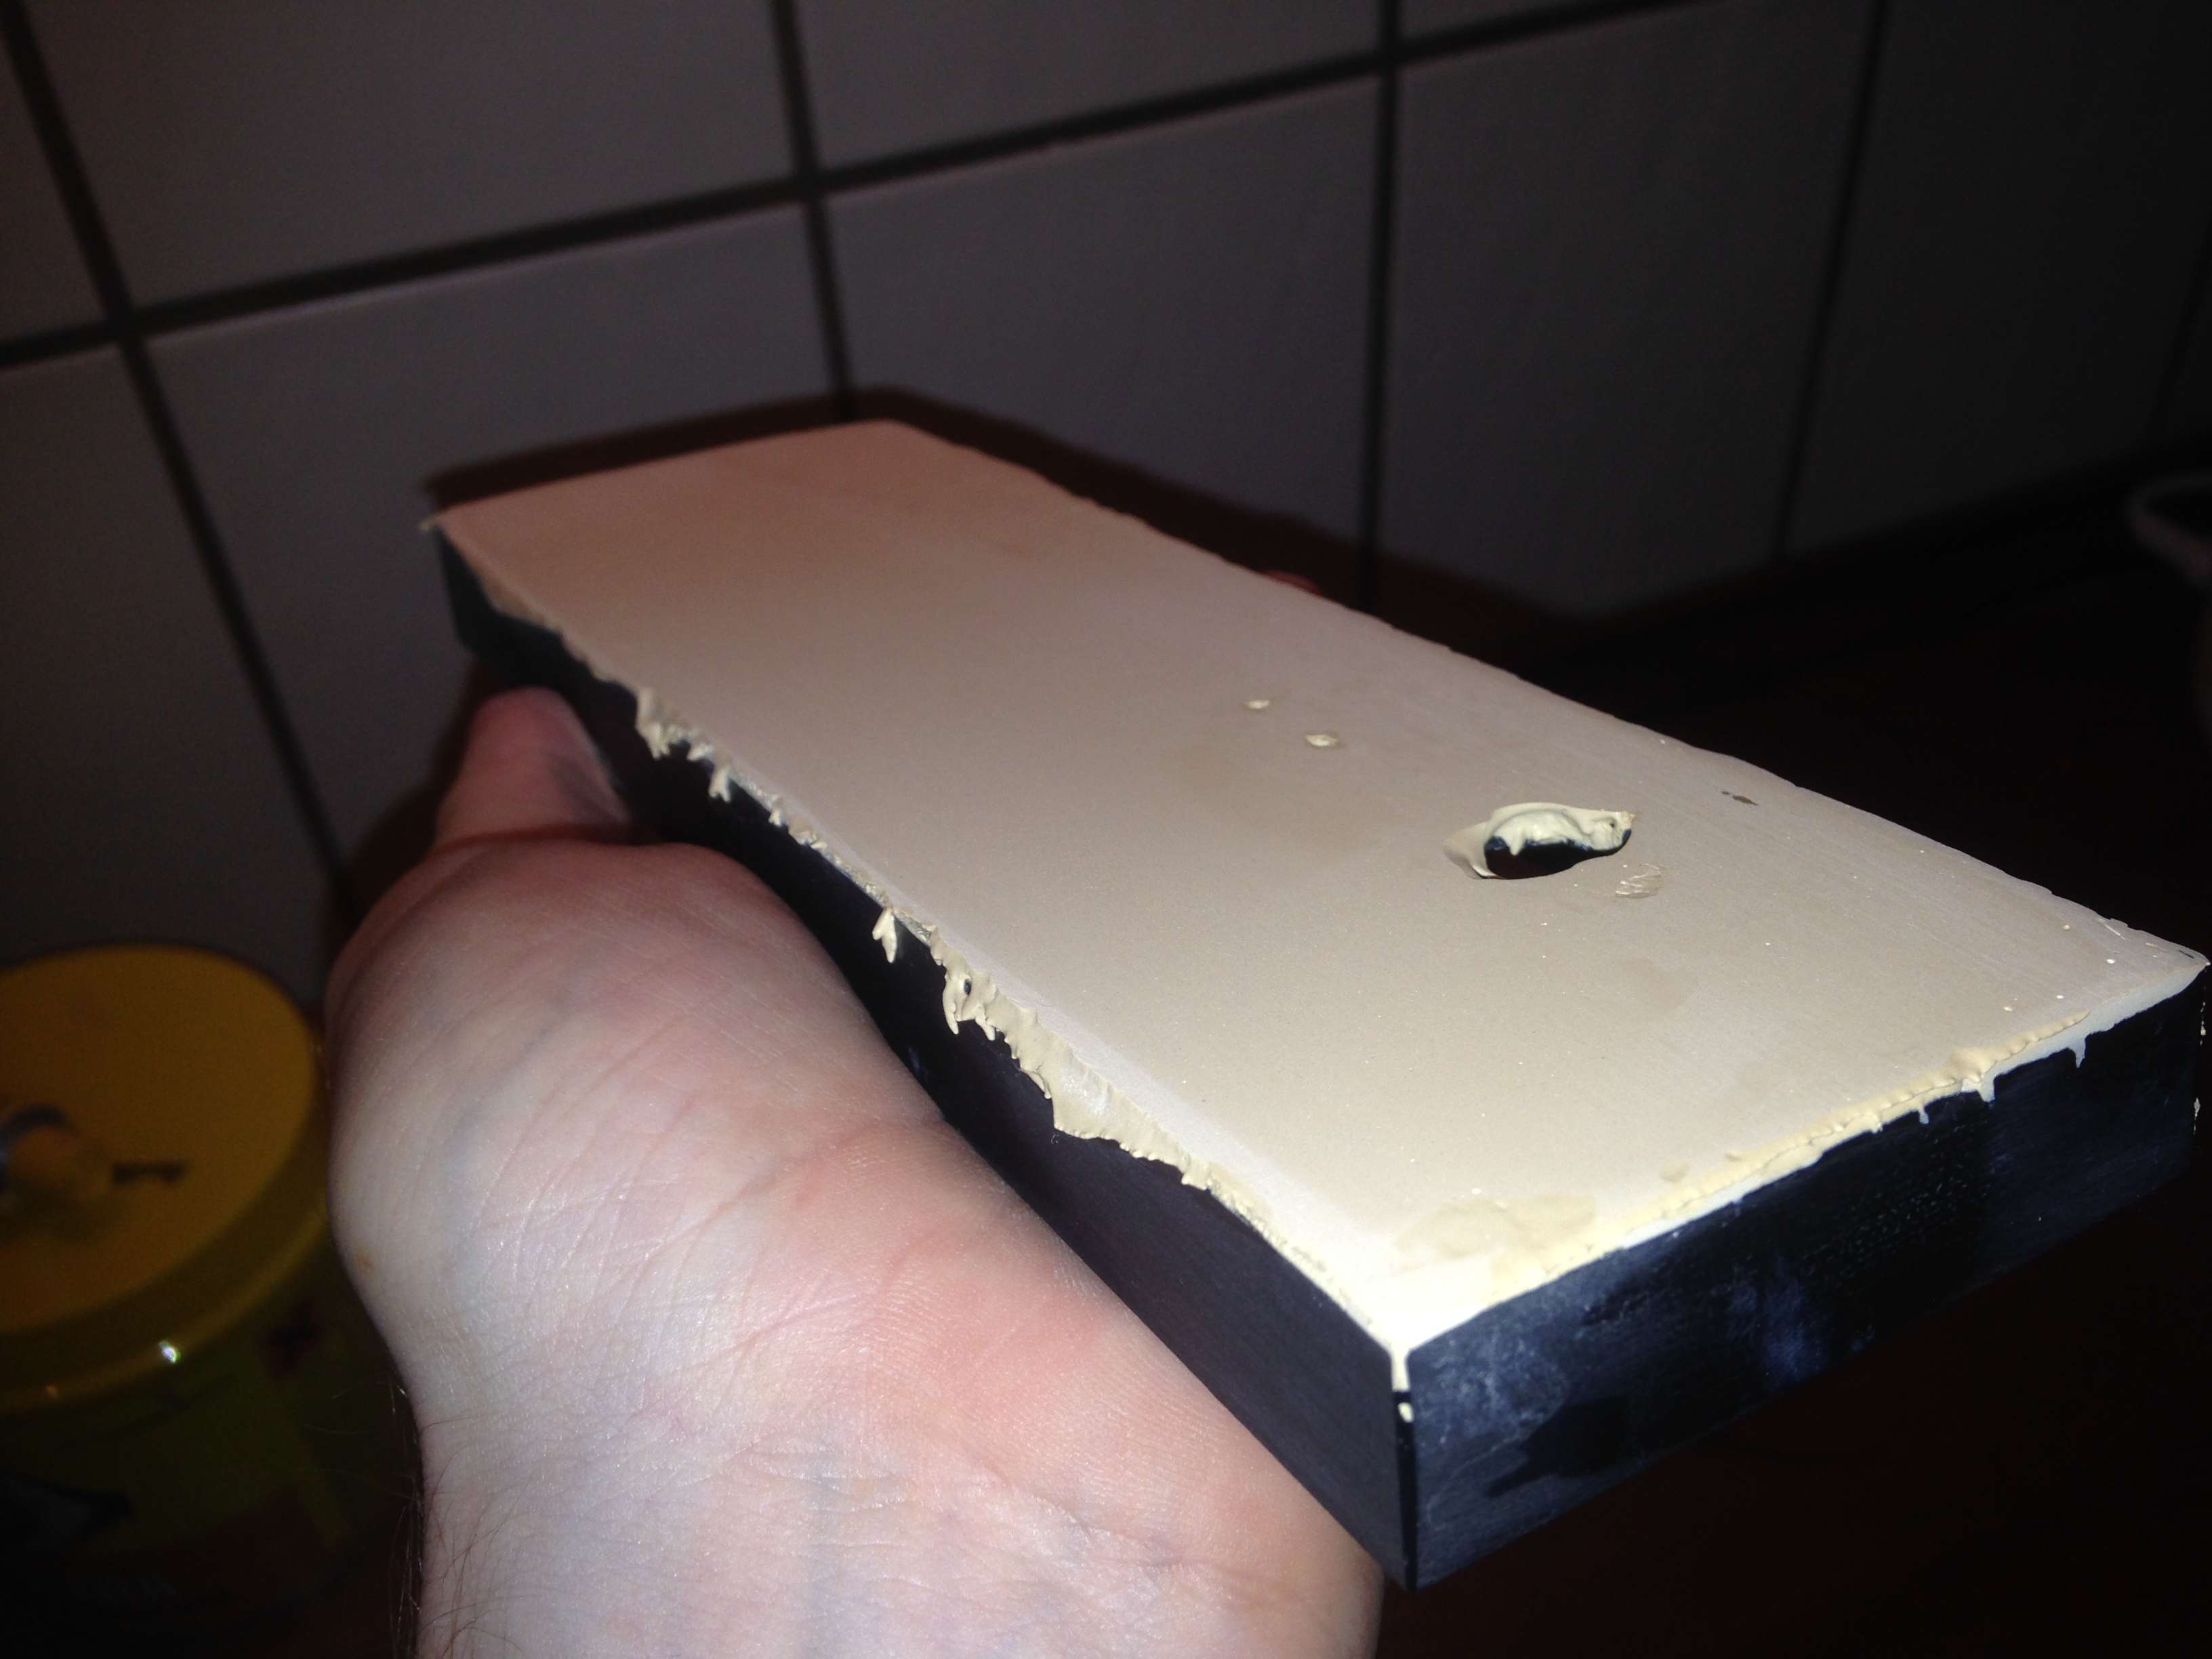
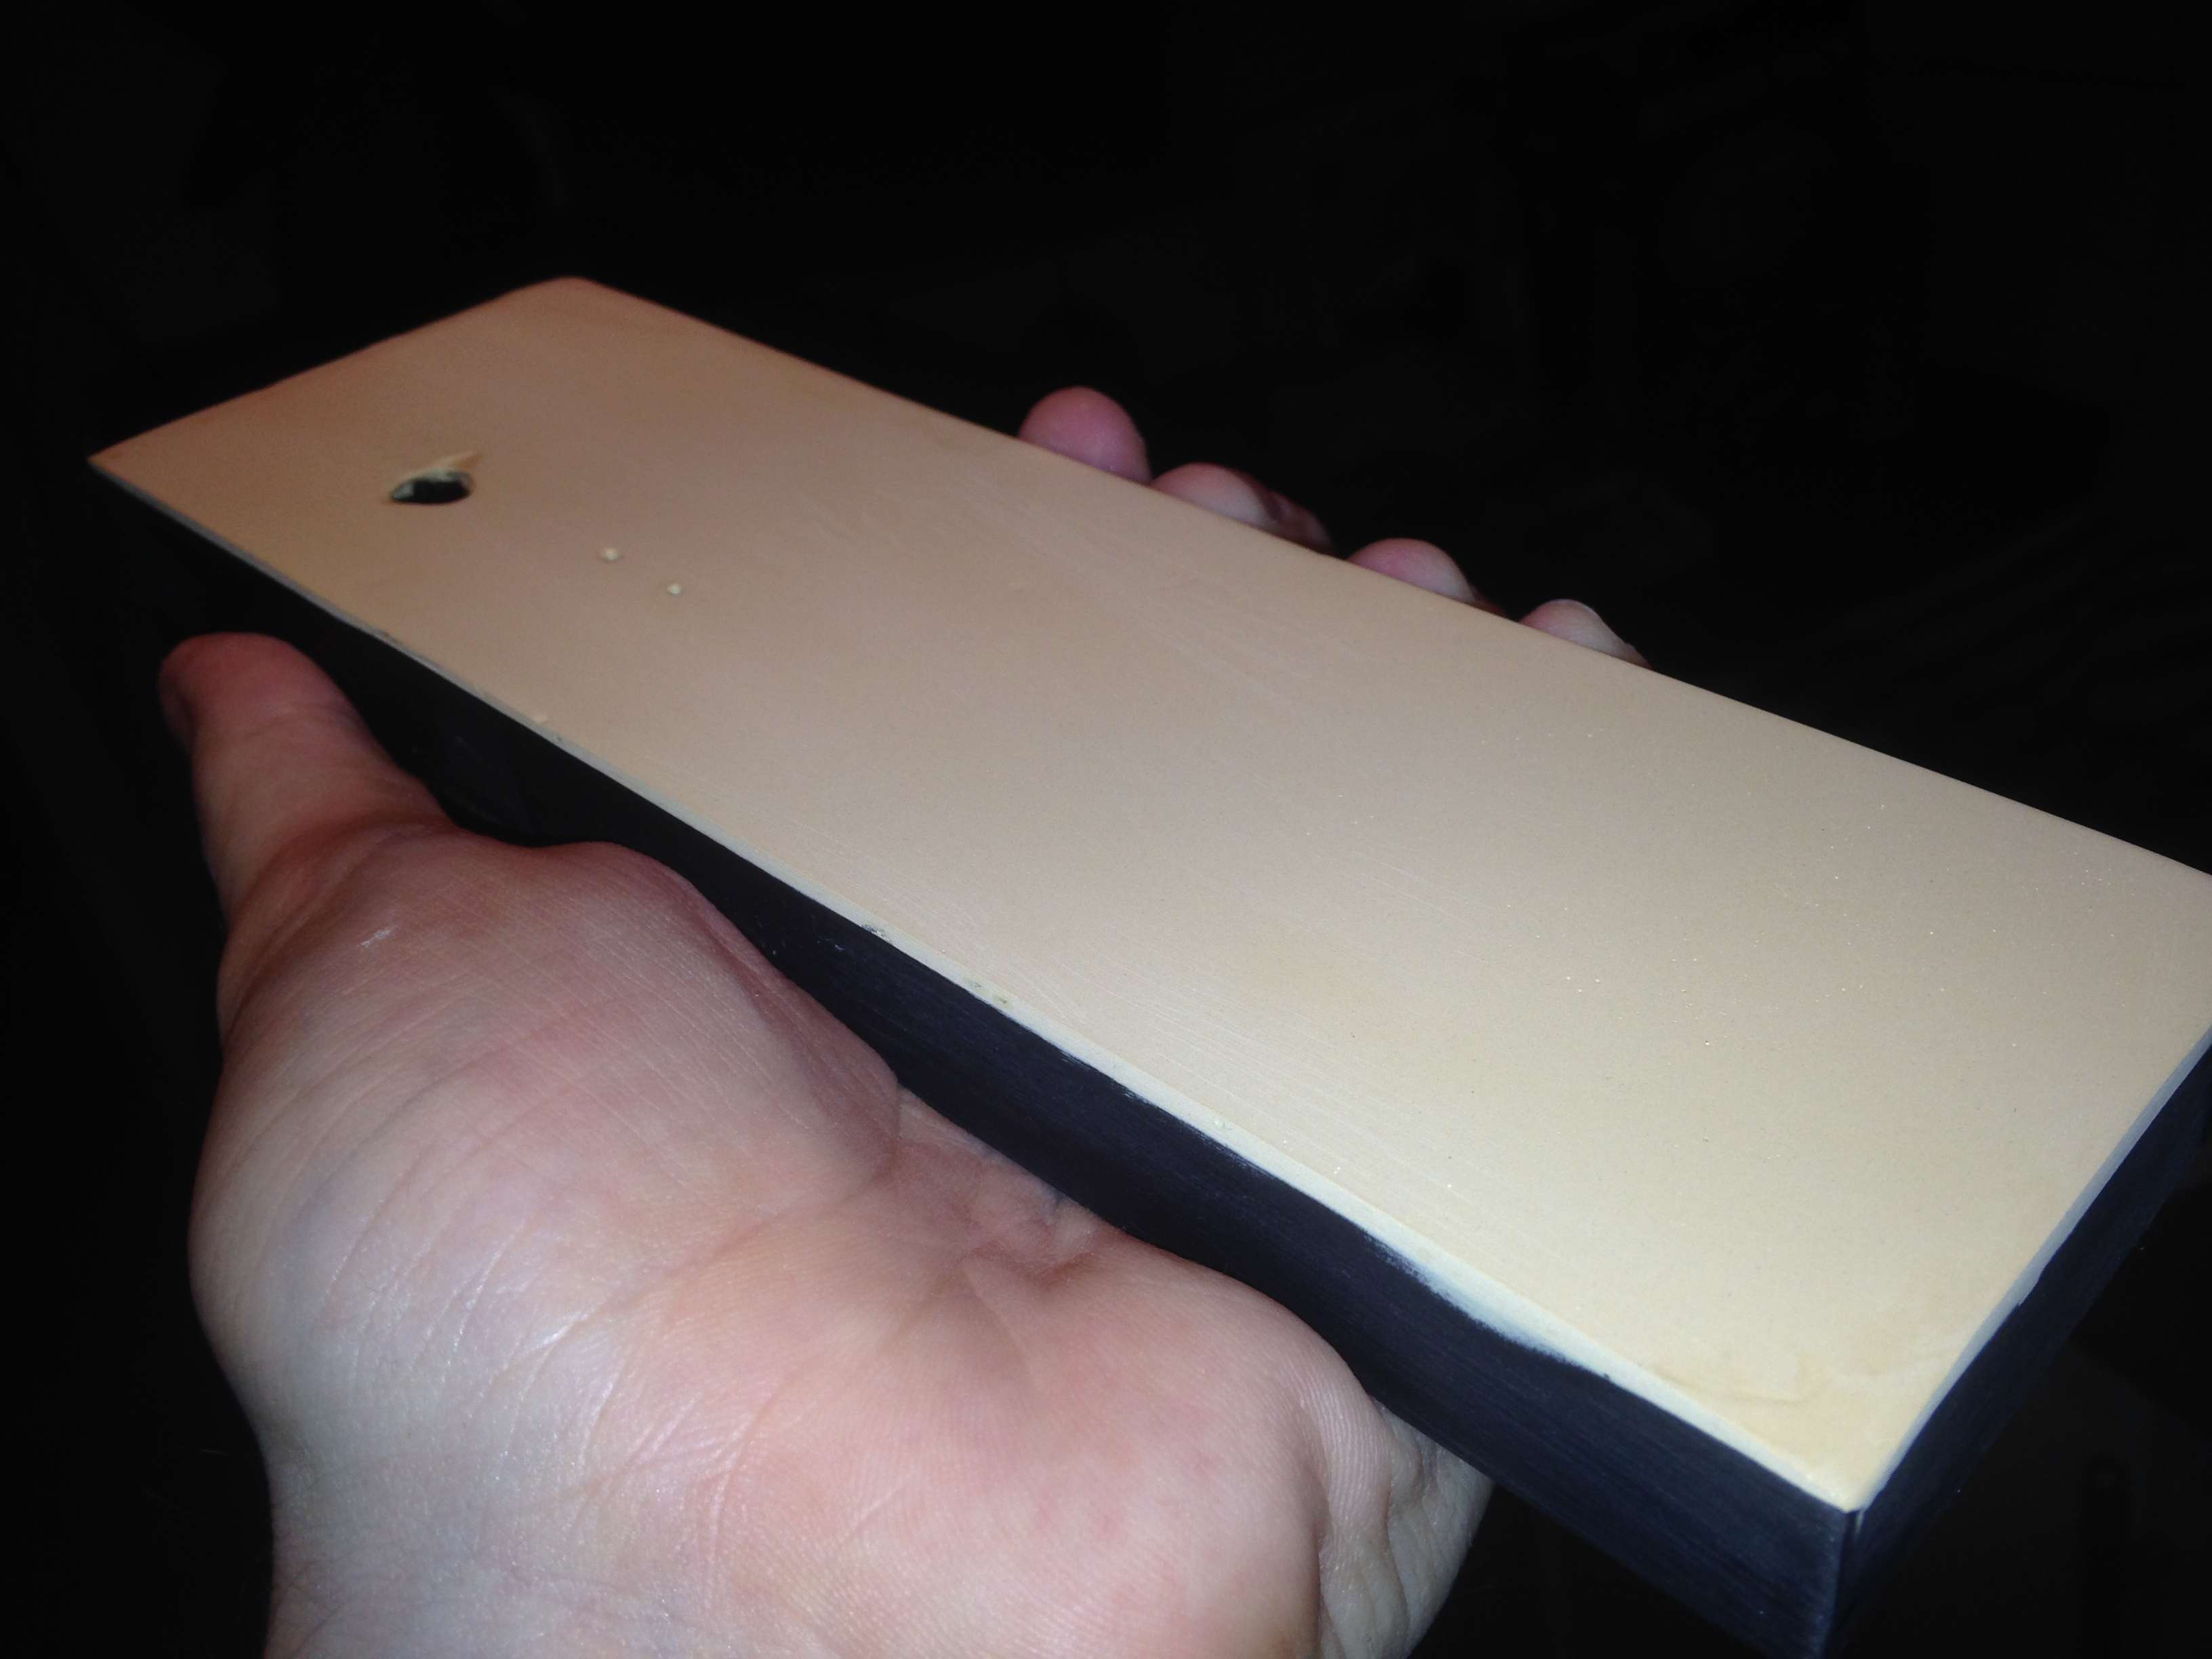
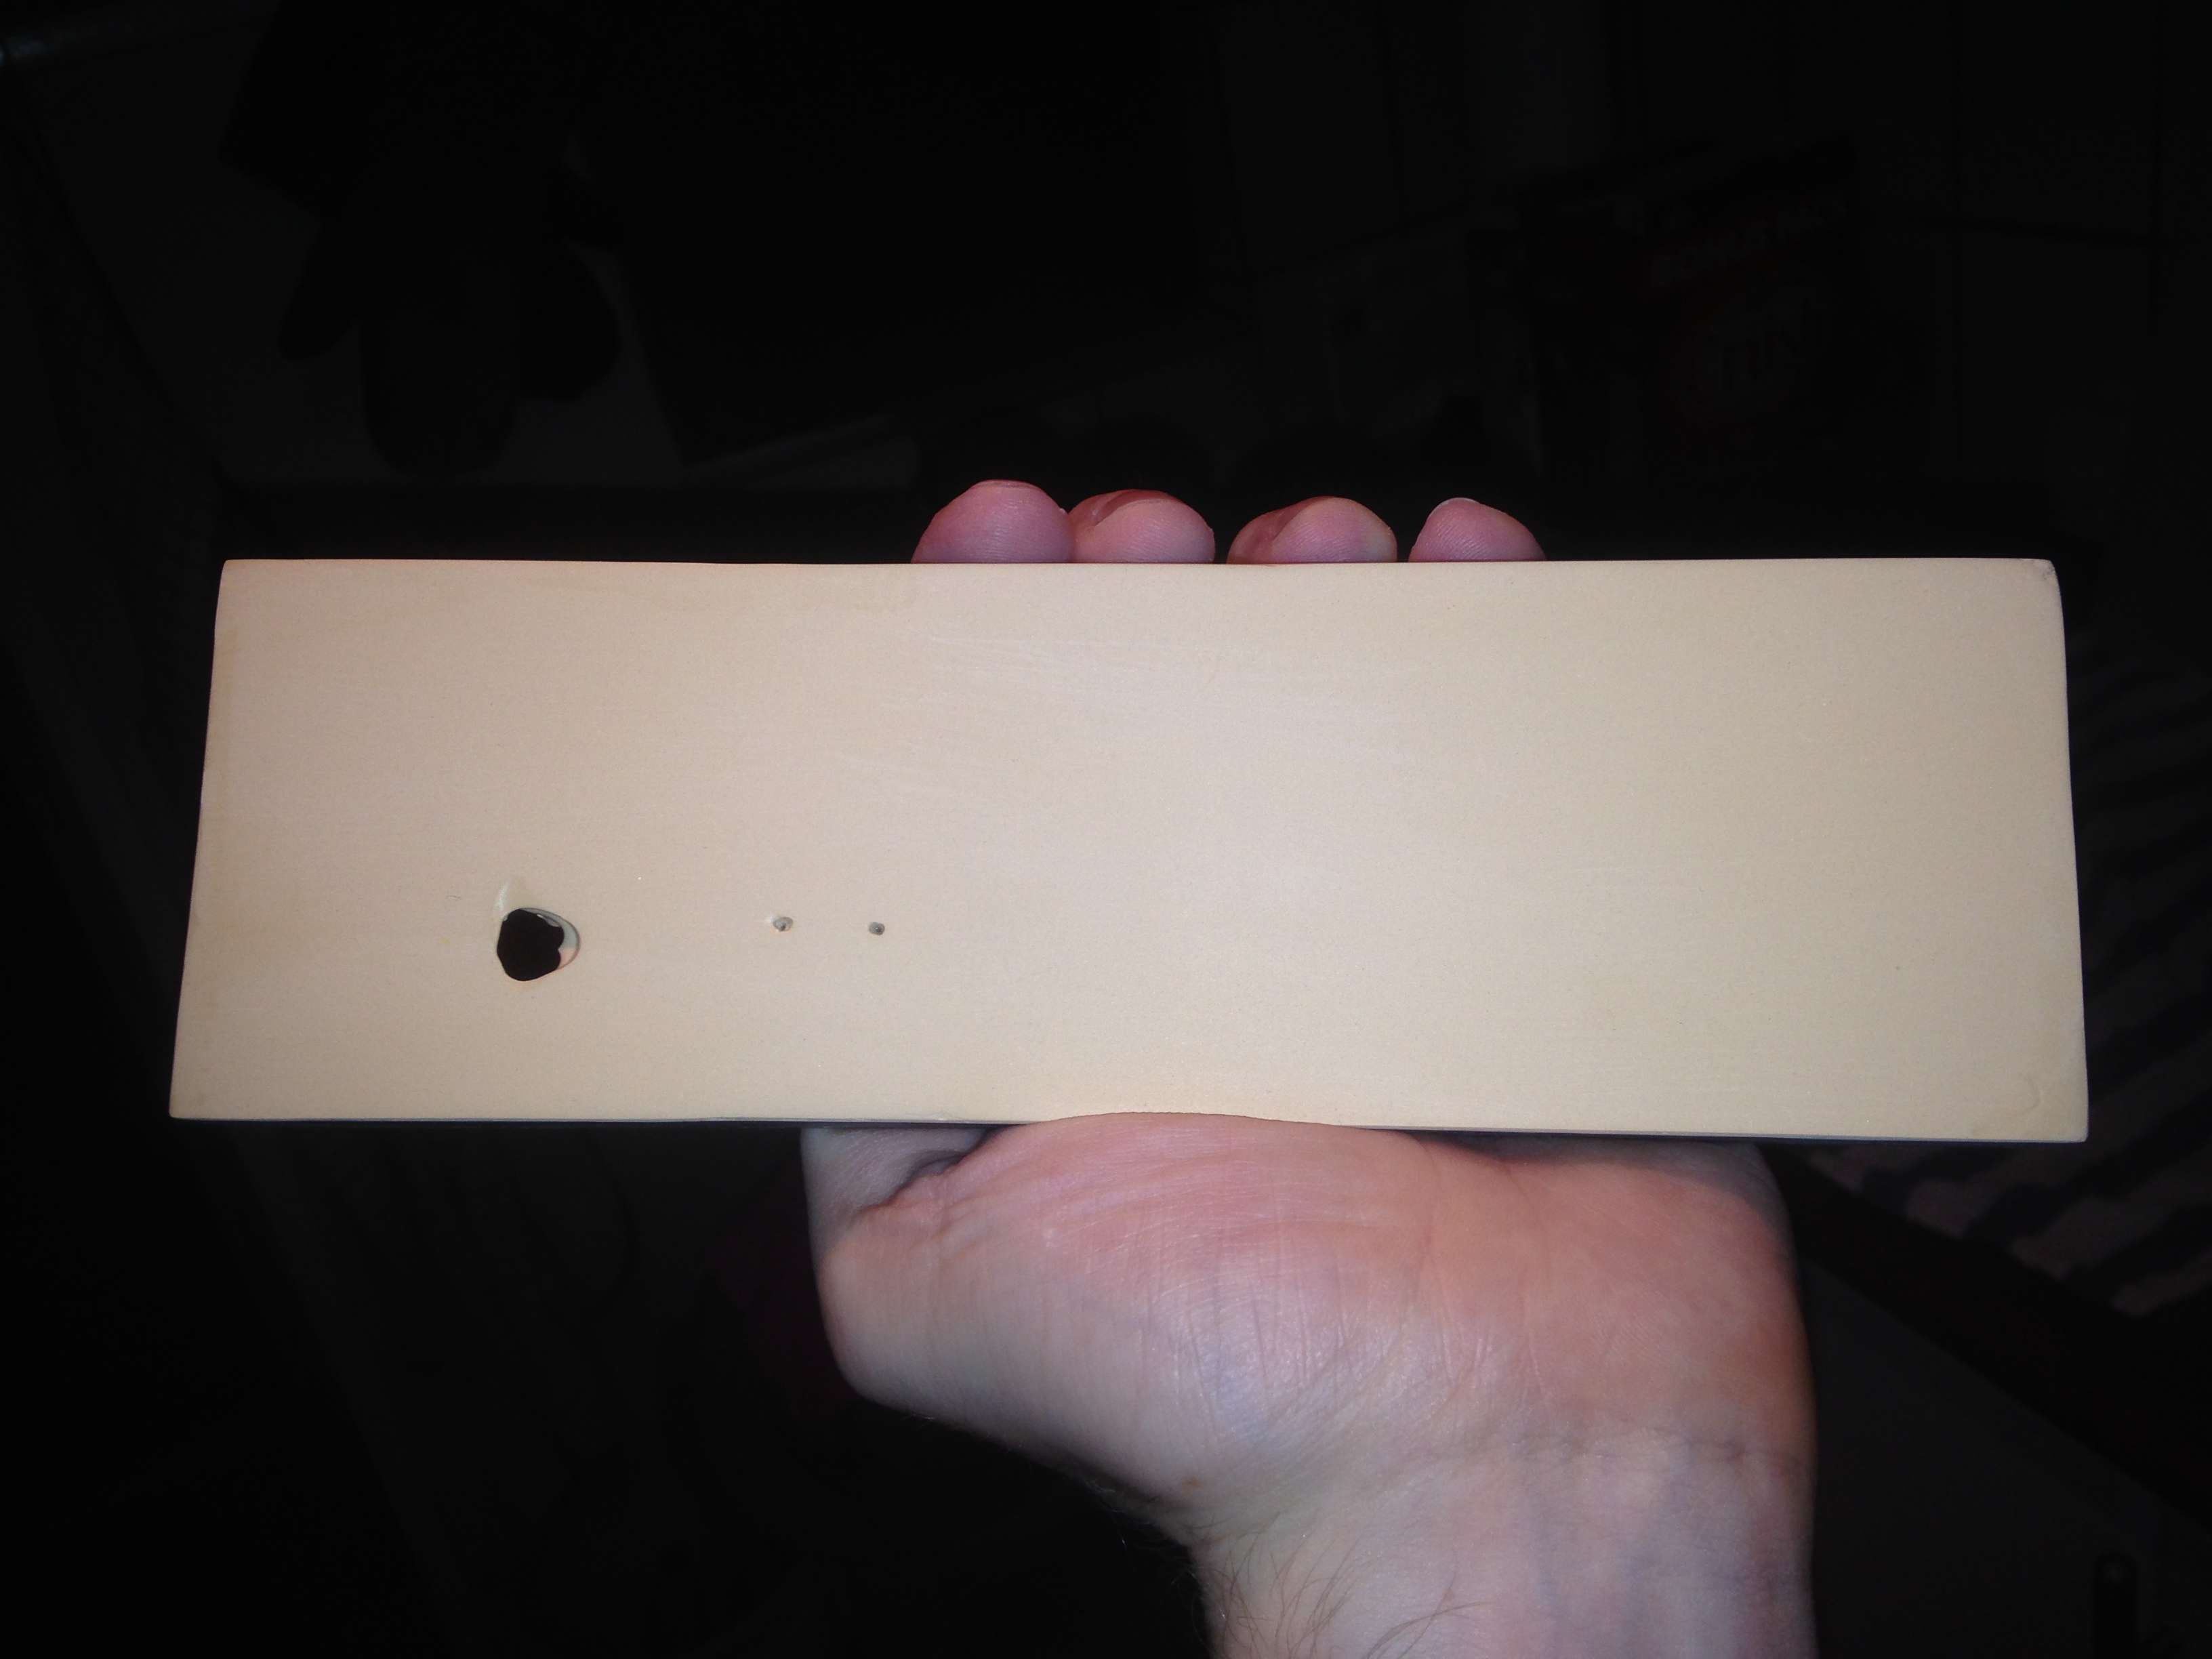
Here is the front before I did anything:
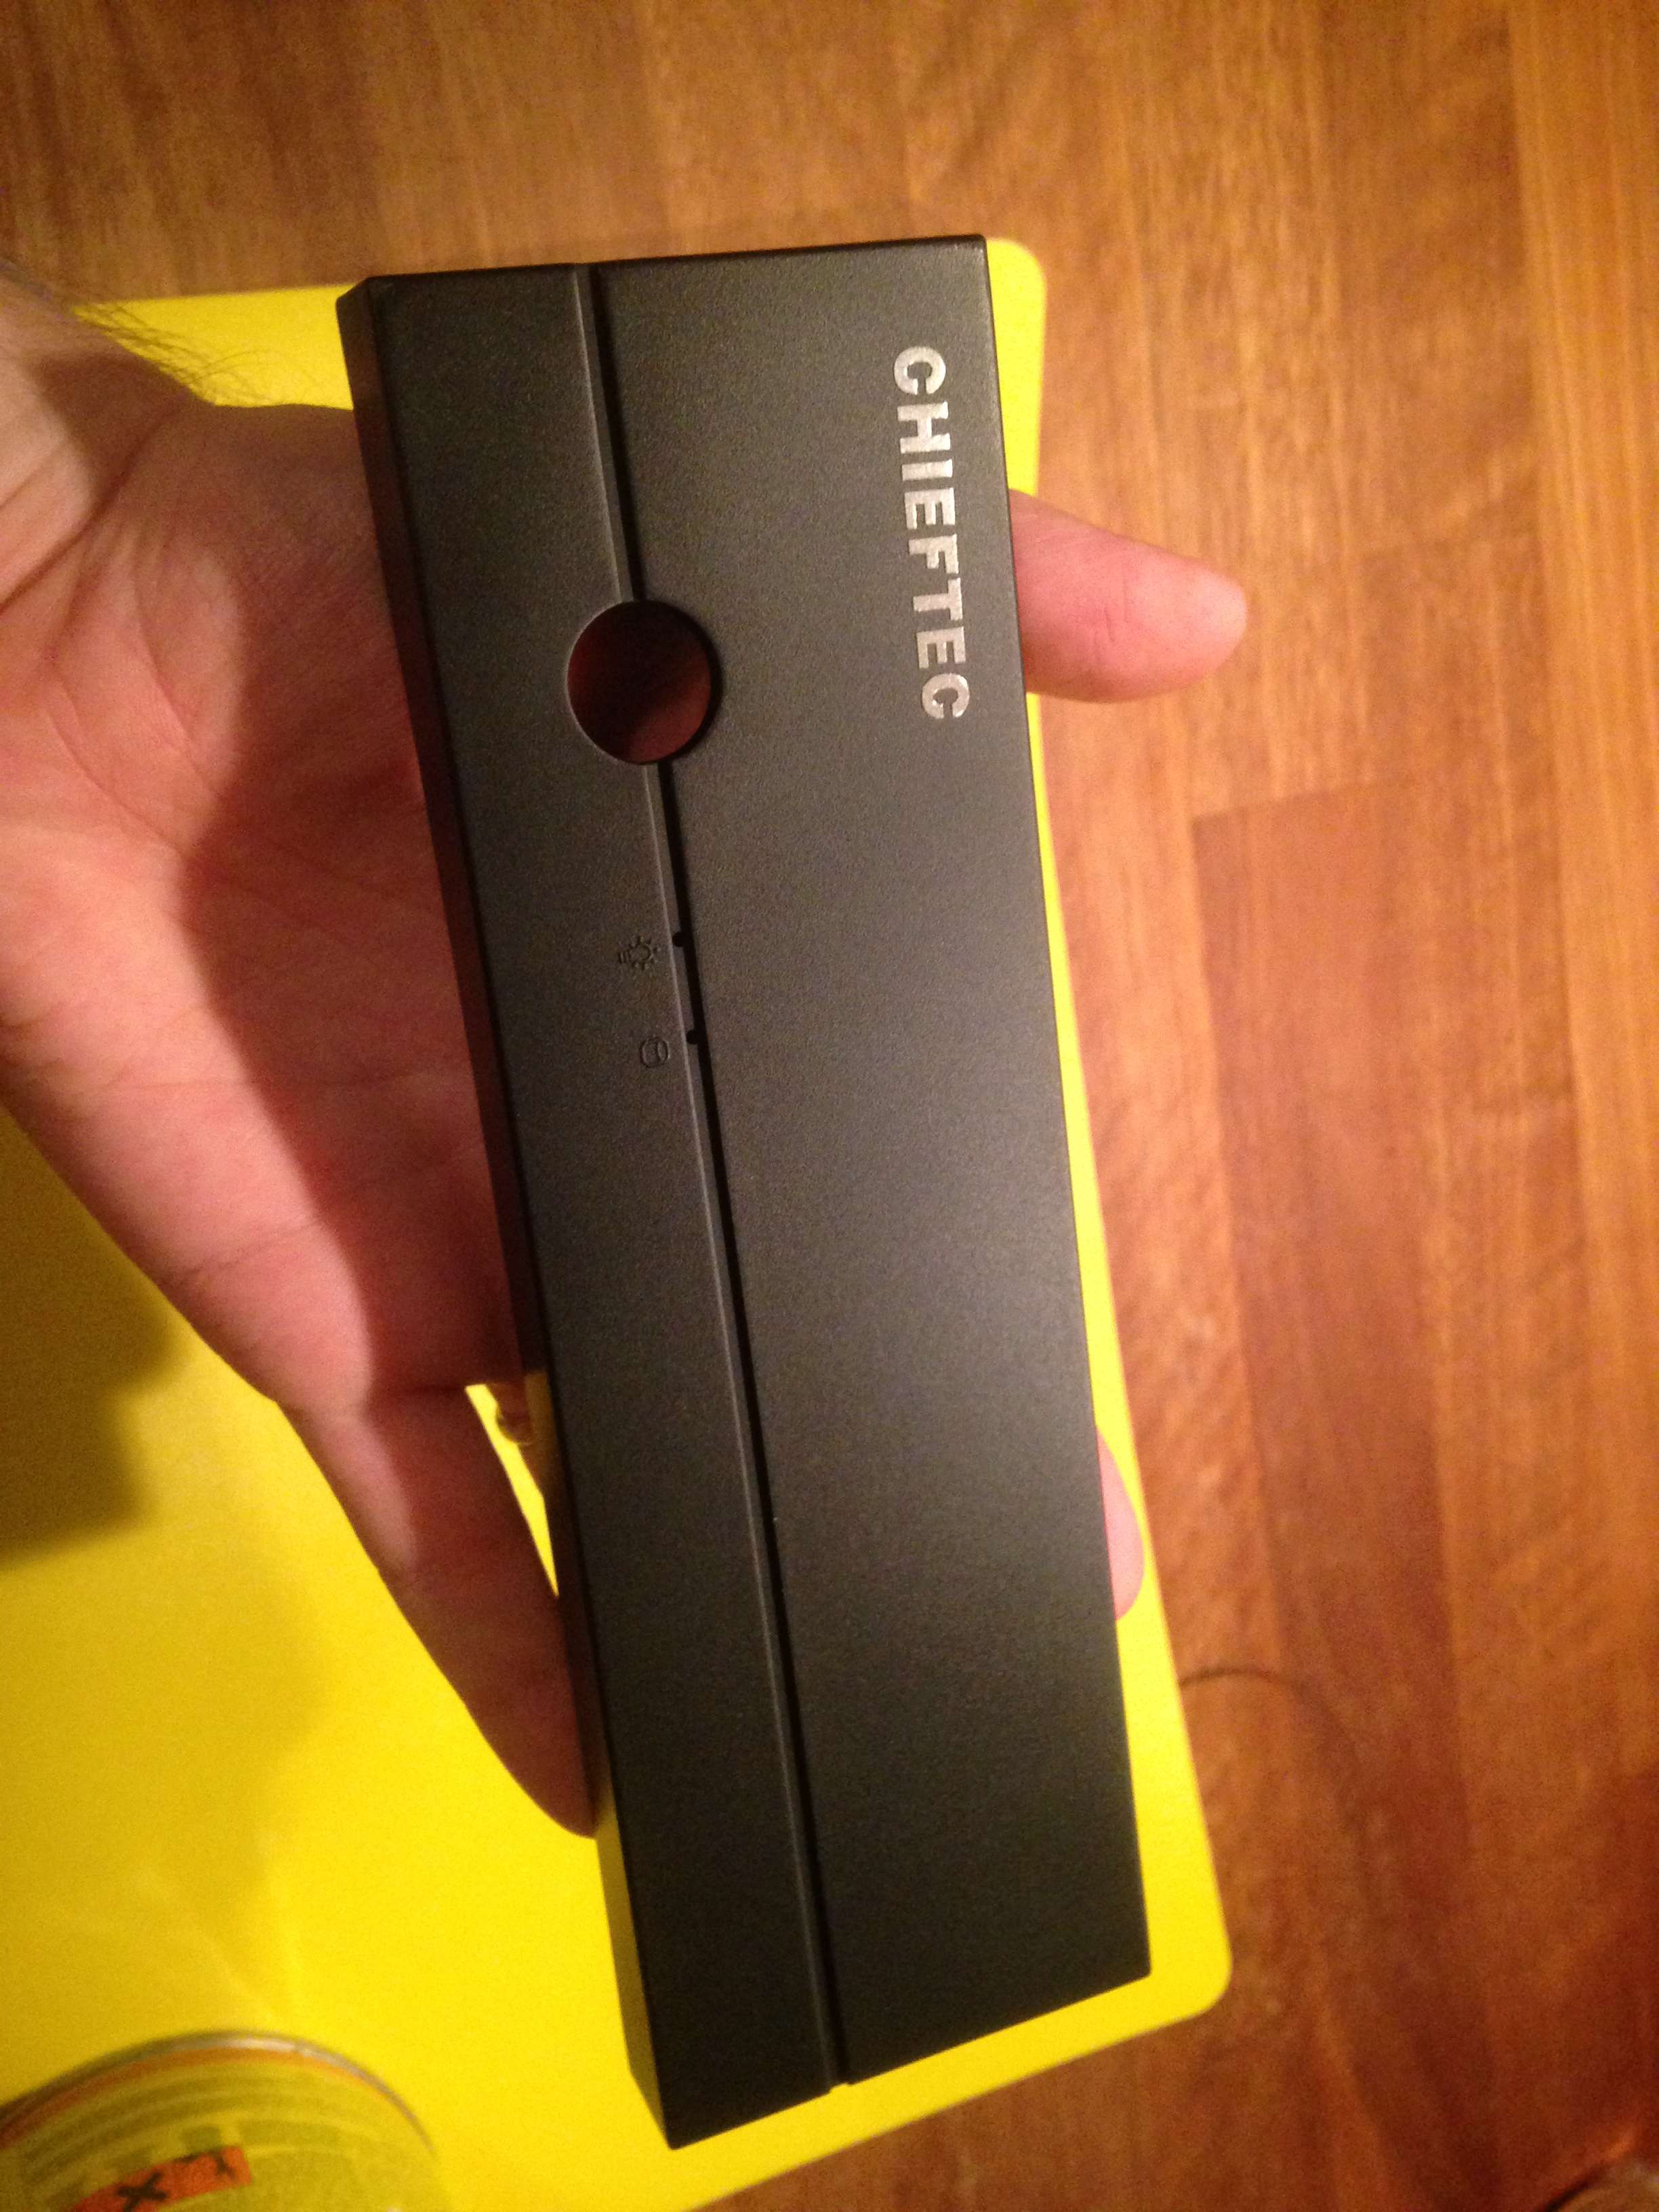
Not very sexy plastic with ugly logo...
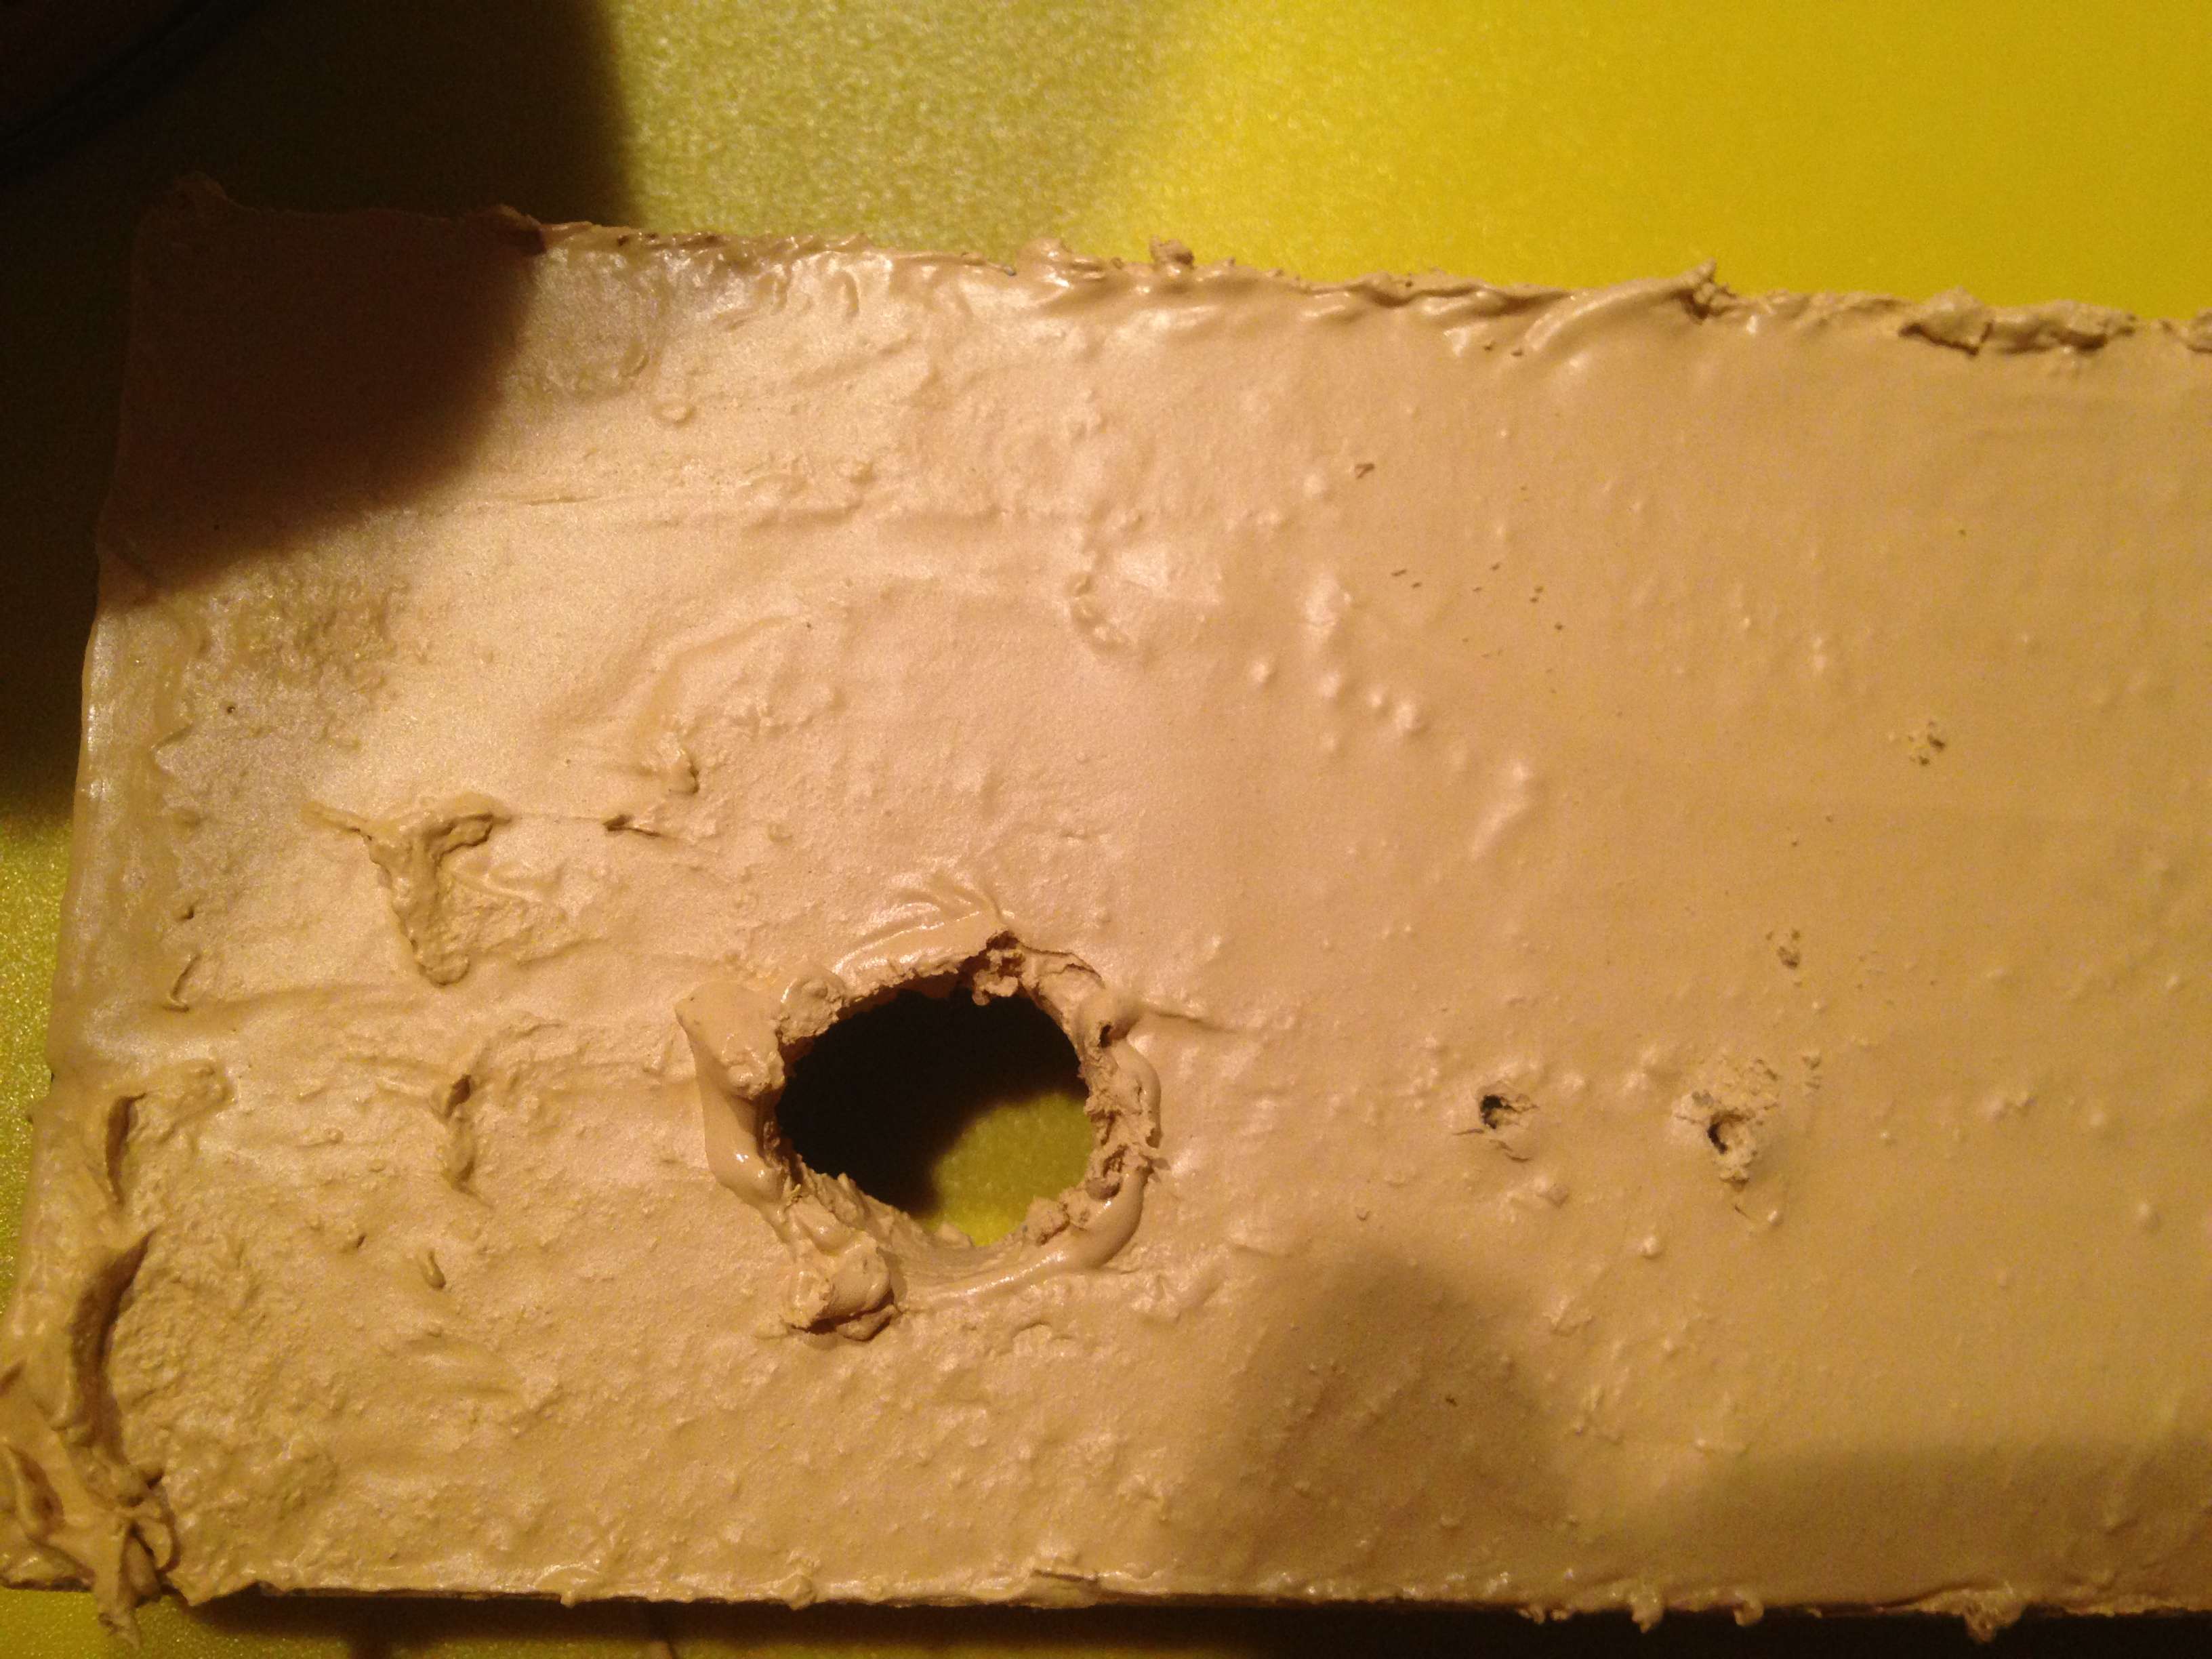
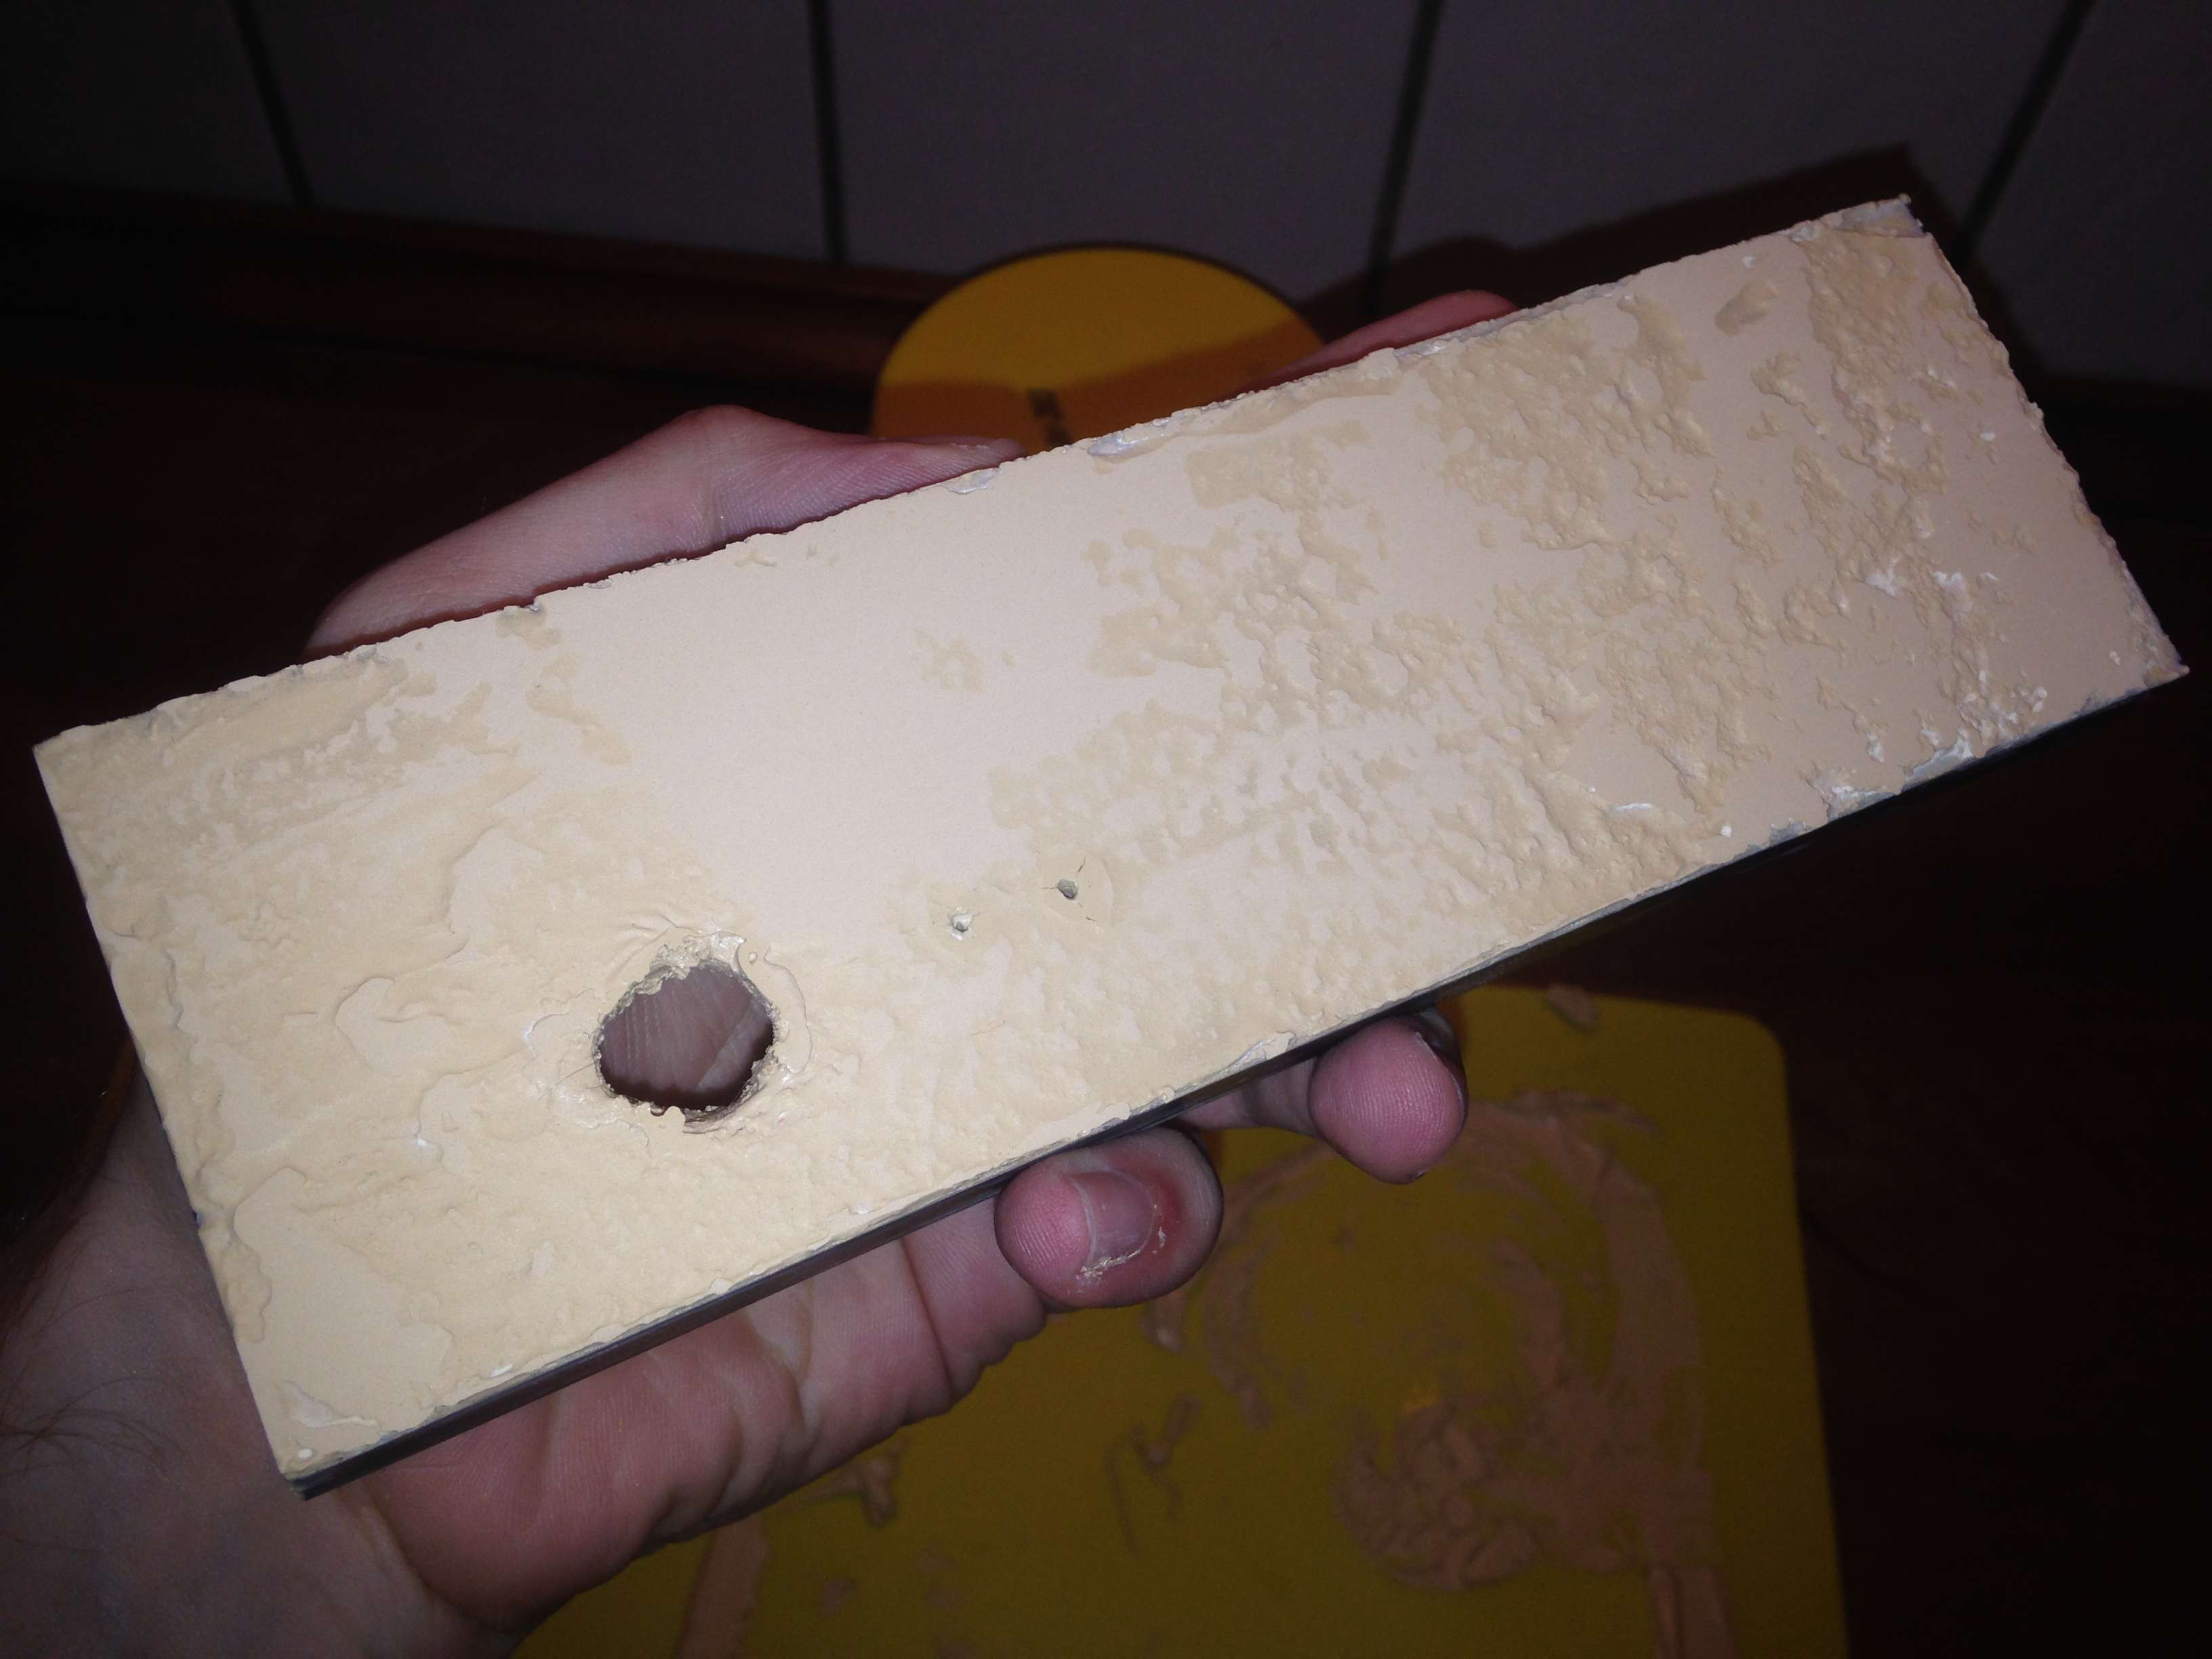
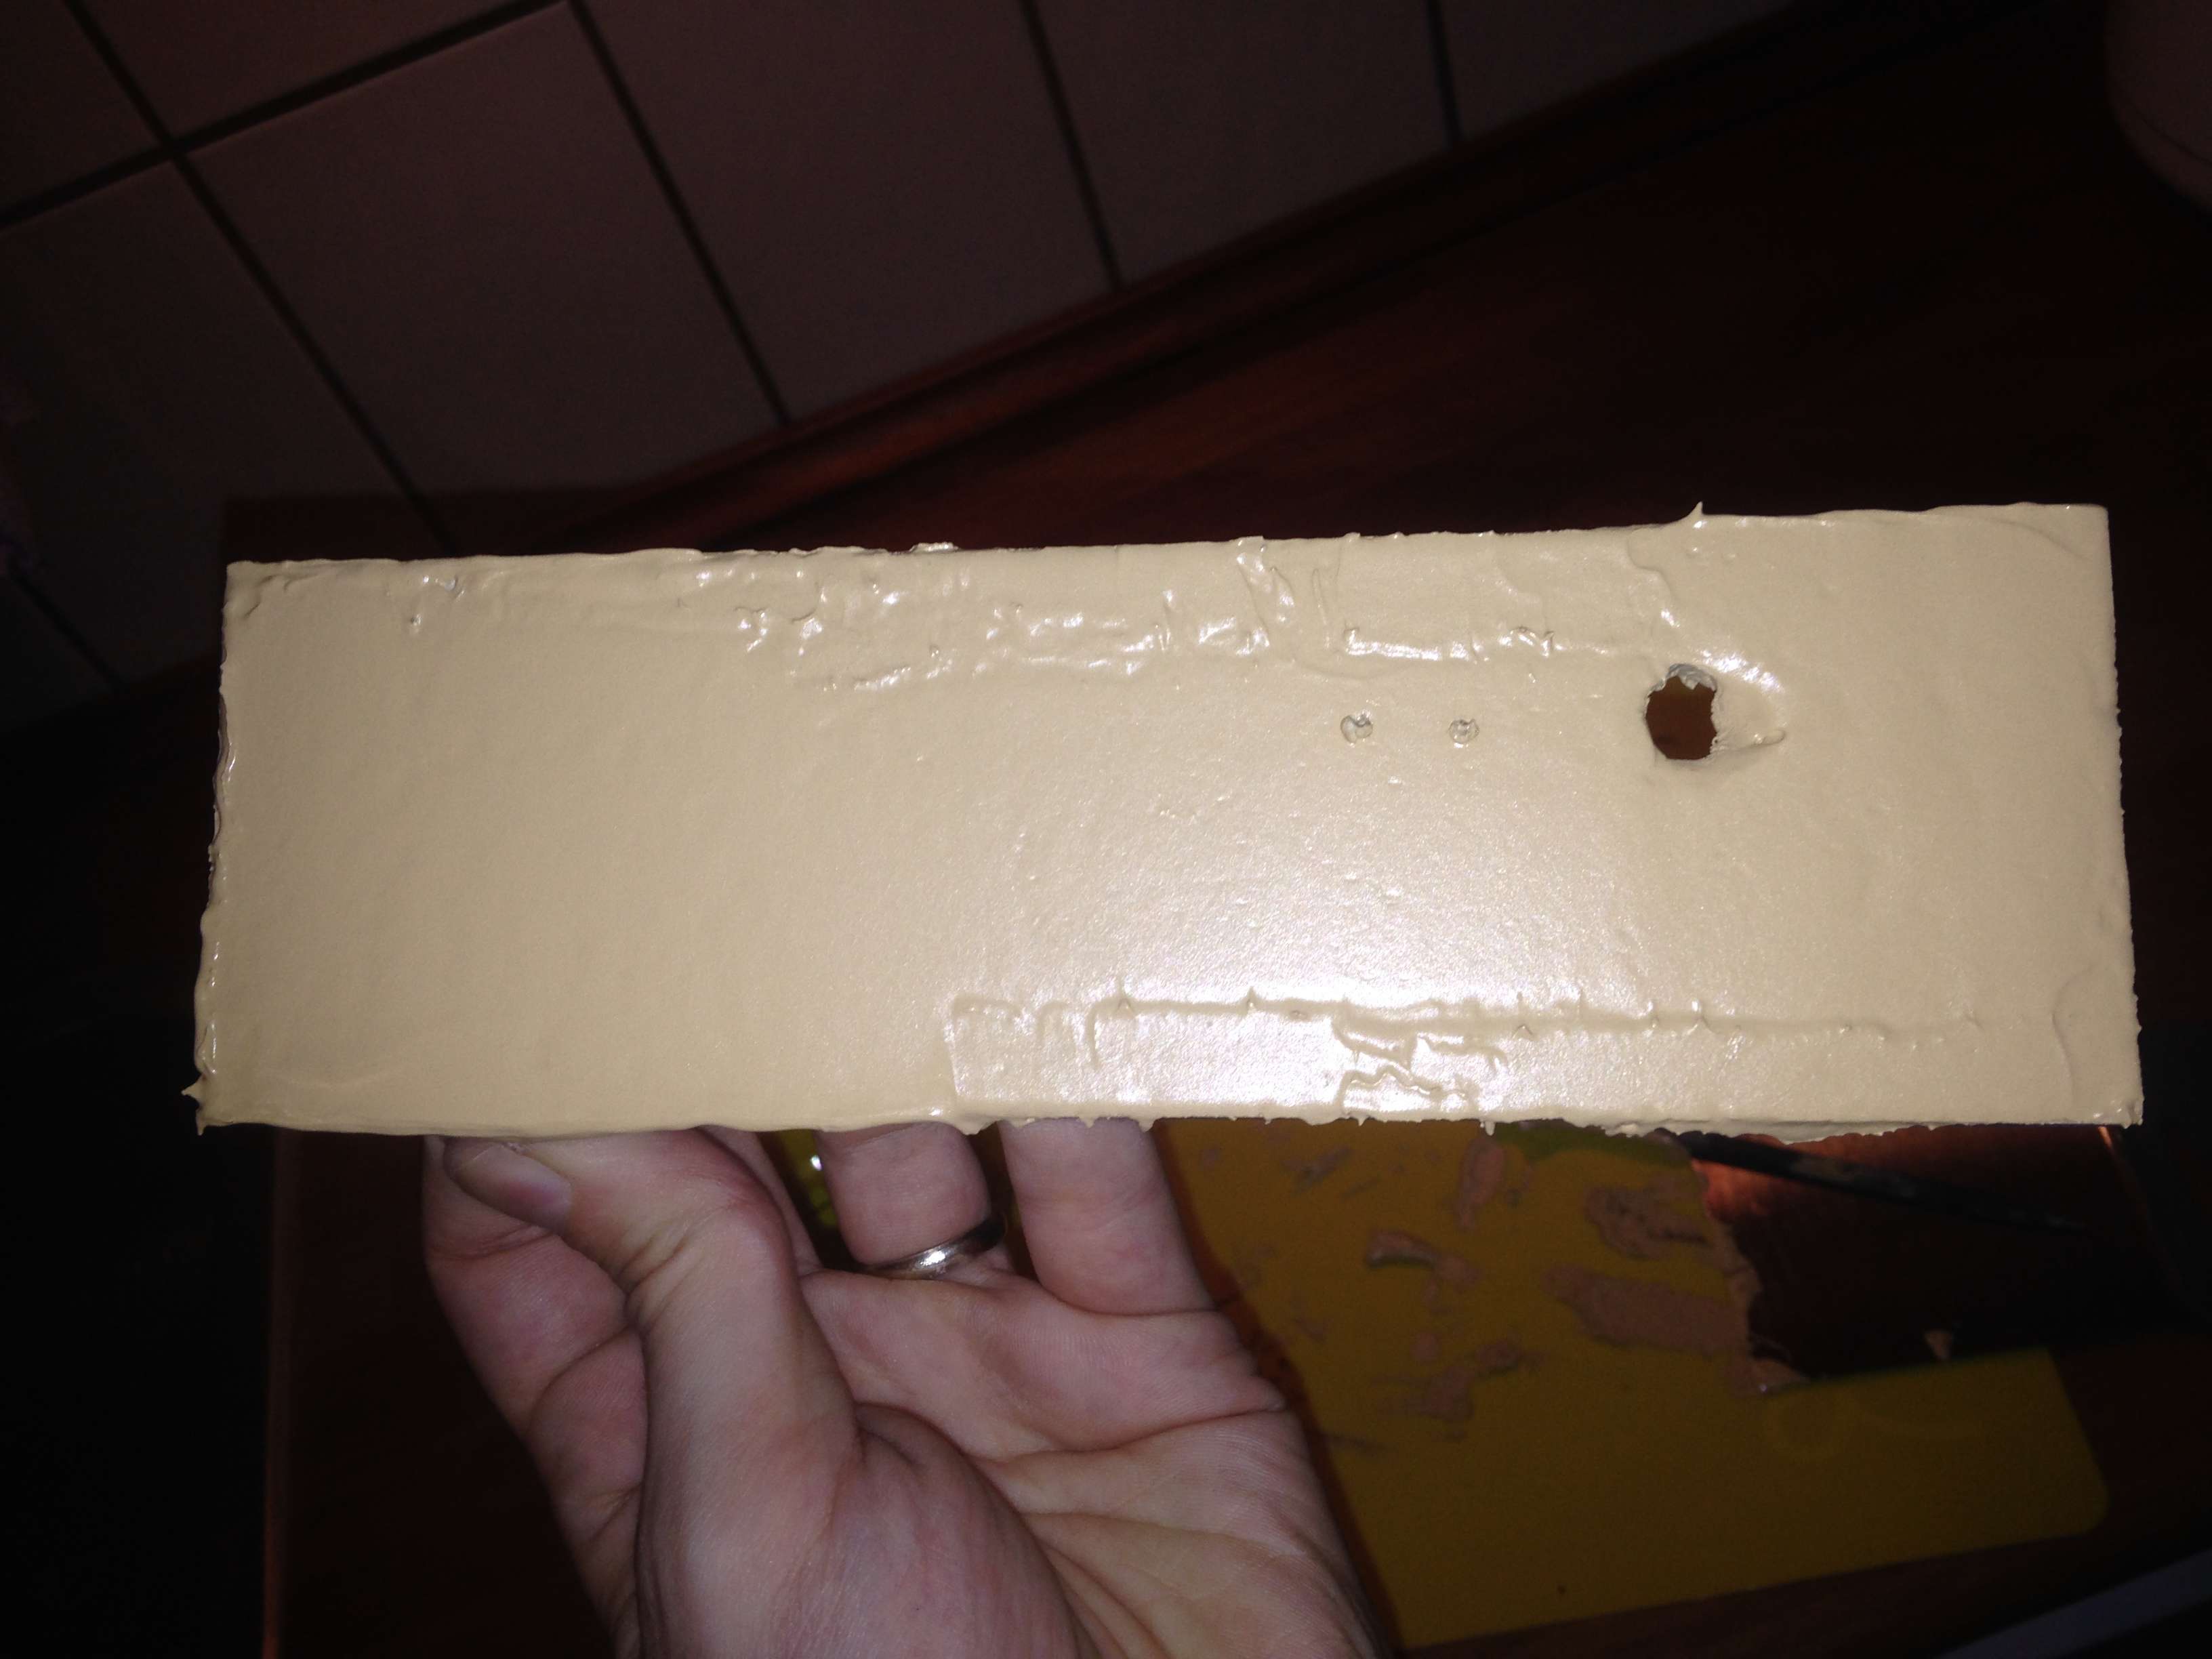
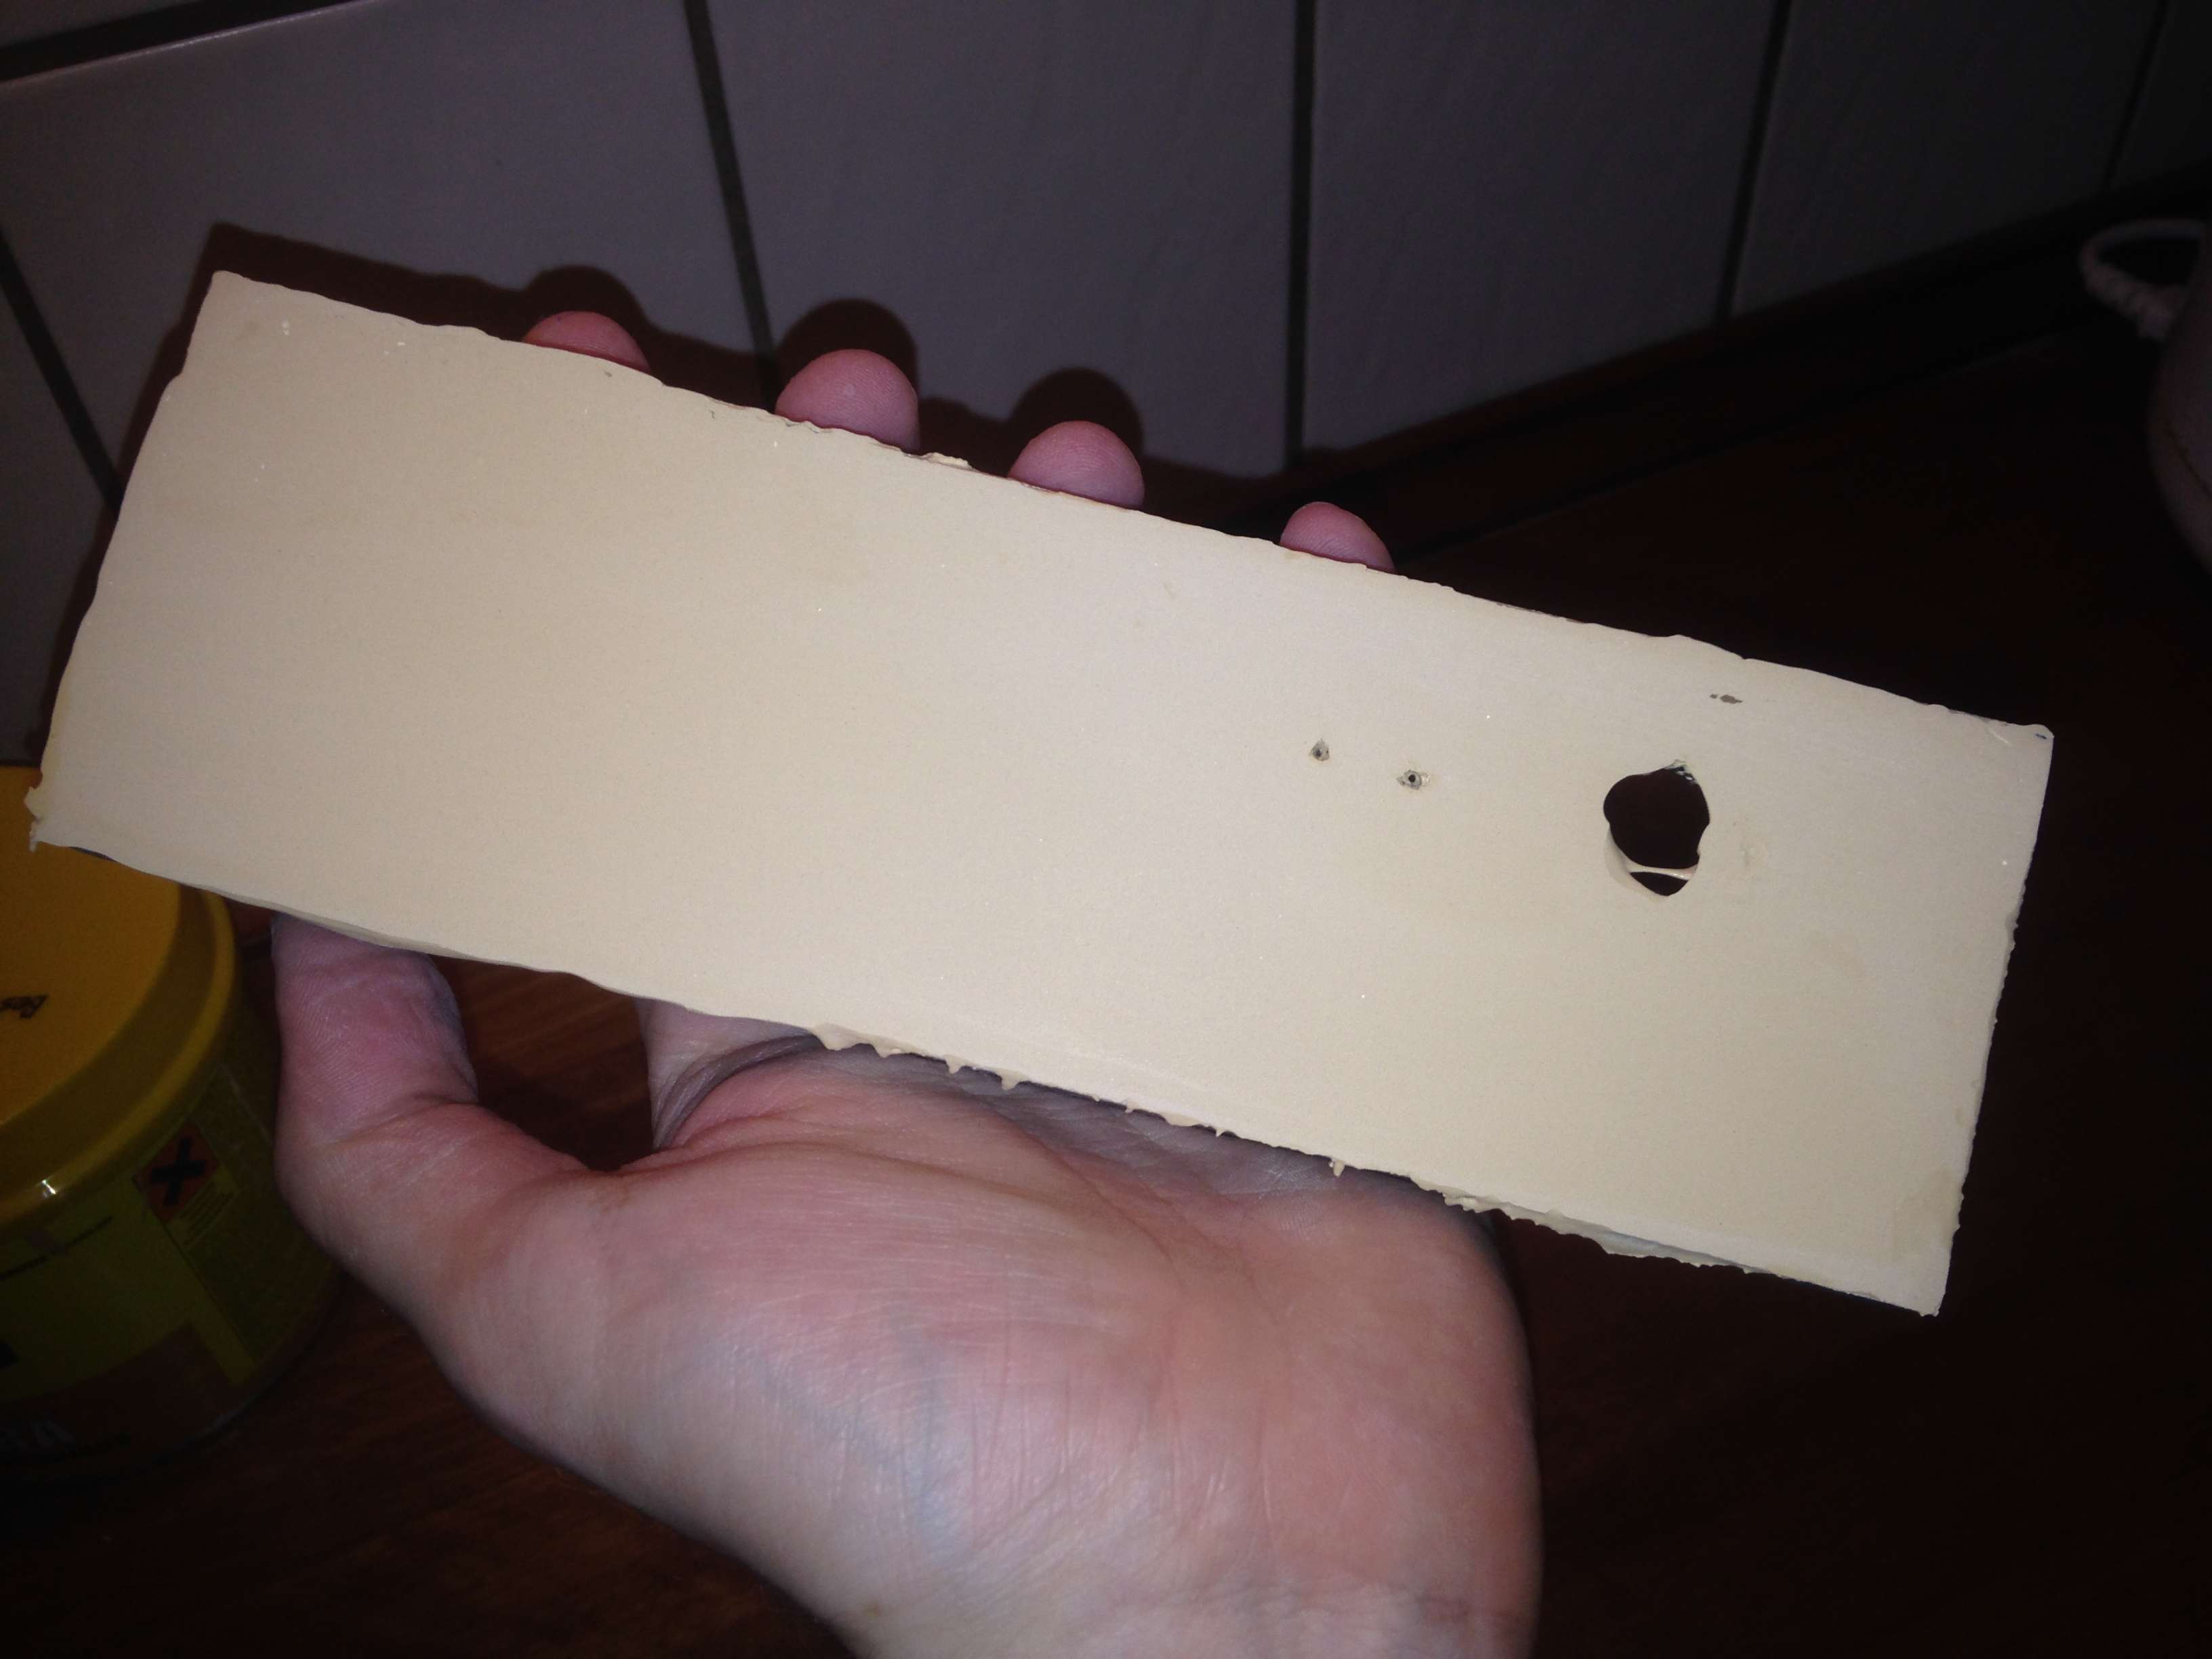
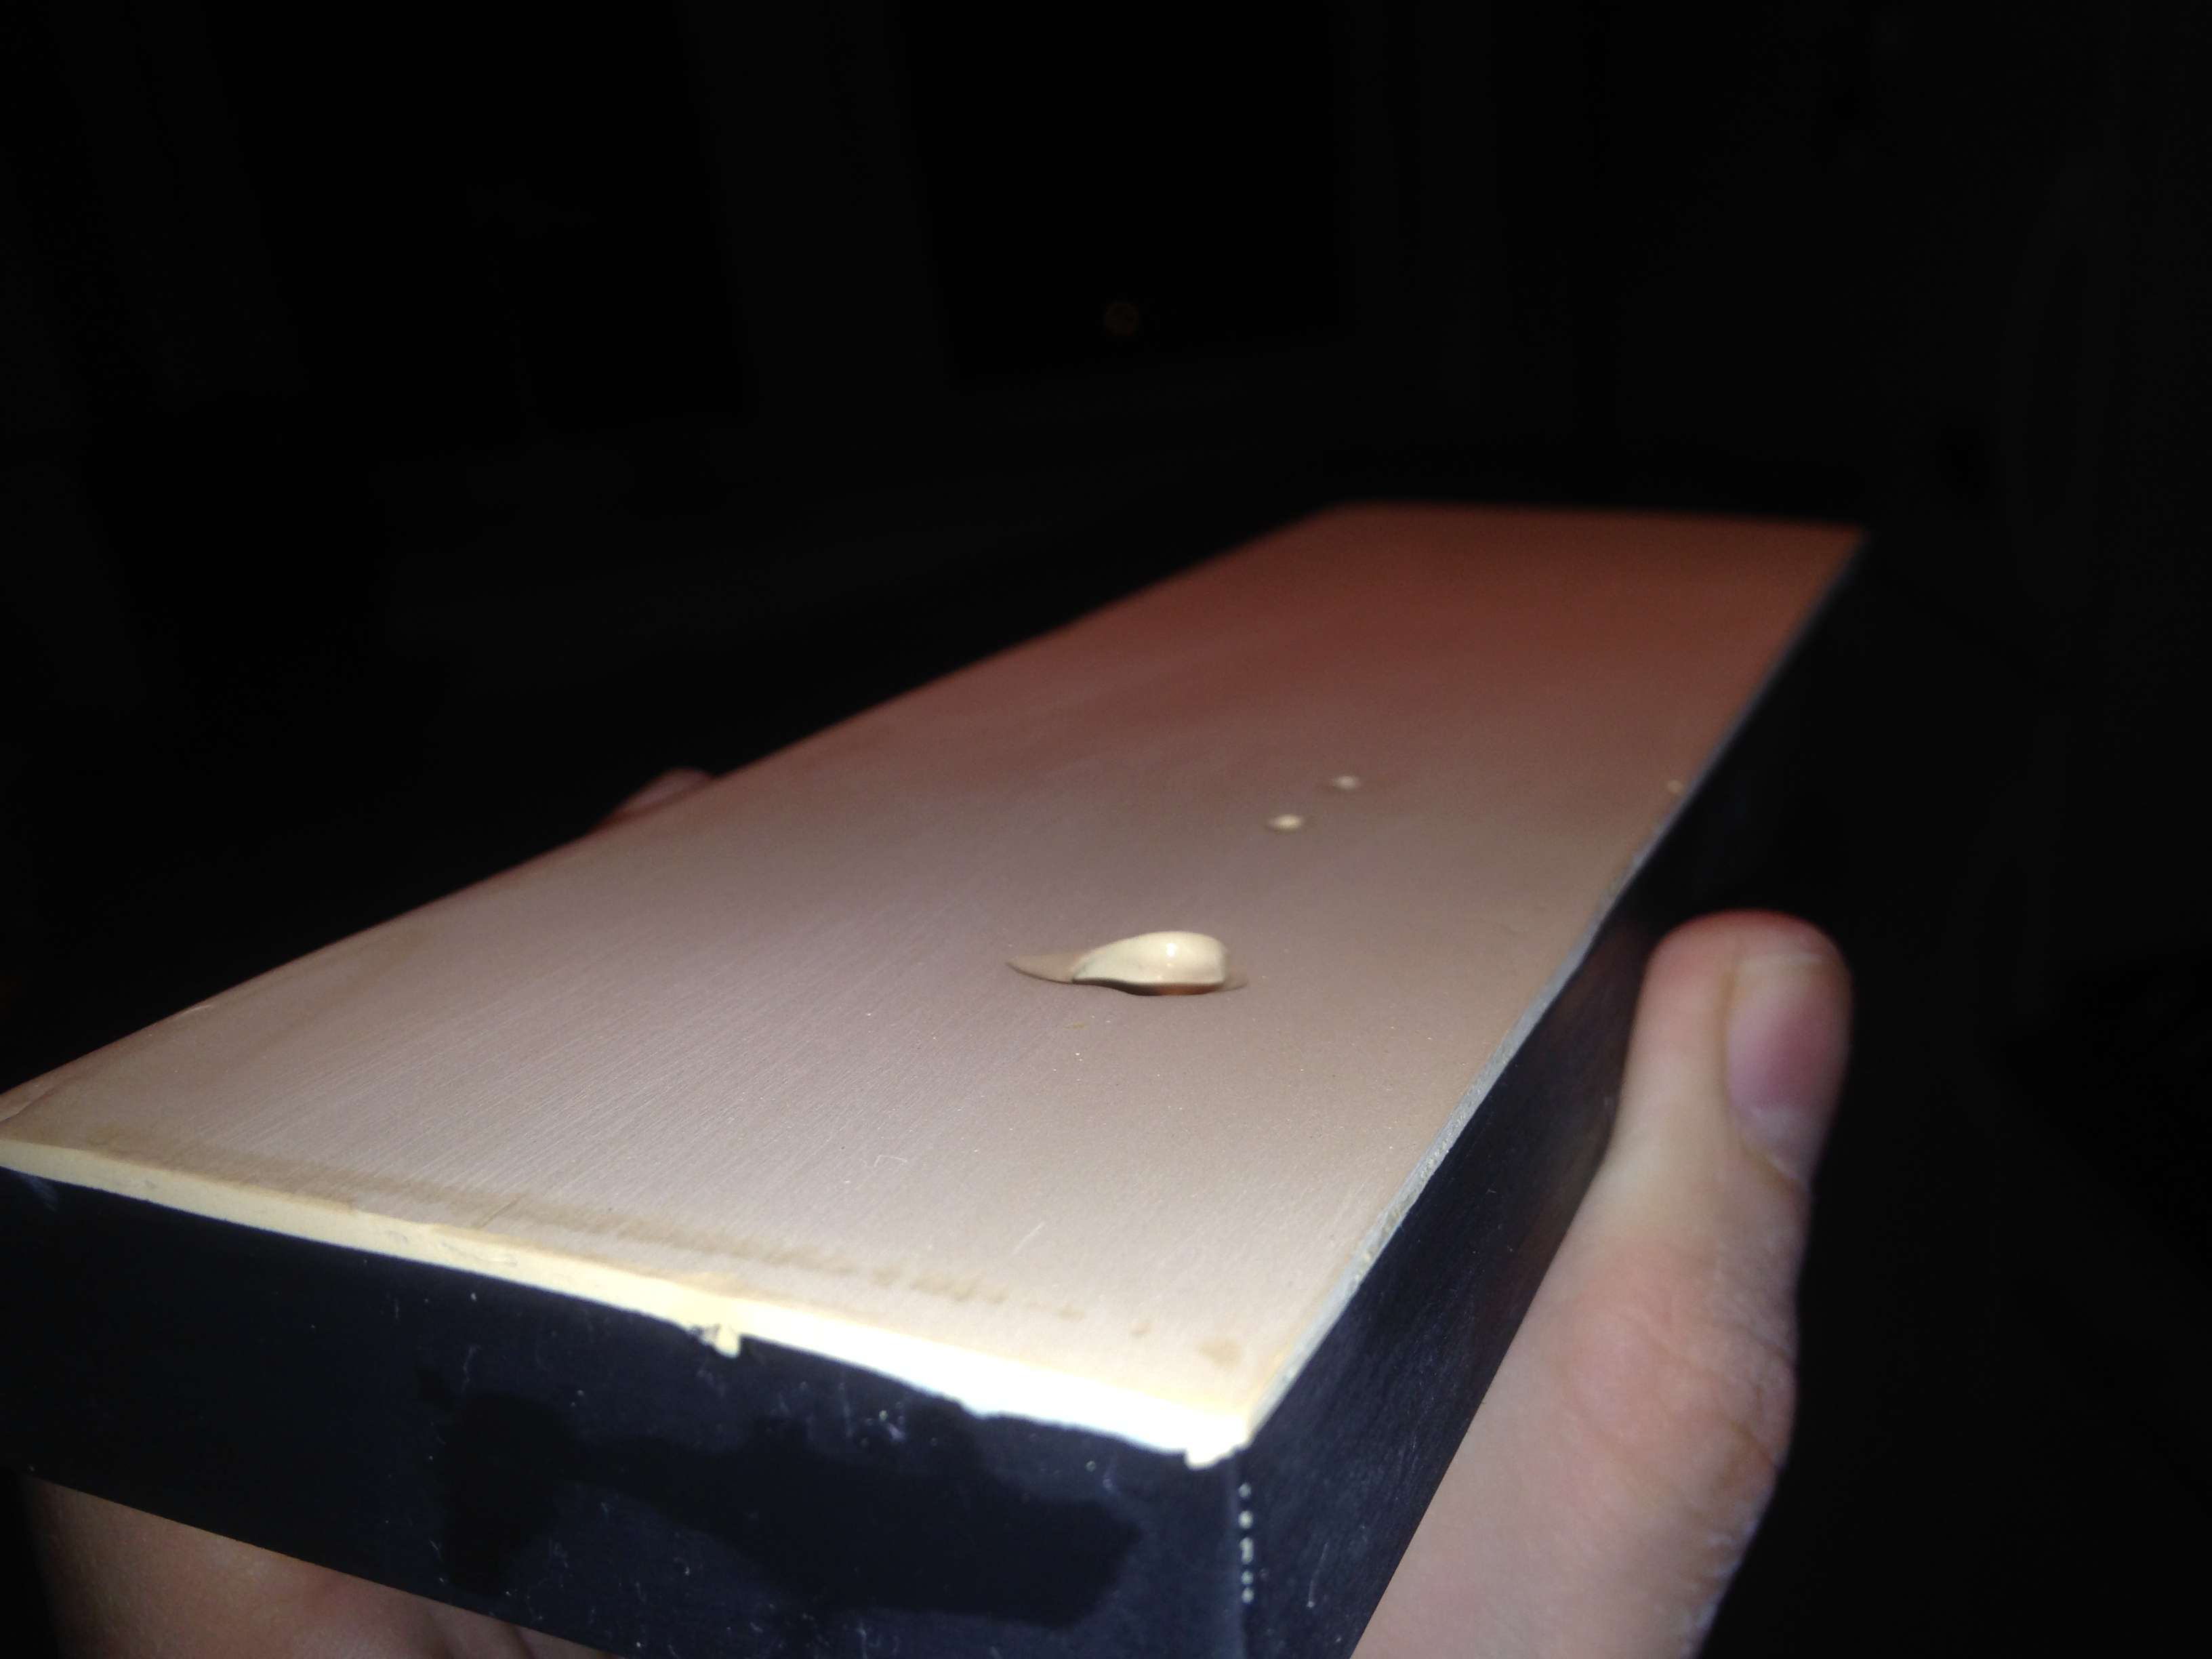
Therefor I gave it a good layer of the chemical wood, but mixed a little too much hardener in it so it turned muddy too soon hence the not so smooth look:
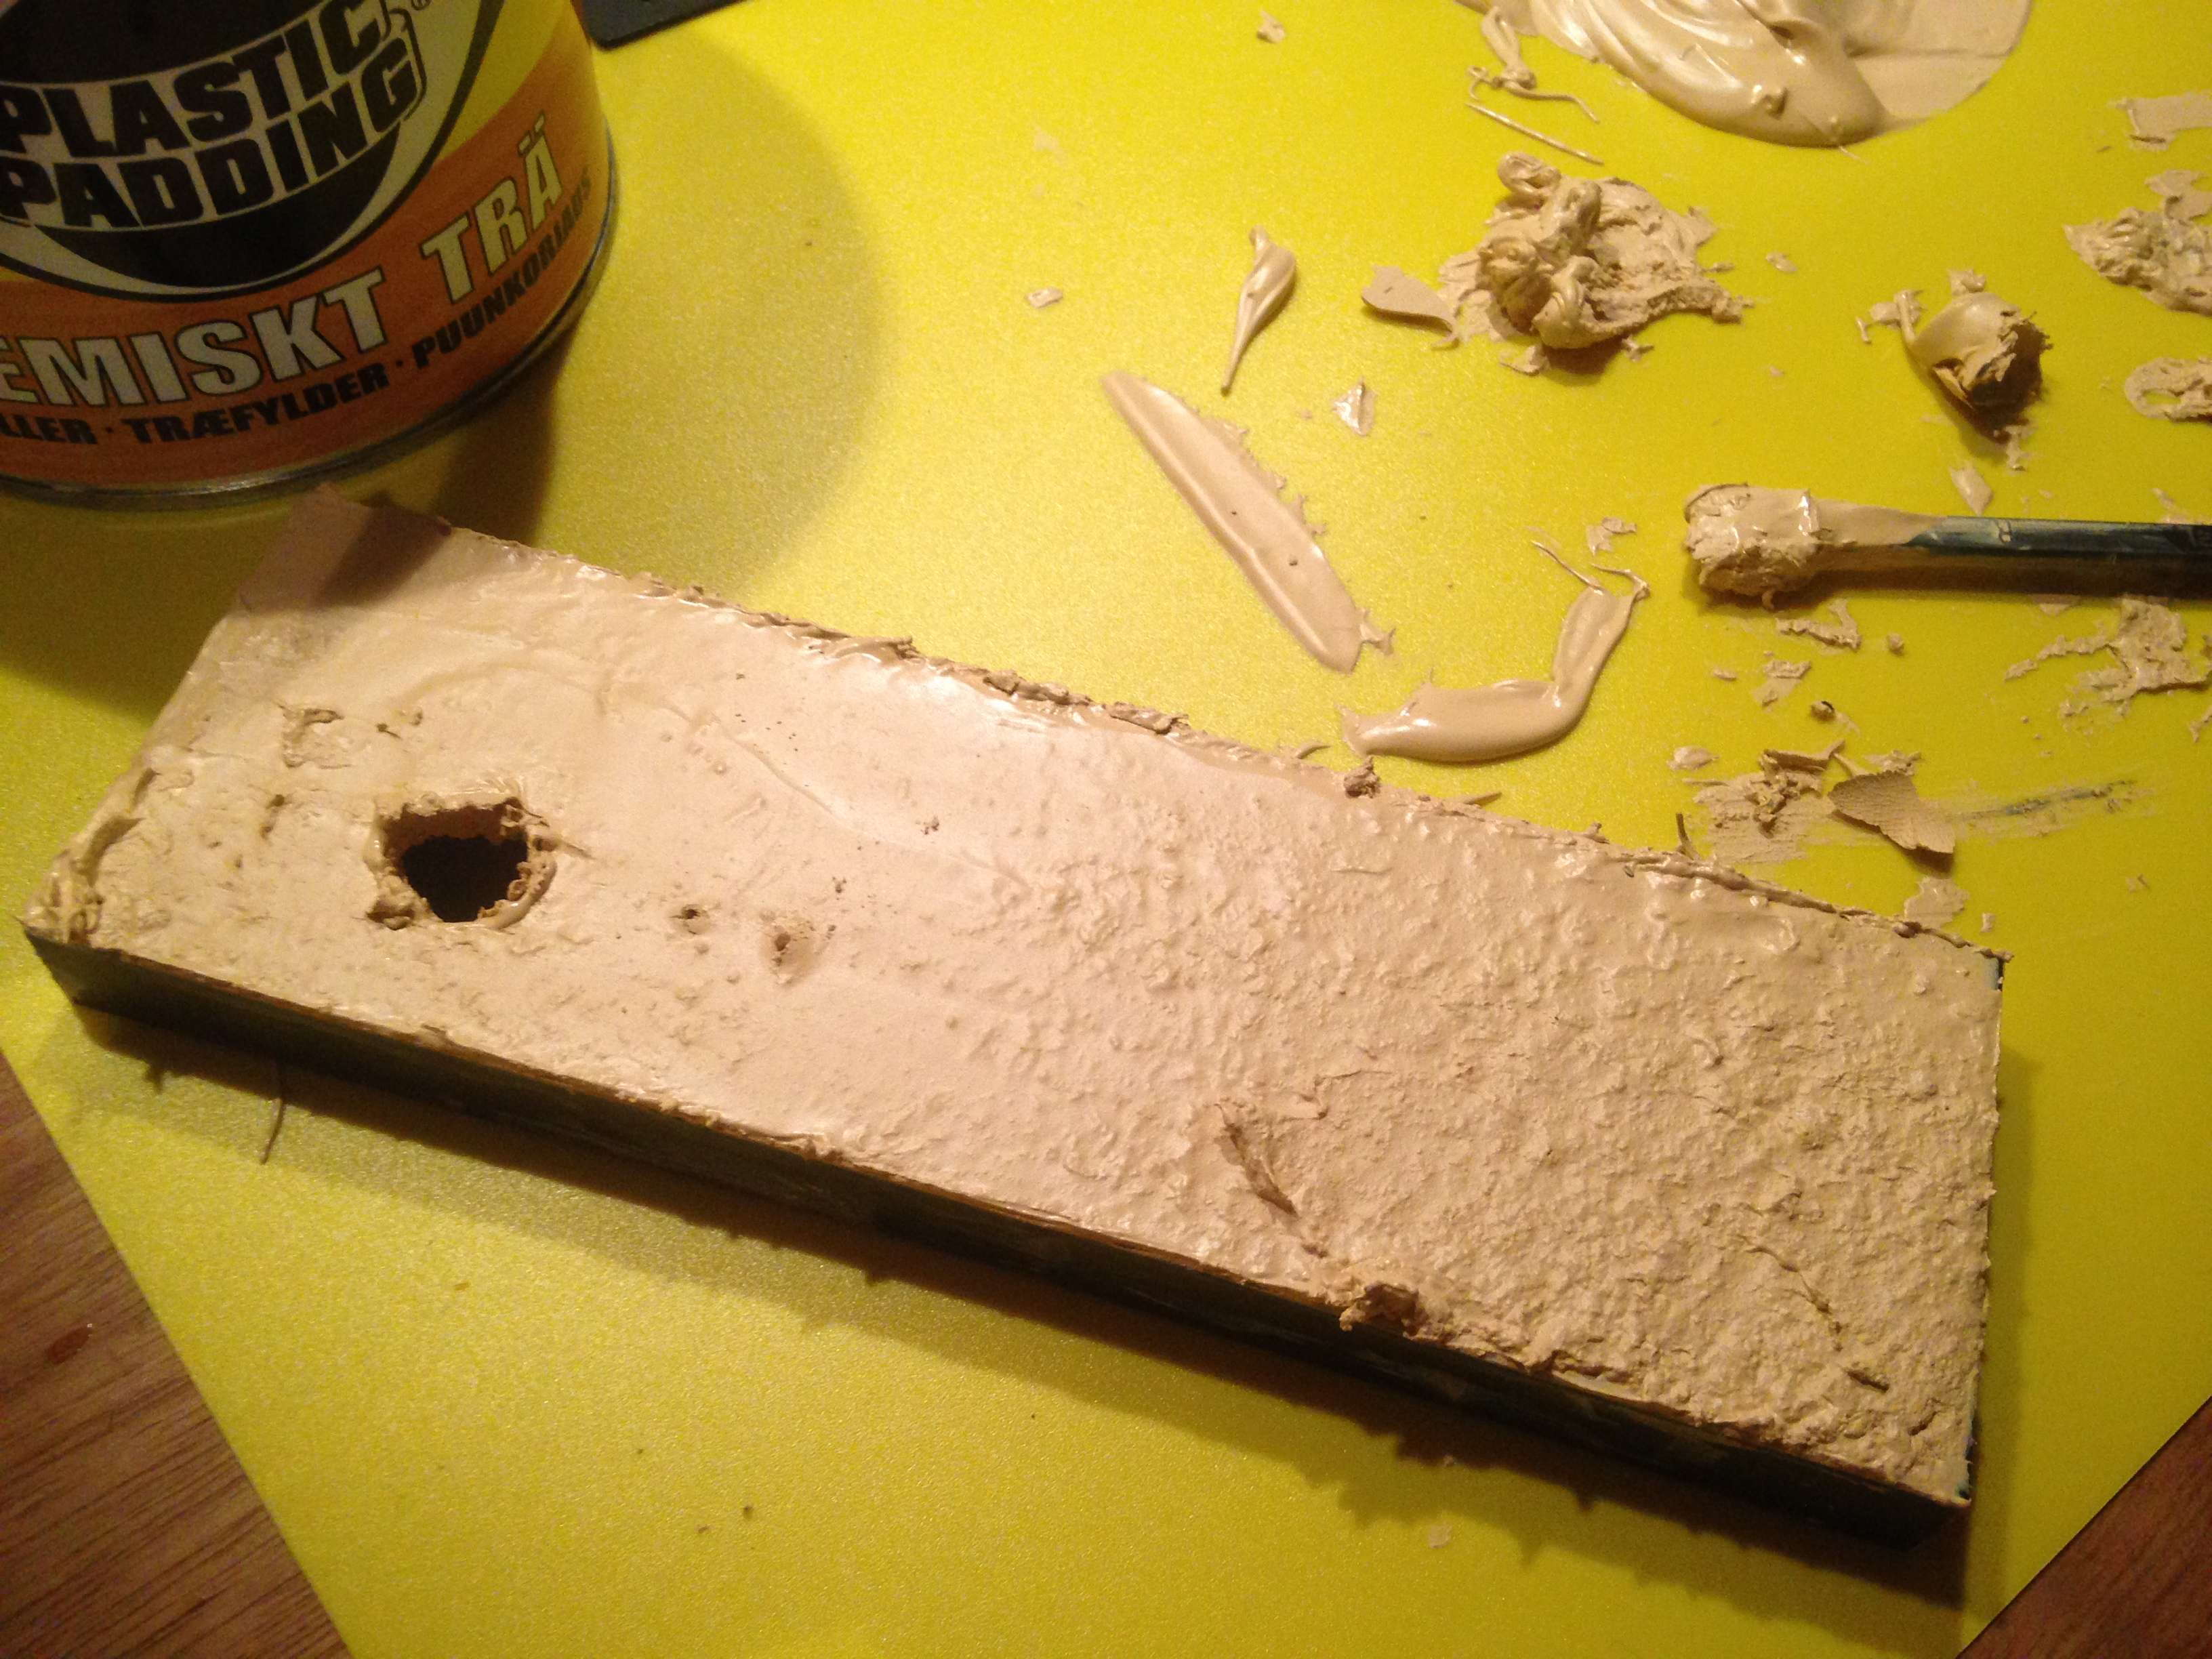
Might need a very thin layer extra, but I will know that after I have sanded this one smooth tomorrow.
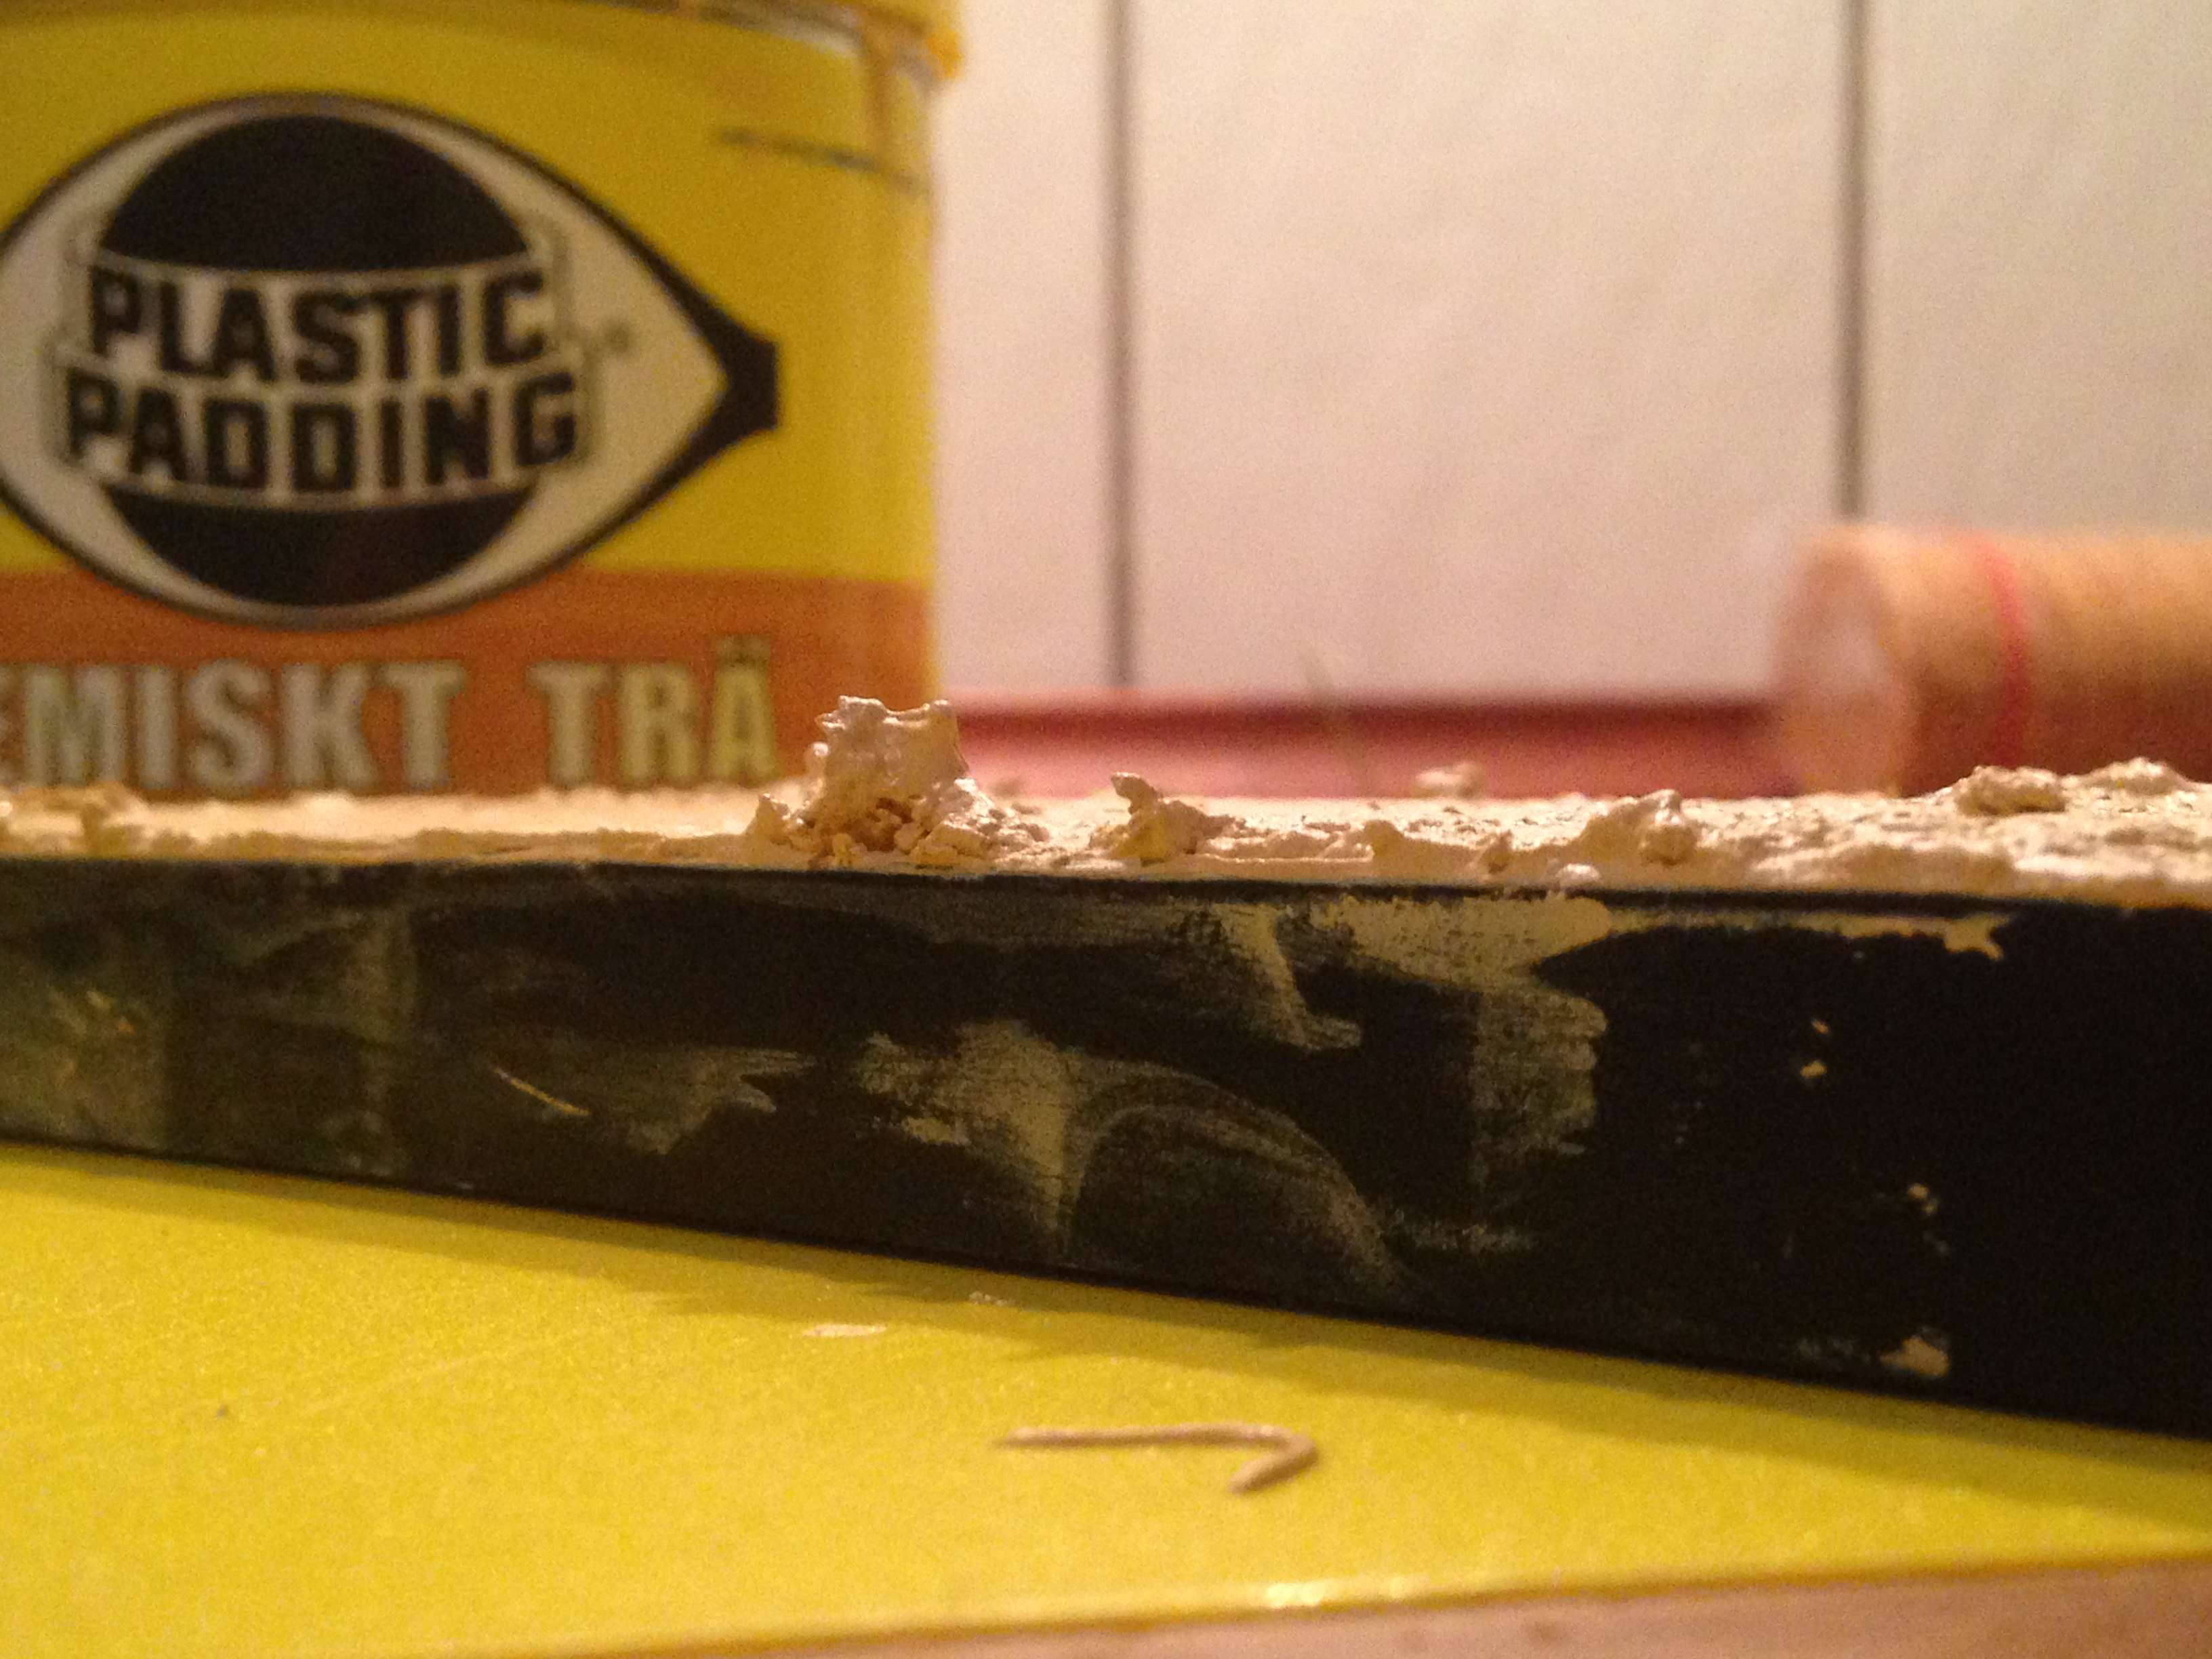
So far it looks like mission accomplished as the logo is nowhere to be seen, all that matters now is that it needs to be level, smooth and still not seen. Will see about that after sanding it.
Had hoped I could switch LED colors today, but seems i'm out of solder so it has to wait
/Beam me out Siri
As of today the system is changed into this until I find a more permanent solution:
NoFan CS-70 chassis
MSI Z77MA-G45 (sleep not working)
Intel Pentium G2030 @3.0GHz
4x2GB Kingston HyperX DDR1866 RAM (original 2400MHz but is unstable on this CPU)
Asus GTX 660TOP
Plextor M3 64GB SSD
Western Digital My Passport Studio Pro 1TB TimeMachine
LyCom FW800/400 PCIe card (works OOB)
SeaSonic X400 fanless PSU
3x120mm NoiseBlocker Multiframe fans
2x80mm NoiseBlocker Multiframe fans
Silverstone BluRay burner slot-in drive
Noctua CPU tower with 2 of the NB fans mounted
-------------------------------------------------------
-------------------------------------------------------
The why?
I am starting a new build since I recently got a problem with my current one. After upgrading to 10.8.5 I can only boot to a blank white login screen and have now tried for a few weeks to solve it without success. A reinstall is needed, so it might be a good time to change things up a little anyway...
Also I have started to play games like Battlefield4 on the Windows part of my system, but as that seperate SSD is only 64GB (an old boot drive I had laying around) the space is getting pretty cramped and I need to solve that too.
If I need a third reason it will be that the current rig is kinda big and unmovable, loved to carry my Mac Mini (genuine one, before I sold it) from place to place (family, friends and work) so I would love the new one to be small enough to make that happen.
The how?
So to solve both problems I have thought up the following recipe.
I will change the Node 2.1, my primary machine, into the Node 2.1b - a fulltime Windows PC.
Windows: I will temporarily downgrade the CPU to a Intel Pentium G2030 to free up my i3 3225 for the other new hack. I will then Install Windows on the full force of my two RAIDed Intel 520 240GB SSDs.
GTX660, PSU, case and whatever that system has will be unchanged for now.
Enough of the Windows part, here comes the main even, the hack:
I need a tiny case with enough PSU power to run everything acceptable, with space for two 2.5" drives and some low noise coolers to keep it cool.
No need for seperate graphics as the 3225 is perfectly enough for everyday tasks and I will play games only on the Windows machine in the future.
The what?
The fun part.
Parts list:
Chassis: Chieftech IX-01b ITX chassis in super tiny ITX dimensions and mostly in black metal (I hate plastics)
PSU: Chiectech IX 90 Watt power brick (yes I triple checked, it should be enough with only 90 Watt)
CPU: Intel i3-3225 with Intel HD Graphics 4000
CPU cooler: Akasa AK-CCE-7106HP low profile PWM controlled fan cooler
Motherboard: Gigabyte GA-B75N, because it is perfect! Its ITX, it only has digital video outs (no point in having VGA when OSX does not support it), mini-PCIe port for a WiFi card and fully supported by various boot loaders for OSX.
RAM: Corsair low profile 8GB kit (2x4GB) DDR3 1600MHz CL9 black
Case cooler: Low noise Fractal Design 50mm R2 cooler
SSD+HDDs:Plextor M3 64GB SATA3 + Hitachi 5K750 500GB SATA2 setup in FusionDrive.
Cables: Some short black SATA600 cables and all the PSU cables sleeved black, because the case has a lot of holes and I want a uniform look.
* WiFi card: Not sure yet, last piece to be added after the system is up and running. Something OSX supported OOB. *
WiFi antennas: Already ordered 3 of the original blue Apple antennas as I have great experiences with them from an earlier build.
Cheap, small and pretty awesome imo...
The when?
Parts will start coming in monday and by then there will be pics.
- - - Updated - - -
Considering what to do with the wifi part...
Option 1) I will get a 300MBps half lenght card that fits right in.
Option 2) Get a 450MBps full lenght card and squeeze it in to fit.
Option 3) Do the right thing but also most expensive, get a half lenght mini PCIe extender and the full lenght card, place it somewhere else in the case with slightly better space.
Beside that, I just ordered a recording/playback module to make the little box chime like a Mac!
This build will not be very fast, but it will be cute and a pretty impressive DIY solution I hope, very close to the current i5 Mac Mini.
- - - Updated - - -
As promised, the first packages arrived today so here are pictures:
Got the case and the PSU so far.
Disassembled the thing as much as possible without having to break out power tools (yet).
I need to remove the rivets in the rest of the case (16 rivets in total) so I can paint the grey metal in a mat black instead. After that I will re-rivet with black rivets.
Also just ordered a case of Rit fabric dye, as someone told me it works on wires - so I can get all the PSU wires to be black instead of mixed colors.
If that was not enough, I even picked up two frosted white 5mm LEDs I will solder onto the front LED wires, so they are a classy white instead of red and green (too old school).
Now I just need to figure out how to remove the ugly chieftec logo on the front... As its embossed in the plastic when the front was molded, I guess I can use some kind of plastic padding and level the whole front and then paint it over.
I knew I could not help my self... I have to mod when I build...
By the way, here is a size comparison with the cousins, the two Mac Mini models:
Well, I just went to the basement to find my dremel (to be fittet with a drill to remove rivets), soldering iron and a few other things I will need and what did I unexpectedly find? Plastic Padding Chemical Wood!
I also found out I don't have any mat black spray paint, only a buck load of jet black and chrome silver, not any of them ideal for this build..
Anyway, I figured that the chemical wood will be kind of just as good as the epoxy version of the same padding, even maybe easier to work with afterwards, so why not.
Here is the front before I did anything:
Not very sexy plastic with ugly logo...
Therefor I gave it a good layer of the chemical wood, but mixed a little too much hardener in it so it turned muddy too soon hence the not so smooth look:
Might need a very thin layer extra, but I will know that after I have sanded this one smooth tomorrow.
So far it looks like mission accomplished as the logo is nowhere to be seen, all that matters now is that it needs to be level, smooth and still not seen. Will see about that after sanding it.
Had hoped I could switch LED colors today, but seems i'm out of solder so it has to wait
/Beam me out Siri


