- Joined
- Aug 12, 2012
- Messages
- 40
- Motherboard
- Gigabyte H77M D3H
- CPU
- i5 3450
- Graphics
- GTX 560 (nonti)
- Mobile Phone
hey guys,
so here is my G5 Casemod. About a year i had the idea to install osx on my PC. 4 weeks ago i finally bought my new PC and assembled it together. OSX 10.8.2 is running smooth on my system.
My System:
Apple OS X Mountain Lion 1.8.2
http://itunes.apple.com/us/app/os-x-...512?ls=1&mt=12
MB:
Gigabyte Ga H77M D3H (mATX cause of casemodding a G5)
CPU:
Intel Core i5 3450
GPU:
Gainward GTX 560 (nonti) (natively supported !! no extra kexts !)
RAM:
Kingston Value Ram 16GB 1333MHz (4x4 GB)
CD/DVD:
cheap Samsung CD/DVD burner
PSU:
Cougar 450W
Already Owned:
HDD:
Seagate Barracuda 250 GB
Monitor:
Acer 22" TFT LCD
Mouse + Keyboard:
Logitech Mouse + Apple Keyboard
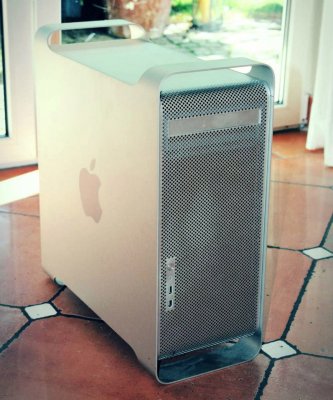
at the same time i bought an old power mac G5 case on ebay. it was broken (cpu). i read a lot here about casemodding a G5 and where the difficulties are. I decided to go the hard way and let this beautiful case his clean look that meant i had do solder a lot with ab bit of cutting and gluing. For the additional cables for USB, Audio and Ethernet i used my old case. it had plenty of it
this is what i am modding
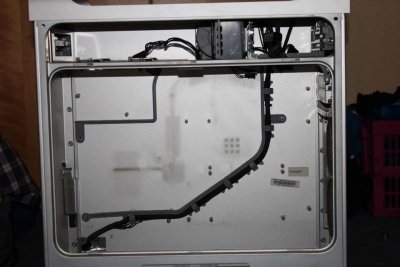
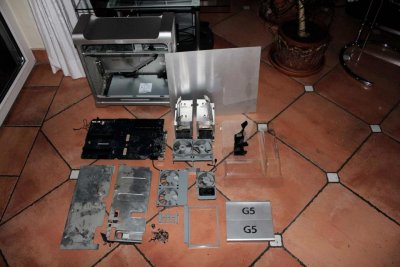
and this is the case after cleaning it out some parts were hard to remove !
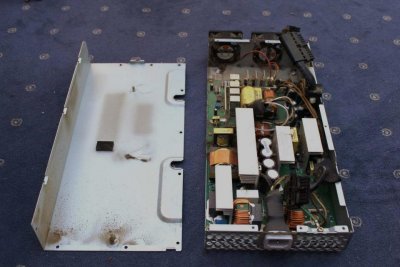
"unboxed" the PSU
this is where you have to solder the audio out cables
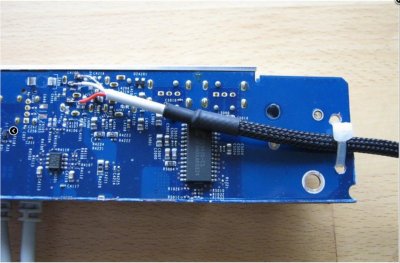
and this is the soldering position for the 2 USB ports
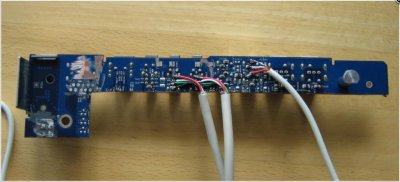
the soldering station i used
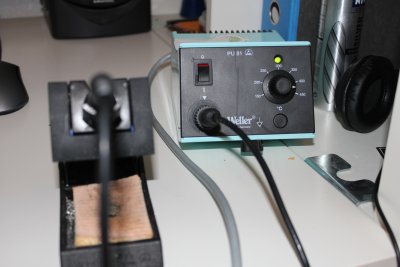
prepaired cables
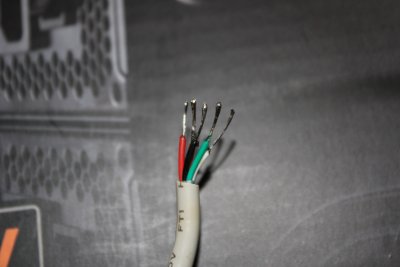
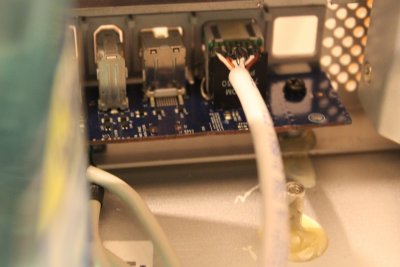
audio and Usb soldering points
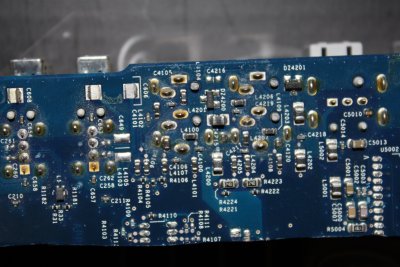
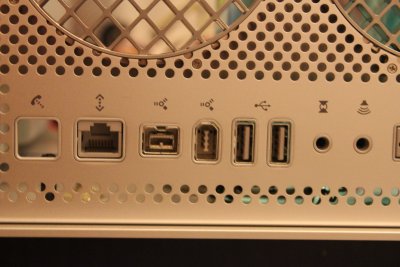
thats where the problems startet. audio is bit too quiet... i guess its the soldering. i didnt do it right. the USB ports dont work at all. but a big goal was that ethernet worked 100%. i have 32.000er DSL and the tested speed through the soldered Ethernet was 29.000er and upload 1000.
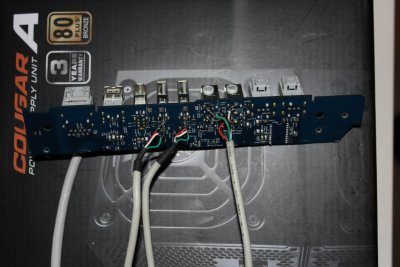
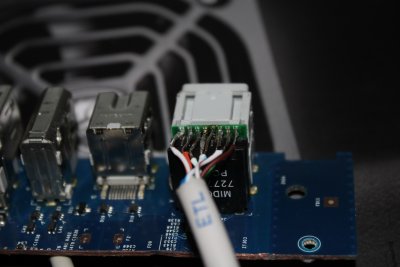
i also costumized the PSU i was fitting into the Mac's PSU case. I cut the PSU jack and reused it for my PC PSU. works just fine !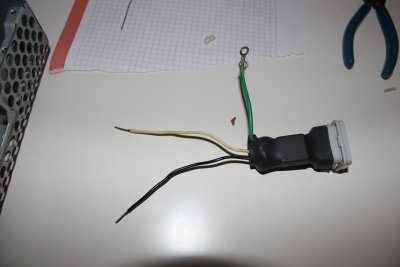

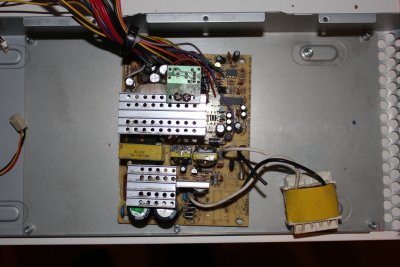
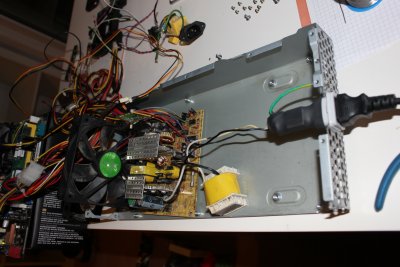
aaand then testing the soldered PSU with my old Core 2 Duo and my 9600 GT. i also rewired the apple original PSU fans (carefull: they are loud) just solder the black cable to the red wire of the connecter and black to red connector cable. they are cooling the PSU quiet good
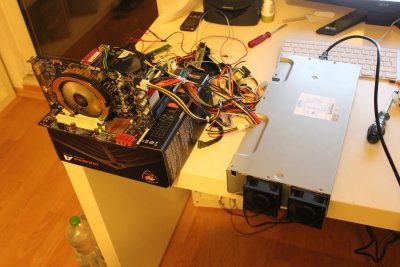
at least i soldered the front I/O cables after a scetch i found here on tonymac. just cant find it right now. problem was that the cablenumbers on the sketch were different to mine. but i just had to change 2 pins and the power button and the LED worked.
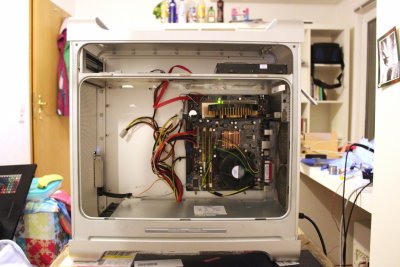
this is the "final" prototype of my running system. i tested all components and they work. now i have to build in HDD cage, dvd drive and my (hopefully) better soldered rear panel I/O.
so here is my G5 Casemod. About a year i had the idea to install osx on my PC. 4 weeks ago i finally bought my new PC and assembled it together. OSX 10.8.2 is running smooth on my system.
My System:
Apple OS X Mountain Lion 1.8.2
http://itunes.apple.com/us/app/os-x-...512?ls=1&mt=12
MB:
Gigabyte Ga H77M D3H (mATX cause of casemodding a G5)
CPU:
Intel Core i5 3450
GPU:
Gainward GTX 560 (nonti) (natively supported !! no extra kexts !)
RAM:
Kingston Value Ram 16GB 1333MHz (4x4 GB)
CD/DVD:
cheap Samsung CD/DVD burner
PSU:
Cougar 450W
Already Owned:
HDD:
Seagate Barracuda 250 GB
Monitor:
Acer 22" TFT LCD
Mouse + Keyboard:
Logitech Mouse + Apple Keyboard
at the same time i bought an old power mac G5 case on ebay. it was broken (cpu). i read a lot here about casemodding a G5 and where the difficulties are. I decided to go the hard way and let this beautiful case his clean look
this is what i am modding

and this is the case after cleaning it out


"unboxed" the PSU

this is where you have to solder the audio out cables

and this is the soldering position for the 2 USB ports

the soldering station i used

prepaired cables

audio and Usb soldering points

thats where the problems startet. audio is bit too quiet... i guess its the soldering. i didnt do it right. the USB ports dont work at all. but a big goal was that ethernet worked 100%. i have 32.000er DSL and the tested speed through the soldered Ethernet was 29.000er and upload 1000.


i also costumized the PSU i was fitting into the Mac's PSU case. I cut the PSU jack and reused it for my PC PSU. works just fine !


aaand then testing the soldered PSU with my old Core 2 Duo and my 9600 GT. i also rewired the apple original PSU fans (carefull: they are loud) just solder the black cable to the red wire of the connecter and black to red connector cable. they are cooling the PSU quiet good

at least i soldered the front I/O cables after a scetch i found here on tonymac. just cant find it right now. problem was that the cablenumbers on the sketch were different to mine. but i just had to change 2 pins and the power button and the LED worked.
this is the "final" prototype of my running system. i tested all components and they work. now i have to build in HDD cage, dvd drive and my (hopefully) better soldered rear panel I/O.


