- Joined
- Dec 28, 2012
- Messages
- 18
- Motherboard
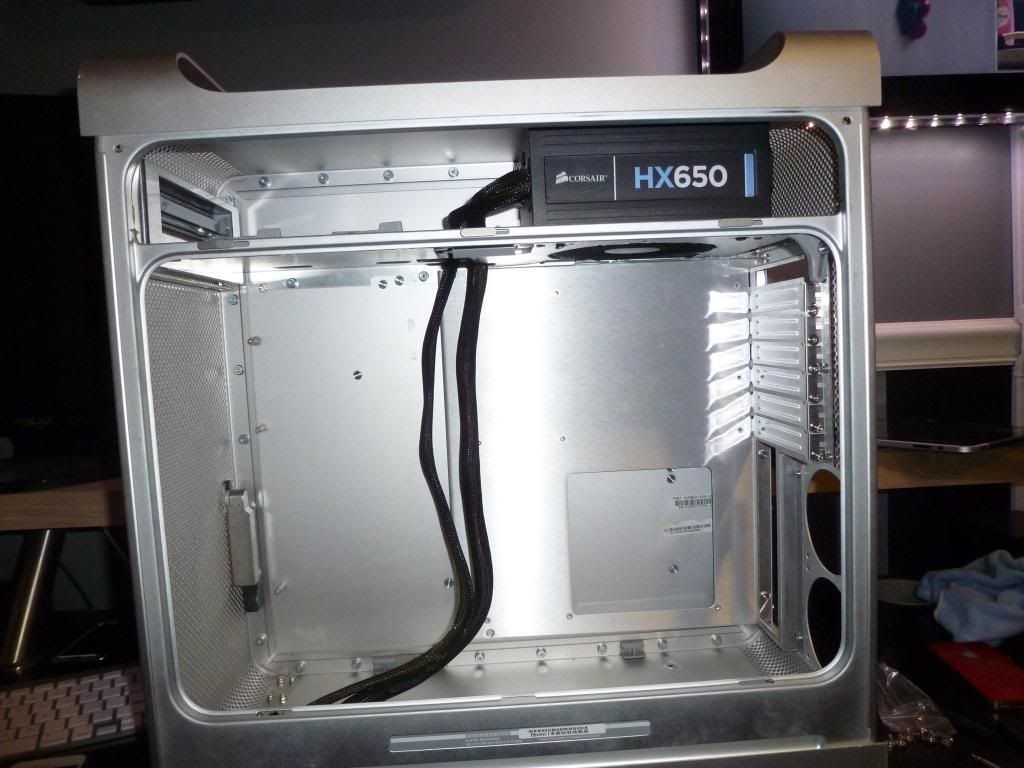
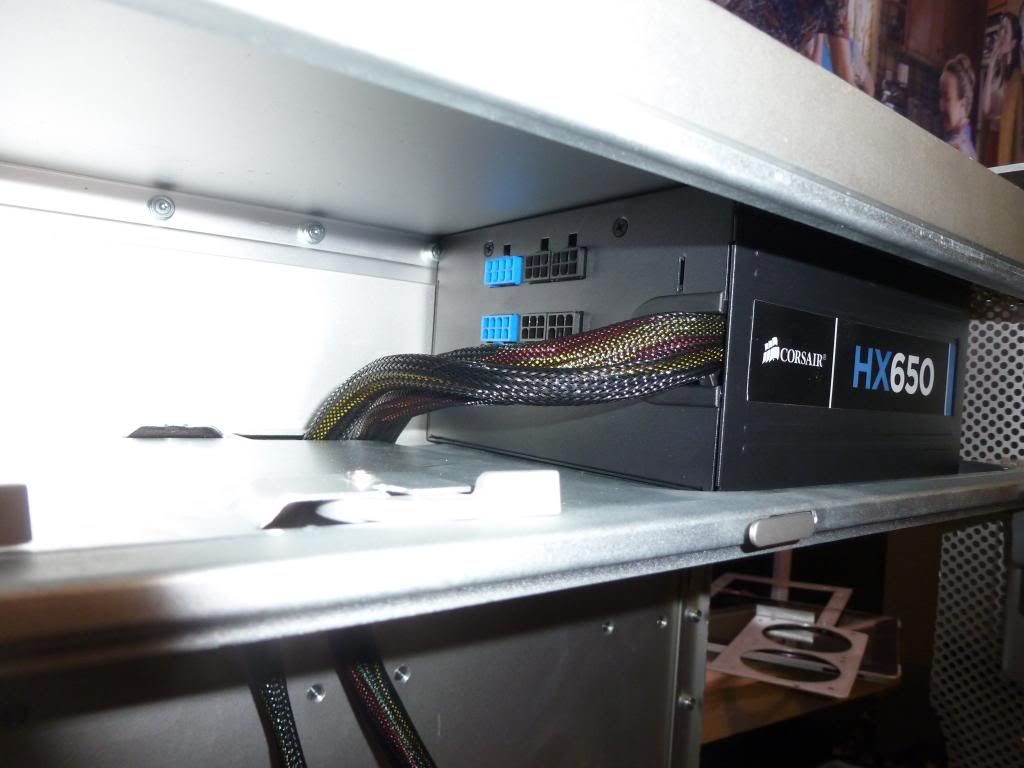
- Powermac g5
- CPU
- Intel i5
- Graphics
- None
- Mac
- Classic Mac
- Mobile Phone
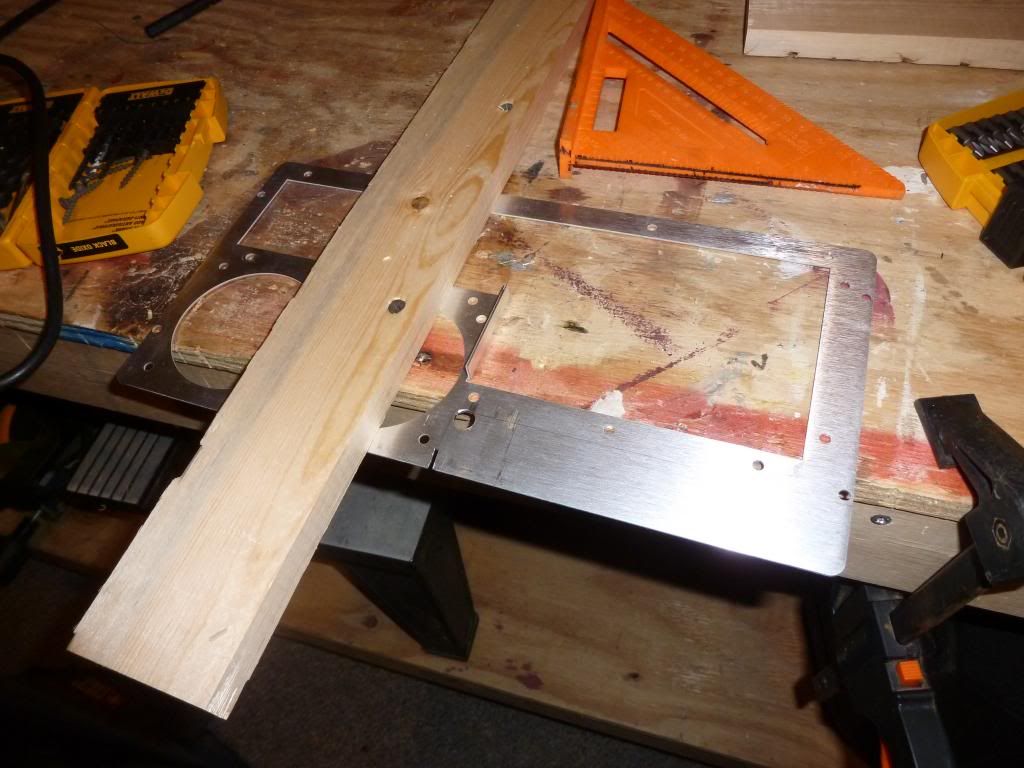
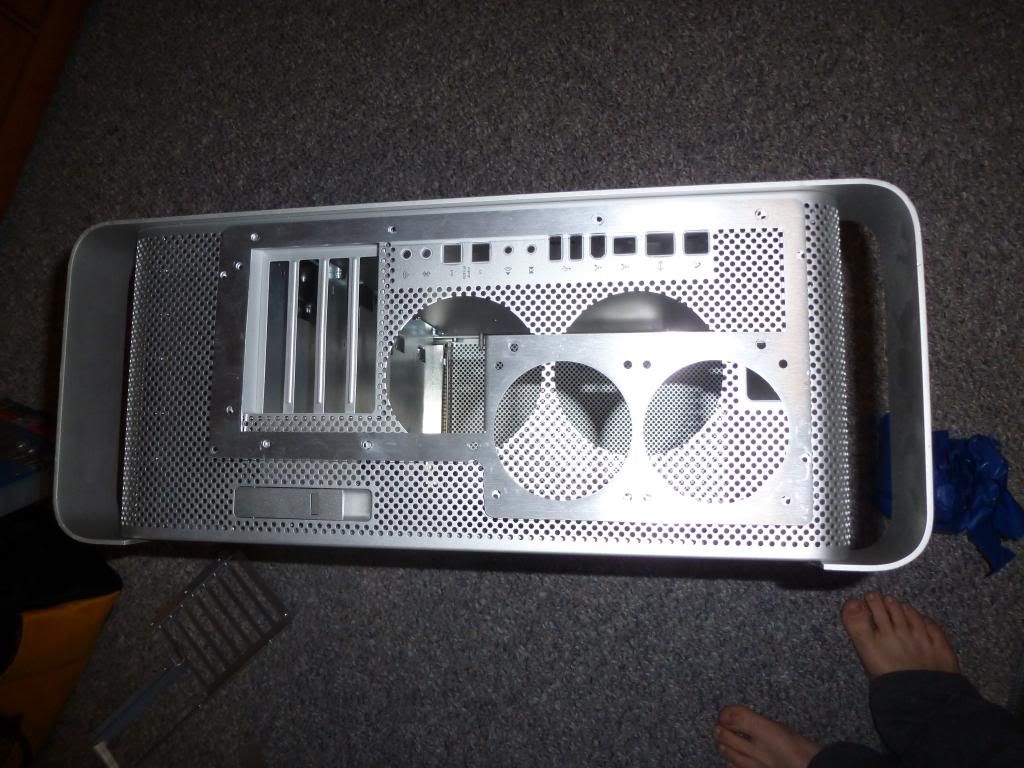
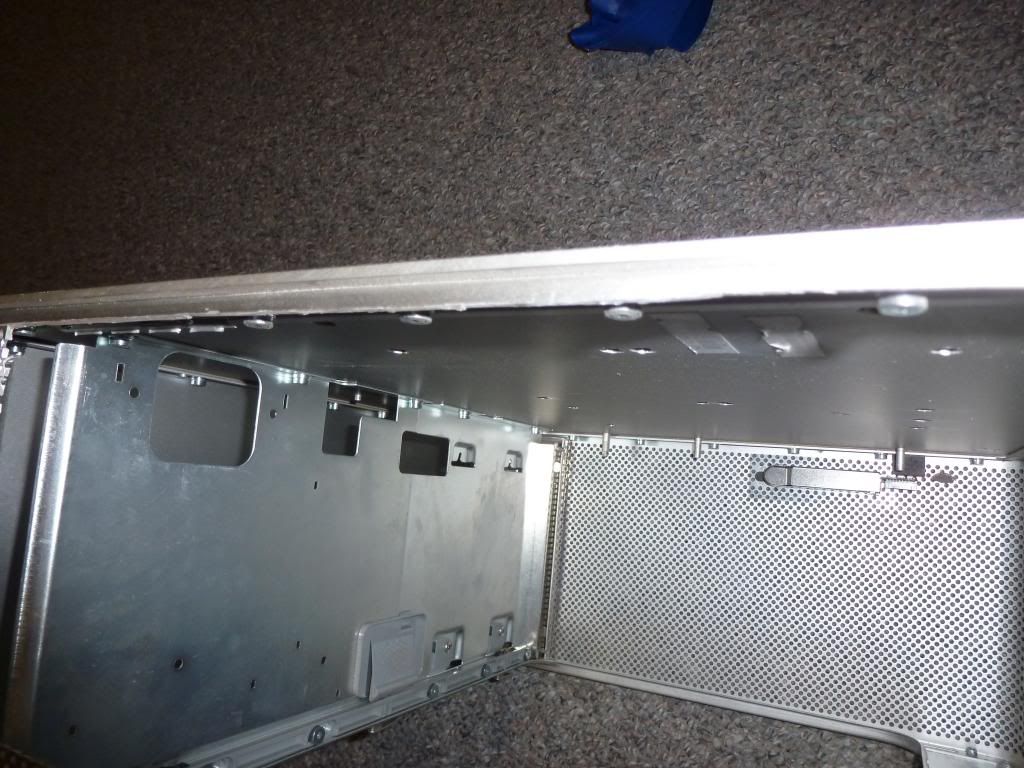
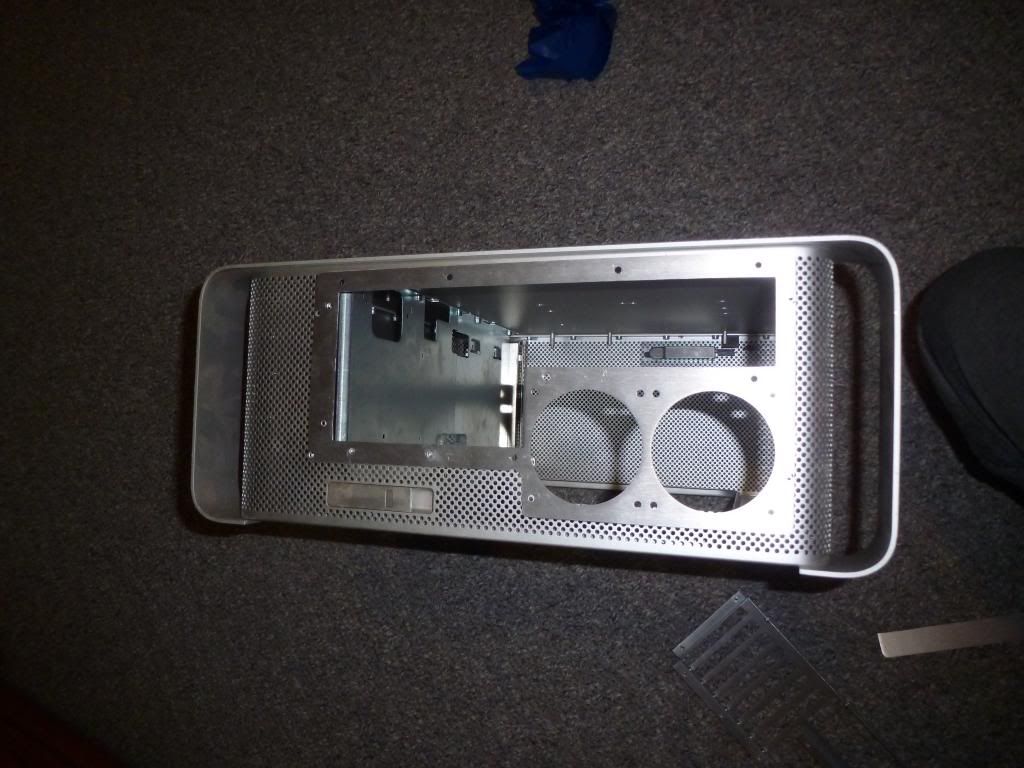
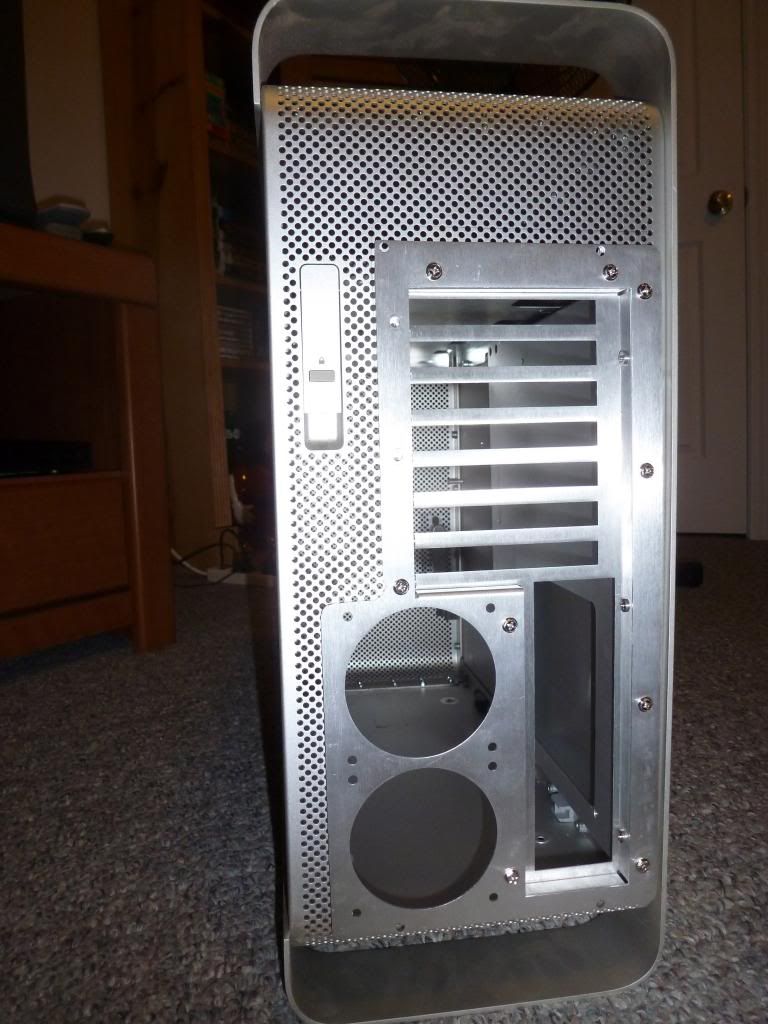
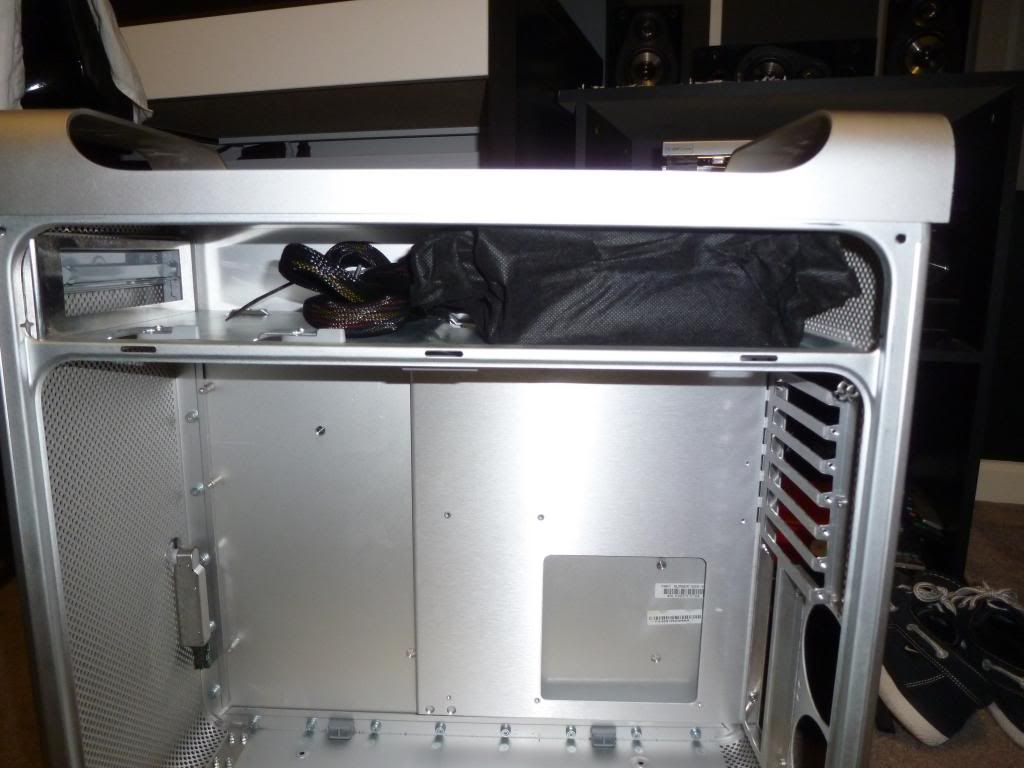
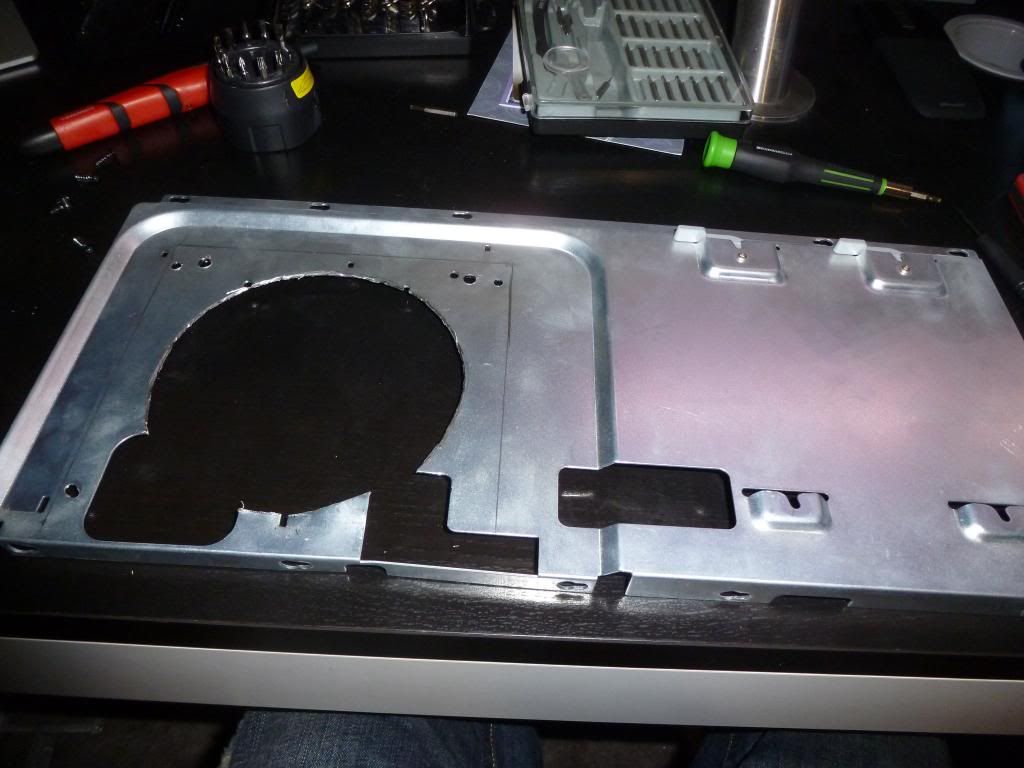
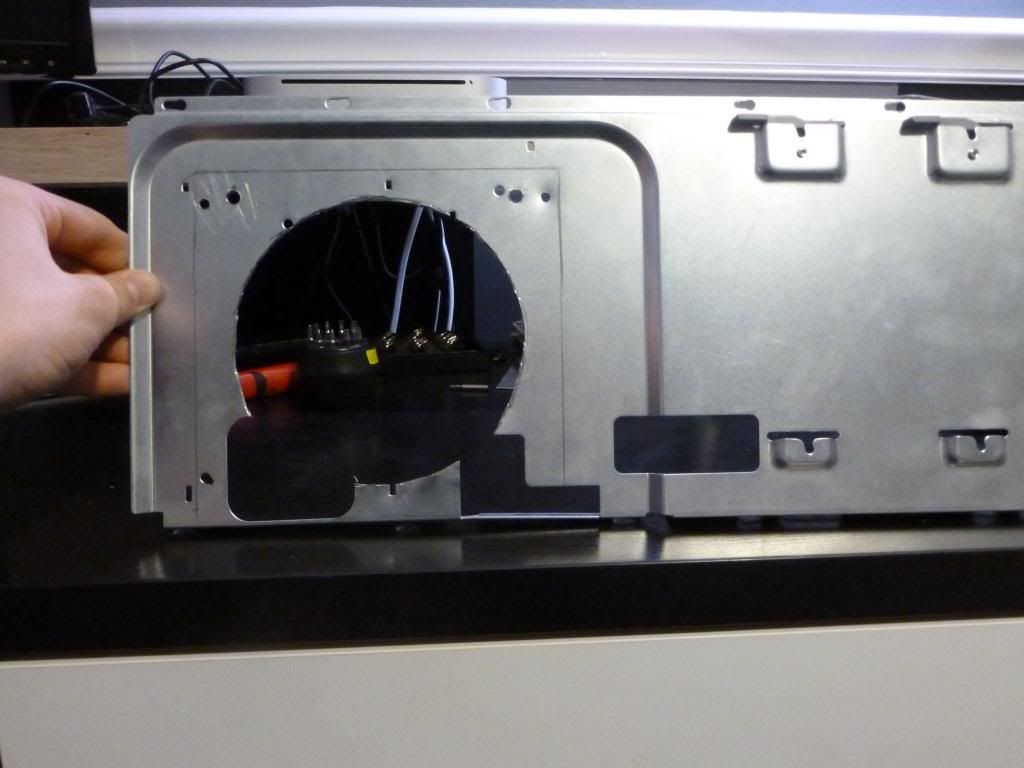
Hey everyone I have a question in regards to the front I/O panel. I cut the cable today and split all the wires apart and for some reason it seems off to me. Do I have the wires labeled right or am I way off?
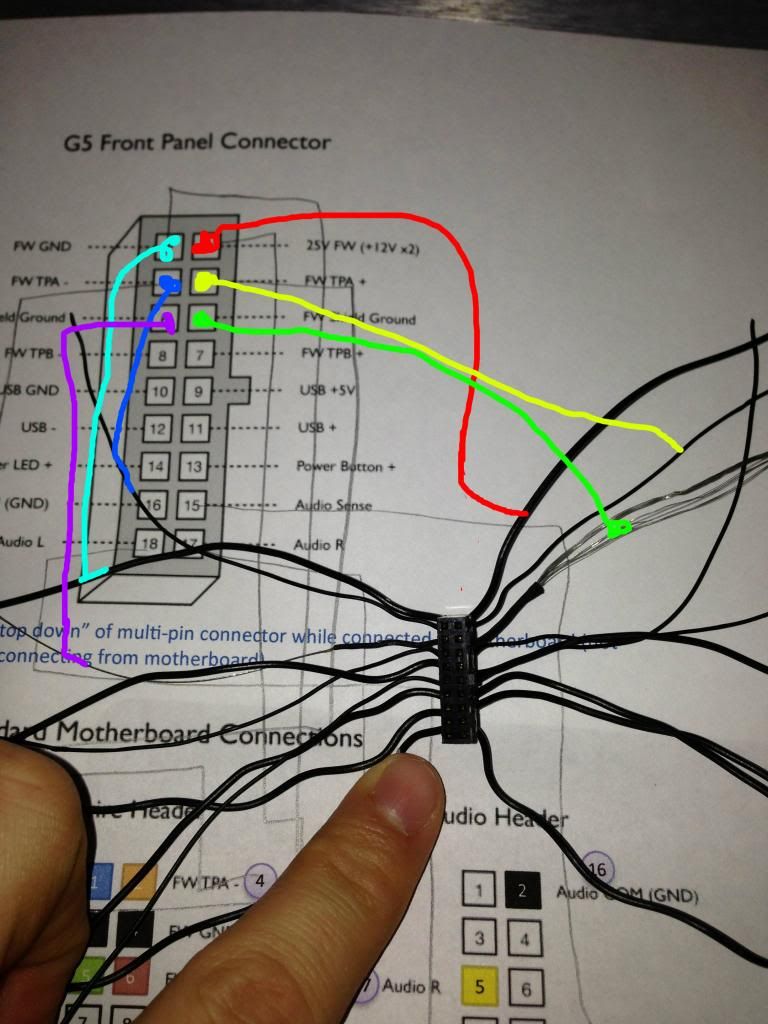
I am thinking this is right because I assume that the exposed wires are grounds. I think that I may have cut the wrong end of the connector though. Any help is greatly appreciated.
I am thinking this is right because I assume that the exposed wires are grounds. I think that I may have cut the wrong end of the connector though. Any help is greatly appreciated.