Contribute
Register

Eerie Blue Glow. My second G5 Mod

Status
Not open for further replies.
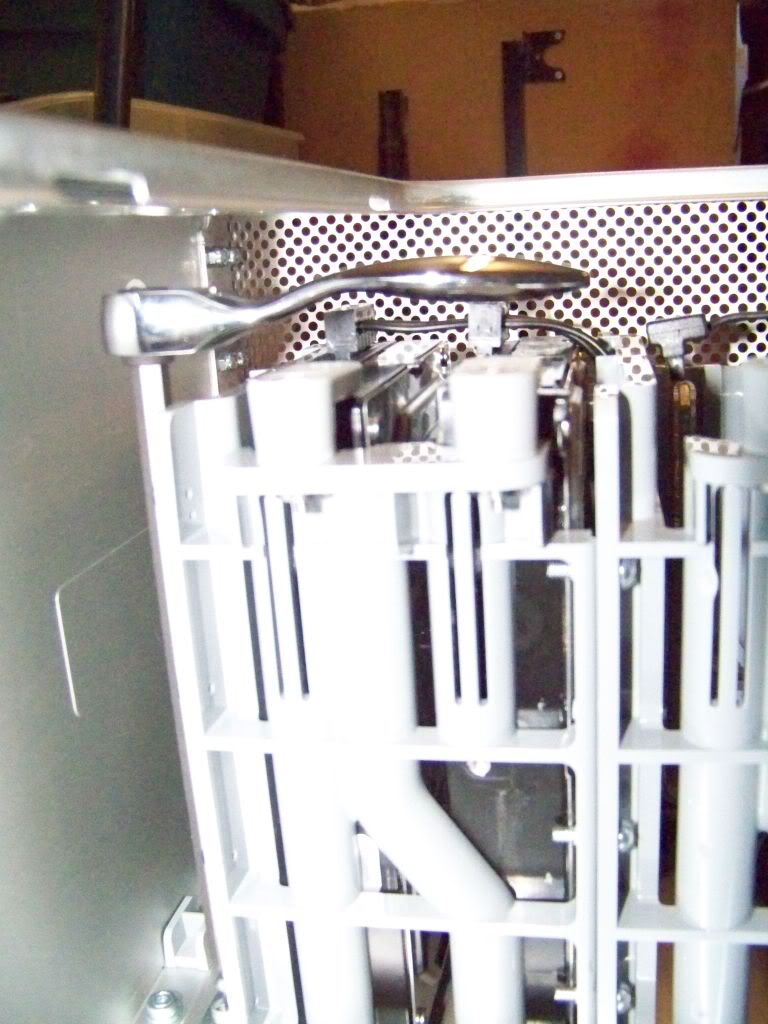
Back in post #20 of this thread I was trying to figure out how I would get access to the two bottom screws that are used to mount the drive cage to the aluminum rails. I thought that I would have to drill two access holes in the front lip and buy a really long screw driver to get at them. I wound up getting a 6" screwdriver bit and using a mini bit ratchet that I had in my tool box. It fit perfectly and works like a charm.
wrench.jpg


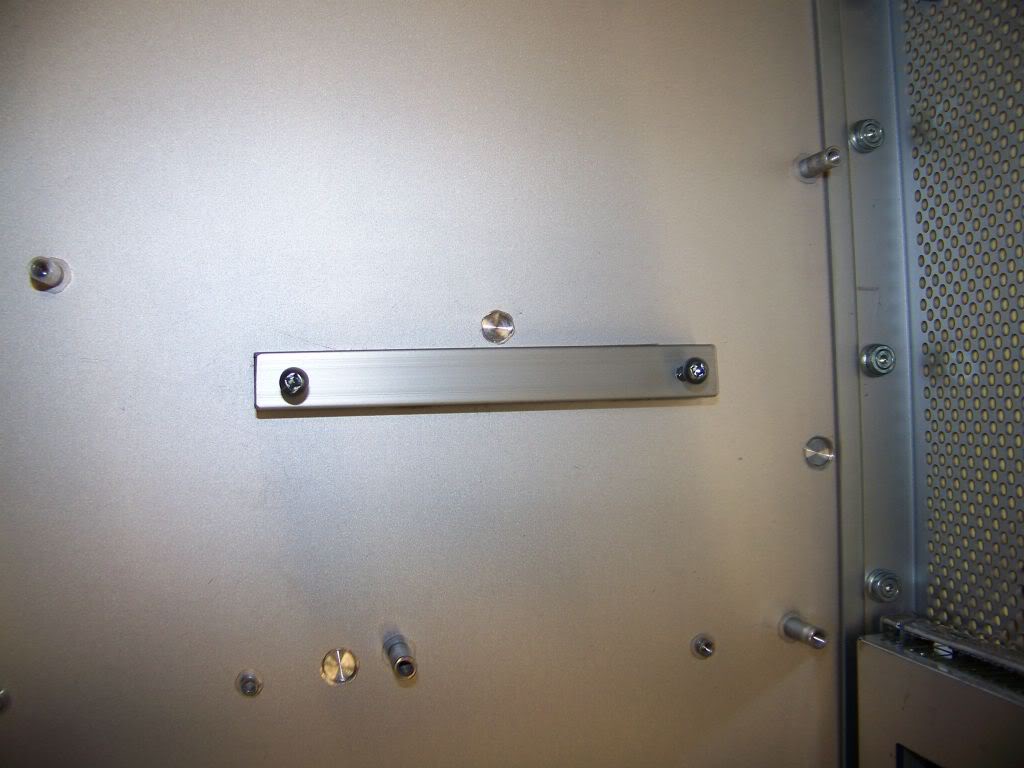
By masking the area around the aluminum bars and removing the masking tape at about the 6 hour mark, I am able to create a really clean JB Weld. Here is the lower drive cage mounting rail with minimal seepage.
100_1638.jpg


and the upper drive cage mounting rail...minimal glue seepage.
100_1636.jpg


Soldering the Drive Pigtail
Well after all the work I put into my homemade drive cage and fancy pigtail wiring, today I cut it all off. What I am left with is two stubby SATA power pigtails from the PSU.
100_1623.jpg


I salvaged the drive power pigtail connector from the original G5 PSU and I'm going to connect it to the stubby power pigtails of the PSU. This way I can re-use the original black power cable harness from the G5 that runs underneath the motherboard and powers the optical and hard drives.
100_1624.jpg


Soldered together
100_1626.jpg


Sleaved
100_1628.jpg


Wiring the Drive Cage
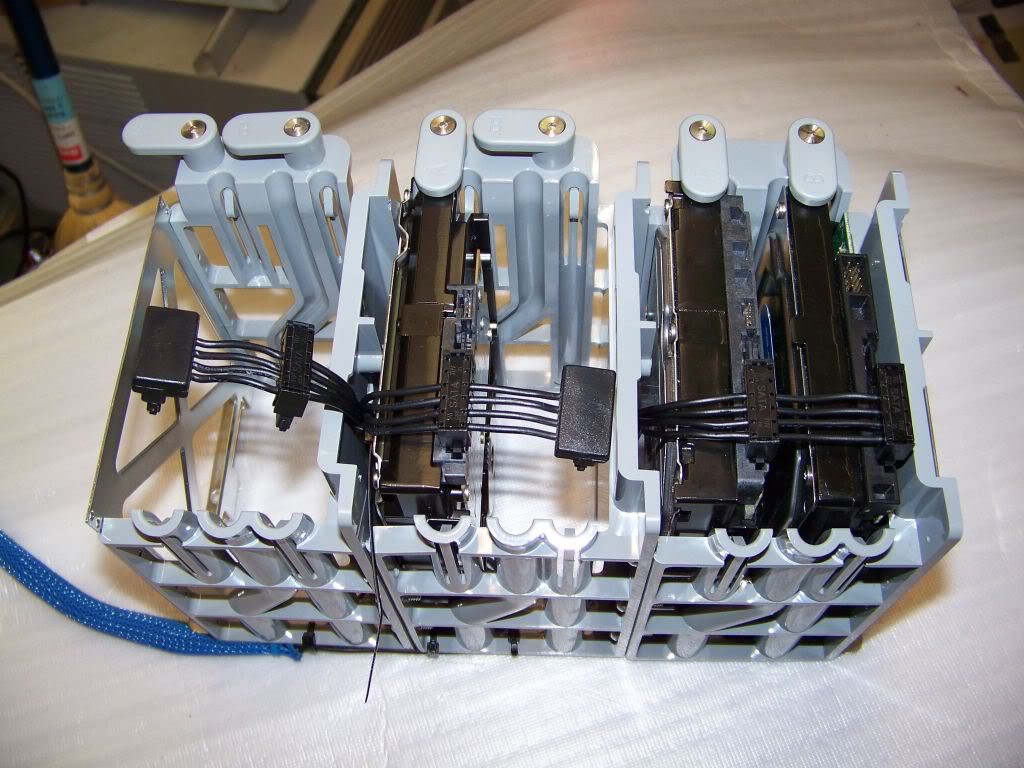
I carefully removed the SATA power connectors from the ends of the clipped off power pigtails and installed them inline so that each wire will now power two drives. Since each of the original pigtails could power three devices, this should be fine.
100_1629.jpg


Completed - underneath. Wires are neatly zap-strapped to the back of the cage to minimize unsightly wires.
100_1633.jpg


Completed - Front. I had to replace the MOLEX connector that used to feed power to the original G5 optical drive. I replaced it with two SATA connectors.
100_1631.jpg


I plan to add some cool lighting to the top and bottom of the case. This blue cold cathode kit comes with two cathode bars, a switch for the back panel, a circuit box and a power connector. Installation uses velcro. I may or may not use it.

I added blue sleeving to all the wires.
100_1639.jpg


ASSEMBLY
The first thing to be installed is the top shelf and power supply. This photo was taken with the G5 case upside-down as it was easier to install the top shelf that way. The door latching mechanism is much simpler to install than it is to remove.
100_1640.jpg


This isn't a really good picture of how I am routing the wire for the top cathode. The cathode itself is mounted behind the top lip, just in front of the power supply.
100_1643.jpg


The cathode is lying just in front of the power supply.
100_1642.jpg


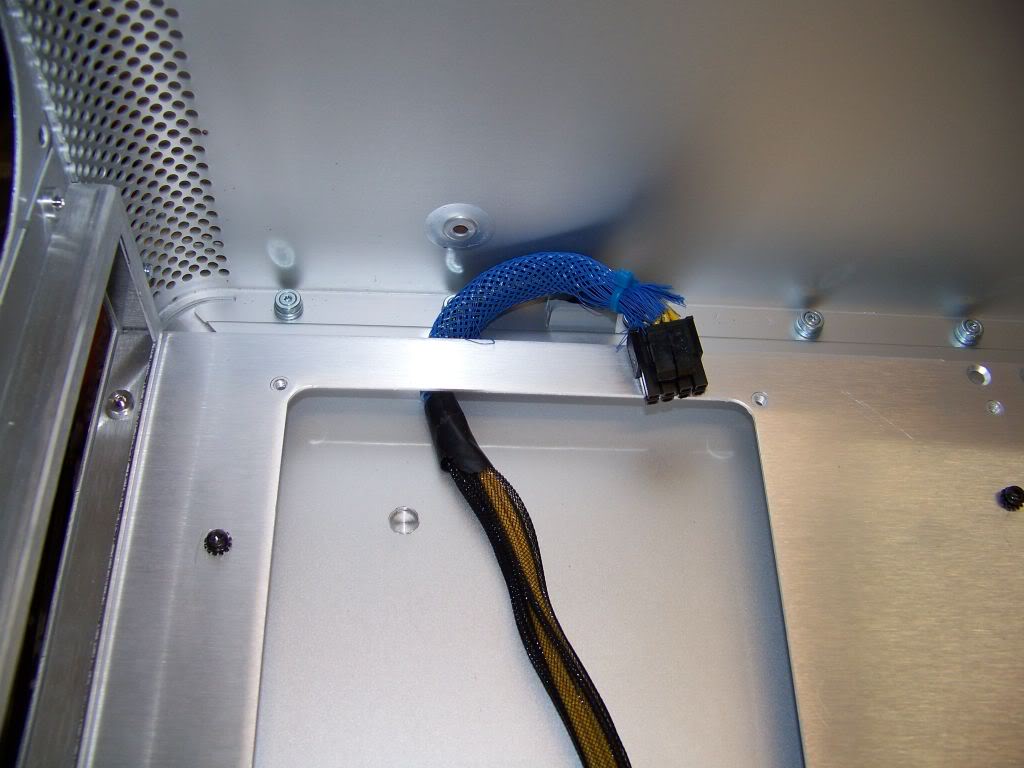
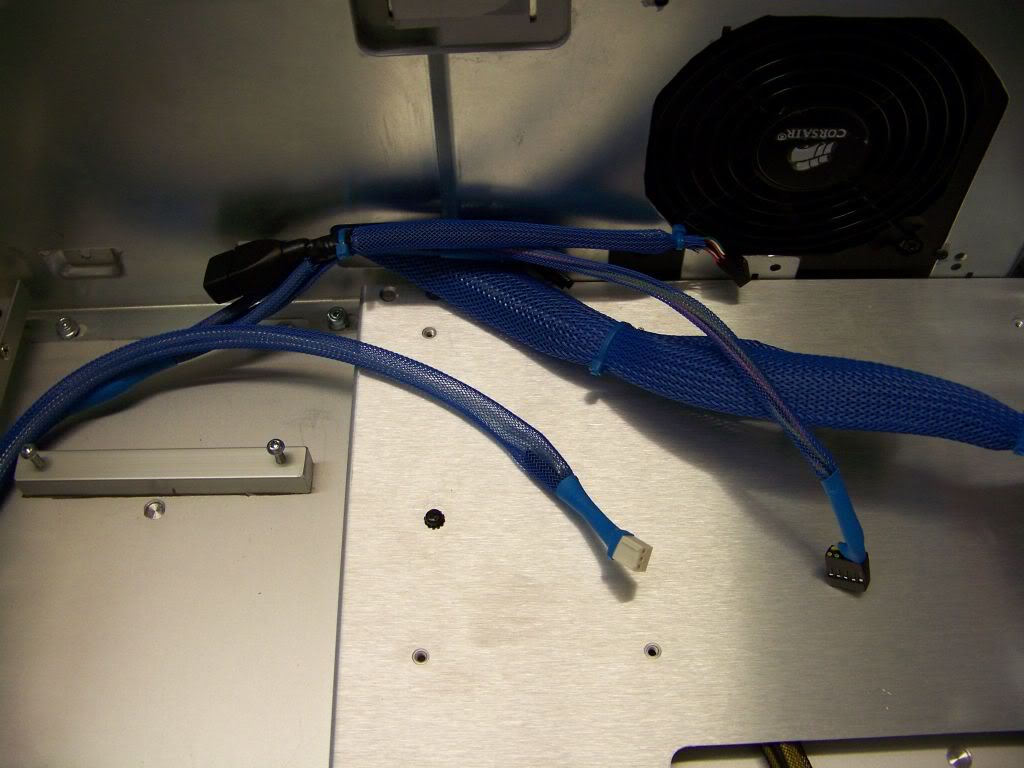
Time to install the motherboard tray. Here is the CPU power cable routed nicely under the tray.
100_1647.jpg


Front Fans and Front Panel cable installed.
100_1646.jpg


This photo shows the routing the front panel cable and the front fans power cable.
100_1645.jpg


Its starting to look like something!
100_1644.jpg


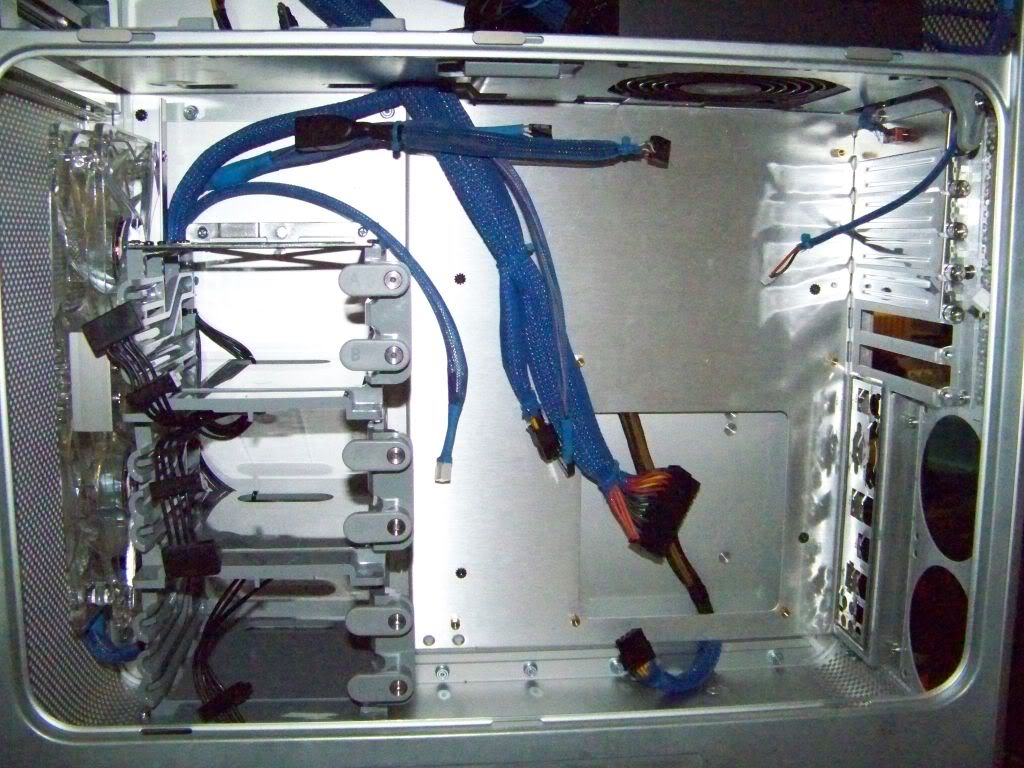
The motherboard tray is now installed....cabling starting to build up.
100_1648.jpg


Thats all for today! Almost time to prepare the motherboard for installation.
 
Last edited:
If I can offer you one bit of advice, TEST your custom SATA harness! Use a multimeter, or a small junk HD with no data on it. I FUBAR'd almost $350 worth of drives and lost a few weeks of data last March because I had two wires backwards, and was in a hurry.
 
Here is a photo of the hard drive cage installed.
100_1654.jpg


Motherboard ready to be installed.
100_1657.jpg


Motherboard installed.
100_1658.jpg


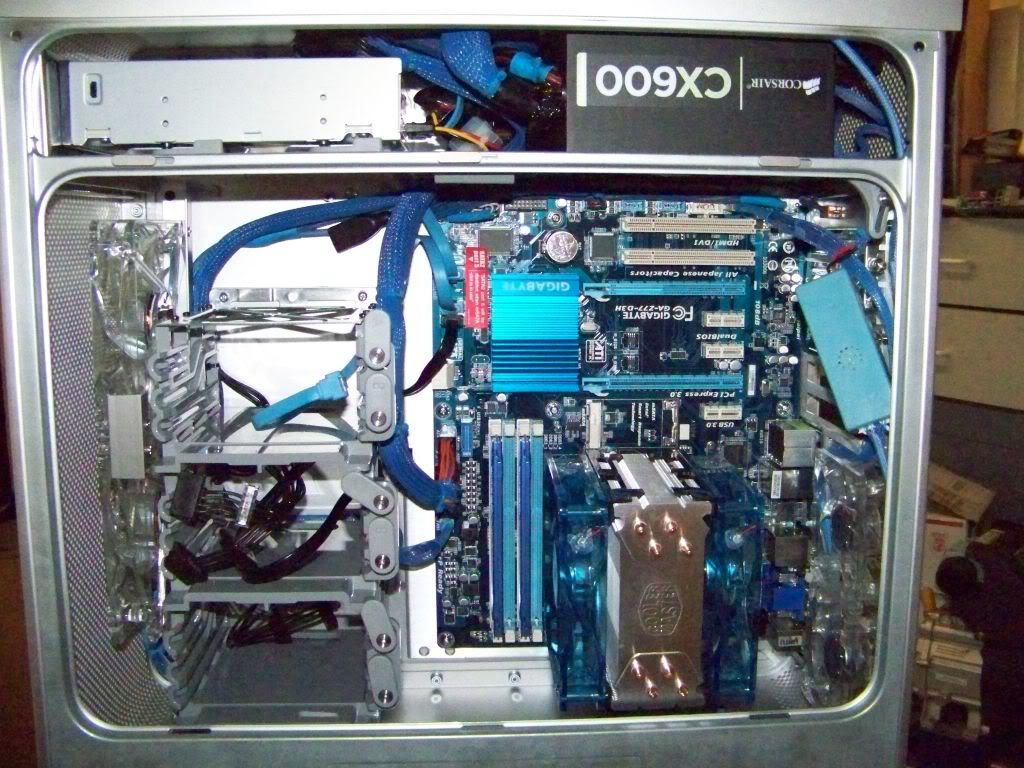
All the wiring is connected, Optical drive installed, Fans added to the CPU cooler, Rear fans installed.
100_1659.jpg


Close up of rear fans.
100_1661.jpg


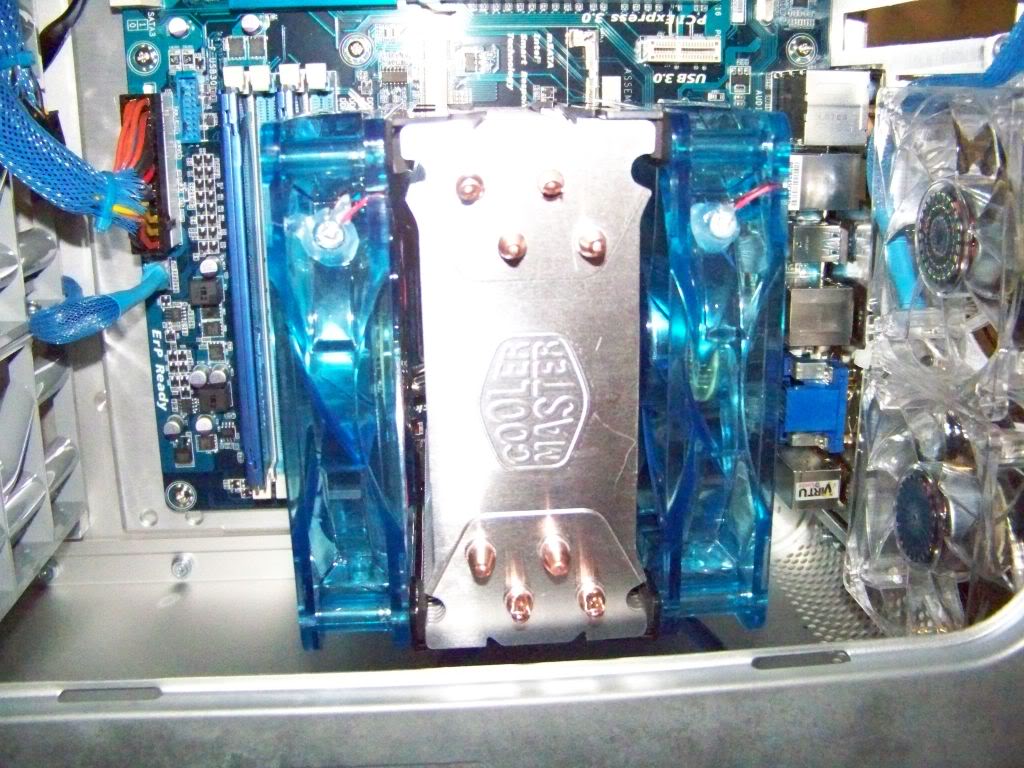
Close up of CPU cooler fans
100_1662.jpg


SATA cables plugged in, Front Panel cable too. I have ordered some cool blue SATA cables, but they have not yet arrived, so I am using some stock ones for now.
100_1665.jpg


Final assembly... Eerie Blue Glow comes alive! Just prior to this, I tested the output of the power cables to the hard disks to ensure that my custom power cable was hooked up correctly.
100_1668.jpg


Another shot showing the monitor.
100_1669.jpg


The glow is really blue! The photo doesn't do it justice. Here is a shot without the camera flash.
100_1672.jpg


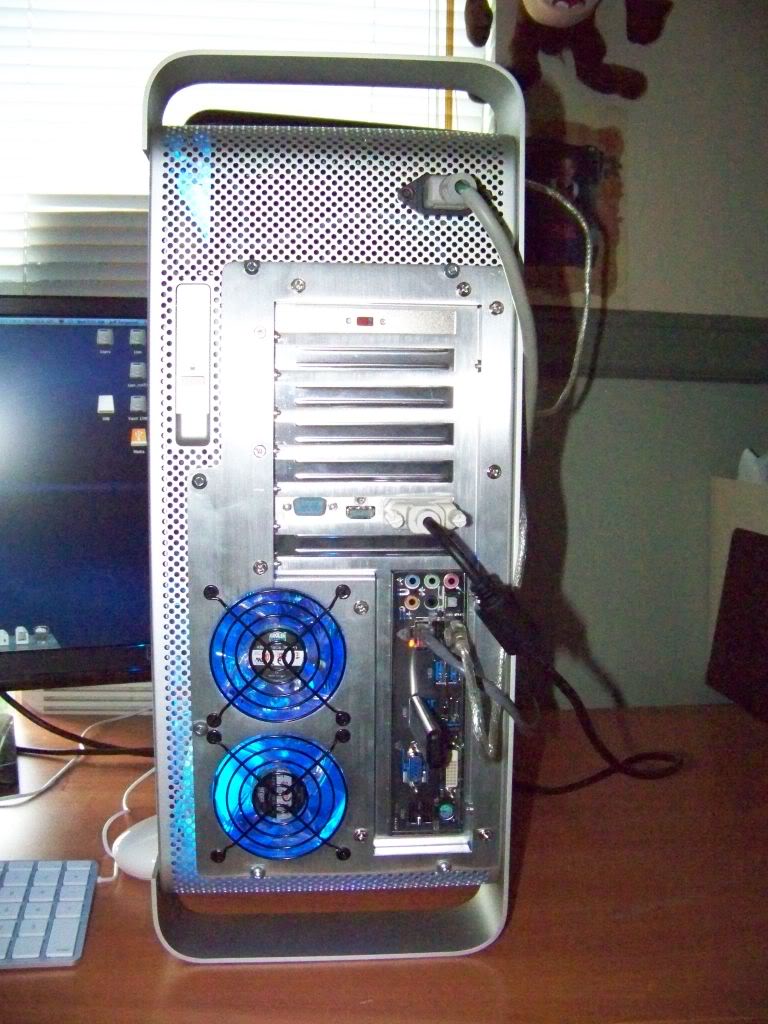
Here is a shot of the rear panel, without flash. Im using a temporary power cable. I think that one needs to be retired. I chose black grilles for the fans and used black fan screws to match.
100_1673.jpg


Here is a shot of the rear panel using a flash. Notice the little red switch that is used to turn off an on the blue cathodes.
100_1674.jpg


Here is a shot of the inside with the plastic cover removed using a flash. I also mounted the inverter behind the latch mechanism on the back panel.
100_1675.jpg


inside, complete, computer off, lower section
100_1676.jpg


inside, complete, computer off, top section included
100_1677.jpg


closeup of graphics card and cathode inverter

100_1678.jpg
 
Last edited:
Wow wow wow it's truly beautiful!!! Are you using a USB sound card? Also, is that the Hyper 212? If so, is it a fairly quiet cooler? I'm thinking of getting one.

Actually, I realize the quietness is all about the fans. Did you manage to get quiet fans?
 
Wow wow wow it's truly beautiful!!! Are you using a USB sound card? Also, is that the Hyper 212? If so, is it a fairly quiet cooler? I'm thinking of getting one.

Actually, I realize the quietness is all about the fans. Did you manage to get quiet fans?

Thank-you Thank-you Thank-you! Yes, I am using a USB Dongle for sound. Yes, I am using the Hyper 212 evo. (Im planning on posting my parts list when I get all the links completed) The cooler itself is super quiet....not a peep! Its the fans attached to it that make the noise. Ok, all kidding aside... if you just use the stock single fan that comes with it, it has a 4 pin connector and is very quiet most of the time. If you put the CPU under load then you can hear the fan spin faster, but all in all, it is much quieter than ANY of the G5 fans in ANY condition.

In the current setup, I can hear the front fans the most and am considering changing them out for quieter ones.

If you get a Hyper 212, get the "evo" version and not the "plus", it is about 4 degrees cooler. And they go on sale very often for about $30 bucks!
 
For those who are interested, here is the parts list for this project.

1) Mac OS X Lion
http://www.apple.com/osx/

2) Used PowerMac G5 case
http://www.ebay.ca/itm/Apple-PowerM...le_Desktops&hash=item25740b3be0#ht_500wt_1100
http://www.ebay.ca/itm/Apple-Power-...6659818?pt=Apple_Desktops&hash=item43af7799ea

3) 2 G5 Hard Drive cages
http://www.ebay.ca

4) Additional Drive Rail Screws
http://www.impactcomputers.com/922-6253.html

5) Mountain Mods Motherboard Tray - Dual 80mm option
http://www.mountainmods.com/mountain-mods-modular-removable-motherboard-tray-p-56.html

6) 2 120mm Clear Fans with Blue LED's
http://www.newegg.com/Product/Product.aspx?Item=N82E16811999479

7) 2 80mm Clear Fans with Blue LED's
http://www.amazon.com/Cooler-Master-R4-BC8R-18FB-R1-80MM-1800RPM/dp/B008LA6HFI/ref=sr_1_3?ie=UTF8&qid=1347052194&sr=8-3&keywords=Cooler+Master+Bc+80

8) CoolerMaster 212 Evo PSU Cooler
http://www.newegg.com/Product/Product.aspx?Item=N82E16835103099

9) 2 120mm Blue Fans with Blue LED's
http://www.amazon.com/Yate-Loon-120mm-25mm-Reactive/dp/B0047EHR2Y/ref=sr_1_28?ie=UTF8&qid=1347051688&sr=8-28&keywords=Yate+Loon

10) Corsair CX600 Builder PSU
http://www.newegg.com/Product/Product.aspx?Item=N82E16817139028

11) 90 degree power cable
http://www.ebay.ca/itm/300529094280...X:IT&_trksid=p3984.m1497.l2649#ht_2784wt_1156

12) IEC socket
http://www.futurlec.com/Plugs-IEC.shtml

13) Blue Cathode Kit
http://www.newegg.com/Product/Product.aspx?Item=N82E16811994001&Tpk=Logisys%20CLK12BL2

14) 2 4GB Kingston HyperX DDR3-1600 XMP Dual Channel Memory
http://www.newegg.com/Product/Product.aspx?Item=N82E16820104203

15) Gigabyte GA-Z77-D3H Motherboard
http://www.newegg.com/Product/Product.aspx?Item=N82E16813128543

16) Gigabyte NVIDIA GeForce GT 520 1GB DDR3 Graphics Card
http://www.newegg.com/Product/Product.aspx?Item=N82E16814125407

17) 1TB SATA Hard Drive
http://www.newegg.com/Product/Product.aspx?Item=N82E16822136533

18) 1.5TB SATA Hard Drive
http://www.newegg.com/Product/Product.aspx?Item=N82E16822136777

19) Sound Dongle
http://www.ebay.ca/itm/130539516138...X:IT&_trksid=p3984.m1438.l2649#ht_3254wt_1334

20) Apple Keyboard
http://www.newegg.com/Product/Product.aspx?Item=N82E16823101012

21) Apple Mouse
http://www.newegg.com/Product/Product.aspx?Item=N82E16826101012

22) LG Flatron E2341 23" LED Monitor
http://www.amazon.com/LG-E2340V-PN-Class-Backlit-Monitor/dp/B003NLBPSE/ref=sr_1_1?ie=UTF8&qid=1347052545&sr=8-1&keywords=LG+Flatron+E2341
 
Status
Not open for further replies.
Back
Top