Contribute
Register

Eerie Blue Glow. My second G5 Mod

Status
Not open for further replies.
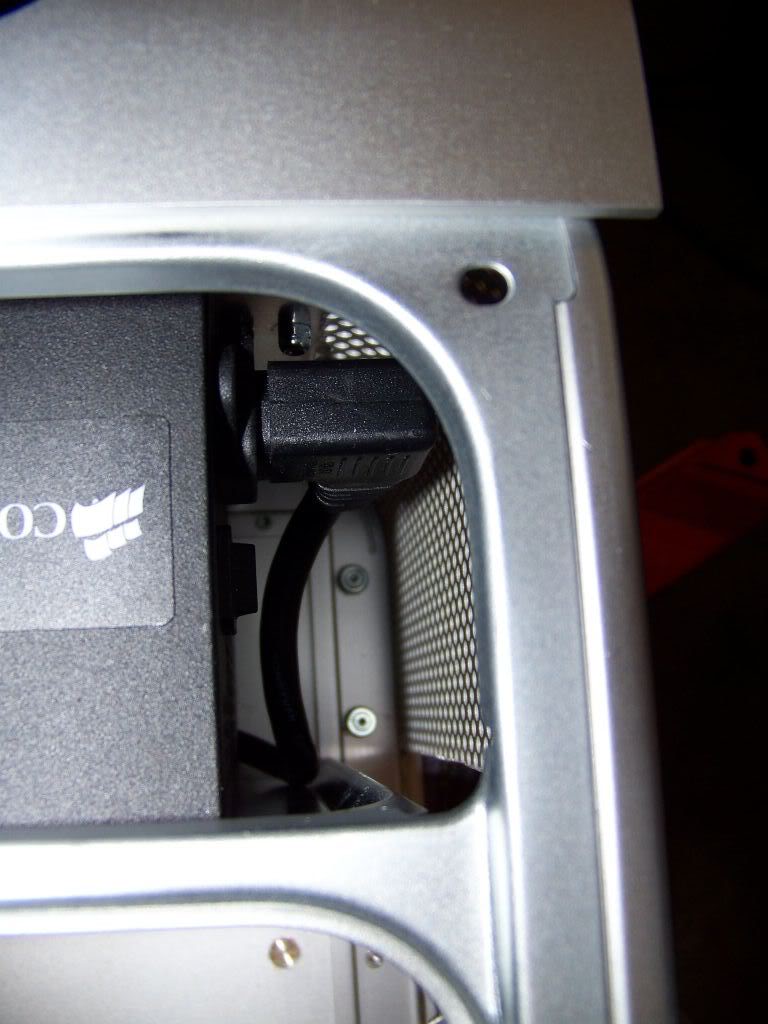
New front panel wiring harness
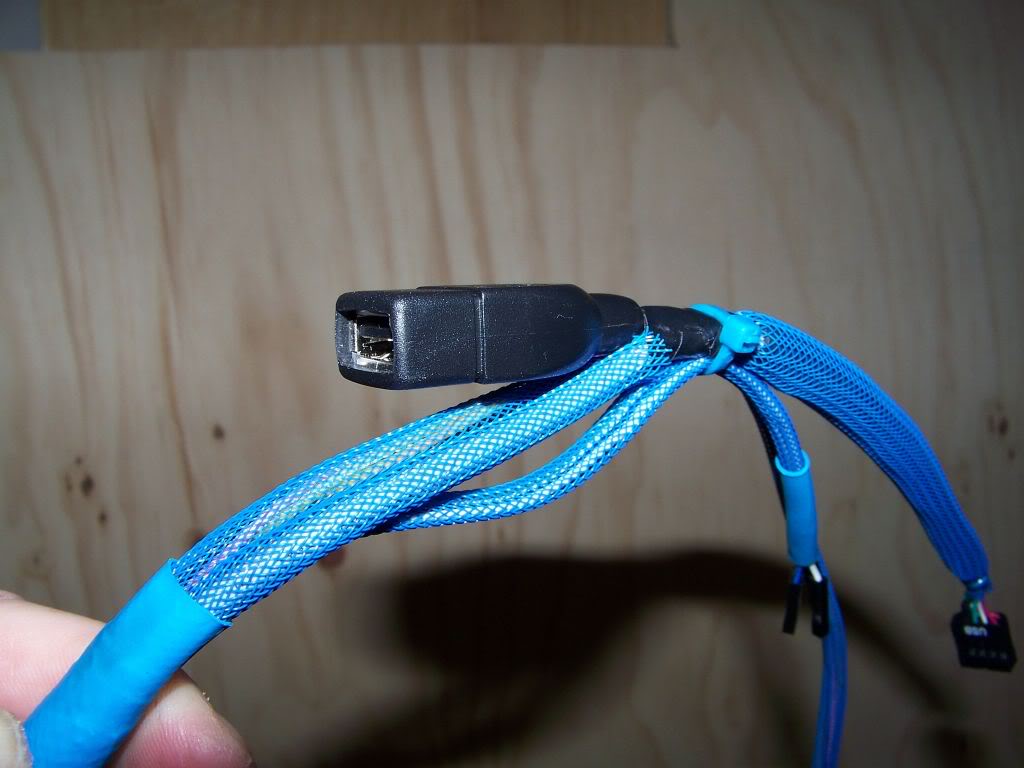
I gave myself heck for wimping out and creating a simple front panel cable that only supported the power switch and power LED, so I got down to work and created a full front panel cable (except firewire, since the motherboard I'm going to use doesn't have one). I have a stand alone firewire PCI card that been kicking around for years, and I will install it and if it works, I will add firewire support to this cable.
100_1550.jpg


Notice the internal USB jack; I hate waisting a good USB header, and this is eventually going to be used for a bluetooth dongle (when I find one that works properly!)
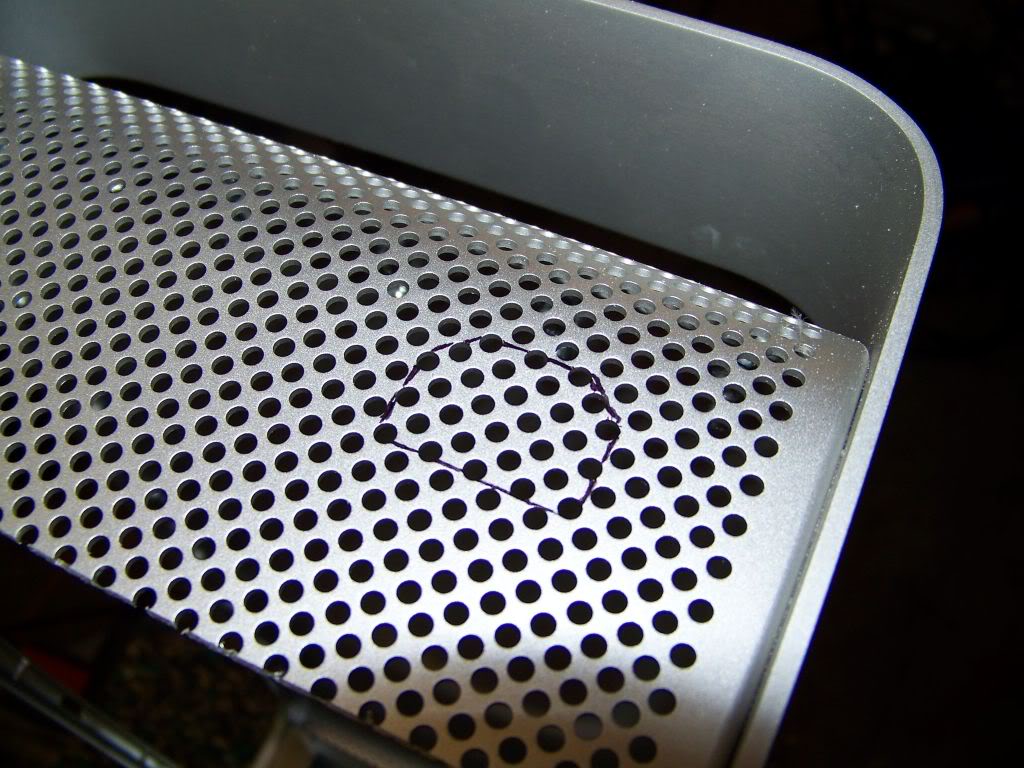
100_1551.jpg


Power Inlet
There is not a lot of room behind the PSU, so I need to pick a position for the inlet that wont conflict with the pigtail.
100_1533.jpg


Preparing to cut the hole for the power inlet. This opening is tricky to dremel because the cutting disks are so large. Also, any accidental movement of the dremel can cause ugly blemishes on the exterior of the case.
100_1537.jpg
100_1535.jpg


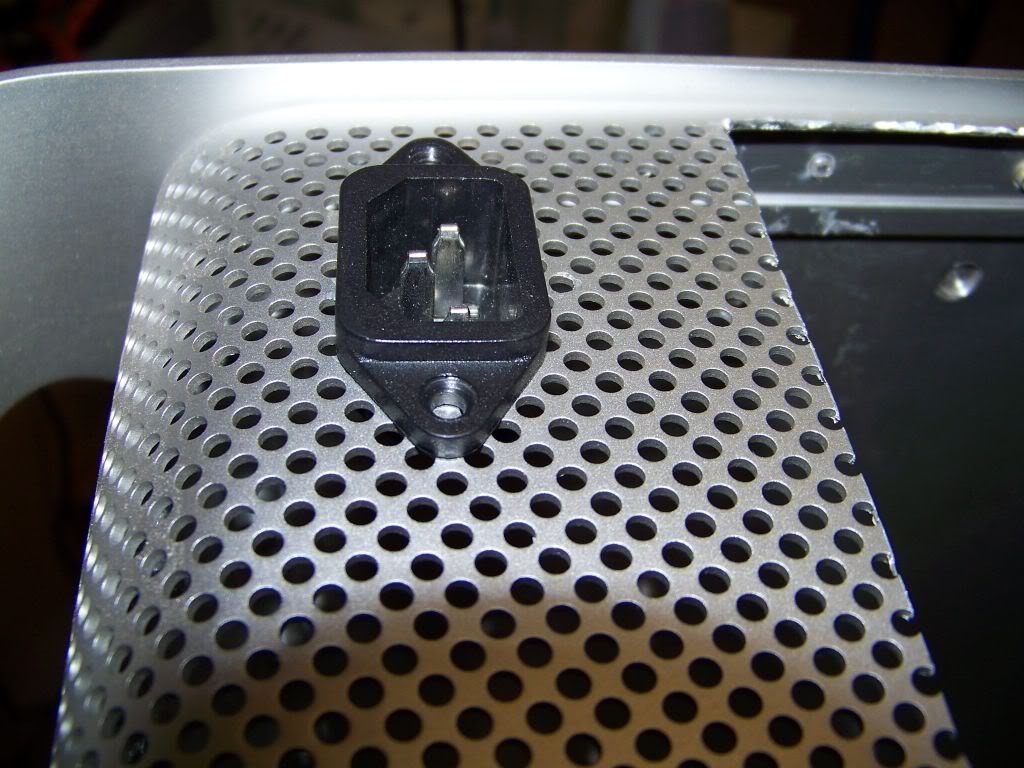
Power Inlet in place. A nice snug fit.
100_1539.jpg
100_1538.jpg


Preparing to solder the power inlet
100_1544.jpg


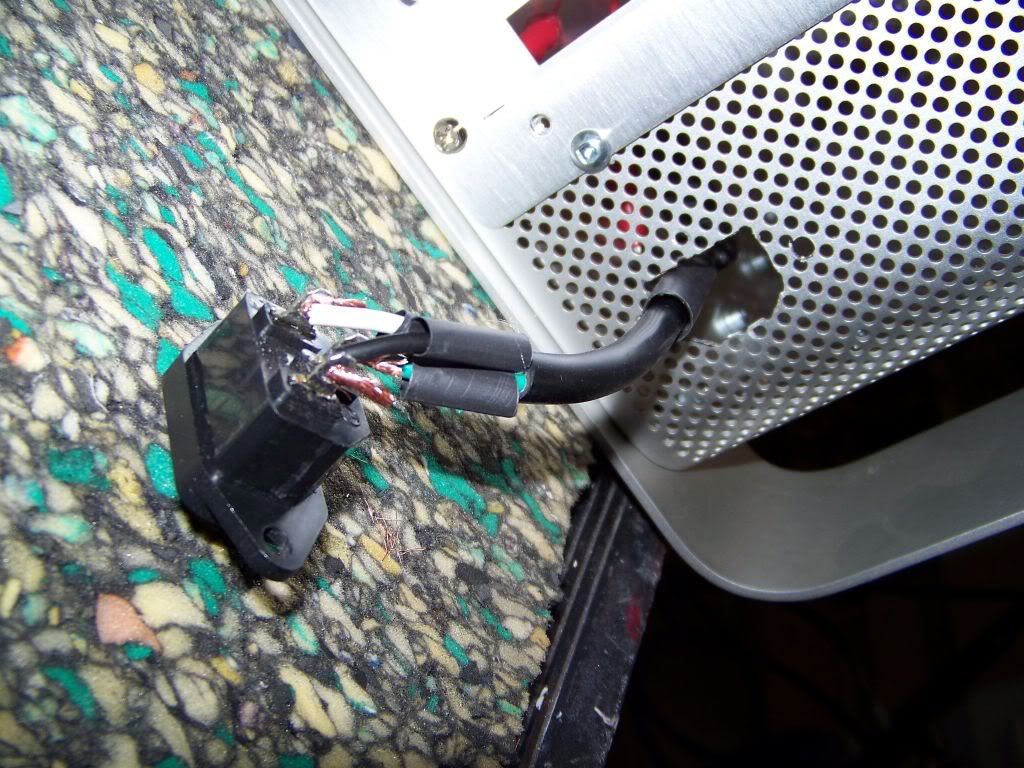
Soldered and heat-shrinked power inlet.
100_1546.jpg


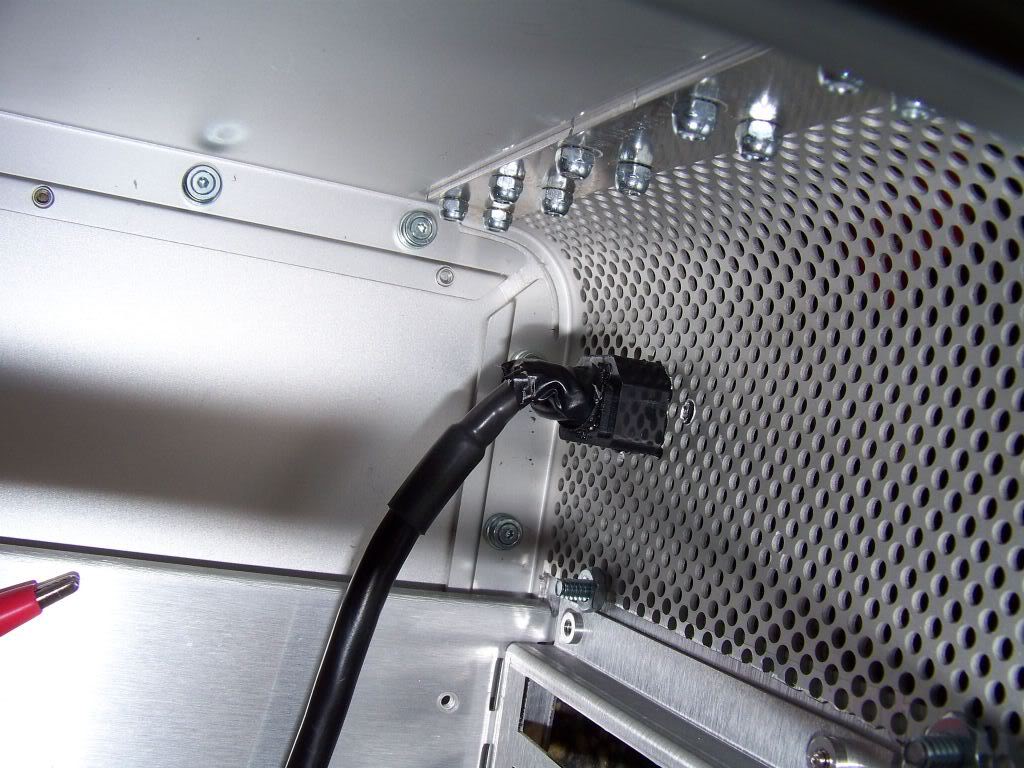
Rear of wired power inlet. I added a bit of electrical black tape to ensure no one gets zapped! Its way in the back of the unit, so Im sure it wont be seen once complete.
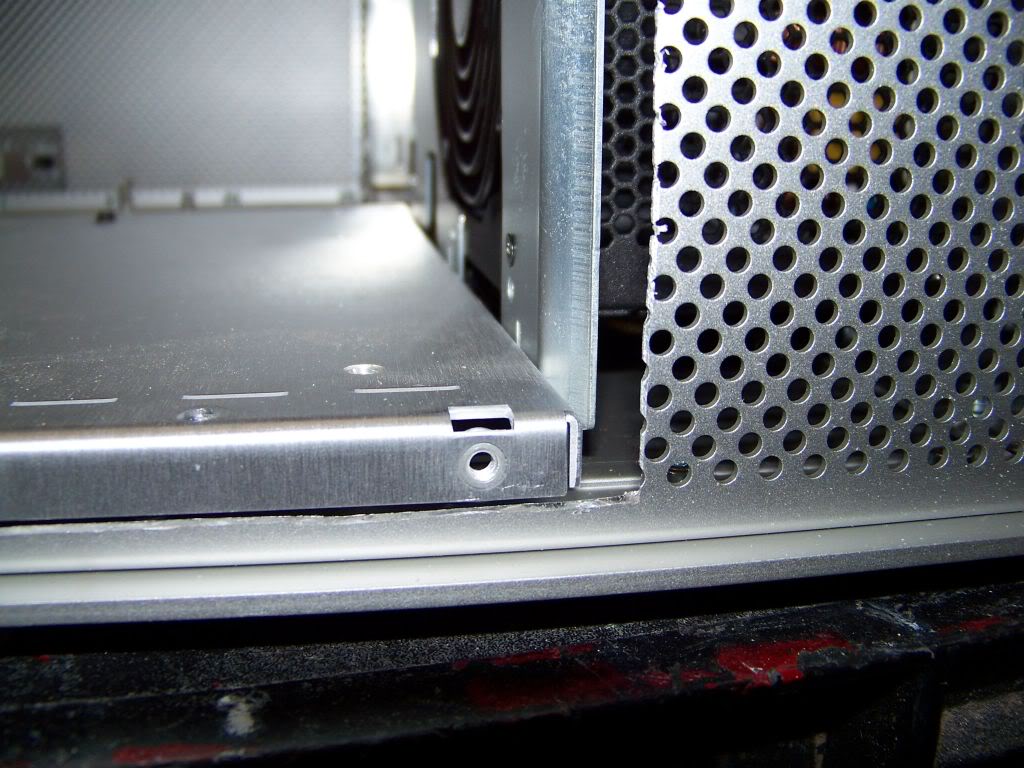
100_1547.jpg


Motherboard Tray
Positioning the motherboard tray
100_1531.jpg
100_1530.jpg
100_1529.jpg


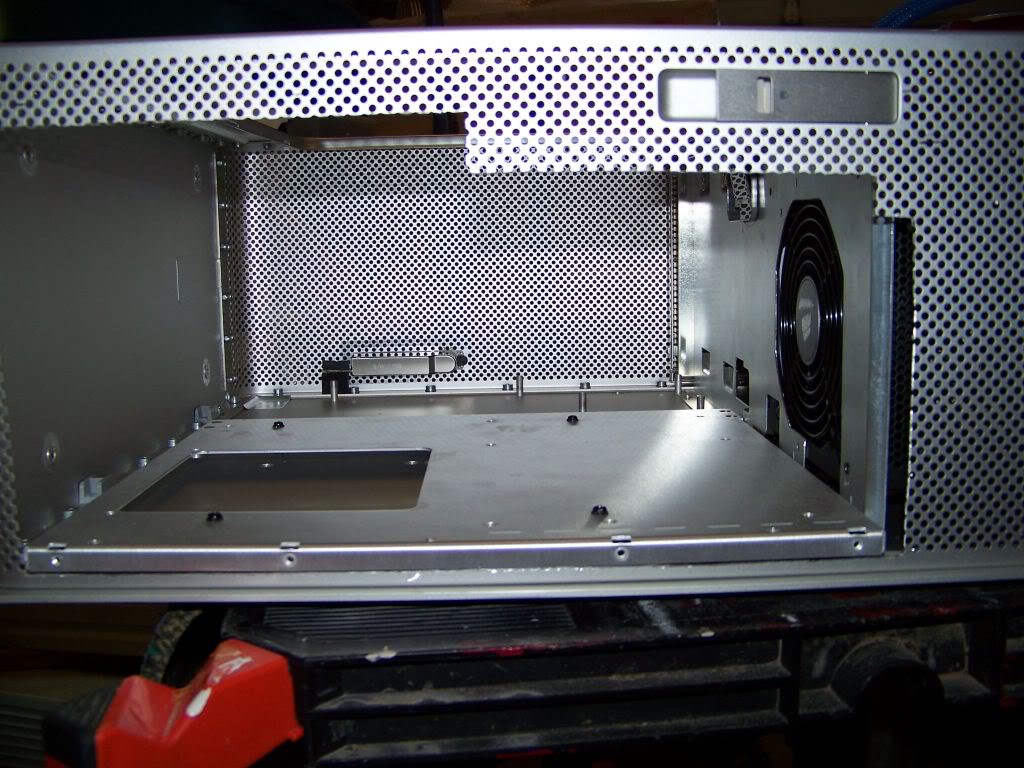
Motherboard tray mounted in position - inside view
100_1543.jpg


rear view
100_1542.jpg
 
Last edited:
I was preparing to JB weld the mounting bars for my home made drive cage. To do this I need to install the front fans so I can set the appropriate clearance between the fans and the cage.
100_1549.jpg


And thats when I hit a Major Road Block!!! I want about 1/4" clearance between the fans and the cage but...... how will I access the thumb screws used to mount the hard drives??? I would have to remove the entire drive cage every time I needed to add or remove a drive. That's kind of OK, but the mounting bars are aluminum and over time I am worried that the threads will become too worn.

So I am stopped dead in my tracks. I need to come up with a solution for this. I thought of purchasing the Sans Digital HDDRACK5 but I really wanted a custom solution.

Please post any ideas or comments! Thanks in advance.
100_1548.jpg
 
Last edited:
And thats when I hit a Major Road Block!!! I want about 1/4" clearance between the fans and the cage but...... how will I access the thumb screws used to mount the hard drives??? I would have to remove the entire drive cage every time I needed to add or remove a drive. That's kind of OK, but the mounting bars are aluminum and over time I am worried that the threads will become too worn.

So I am stopped dead in my tracks. I need to come up with a solution for this. I thought of purchasing the Sans Digital HDDRACK5 but I really wanted a custom solution.

Please post any ideas or comments! Thanks in advance.
100_1548.jpg
Surely just leaving the HDD with 2 thumb screws on the one side and resting on the slight bent piece of metal on the other side would be secure and safe? In my old ATX case it had a tool less HDD and OD rack. And it was basically two pins going into the screw holes on one side and resting on a similar piece of bent metal. Don't see why that wouldn't be safe and sturdy.
 
Surely just leaving the HDD with 2 thumb screws on the one side and resting on the slight bent piece of metal on the other side would be secure and safe? In my old ATX case it had a tool less HDD and OD rack. And it was basically two pins going into the screw holes on one side and resting on a similar piece of bent metal. Don't see why that wouldn't be safe and sturdy.


I tried that and wasn't happy with the flimsy-ness of it. I also thought removal of the front fans may somehow work. So now I am wondering if I can make my front fans slide in or snap in somehow....kind of like the original front fans...hmmmmm.
 
I was preparing to JB weld the mounting bars for my home made drive cage. To do this I need to install the front fans so I can set the appropriate clearance between the fans and the cage.
100_1549.jpg


And thats when I hit a Major Road Block!!! I want about 1/4" clearance between the fans and the cage but...... how will I access the thumb screws used to mount the hard drives??? I would have to remove the entire drive cage every time I needed to add or remove a drive. That's kind of OK, but the mounting bars are aluminum and over time I am worried that the threads will become too worn.

So I am stopped dead in my tracks. I need to come up with a solution for this. I thought of purchasing the Sans Digital HDDRACK5 but I really wanted a custom solution.

Please post any ideas or comments! Thanks in advance.
100_1548.jpg

My old LianLi case has a HDD cage which is guided on its bottom on a rail system. On the top it's fixed with a single thumb screw to the DVD cage. So if you want to replace a drive, you can remove the whole cage, removing only one single thumb screw.
 
Well I have been on vacation for a few weeks so the project has been on hold. I had great success with using the original G5 drive bays in my last mod, so I resorted using them again. I bought a few off of ebay and screwed them together. When I removed the metal brackets, I used some steel wool to clean off some of the corrosion that had occurred over the years. Now the brackets are nice and shiny.

Here are my cages, ready for assembly
100_1599.jpg


Removed little plastic pins with a utility knife
100_1600.jpg


Moved the metal bracket flush with the back of the top caddy. I also flipped it around so that the flange is accessible from the top. I had to drill new holes in the plastic.
100_1601.jpg


Moved the metal bracket to the bottom of the lower caddy and flush with the back. Drilled holes for the screws, and mounted it flange out.
100_1602.jpg


Drilled and tapped holes to screw caddies together. The holes drilled into the base are larger than the ones in the cage sides so the bolts slide freely. I used a #6 32NC tap.
100_1606.jpg


The caddies are now screwed together. Looks like I have some cleaning to do to these babies before I install them into my case!
100_1609.jpg


This side will be mounted to 1/2" aluminum blocks that will be JB Welded to the inside of the G5 case. The reason I moved the brackets flush instead of leaving them in their original position is that if they were left in their original position, when mounted on the blocks, the clear plastic door cover would not close; the cage would be in the way.
100_1610.jpg


100_1608.jpg


Six drives in my Hackintosh, I can hardly wait!
100_1607.jpg
 
Last edited:
looks sweet!
 
Today I created the aluminum mounting bars and glued them to the case using JB Weld. The bars are drilled and tapped. I put masking tape on the case so the glue seepage can be removed. Also I sanded the area under the mounting bars and the tape prevented over-scratching of the case. The trick with the seepage is to remove the tape about 6 hours into the drying process when the glue has semi-hardened.

Preparing to drill and tap the mounting bars.
100_1617.jpg


I attached the bars to HDD for glueing. This ensures everything lines up once the glue dries.
100_1618.jpg


100_1620.jpg


This 1/2 inch clearance behind the cage will be handy for concealing the SATA and power wires.
100_1619.jpg


Here is the cage JB welded to case. Im going to have difficulty accessing the lower bolts. Im contemplating drilling two access holes in the case's lower lip. These would be concealed when the side panel is in place. Either that or get out my drill snake.
100_1621.jpg


100_1622.jpg


While I would have liked to have the entire six drive caddy unit higher in the case, it would have prevented the clear plastic side from being installed. So it is positioned as high as the plastic window will allow. Oh, and if anyone is wondering, yes there is clearance to get the lowest drive into its slot in the caddy.

I really like having the side off of my computers and that plastic window in place so I can admire my work. Is that wrong? I wonder if it would be possible to get a replacement one without the indents. Or create one.... Hmmm.
 
Last edited:
Status
Not open for further replies.
Back
Top