- Joined
- Aug 4, 2011
- Messages
- 158
- Motherboard
- Gigabyte Designare Z390
- CPU
- i9-9900K
- Graphics
- RX 580
- Mac
- Mobile Phone
Ok.. weird turn of events.
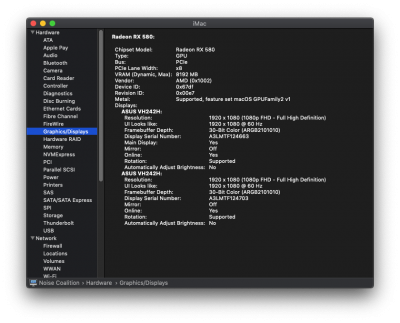
A thread on ****** suggested turning my DVMT up to maximum. When I went to boot I got a BIOS error (attached). I then selected "Load optimized defaults then boot". System booted fine which was weird since I didn't redo the BIOS settings. Restarted, entered BIOS, and noticed that it was at F3 (Attached). BIOS must have rolled back after the error. I switched IGPU from AUTO to Enabled, and then redid all the BIOS settings from post #1. Rebooted, tested quicklook / preview with some jpg files and they worked!
I'm not sure if I just got lucky or what happened. Main strange observations / takeaways:
- Booted fine with F3 BIOS using Load optimized defaults.
- IGPU enabled works on BIOS F3, with BIOS settings from Post #1.
- My F4 BIOS seemed to be the culprit.. even after re-flashing.
I'm not sure if I want to tempt fate and upgrade to BIOS F6a. Does anyone know if rolling back your BIOS is as easy as re-flashing with the older file?
Attachments


Last edited: