- Joined
- Mar 17, 2015
- Messages
- 13
- Motherboard
- 10.10.2
- CPU
- 5820k
- Graphics
- gtx960
- Mac
- Classic Mac
- Mobile Phone
Hi,
I'm trying to install MacOS High Sierra on a new build : MSI Z270 Gaming Plus, Intel Core i5 7400, EVGA GTX 1060 6G SC Gaming.
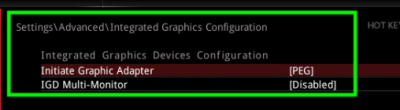
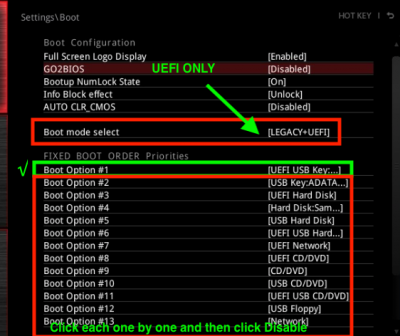
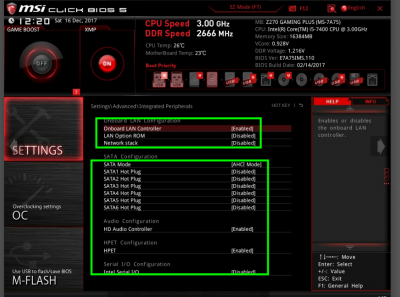
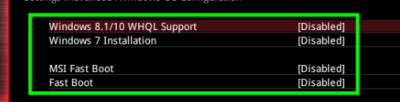
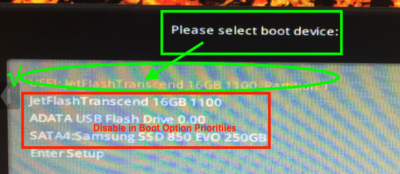
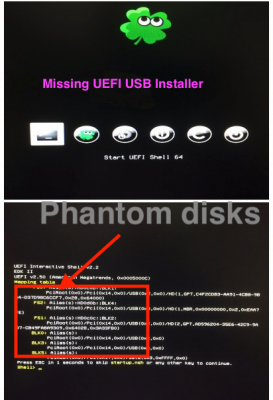
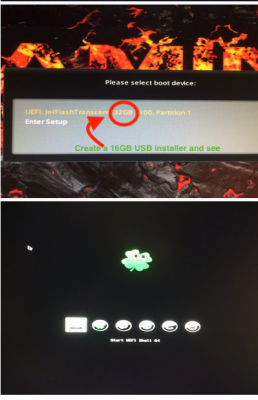
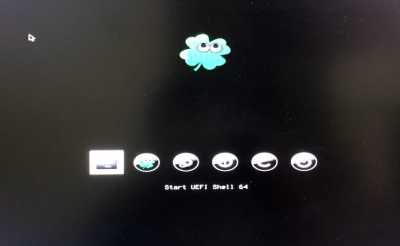
I made the changes for the Bios as described in the installation guide of this site, formatted a usb os extended journaled with guid, ran the latest version of "Unibeast" (uefi, no graphic drivers, high sierra), copied the "MultiBeast High Sierra Edition" in the new "Install MacOS Hight Sierra" partition (Note that a second partition, EFI named EBP, has been created), plugged the usb into the new computer (windows 10's ssd is disconnected) and when I reach the clover boot page, I can see no "install MacOS High Sierra" partition to boot.
I'm sure that this stupid problem is the very first of a long list which I encounter…
If you could help me")
Thanks
I'm trying to install MacOS High Sierra on a new build : MSI Z270 Gaming Plus, Intel Core i5 7400, EVGA GTX 1060 6G SC Gaming.
I made the changes for the Bios as described in the installation guide of this site, formatted a usb os extended journaled with guid, ran the latest version of "Unibeast" (uefi, no graphic drivers, high sierra), copied the "MultiBeast High Sierra Edition" in the new "Install MacOS Hight Sierra" partition (Note that a second partition, EFI named EBP, has been created), plugged the usb into the new computer (windows 10's ssd is disconnected) and when I reach the clover boot page, I can see no "install MacOS High Sierra" partition to boot.
I'm sure that this stupid problem is the very first of a long list which I encounter…
If you could help me
Thanks