- Joined
- Jul 21, 2015
- Messages
- 227
- Motherboard
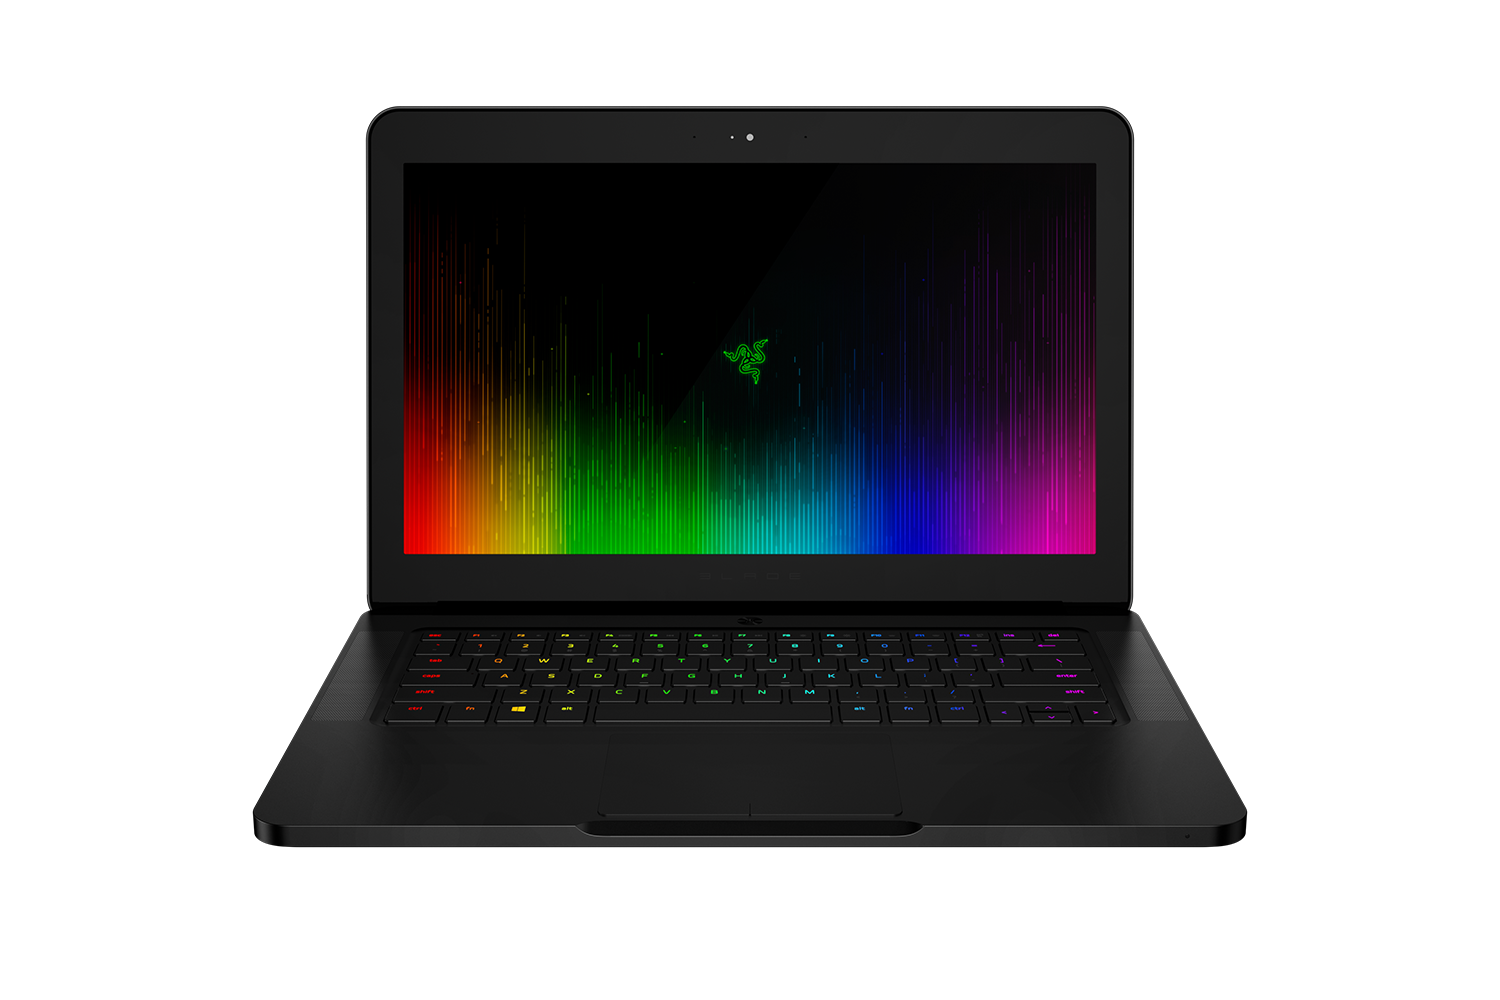
- Razer Blade, Clover
- CPU
- i7-6700HQ
- Graphics
- HD 530 / GTX 1060, 1920x1080
- Mobile Phone

Warning:
- There is an unexpectedly kind of issue on the blade. I have investigated it and the problem is the engineering behind the blade on the GTX 1060 causing it to not being recognised on the first boot on UEFI systems (as the blade was with CSM Support enabled and video was set to legacy as I remember), so you have to restart the machine to make it to work without shutting it down. This happens in both Windows and macOS as of now (for me especially, I don't know if it is happening to you guys). Even if you aren't using it or thinks only lightweight usage like browsing the web without rebooting the blade first, you'll experience fan noise and throttling as the gpu will run in the background anyway...
- Thunderbolt 3/USB Type-C no longer works. (No idea what killed them)
- I removed trackpad support, cause its not working for me. I've tried everything from DSDT patching, old and new kexts, installing in LE or SLE and even EFI/Clover/kexts, nothing is working. Kernel panics continuously, but even if you get it working, its not so practical, only basic functionality works, so I recommend using a mouse.
- dGPU works when connected to an external monitor via HDMI!

- As of 10.12.4 the built-in keyboard don't start automatically. In the boot process it will turn off, quickly press any key to wake it then. You can not wake it after the OS have loaded. It has to be done every time you boot up.
- Working macOS installation.
- 16 GB USB drive.
- Copy of macOS from the Mac App Store.
- BCM94352Z Wi-Fi card.
- T5 Torx screwdriver.
- External mouse and keyboard (Just for sure. If the built-in one don't work)
- Cup coffee!

- Download "Windows Bundle"
- Extract folder named "AfuWin64" and a executable named "AMIBCP64" to the desktop.
- Open "cmd"
- Type "cd" <press space> and drag "AfuWin64" folder in and <press enter>
- Type "afuwinx64 rzr.rom /O" and <press enter>
- You have now successfully dumped BIOS. The file will be in the same directory!
- Open the file with AMIBCP64 and make your way to the "Advanced" section. To unlock options, make sure "Access/Use" is changed from "Default" to "USER" like illustrated down below:
- Save it (Ctrl+S)
- Head back to cmd and type "afuwinx64 rzr.rom /P /B" and <press enter>
- You're done. Restart and check if options are unlocked!

- Open the blade and replace the Wi-Fi card with BCM94352Z card.
- Insert USB into a working macOS installation and erase it with Disk Utility. It should be GPT, HFS+ and name it "MyVolume"
- Open a terminal window and apply 'createinstallmedia' command for your macOS version!
- Download Clover!
- Run it, click "Change Installation", select your USB, click "Customize", select "Install for UEFI Booting Only", "Install Clover in the ESP", expand section "drivers64UEFI" and select "OsxAptioFixDrv" and click "Install", type your password and confirm.
- Open the newly created EFI partition and migrate to EFI\Clover\drivers64UEFI." Place:
- HFSPlus.efi
- apfs.efi (Find it at: Install macOS "-----" App -> Show Package Contents -> Contents -> SharedSupport -> BaseSystem.dmg. In BaseSystem.dmg navigate to: usr -> standalone -> i386 -> apfs.efi)
- Remove VBoxHfs.efi
- Replace config.plist (download the one with your iGPU listed from RehabMan's GitHub and rename it to only config.plist)
- Make sure the latest "FakeSMC.kext" from RehabMan's bitbucket page is present in EFI\Clover\kexts\Other.
- Configure Wi-Fi:
- Add the KextToPatch values in config.plist:
- Name:
Code:
com.apple.driver.AirPort.Brcm4360 - Find [HEX]:
Code:
81F952AA 00007529 - Replace [HEX]:
Code:
81F952AA 00006690
- Download latest FakePCIID bundle from RehabMan's bitbucket page.
- Take "FakePCIID_Broadcom_WiFi.kext" and "FakePCIID.kext" from the "Release" folder and place it in EFI\Clover\kexts\Other.
- Start the Blade, click F1 and enter BIOS. Type F3 for Optimized defaults.
- Disable "Secure Boot" and "Fast Boot."
- Set "XHCI Handoff" to Enabled.
- Head over to Boot - CSM Parameters and set CSM Support to "Enabled"
- Set Boot filter to "UEFI and Legacy"
- Set Storage to "Legacy"
- Set Video to "Legacy"
- Set Network to "Legacy"
- Confirm Legacy USB Support is Enabled.
- Head over to Advanced - CPU Configuration and set "Package C state limit" to C8
- Head over to Advanced - CPU Configuration and set "CFG lock" to disabled.
- Save changes and exit.
- Insert the USB drive, start the blade, click F12 and enter boot options.
- Select "Your thumb drive" and click enter.
- Boot into the installer…
- Select Utilities and start Disk Utility.
- Select your disk and format it to GPT, APFS.
- Click Install, it will automatically restart, remove the USB now.
- To continue installation, boot up the source partition now.
- Now boot up your newly installed copy of macOS.
- Connect to the Internet, download clover and set up just like we did with the USB.
- Battery:
- Patch DSDT:
- Let's insert B1B2 first:
Code:into method label B1B2 remove_entry; into definitionblock code_regex . insert begin Method (B1B2, 2, NotSerialized) { Return(Or(Arg0, ShiftLeft(Arg1, 8))) }\n end; - Now we need to convert 16-bit registers to 8:
Code:into device label EC0 code_regex ADPV,\s+16 replace_matched begin DPV0,8,DPV1,8 end; into device label EC0 code_regex ADPC,\s+16 replace_matched begin DPC0,8,DPC1,8 end; into device label EC0 code_regex BATT,\s+16 replace_matched begin ATT0,8,ATT1,8 end; into device label EC0 code_regex CEL1,\s+16 replace_matched begin EL10,8,EL11,8 end; into device label EC0 code_regex CEL2,\s+16 replace_matched begin EL20,8,EL21,8 end; into device label EC0 code_regex CEL3,\s+16 replace_matched begin EL30,8,EL31,8 end; into device label EC0 code_regex CEL4,\s+16 replace_matched begin EL40,8,EL41,8 end; into device label EC0 code_regex BIF0,\s+16 replace_matched begin IF00,8,IF01,8 end; into device label EC0 code_regex BIF1,\s+16 replace_matched begin IF10,8,IF11,8 end; into device label EC0 code_regex BIF2,\s+16 replace_matched begin IF20,8,IF21,8 end; into device label EC0 code_regex BIF3,\s+16 replace_matched begin IF30,8,IF31,8 end; into device label EC0 code_regex BIF4,\s+16 replace_matched begin IF40,8,IF41,8 end; into device label EC0 code_regex BIF5,\s+16 replace_matched begin IF50,8,IF51,8 end; into device label EC0 code_regex BIF6,\s+16 replace_matched begin IF60,8,IF61,8 end; into device label EC0 code_regex BIF7,\s+16 replace_matched begin IF70,8,IF71,8 end; into device label EC0 code_regex BIF8,\s+16 replace_matched begin IF80,8,IF81,8 end; into device label EC0 code_regex BST0,\s+16 replace_matched begin ST00,8,ST01,8 end; into device label EC0 code_regex BST1,\s+16 replace_matched begin ST10,8,ST11,8 end; into device label EC0 code_regex BST2,\s+16 replace_matched begin ST20,8,ST21,8 end; into device label EC0 code_regex BST3,\s+16 replace_matched begin ST30,8,ST31,8 end; into device label EC0 code_regex SRNM,\s+16 replace_matched begin RNM0,8,RNM1,8 end; into device label EC0 code_regex MFDA,\s+16 replace_matched begin FDA0,8,FDA1,8 end; - Now we need to fix 16-bit methods (If you have updated BIOS. Razer have fixed this):
Code:into method label _BIF code_regex \(\^\^EC0\.BIF1, replaceall_matched begin (B1B2(^^EC0.IF10,^^EC0.IF11), end; into method label _BIF code_regex \(\^\^EC0\.BIF2, replaceall_matched begin (B1B2(^^EC0.IF20,^^EC0.IF21), end; into method label _BIF code_regex \(\^\^EC0\.BIF3, replaceall_matched begin (B1B2(^^EC0.IF30,^^EC0.IF31), end; into method label _BIF code_regex \(\^\^EC0\.BIF4, replaceall_matched begin (B1B2(^^EC0.IF40,^^EC0.IF41), end; into method label _BST code_regex \(\^\^EC0\.BST0, replaceall_matched begin (B1B2(^^EC0.ST00,^^EC0.ST01), end; into method label _BST code_regex \(\^\^EC0\.BST1, replaceall_matched begin (B1B2(^^EC0.ST10,^^EC0.ST11), end; into method label _BST code_regex \(\^\^EC0\.BST2, replaceall_matched begin (B1B2(^^EC0.ST20,^^EC0.ST21), end; into method label _BST code_regex \(\^\^EC0\.BST3, replaceall_matched begin (B1B2(^^EC0.ST30,^^EC0.ST31), end; - Now we need to patch methods to read/write buffers to EC:
Code:into method label RE1B parent_label EC0 remove_entry; into method label RECB parent_label EC0 remove_entry; into device label EC0 insert begin Method (RE1B, 1, NotSerialized)\n {\n OperationRegion(ERAM, EmbeddedControl, Arg0, 1)\n Field(ERAM, ByteAcc, NoLock, Preserve) { BYTE, 8 }\n Return(BYTE)\n }\n Method (RECB, 2, Serialized)\n // Arg0 - offset in bytes from zero-based EC\n // Arg1 - size of buffer in bits\n {\n ShiftRight(Add(Arg1,7), 3, Arg1)\n Name(TEMP, Buffer(Arg1) { })\n Add(Arg0, Arg1, Arg1)\n Store(0, Local0)\n While (LLess(Arg0, Arg1))\n {\n Store(RE1B(Arg0), Index(TEMP, Local0))\n Increment(Arg0)\n Increment(Local0)\n }\n Return(TEMP)\n }\n end;
- Let's insert B1B2 first:
- Save it. Now download the latest ACPI-Battery-Driver from RehabMan's bitbucket page.
- Take "ACPIBatteryManager.kext" from the "Release" folder and install it in SLE.
- Restart!
- Patch DSDT:
- Audio:
- Download VoodooHDA and install in SLE.
- For better audio quality:
- Install Xcode
- Right click "Show Package Contents"
- Click "Contents"
- Open info.plist and change VoodooHDAHalfVolumeFix to YES, like this:
- Save and install.
- For better audio quality:
- Delete AppleHDA.
- Make sure clover hotpatch "change HDAS to HDEF" is present in config.plist.
- Restart!
- Download VoodooHDA and install in SLE.
- Backlight:
- Add SSDT-PNLF in EFI/Clover/ACPI/patched and make sure it's under SortedOrder in config.plist.
- Add the KextToPatch values for enabling AppleBacklight in config.plist:
- Name:
Code:
com.apple.driver.AppleBacklight - Find [HEX]:
Code:
46257554 25303478 00 - Replace [HEX]:
Code:
46257554 78787878 00
- Name:
- Make sure clover hotpatch "change GFX0 to IGPU" is present in config.plist
- Install AppleBacklightInjector.kext in SLE and restart!
- Bluetooth:
- Download latest BrcmPatchRAM bundle from RehabMan's bitbucket page.
- Take "BrcmPatchRAM2.kext" and "BrcmFirmwareRepo.kext" from the "Release" folder and install them in SLE.
- Restart.
- iMessage
- I recommend using MacBookPro13,3 as SMBIOS.
- Power Management:
- Open a terminal window, type "sudo" and press space.
- Drag and drop ssdtPRGen.sh and apply.
- The AML output will be in /Users/"username"/Library/ssdtPRGen/ssdt.aml
- Copy it to your EFI partition in EFI/Clover/ACPI/Patched and restart.
Let's be clear: Optimus (muxless switching) is not supported in macOS.
Displays are always connected to iGPU in a muxless configuration, the iGPU uses the engine of the dGPU for rendering, not displaying. In theory, the two GPUs act as one. macOS does not support this kind of switching. This means that the discrete card is pretty much useless for a lot of hacks with a Optimus configuration (Apple have their own mux switching mechanism, but it's not shared to the outside world).
However the discrete card is tied to the HDMI-port on the blade (thanks Razer), this opens the possibility to get the card working via HDMI on the external display with the right kexts and configurations, it will ONLY work when connected to an external monitor via HDMI if you have been told otherwise, then it's wrong.
This is still a huge achievement rather then disable it for good like most Optimus systems!
Install and configure:
- Mount the EFI partition and open your config.plist with Clover Configurator..
- Remove bootflag nv_disable=1
- Head over to Graphics, set Inject NVIDIA to “false”
- Head over to System Parameters and set NVIDIA Web to “true”
- Save it (Windows Key+S)
- Download the “Bundle” you’ll find a folder named “/Library/Extensions” these kexts need to be installed at the same directory on your partition.
- Download and install NVIDIA Drivers (check the build before downloading)!
- Connect the blade to an external monitor to see if it works.
Well after a bit of testing it seems like it's something to notice…
The card will only work when you mirror your laptop display to the external monitor:
If you don't want to mirror your laptop display to the external monitor, then only the integrated graphics will work on both:
Razer Chroma:

- Install Xcode and launch it.
- Open main.m file.
- Head down and find "razer_attr_write_mode_breath" and change that to the effect you want. Find the effects in razerkbd_driver.c
- Build and run the project.
- NOTE: Some modes will not work. Breath, Wave, Starlight and Spectrum are confirmed working. You can't set your own custom for now in macOS, but you can apply custom profile created in Windows.
Attachments
Last edited:
