- Joined
- Jul 18, 2014
- Messages
- 23
- Motherboard
- rMBP 15"
- CPU
- 2 GHz
- Graphics
- Iris Pro
- Mac
- Classic Mac
- Mobile Phone
I have been lurking around in here for many years, and after I got my hands on a fully working G5 earlier this year, I have been thinking about turning it into a Hackintosh.
But it has been hard, since it worked, but lately it started crashing, being unable to boot etc. so now I thought it was time to make som surgery.
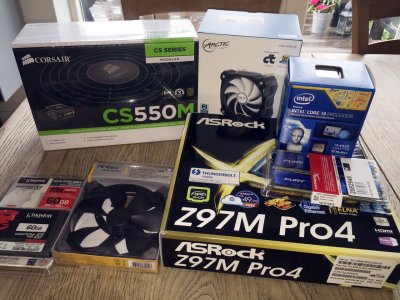
The hardware itself will be simple, but useful, as I mainly use it on my office for e-mail, surf, printing invoices etc. The hardcore work is still done on my retina Macbook Pro. So I have ordered the following hardware (will arrive in a few days):
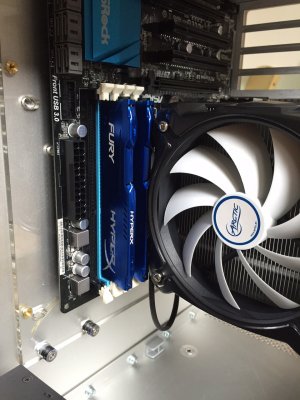
Motherboard: Asrock Z97M Pro4 mATX
CPU: CORE I3-4330 3.50GHZ
PSU: Corsair CS-M Series CS550M Modular
RAM: Kingston Fury 8GB 1600 MHz (Blue)
SSD: Kingston 60GB SSDNOW V300
CPU cooler: ARCTIC Freezer i30
Intake+Exhaust: 2x Antec TrueQuiet Pro 120mm
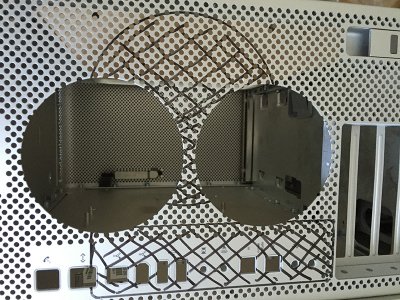
Motherboard and backplate is by David from The Laser Hive. Absolutely amazing quality stuff!
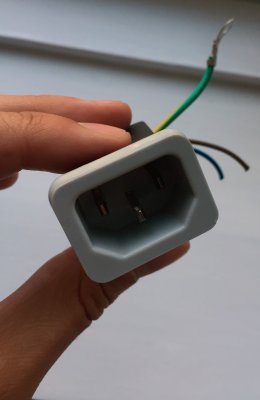
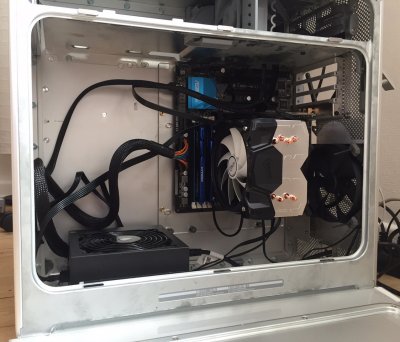
The idea is that I will do minimal modifications on the case and hardware. I will not put the PSU in the old G5 PSU, but instead mount it in the lower left of the case. However, I will try re-wiring the power connector from the old G5 power-supply to use the original placement.
HDD cage will be kept in the stock position. Will have one 120mm intake fan in the front and one 120mm exhaust in the back.
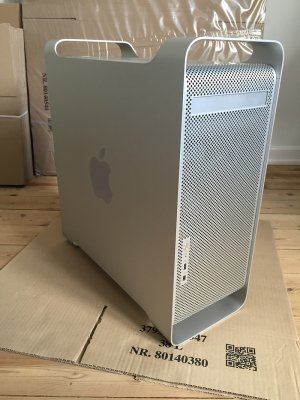
Here's the beauty - not a single scratch:
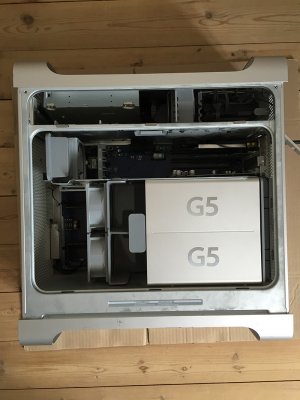
And still pretty on the inside:
But let the teardown begin I don't want to go into depth with this, as it has been done 100s of times.
Apple might be the only ones who ever thought about integrating a speaker into a fan
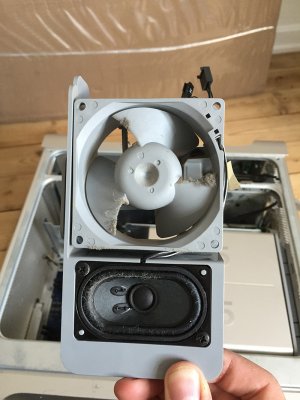
Had to bend the CPU cooler cover a little to get that ****** security pin out.

Everything is out, and everything is a mess:
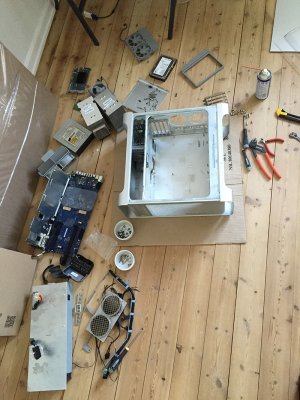
I decided to keep the HDD cage and top fan, because I simply didn't want to spend so much time taking the top shelf apart. Seemed unnecessarily complicated : The fan will not be activate at all, but I think that HDD's can still be placed in the cage. But if you have any objections against that, I can reconsider it.

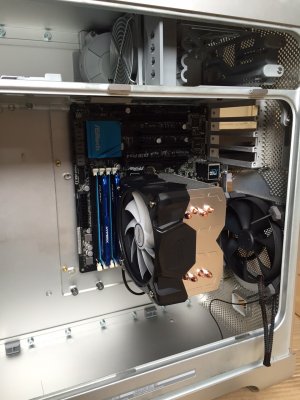
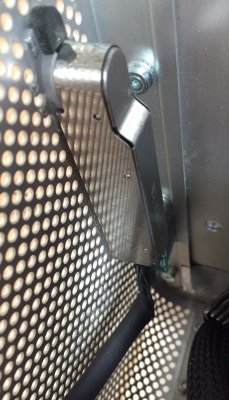
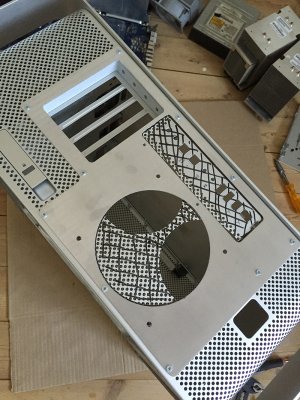
Motherboard tray in place. Removed all the unnecessary nuts with tongue-and-groove pliers.

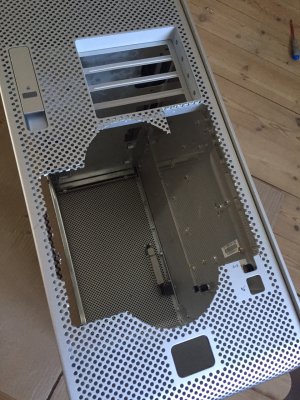
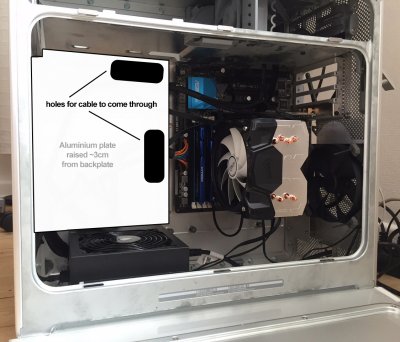
Backplate is mounted to figure out how much I need to cut away. I'd like to preserve as much of the original aluminium as possible.
Will update soon with the cutting work! I'm off for today
But it has been hard, since it worked, but lately it started crashing, being unable to boot etc. so now I thought it was time to make som surgery.
The hardware itself will be simple, but useful, as I mainly use it on my office for e-mail, surf, printing invoices etc. The hardcore work is still done on my retina Macbook Pro. So I have ordered the following hardware (will arrive in a few days):
Motherboard: Asrock Z97M Pro4 mATX
CPU: CORE I3-4330 3.50GHZ
PSU: Corsair CS-M Series CS550M Modular
RAM: Kingston Fury 8GB 1600 MHz (Blue)
SSD: Kingston 60GB SSDNOW V300
CPU cooler: ARCTIC Freezer i30
Intake+Exhaust: 2x Antec TrueQuiet Pro 120mm
Motherboard and backplate is by David from The Laser Hive. Absolutely amazing quality stuff!
The idea is that I will do minimal modifications on the case and hardware. I will not put the PSU in the old G5 PSU, but instead mount it in the lower left of the case. However, I will try re-wiring the power connector from the old G5 power-supply to use the original placement.
HDD cage will be kept in the stock position. Will have one 120mm intake fan in the front and one 120mm exhaust in the back.
Here's the beauty - not a single scratch:

And still pretty on the inside:

But let the teardown begin
Apple might be the only ones who ever thought about integrating a speaker into a fan


Had to bend the CPU cooler cover a little to get that ****** security pin out.

Everything is out, and everything is a mess:

I decided to keep the HDD cage and top fan, because I simply didn't want to spend so much time taking the top shelf apart. Seemed unnecessarily complicated


Motherboard tray in place. Removed all the unnecessary nuts with tongue-and-groove pliers.

Backplate is mounted to figure out how much I need to cut away. I'd like to preserve as much of the original aluminium as possible.


Will update soon with the cutting work! I'm off for today

