- Joined
- Feb 20, 2015
- Messages
- 269
- Motherboard
- Asus P6T SE
- CPU
- 2.81 GHz Intel Core i7
- Graphics
- Nvidia GTX 650 ti 1024 MB
- Mac
- Mobile Phone
From PC to PowerMac G5
Edit: I am planning to do (and recently did) some updates, since there is a lot of room for improvement. Please see check the end of this post.
Hello everyone. I would like to share my G5 casemod with you - doing so will hopefully help other people like your builds helped me. PowerMac G5 modding community, thank you for your support!
Reason for the build:
The design. I find it special that something designed in 2003 still looks great in 2015. I am quite new to the Hackintosh community and must admit that I had never heard of a 'G5 casemod' until a few months ago. It made me enthusiastic and I asked myself how cool it would be if I had such a thing running under my desk...
The story:
A few months ago I made my own hackintosh. Note that I didn't build it, I was just very lucky with the parts I already owned. The DVD drive was the only piece of hardware that didn't function properly. My old case was just a cheap standard one, which I didn't really like. However, buying a new one wasn't necessary in my opinion - until I saw the Powermac G5 modding section. I hesitated for quite a long time. Software is no problem but hardware is new for me, especially building my own machine. I had never done that before, and definitely not a complete modification. Neither am I an experienced craftsman and since it was my main machine there would be a problem if I screw it up.
Despite all this I browsed Marktplaats (the Dutch eBay) a few times a day just because it was fun. One day I saw a cheap G5 case not too far away from my house. I wouldn't get a better deal than this so I decided to take the shot. Since I am only 17 I had to ask my dad if he wanted to drive me to the owner's home. Of course he would!
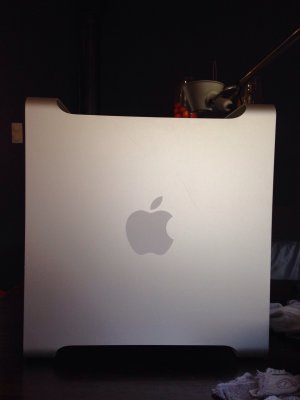
Here you see the case just after I got home and cleaned it. It was in a great, nearly perfect condition. Every piece of hardware except for the HDD was included.

The build:
I stripped the complete case, but I won't include pictures of that process because there are enough detailed guides of the G5 disassembly on the internet.
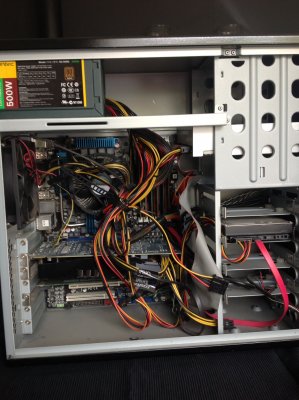
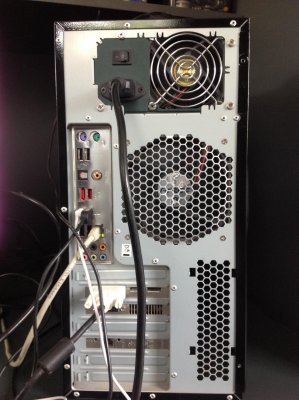
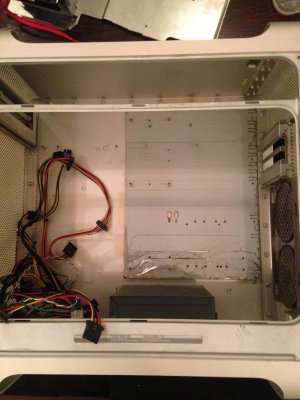
This are two pictures of the back and inside of my old case. Nothing too special. As I intended to reuse nearly all parts, I completely disassembled this case as well.
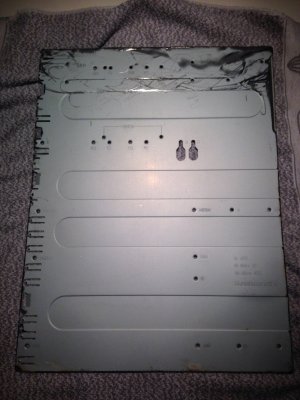
Mounting the motherboard was the hardest part of the whole process, especially because using a pre-made motherboard tray was a no-go for me. Making one myself was the only option, and so I did. The aluminium backplate you see below was cut from a very old PC case of my grandparents'. I drilled holes on the exact same spot as the screw holes on the inside of the G5 case, so I could mount it easily.
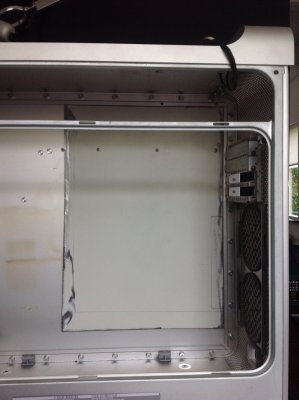
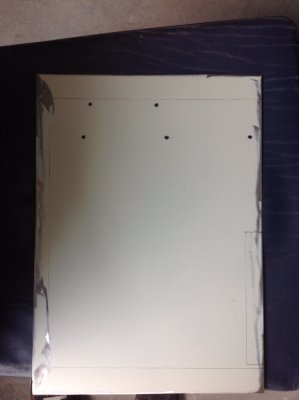
It was time to mount the motherboard on the tray. Such a pain... My plan was to use the brass standoffs which were used to mount the motherboard in my old case. Sounded like a great plan, but the standoffs are American measurement. I have been to 3 DIY stores but no one had nuts who fitted the standoffs perfectly. The 3M were too small, the 4M too big. This frustrated me. I had to find another way and besides I was afraid that I would damage the motherboard because I had too move it so often. Again, I never did this before so I had no idea of how much the mb could handle.
It costed some time but with my dad I found a perfect workaround. It's even a better way than mounting it with standoffs since I was now able to change the height of the motherboard relative to the aluminium tray.
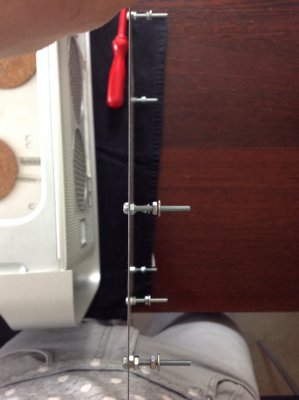
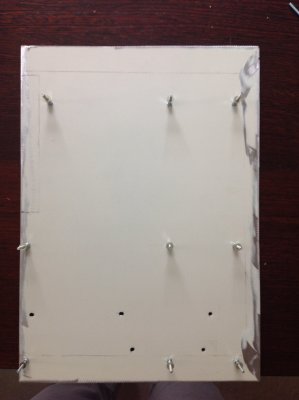

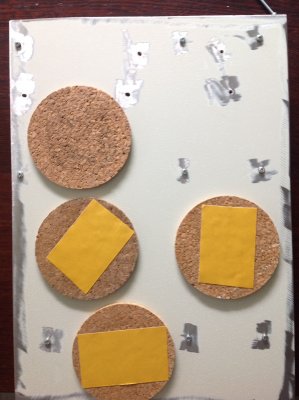
After successfully mounting the motherboard on the tray there was one small problem. Since the tray was only mounted to the case at the upper side (because there are only screw holes at the top), the lower side of the tray bent a little bit. I fixed this with four cork coasters which I double-taped to the bottom of the tray. Note that they are not taped to the case! This might be a somewhat strange solution but it worked out perfectly. Don't be confused, on the picture only the upper coaster is taped yet.
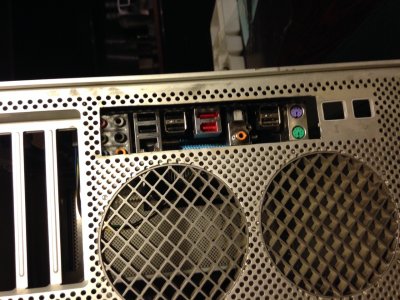
The next part was to 'permanently' assemble the motherboard in the case. Time for cutting! I used a Dremel to cut the back of the case. I had to file the top a bit because the I couldn't reach the green audio output. This picture was made before I did that however. Also I cut a big part of the top divider. Unfortunately, I don't have a clear picture of that.
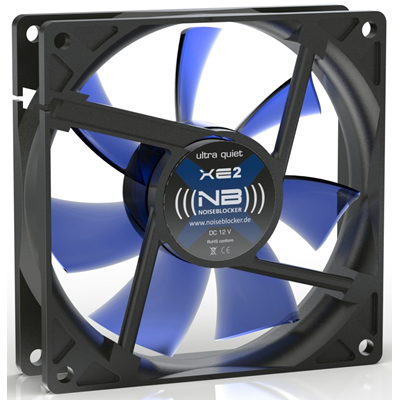
My next goal was to mount the rear fans. This wasn't very hard. I had to cut the upper-left side because the motherboard was just a bit too much to the right. I wanted them to be on the exact same spot as they were at the original case. Rewiring was no option for me so I replaced the stock fans with two Noiseblocker BlackSilent XE-2 92mm fans. These were the only pieces of hardware I bought for this mod. You can see them mounted to the stock tray in the final pictures.
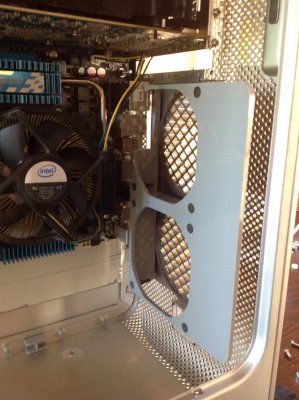
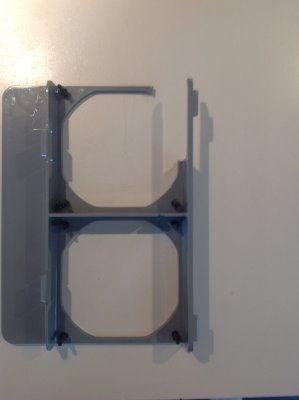
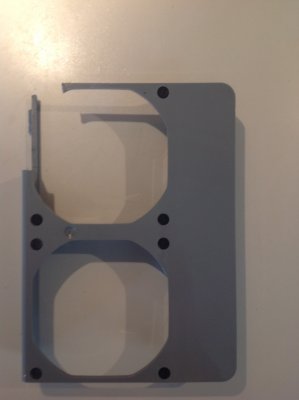
Now it's time to mount the HDD bay. I intended to reuse the original HDD bay but that didn't really work out well, so I gutted one from an old PC. I drilled holes in both the top divider and the HDD bay and mounted them to each other with 3mm screws and nuts.
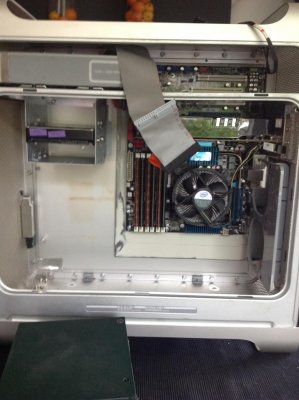
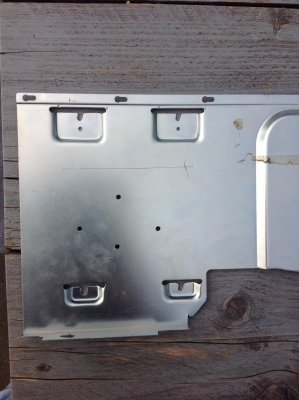
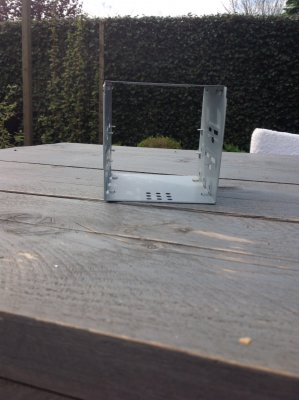
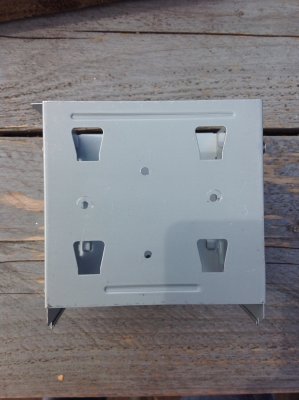
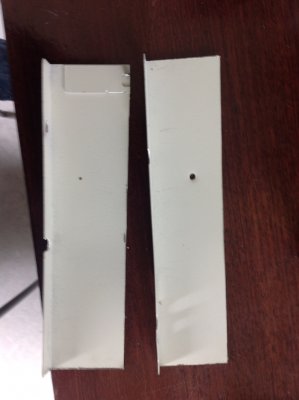
Next part: the PSU! I used another part my grandparents' case to make two brackets of aluminum. I screwed four holes in both the bottom of my case and these brackets. You can't see this on the picture though. I was so excited when the end was coming closer and closer that I forgot to make decent pictures... Anyway, I double-taped these brackets to the PSU which was then very easily to mount.
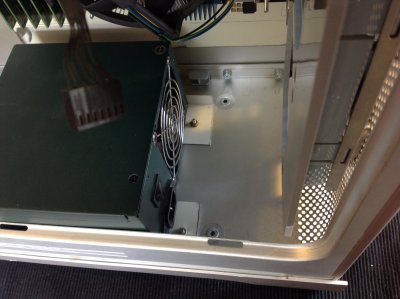
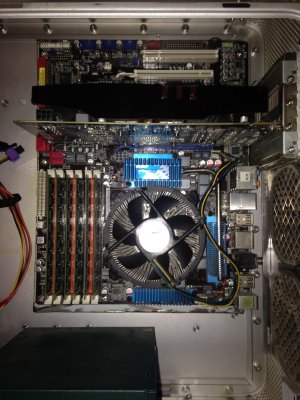
Nearly done! The result so far:
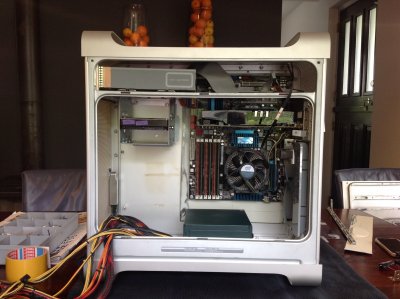
Note that I reused the original DVD superdrive that came with the original G5 since my own didn't function properly with OSX. However, this one doesn't work as well because it's connected via pata instead of sata. I didn't know that. Might replace it with another one later.
http://www.tonymacx86.com/general-help/163949-need-help-dvd-drive.html
The result
I connected all the PSU cables and peripherals and it should be ready to boot. After a short moment of fear I pressed the powerbutton on my motherboard and... It worked!
This build might not be the cleanest and most perfect one from the inside, but I am really happy that it runs well. From the outside it looks great. The front panel doesn't work though, but I will order a cable from http://g5atxcables.weebly.com/g5-atx-adapter-cables.html so I don't have to do the soldering myself - which I don't have the skills for too.
Anyway, here are the pictures. If there are any questions, feel free to ask.
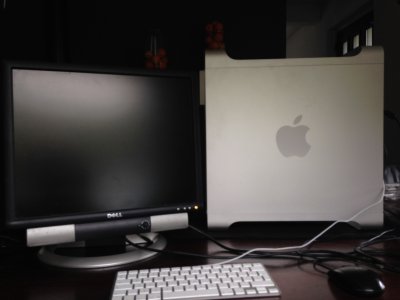

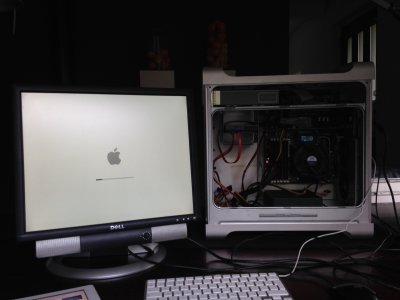
Cheers!
Thijmen.
PS: This is not my complete setup. I tested it at the kitchen table.
Update 1
http://www.tonymacx86.com/powermac-g5/163998-pc-g5-atx.html#post1155260
Update 2, major
http://www.tonymacx86.com/threads/from-pc-to-g5-atx.163998/#post-1155260
Update 3, major
From PC to G5 (ATX)
Last edited:


