eelhead
Super Moderator
- Joined
- Mar 1, 2011
- Messages
- 3,089
- Motherboard
- GA-Z170X-Designare
- CPU
- i5 7600k
- Graphics
- GTX 1070
- Mac
- Classic Mac
- Mobile Phone

So I went through and put all case work and pics into first post

I also revamped the photos for some sort of build order. I even threw in some new pics to boot!!!!
I will be doing another one and trying for a HDD hot swap cage inside. We shale see, I have some other projects I need to finish up and get some more creative juices flowing.
______________________________________
28,March,2011
Well I have been doing this slowly as money grants but I figure I would post my progress so far. I went the route of a G5 mod because for some reason I love this case, so simple yet elegant looking. I have always used an Apple product and the only Windows I have is a Toshiba Qosmio gaming laptop.
In this build I will be using
Gigabyte GA-X58A-UD3R
Sony DVD
Thermaltake 850W Modular Active PFC Power Supply
I know it's over kill but I will be getting another GPU in the future lol and it was cheap!
the rest is still in my wish list and will get as needed. I only have the stuff above for fitting and making sure It's all good to go when I fire it up.
So here is the patient lol
2006 Power Mac G5 1.8Ghz Dual processors
The work station with the G5 gutted!!
So my original plan was to utilize as much as the case as possible
I wanted to use the original G5 standoffs for my set up re-gluing with JB Weld.I knew I had to cut out the rear G5 I/O as my X58A board will definitely not match up.
So here is the popping off the Logicboard standoffs.
I used an adjustable wrench for the nice smooth pull
I even pulled the little ones out as well!
All pulled out
SO I bought another HDD tray and will glue them together and place them in the front as shown.
Space of mobo I/O from G5
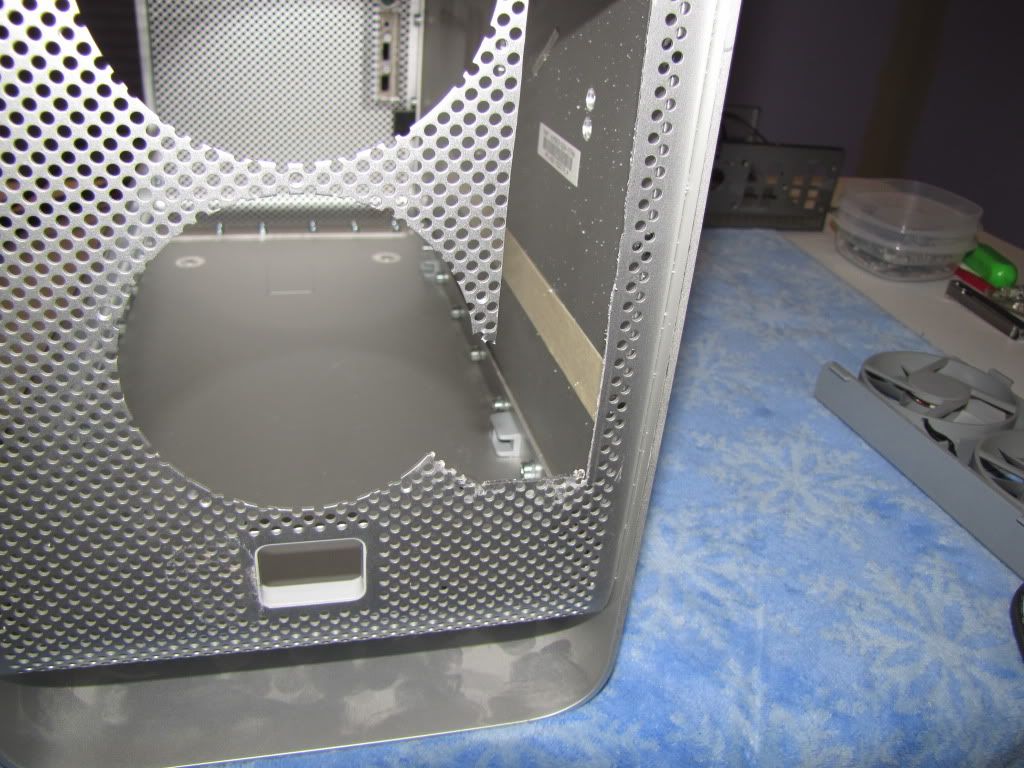
The cutting begins!!
Got to fit that behind the opening
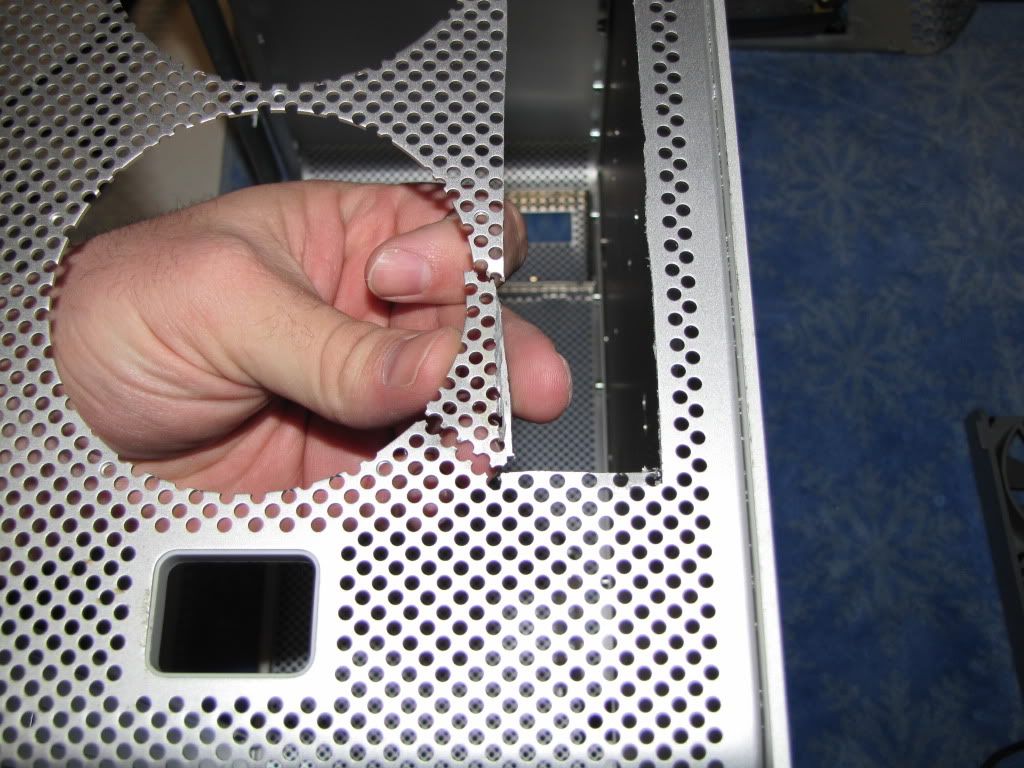
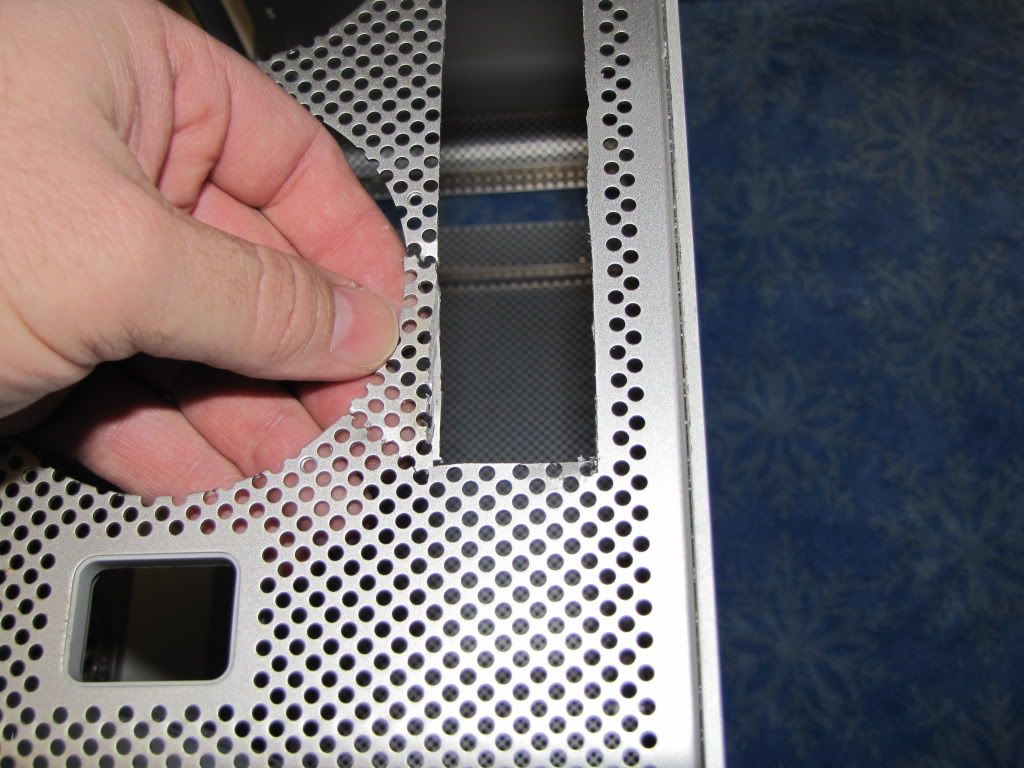
OH SNAP!!! I broke it with the jigzaw vibration!
Ok so some JB Weld magic and my rusty automotive body shop skills and I fixed it lol
So mobo and CPU cooler and GPU
mmmmm Ice cold water and the monitor that I cannot wait to hook up!
OK so I am going to put a TACT switch in for my DVD player so I can open it while in bios or dos mode.
Here are the contact points where I will solder my wires to for the switch.
Of course the bread board and switch
View of the top self where the DVD player will sit.
Wire soldered and cover placed back on
Switch on bread board with wire soldered to that now
It works!
I glued board to top of the inside of the G5 just above the DVD player
Switch button nicely hidden so nobody can looky looky
SO I notched out the rear fan shroud so it can fit where the rear I/O audio block is on the mobo.
SO the opening is cut and I am really not caring for the look of it. Also ethernet plug catches the case and I am unable to trim it there because the rear fan shroud. If I trim more of the shroud it will be useless
So original G5 PSU, I am wanting to do a PSU mod so I can leave it on the bottom of the case. The way I have the mobo if I do a stock PSU it wont fit and I will have to move the mobo up but at this point I was using the stock PCI openings and had no room for movement as the GPU used 2 openings.
To use the original fans or not :/
G5 PSU case cleaned out and my new PSU to place in it. Thermaltake 850w Blackwidow modular unit.
See it just looks funny in there
PSU stock case removed and just trying to figure out how to set it up
mmmm modular lol
So like a jackass I forgot to get a pic of how I hooked it up to the G5 PSU case :/
I went with opening the top up and using the Thermaltake’s fan for super cooling action!! welll also that I stored all of the excess PSU wiring inside the G5 PSU case and was scared of poor airflow
Rear plug socket
Test fitting,
Yay its all together!
Some bench testing as the mobo was giving me start and stop issues
Well after getting the mobo back and getting a PCI USB card and my Airport card I ran out of room on the rear PCI openings. So the only thing I could do was go MOBO TRAY!!!!!!
BOOOM! Mountain Mods motherboard tray FTW! Should of did this from the get go!
Out side of back you can see the little hex bolts I used
See I have the mobo tray right tight against the side of the G5
From the inside you can see the nuts on the hex bolts, I also used little wasers I made from spare pieces of the case I cut out from the rear lol
Here is the front of the mobo case and the upper and lower sections. I used the Logic-board standoffs to adhere the mobo tray to the front of the inside of the G5.
Here is mobo tray and HDD caddies
HDD caddies set in place with more Logic-board standoffs
It fits and looks nice
Well I got tired of the way the GPU case looked like poop so I redid a new one!
Now you can see the PSU wiring I did.
Cleaned up the top and made a smaller hole for fan and modular plug
Fits like a glove!!
So here is the front I/O set up
Nice easy 18 pin set up
I cut the main cable in half and attempted to solder some wire for the first time lol
My ends, dont mind the tape it was my numbering system lol
Do not pay attention to the 20 typo!!!!! there are only 18 pins! I was half asleep lol.
So while I was in the middle of making mine I was offered a chance to test one for Gus on here. He started to sell them for a stint but has stopped I do believe. Which sucks because the cable is awesome quality!! I can’t speak highly enough for Gus’ workmanship and if he starts selling them again and I hear I will let everybody know!!
You can see GUs’ cable all about the top of the mobo lol
And there it is all put together!
YOu can see the Firewire was hooked up to my iMac and I was doing a data user info transfer with Migration Assistant!
So here id the rear and you can see why I needed more then 4 PCI opening lol
Airport mod!!!
Held down with a twisty tie lmao!
Airport card installed
and PCI USB card with Rockfish BT dongle
All running
And here it is in it’s glory lol
So there it all is. Thread post redone and I hope I don’t break any links to other places lol
Well that’s all it in a nut shell
Hope you all enjoyed the redux of my thread and pics with a few new added ones to boot.
Thanks for checking it out.
Attachments


Last edited: