- Joined
- Oct 26, 2011
- Messages
- 13
- Motherboard
- OS X Maxericks
- CPU
- 3,5 Ghz Intel Core i7
- Graphics
- AMD Radeon HD 6870 1024MB
- Mac
- Classic Mac
- Mobile Phone


The PowerMac G5 was announced for the first time in June 2003.
It was the first 64-bit consumer-level desktop computer ever sold. A real workhorse housed in an innovative new Aluminium enclosure.
Just look at it, more than ten years old and it still looks stunning!
It’s a great piece of design and that makes it the most popular case for casemodders.
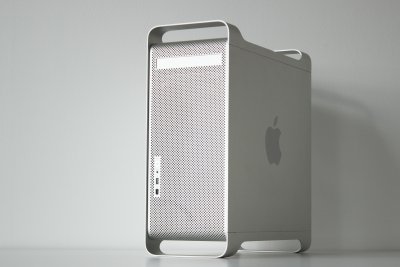
The web is full with mods of this case. Some are very simple and clean, others are complete redesigns.
For every mod there is a lot of measuring because nothing is standard. I had the idea the create a base panel from where you can start building.

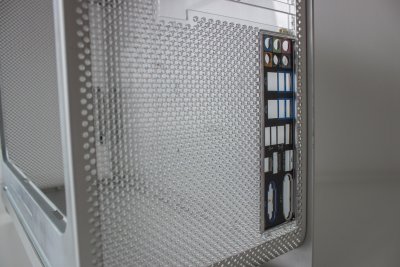
I used a complete stripped down G5. The entire surface I covered with a panel (base-panel) which is mounted with the original mounting holes of the case. This is the base for every open source G5.
Of course that is very basic and there is a lot of work to do before you can start putting the components in.
So I started with a lot of ideas I had in mind.
I used the base for mounting my motherboard but also the back- and top-panel.
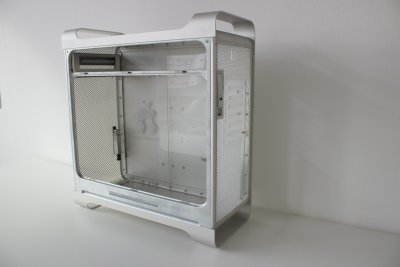
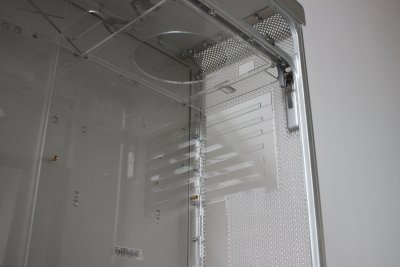
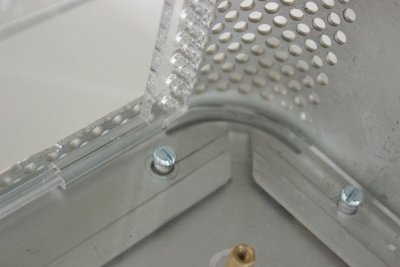
For mounting everything I used 90 degree slot joints together with screws in the original mounting holes.
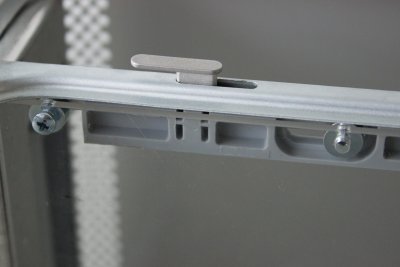
For mounting the top panel I had to be a bit creative. I used the screws of the closing system which have just enough screw-thread left to mount it.
All parts are in it’s place, time to check if the Build fits in.
To view my first hackintosh build check (old):
http://www.tonymacx86.com/user-buil...hd4000-16gb-corsair-dominator.html#post518090
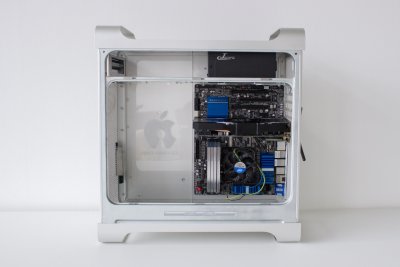

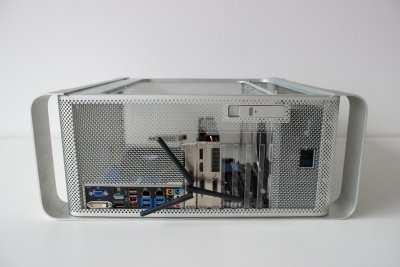
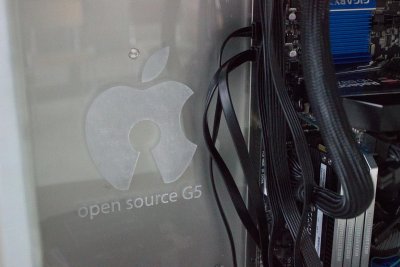
Everything fits in but is far from perfect. There is a lot of work left to do.
From now on the whole project is “OPEN”
Feel free to share ideas. If you would like to contribute or start a different version for yourself you can find all building information down here.
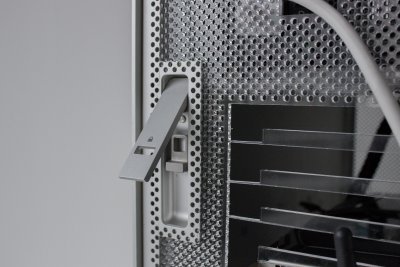
open source G5 beta 1.0
(22-03-2014)
Need to know
- The project is just started and is in beta. It is full with bugs and unfinished parts.
- For this project I stripped a G5 completely and cutted out almost the entire back of it. For building it I want to use only laser cutting for machining all the parts.
- The material I used is 3mm thick Polymethylmethacrylaat (PMMA). PMMA is the official name for the material. Every producer likes to give it their own name. Very common ones are acrylic or perspex. PMMA is a great material to laser. The reason for this thickness is that it’s available in many different colors and finishes. For prototyping I used translucent PMMA because it’s much cheaper than colored ones.
- Apple used M3 screws for mounting everything. My goal is to use only 1 type of screw which makes it easier and cheaper. So far I managed to keep it to 1 type: M3 screws with a length of 6mm.
The parts
The base-, back- and top-pannel are the main parts.
To mounting other components to them I have only two part for the PSU but that will become more and more, for the DVD-drive, hard drives and so on.
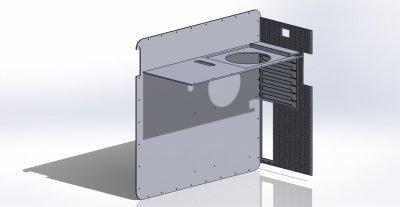
base-panel
But starting at the base-pannel.
This part exists out of two pieces otherwise it would never fit in the case.

2do
- base-pannel confirmed
- mounting holes base-panel confirmed
- slots for back pannel confirmed
- slots for top pannel confirmed
- atx mounting holes (unable to confirm because space issue from the PSU-panel)
- pci slots (unable to confirm because unfinished pci-slots of the back-pannel)
back-pannel

2do
- size (must be put in the case before the base-pannel can be put in. I want to change this)
- join slots to base-pannel confirmed
- motherboard connections slot confirmed
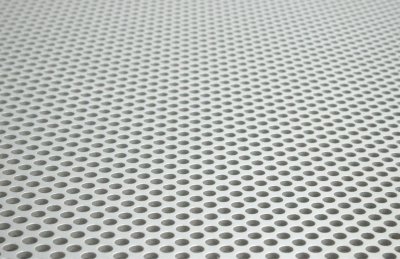
- perforation (near to perfect, de distance and size is right. But there is a tiny bug somewhere why the don’t line up perfectly with the original perforation of the aluminium.
- pci slots (work in progress)
- psu cable hole (not permanent, not really satisfied with the position of the psu)
- optional fan
top-pannel

2do
- size confirmed
- join slots to base-pannel confirmed
- mounting holes to case confirmed
- psu cable hole confirmed
- psu mounting (not permanent, not really satisfied with the position of the psu)
- dvd drive mounting
psu pannel

2do
- size confirmed
- hole for the airflow confirmed
- mounting holes to case confirmed
- psu mounting slots (not working properly)
- psu pannel mounting (the screws to mount it touch the motherboard)

general 2do
- right diameter for threading with the M3 screws
- dvd drive mounting
- diskdrive bay
- cable management
- ...
Here you can find all the files I used to make this build.
Feel free to try and play around with it. The files or not ment for commercial usage!
open source G5 beta 1 files (in mm):
View attachment Open Source G5 beta 1.zip
I used solidworks for designing the parts. So all files are solidwork files and I exported them to .dwg files.
If you want/need an other file type let me know.

Hope you like my build so far.
Please come up with new ideas and suggestions. I’m happy to hear your feedback.
I’m standing open to sharing, collaborating or what so ever.
Good luck
Special thanks to:
- Fablab Brainport for prototyping all parts.
- Tonymac for their great software to build a Hackintosh.
- And of course, apple for this almost classic piece of design and OS X
