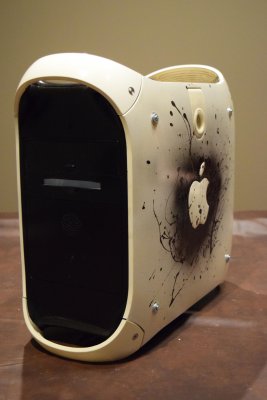
- Joined
- Jul 22, 2014
- Messages
- 3
- Motherboard
- Gigabyte > need model # > See Rules!
- CPU
- i5-4694
- Graphics
- GTX 760
Components
CPU: Intel Core i5 4590
http://www.newegg.com/Product/Product.aspx?Item=N82E16819116991
MOTHERBOARD: Gigabyte H97M-D3H
http://www.newegg.com/Product/Product.aspx?Item=N82E16813128718
RAM: Crucial 8GB
http://www.newegg.com/Product/Product.aspx?Item=N82E16820148540
HDD:
- HDD1 - Crucial 256GB running OSX Yosemite - http://www.newegg.com/Product/Product.aspx?Item=N82E16820148820
- HDD2 - PNY 240GB running Windows 7 - http://www.newegg.com/Product/Product.aspx?Item=9SIA0ZX1W06968
- HDD3 - Western Digital 2TB for storing files and games - http://www.newegg.com/Product/Product.aspx?Item=N82E16822236522
VIDEO CARD:
Gigabyte GeForce GTX 760 2048MB GDDR5
http://www.newegg.com/Product/Product.aspx?Item=N82E16814125466
Comments
This is my first hackintosh. I had no idea hackintoshes existed until July 2014. I attended Quakecon 2014 for the 1st time using my MacBook Pro and left there inspired to build something amazing for Quakecon 2015.
I needed Windows for the gaming environment, but I didn't want to lose OSX for other functions. That's when I learned that Hackintoshes were possible, thanks to Tonymacx86.com.
I bought an old Mac Sawtooth Case for $10 off Craigslist. I decided to do a stormtrooper mod because it looks so sleek. And since it's a stormtrooper mod, I might as well add stormtroopers to it, right?
I didn't think to take photos at every step of the process, so I apologize in advance if I gloss over something.
The Case Mod
G4 Sawtooth gutted. I fitted an old motherboard before I bought the new one.
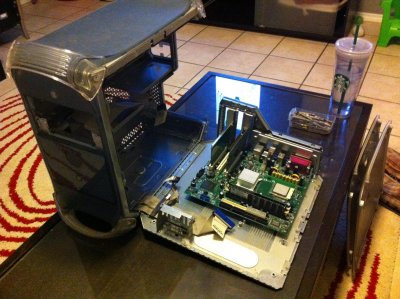
I decide to paint the entire thing black because, why not?

Some people try to cut out just enough space for the I/O Shield but I decided to cut the whole section out and fill it later.
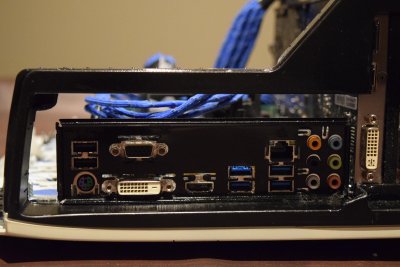

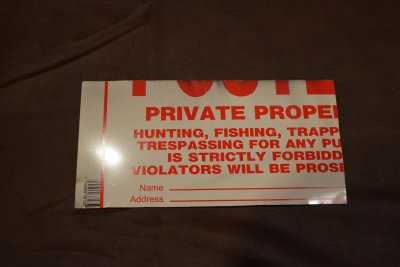
I went to Lowes and bought a thin metal private property sign for less than $5, cut it to the shape I needed and JB Welded it to the case around the I/O Shield. This sign comes in handy later too.

I painted the I/O Shield to match.
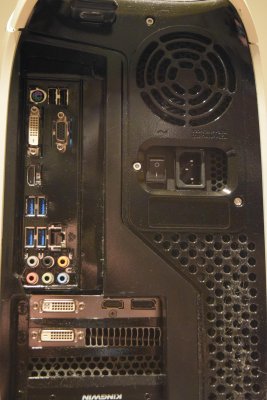
Exhaust fan on top of case.
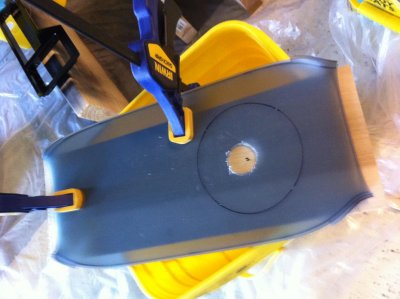
External Design
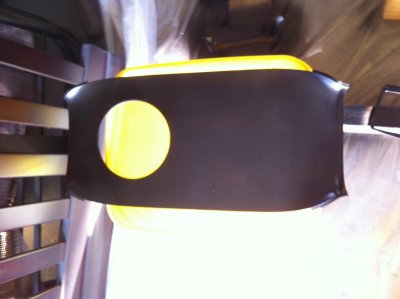
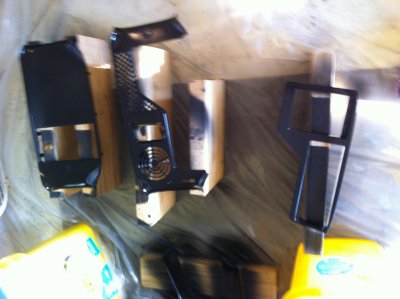
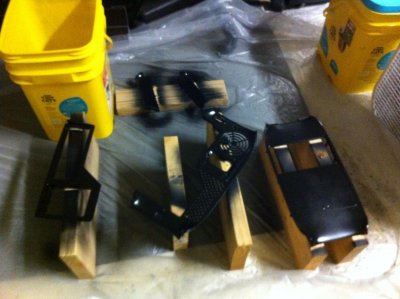
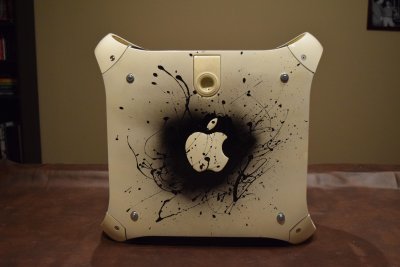
This is pretty sleek by itself, but I wanted to mix some black in here too.
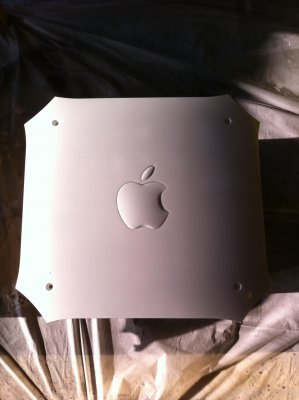
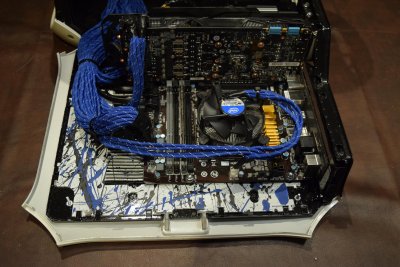
Splatter paint!

Inside Job
Since the motherboard is on the door (and I'd like to open it) the power supply cables had to be extended. This was a long process.
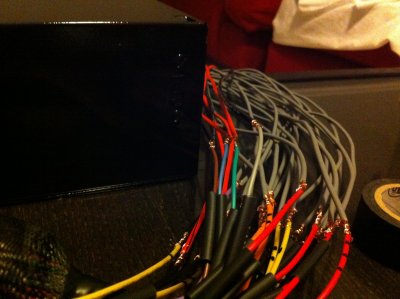
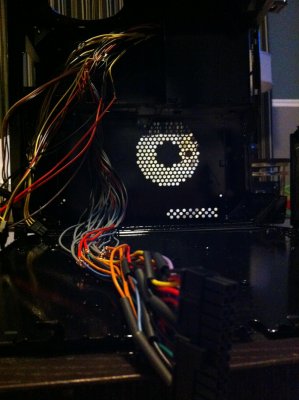
Here's the finished extended cables wrapped in blue 550 paracord. This was also a painfully long process.

To use the original Mac power/reset button, you have to modify the board. You basically scratch through all the connections on the board, and solder the wires directly to the buttons. You can use the original LED, but I replaced it with a new blue LED to match my fans. That you have to solder underneath the board.
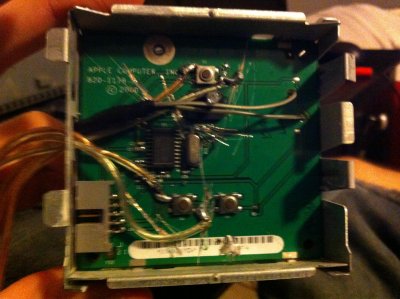
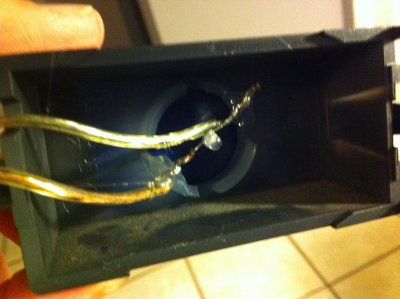
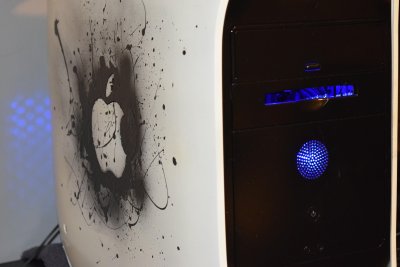
I took out the original speaker and used the plastic housing to put a power LED. It looks pretty cool shining through the speaker holes. I hot glued it in place to point forward.

Where's that private property sign? I need it again. I want to cover up these nasty wires.
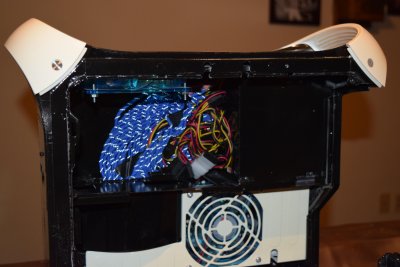
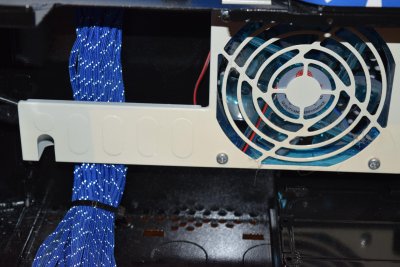
I cut two more pieces, paint them, and put them in place.
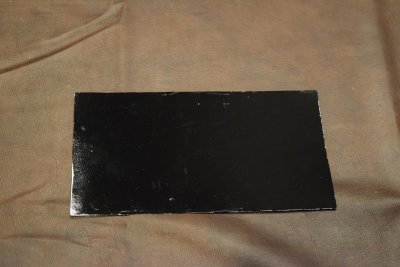
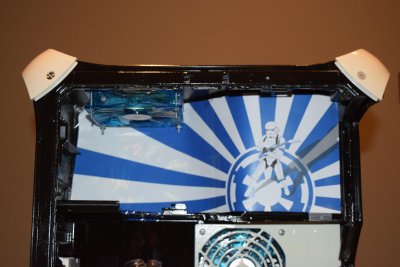
Unfortunately, I don't have a picture of the black metal piece at the top of the case. I put this stormtrooper graphic in front of it.

Final Product

 View attachment 125146View attachment DSC_0021.jpg
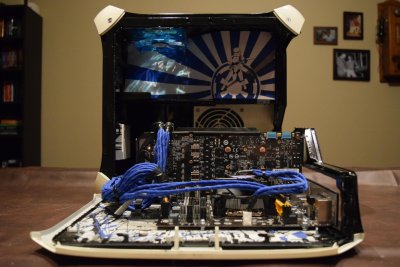
That's it for the computer itself. If you're interested in the completion of the computer Quakecon setup, read on!
Quakecon 2015
For those of you unfamiliar with Quakecon. It's a 4-day LAN party at a hotel in Dallas. Everyone brings their computer and games. You'll see some incredible case mods and setups. And of course, I want my Hackintosh to be on full display.
Plans
The idea was to design a box that would work for both transportation of the equipment AND be part of the setup. The 3 monitors mount to the front of the box and the computer will rest on top (in between the rotating storm troopers, of course).
Front view

Side view
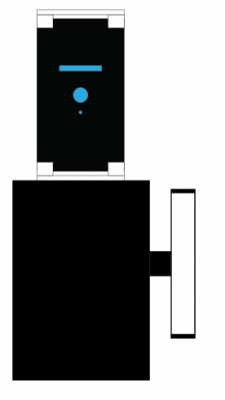
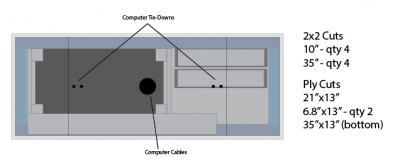
Designing the box to make sure everything fits
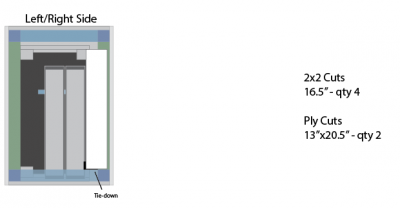

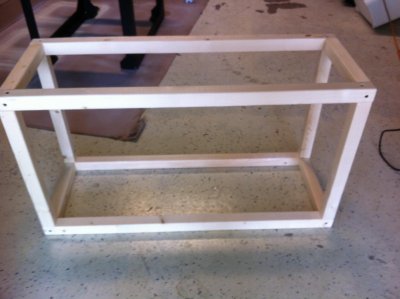
Box frame

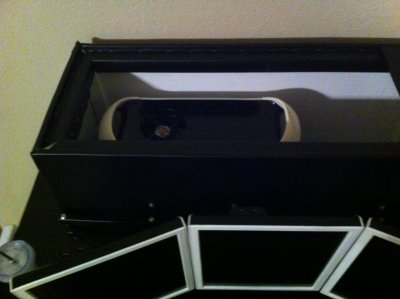
It fits!

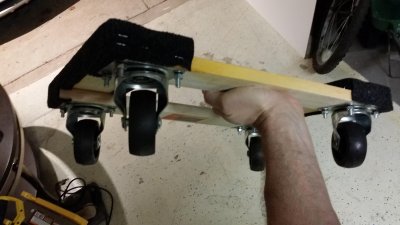
Best purchase I ever made...
Videos
I'm still working on adding lighting to the set up, but here's a couple videos that show how it will probably look in action.
[video=youtube_share;zs_C3j7HzFU]http://youtu.be/zs_C3j7HzFU[/video]
I'm going back and forth on using a multi-monitor setup like above, or a 27" gaming monitor with two auxiliary monitors.
[video=youtube_share;Twd09NNQmwA]http://youtu.be/Twd09NNQmwA[/video]
I also plan on extending the lighting to go inside the computer case in case I open for display at Quakecon.
CPU: Intel Core i5 4590
http://www.newegg.com/Product/Product.aspx?Item=N82E16819116991
MOTHERBOARD: Gigabyte H97M-D3H
http://www.newegg.com/Product/Product.aspx?Item=N82E16813128718
RAM: Crucial 8GB
http://www.newegg.com/Product/Product.aspx?Item=N82E16820148540
HDD:
- HDD1 - Crucial 256GB running OSX Yosemite - http://www.newegg.com/Product/Product.aspx?Item=N82E16820148820
- HDD2 - PNY 240GB running Windows 7 - http://www.newegg.com/Product/Product.aspx?Item=9SIA0ZX1W06968
- HDD3 - Western Digital 2TB for storing files and games - http://www.newegg.com/Product/Product.aspx?Item=N82E16822236522
VIDEO CARD:
Gigabyte GeForce GTX 760 2048MB GDDR5
http://www.newegg.com/Product/Product.aspx?Item=N82E16814125466
Comments
This is my first hackintosh. I had no idea hackintoshes existed until July 2014. I attended Quakecon 2014 for the 1st time using my MacBook Pro and left there inspired to build something amazing for Quakecon 2015.
I needed Windows for the gaming environment, but I didn't want to lose OSX for other functions. That's when I learned that Hackintoshes were possible, thanks to Tonymacx86.com.
I bought an old Mac Sawtooth Case for $10 off Craigslist. I decided to do a stormtrooper mod because it looks so sleek. And since it's a stormtrooper mod, I might as well add stormtroopers to it, right?
I didn't think to take photos at every step of the process, so I apologize in advance if I gloss over something.
The Case Mod
G4 Sawtooth gutted. I fitted an old motherboard before I bought the new one.

I decide to paint the entire thing black because, why not?

Some people try to cut out just enough space for the I/O Shield but I decided to cut the whole section out and fill it later.


I went to Lowes and bought a thin metal private property sign for less than $5, cut it to the shape I needed and JB Welded it to the case around the I/O Shield. This sign comes in handy later too.

I painted the I/O Shield to match.

Exhaust fan on top of case.

External Design


This is pretty sleek by itself, but I wanted to mix some black in here too.

Splatter paint!

Inside Job
Since the motherboard is on the door (and I'd like to open it) the power supply cables had to be extended. This was a long process.


Here's the finished extended cables wrapped in blue 550 paracord. This was also a painfully long process.

To use the original Mac power/reset button, you have to modify the board. You basically scratch through all the connections on the board, and solder the wires directly to the buttons. You can use the original LED, but I replaced it with a new blue LED to match my fans. That you have to solder underneath the board.

I took out the original speaker and used the plastic housing to put a power LED. It looks pretty cool shining through the speaker holes. I hot glued it in place to point forward.


Where's that private property sign? I need it again. I want to cover up these nasty wires.


I cut two more pieces, paint them, and put them in place.


Unfortunately, I don't have a picture of the black metal piece at the top of the case. I put this stormtrooper graphic in front of it.


Final Product


 View attachment 125146View attachment DSC_0021.jpg

That's it for the computer itself. If you're interested in the completion of the computer Quakecon setup, read on!
Quakecon 2015
For those of you unfamiliar with Quakecon. It's a 4-day LAN party at a hotel in Dallas. Everyone brings their computer and games. You'll see some incredible case mods and setups. And of course, I want my Hackintosh to be on full display.
Plans
The idea was to design a box that would work for both transportation of the equipment AND be part of the setup. The 3 monitors mount to the front of the box and the computer will rest on top (in between the rotating storm troopers, of course).
Front view

Side view

Designing the box to make sure everything fits


Box frame


It fits!


Best purchase I ever made...

Videos
I'm still working on adding lighting to the set up, but here's a couple videos that show how it will probably look in action.
[video=youtube_share;zs_C3j7HzFU]http://youtu.be/zs_C3j7HzFU[/video]
I'm going back and forth on using a multi-monitor setup like above, or a 27" gaming monitor with two auxiliary monitors.
[video=youtube_share;Twd09NNQmwA]http://youtu.be/Twd09NNQmwA[/video]
I also plan on extending the lighting to go inside the computer case in case I open for display at Quakecon.

