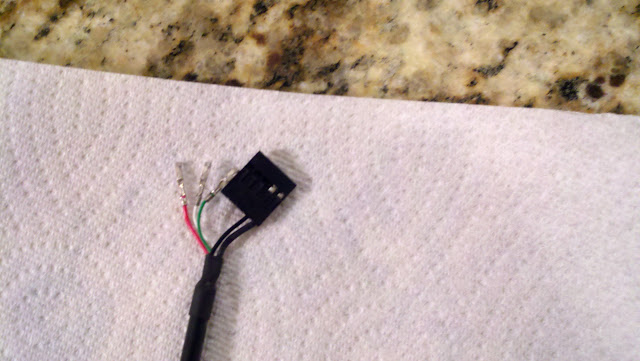
1. Remove the black USB header connector from one end of the cable. I used a tiny flat head screw driver to gently lift up on the black plastic clips on each wire. You can see below I'm 3/5 of the way.
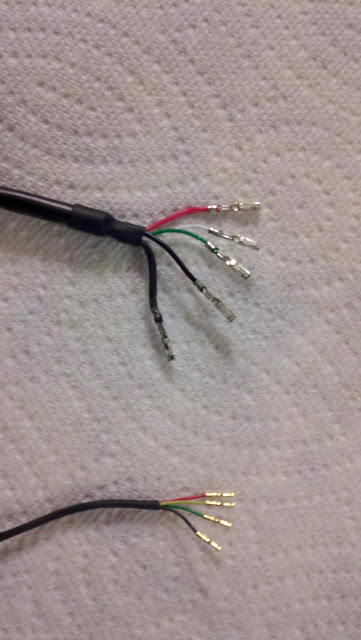
2. Remove the white Apple IR connector. Use a similar motion as used on the USB header connector. Once they are both off you should have wires as seen below.
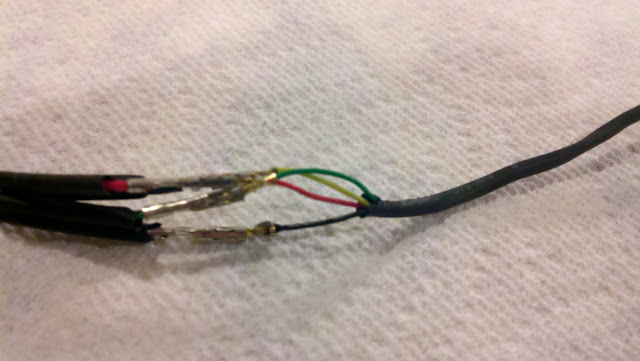
3. Insert the Apple IR wires inside the connectors on the USB header cable. The connectors are small enough that they will slide in a bit into the larger USB connectors. Connect as follows: Red -> Red, Yellow -> White, Green -> Green, Black -> Small Black.
Note: You will have 1 extra black wire on the USB cable. In the original connector it is the last black wire and much thicker than the rest on my cable (red, white, green, small black, large black). The large black one was not needed, so set it off to the side or later cut it off when you prove your wiring works.
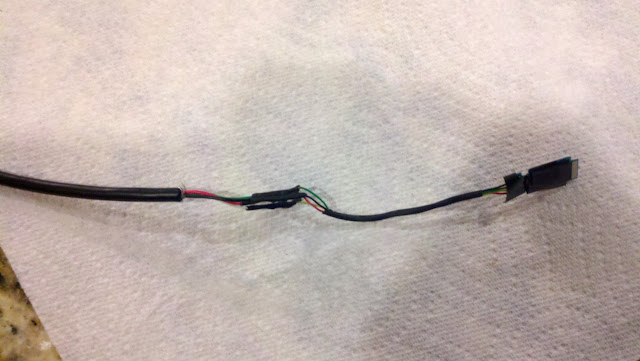
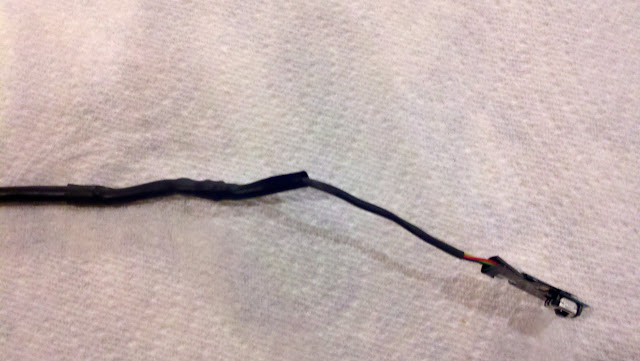
4. Secure wiring and test it out. I put a little drip of solder on each of the connections to make sure they would stay together. Once I had verified it worked by plugging into my motherboard, I used heat shrink tubing on each wire to cover the connections up.
I also used larger heat shrink tubing to hide the bundle of wires.
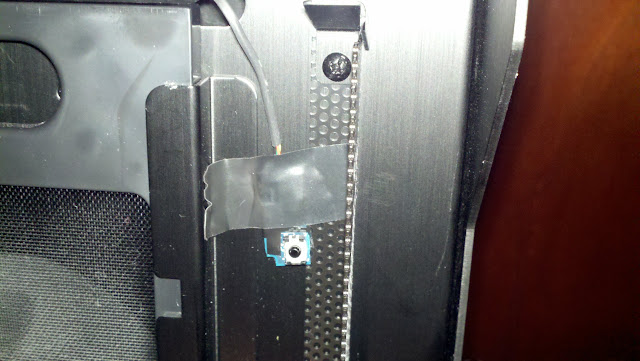
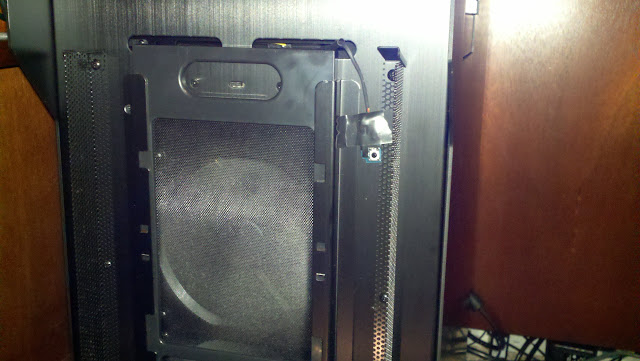
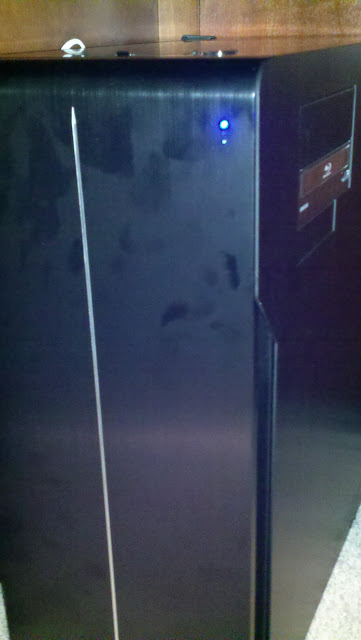
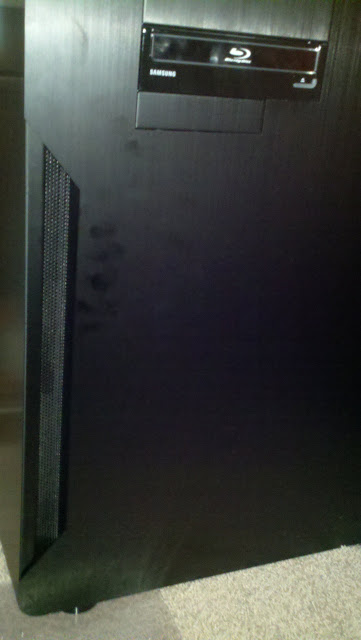
5. Final installation. Plug into your motherboard and secure to some place with external visibility. I chose to put mine inside the grill portion of the case and secure with electrical tape. Even without a real good line of sight due to my case being funky, I am able to use mine without issues.
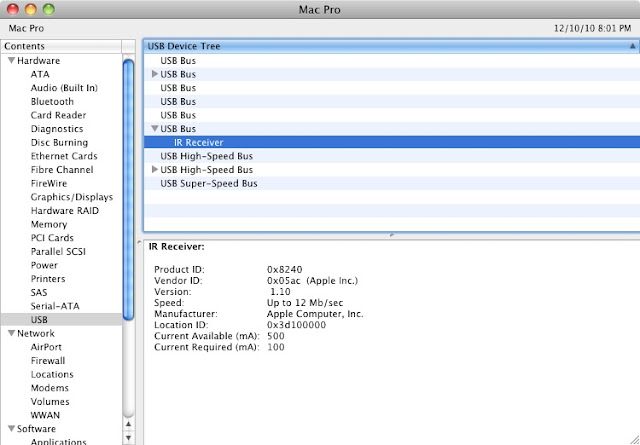
6. Use it! Mine showed up in System Profiler as seen below. Works perfectly with the white Apple remote I borrowed from my iMac.


")